Pruning shears live a hard life. They slice through green stems in the morning, cut woody stalks by noon, and get tossed on the workbench still wet with sap. Over time the blades gum up, rust creeps in, and the spring gets sluggish. The shears that once snipped cleanly start to tear and crush.
Table of Contents
Table of Contents
- Clean Pruning Shears: Why Cleaning Matters More Than You Think
- Gather Your Household Kit
- Step One: Wash Off the Loose Grime
- Step Two: Soak in Vinegar for Rust
- Step Three: Kill the Germs
- Step Four: Dry Every Piece
- Step Five: Oil the Metal
- Step Six: Check the Moving Parts
- The Two-Minute Habit That Prevents Deep Cleans
- What Not to Use
- Storing Shears So They Stay Clean
- References
Here is the good part. You do not need a single specialty product to bring them back. Everything you need sits in your kitchen and laundry room right now: dish soap, white vinegar, an old toothbrush, rubbing alcohol, and a little oil. This guide walks through a full deep clean using nothing but household items, plus the simple habits that keep shears sharp between cleanings.
Clean Pruning Shears: Why Cleaning Matters More Than You Think
When it comes to clean pruning shears, getting the details right makes all the difference.
Many homeowners find that clean pruning shears is easier than they expected once they know the basics.
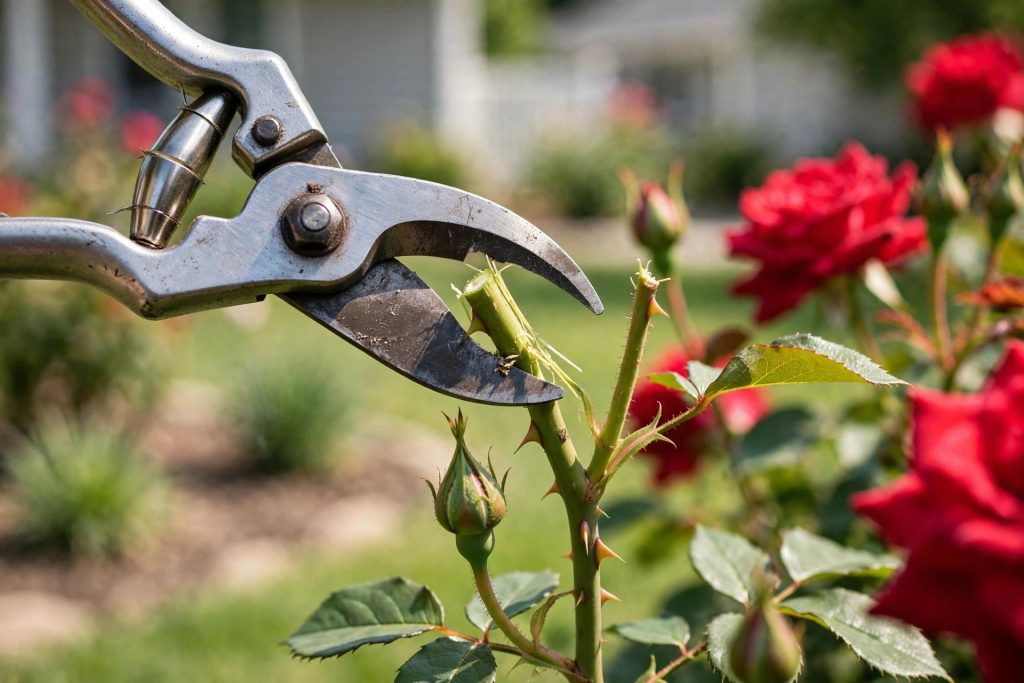
Dirty shears do real damage. Sap and plant juice dry into a sticky film on the blades. That film makes the blades stick and drag instead of gliding past each other. Cuts turn ragged. Ragged cuts heal slowly and invite disease.
Worse, dirty blades spread disease from plant to plant. Fungi and bacteria hitch a ride on the steel. You prune a sick rose, then trim a healthy one, and the problem moves with you. A quick clean and disinfect between plants stops that chain cold. Extension scientists at Iowa State stress that removing dirt and sap comes first, before any disinfecting, because grime shields pathogens from the disinfectant (Iowa State Extension).
Rust is the third enemy. Moisture left on steel starts corrosion within hours in humid weather. Rust pits the blade surface. Pitted blades dull faster and tear tissue. A clean, dry, lightly oiled blade simply lasts longer.
If your shears are already dull, cleaning comes first and sharpening comes second. Our overview of pruning shears for rose bushes covers blade types, and a garden tool sharpener guide helps once the blades are clean.
Gather Your Household Kit
Many homeowners find that clean pruning shears is easier than they expected once they know the basics.
The key to clean pruning shears is choosing the right approach for your space and budget.
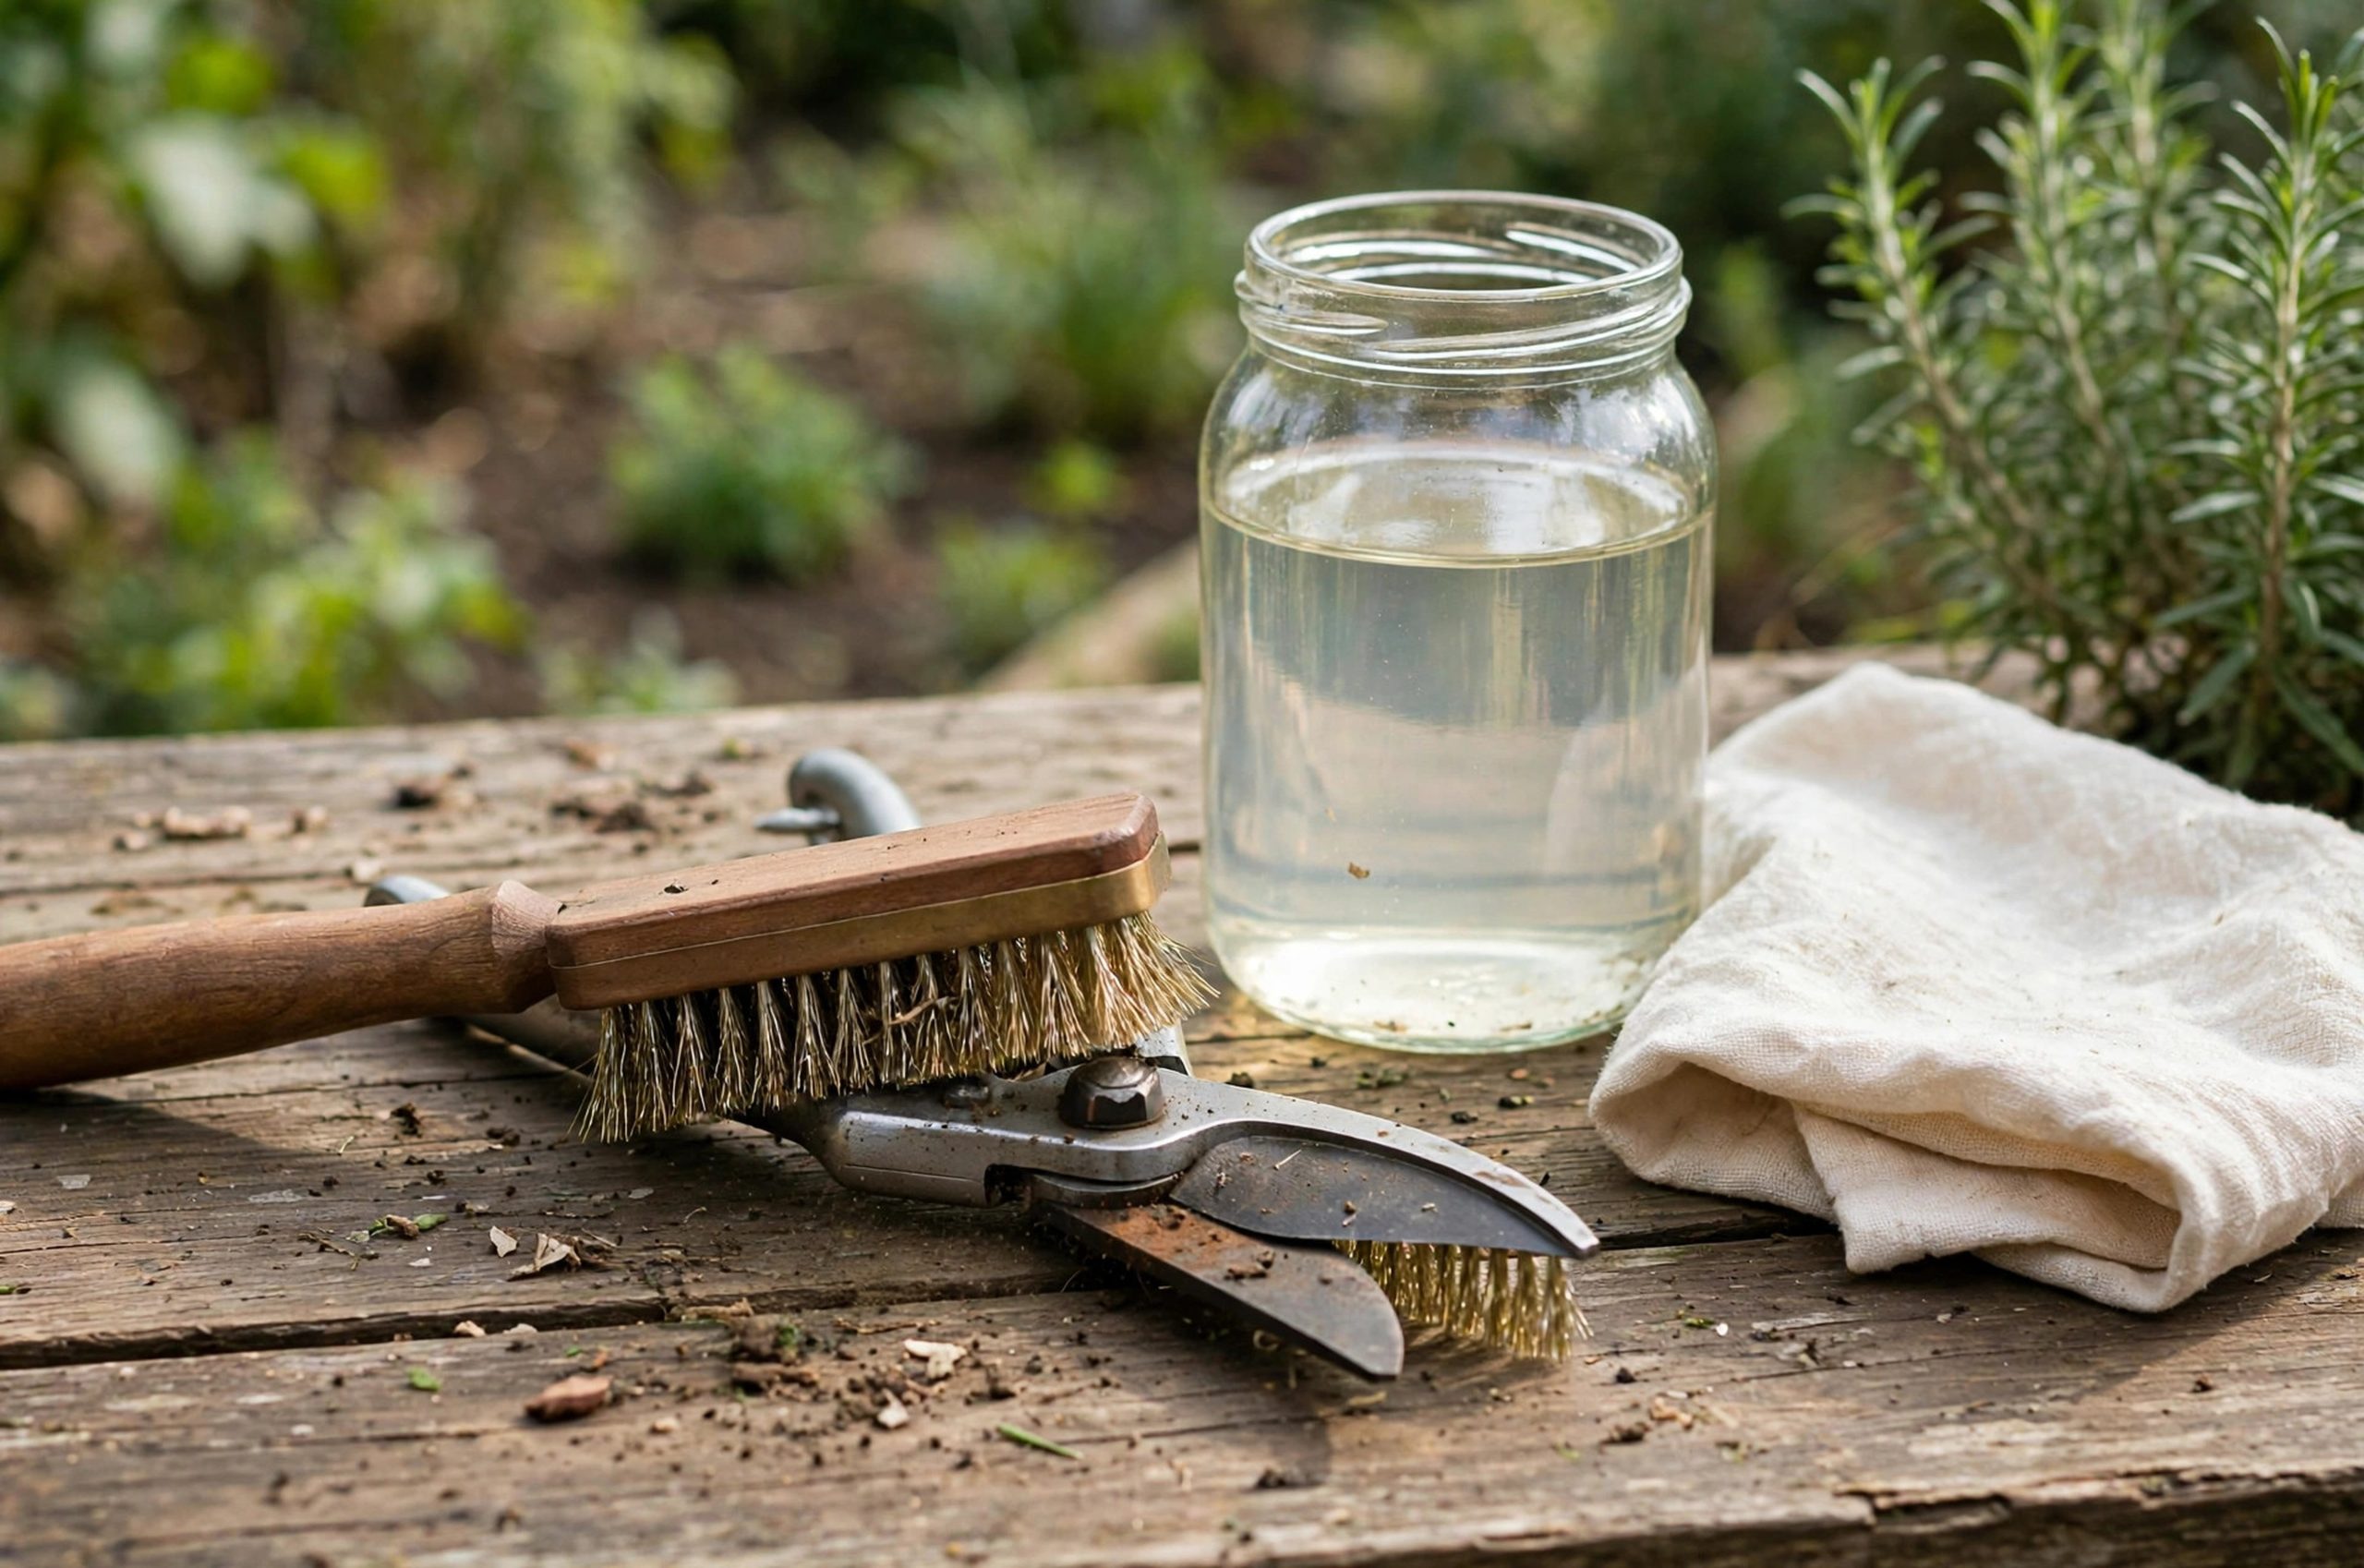
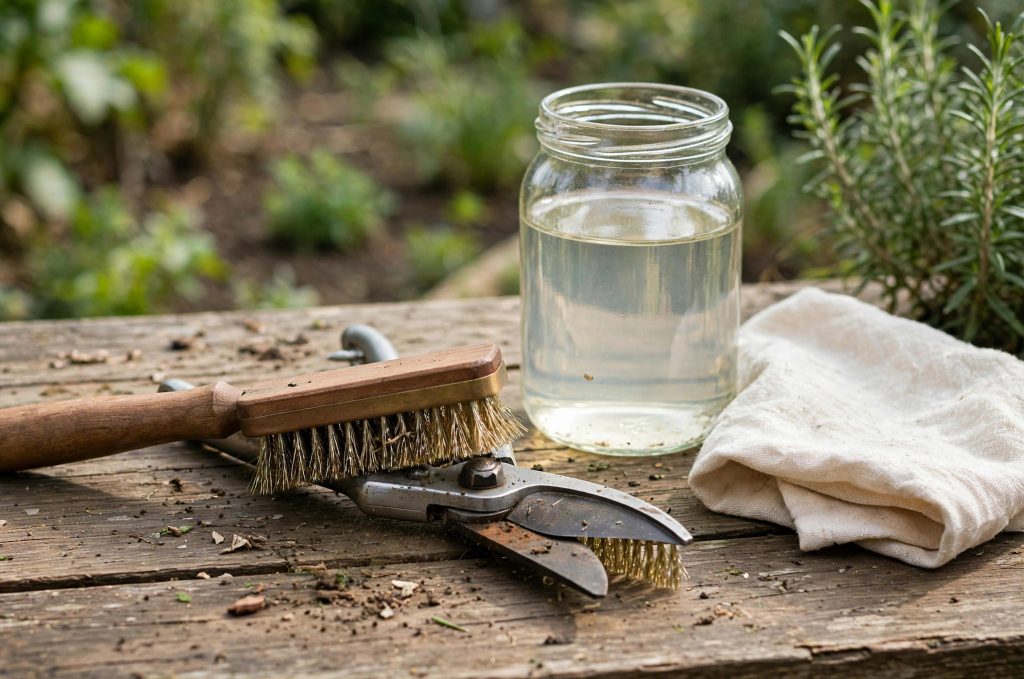
Open a few cabinets and collect:
- Dish soap and warm water.
- Distilled white vinegar, the plain cheap kind.
- An old toothbrush or a small stiff brush.
- A rag or two, plus an old towel.
- Rubbing alcohol, seventy percent if you have it.
- Fine steel wool or a green scouring pad.
- Baking soda.
- A light oil: mineral oil, linseed oil, or even the cooking oil spray in the pantry in a pinch.
That is the full kit. The deep-clean walkthrough at Oh So Spotless uses exactly this set: vinegar for rust, soap for grime, alcohol for germs, and oil for protection.
Step One: Wash Off the Loose Grime
The key to clean pruning shears is choosing the right approach for your space and budget.
With a little planning, clean pruning shears can fit even a busy schedule.
Start simple. Fill a bowl or bucket with warm water and a squirt of dish soap. Open the shears and swish the blades in the soapy water. Use the toothbrush to scrub around the pivot, the spring, and the edges where sap collects. Work both sides of both blades.
Do not use boiling water. It can soften rubber grips and plastic handles. Warm is plenty. The Secrets of the Green Garden guide warns against hot water for exactly this reason and suggests a ten-minute soak to loosen stubborn grime.
Rinse the shears under clean water. Do not rinse in the dirty soak water, or you just put the grime back on.
Step Two: Soak in Vinegar for Rust
With a little planning, clean pruning shears can fit even a busy schedule.
Before you start, it helps to understand how clean pruning shears works in real homes.
If the blades show rust spots or heavy staining, vinegar is your best friend. Stand the shears in a jar or cup of plain white vinegar so the metal parts are covered. Leave them for several hours or overnight. The mild acid dissolves rust without harming the steel underneath.
After the soak, lift the shears out and scrub the loosened rust with fine steel wool or the scouring pad. Work gently. You are removing rust, not grinding the blade. For deep pits, repeat the soak rather than scrubbing harder. A tested routine at Tom's Guide found that an overnight vinegar soak followed by a toothbrush scrub and a short baking-soda rinse cleared even neglected blades.
Once the rust is gone, rinse the blades well. Vinegar left on steel will start new corrosion, so wash it off fully with soap and water, then dry the shears at once with the towel.
Step Three: Kill the Germs
Before you start, it helps to understand how clean pruning shears works in real homes.
A good plan for clean pruning shears saves time, money, and frustration.
Cleaning removes dirt. Disinfecting kills disease. Both matter, and they are separate steps.
For everyday work, wipe the blades with rubbing alcohol. Soak a rag or cotton pad and wipe both sides of each blade. Alcohol kills most plant pathogens on contact and evaporates fast. It is the first choice for quick disinfection between plants. Michigan State extension educators suggest keeping two pairs of shears on hand when pruning diseased material: one pair soaks in disinfectant while you work with the other (Nursery Management).
For serious disease, such as fire blight on apple or pear trees, step up to a bleach solution: one part household bleach to nine parts water. Soak the blades for at least ten minutes, then rinse thoroughly with clean water. Bleach is corrosive, so rinsing is not optional, and you must oil the blades afterward. Research reviewed by extension plant pathologists shows bleach works but pits steel over time, so reserve it for real disease pressure, not routine use (University of Tennessee Extension).
A gentler middle ground is three-percent hydrogen peroxide. Soak the blades for five minutes, then rinse and dry. The Gecko Green cleaning guide lists it alongside alcohol and vinegar as a practical household option.
Step Four: Dry Every Piece
A good plan for clean pruning shears saves time, money, and frustration.
For most people, clean pruning shears comes down to a few smart choices.
Water is the enemy of clean steel. After washing and rinsing, dry the shears at once. Shake off the excess, then wipe every surface with a dry towel. Open and close the blades while drying to push water out of the pivot. If the day is sunny, leave the open shears in the sun for twenty minutes. Sunlight finishes the drying and adds a mild disinfecting bonus.
Pay special attention to the spring and the pivot bolt. Water hides in those joints. A quick blast with a hair dryer on low works if you are in a hurry.
Step Five: Oil the Metal
For most people, clean pruning shears comes down to a few smart choices.
If you are new to clean pruning shears, start with the simplest option and build from there.
Oil does two jobs. It blocks moisture from reaching the steel, and it keeps the pivot moving smoothly. Put a few drops of oil on a rag and wipe both blades. Work a drop into the pivot and the spring. Open and close the shears several times to spread it through the joint.
Which oil? Mineral oil is clean and cheap. Linseed oil protects well and also conditions wooden handles. In a pinch, a light wipe of cooking oil works, though some gardeners avoid vegetable oils because they can turn gummy over time. The olive-oil trick at Tasting Table notes that kitchen oils keep tools rust-free in a pinch, but dedicated mineral or linseed oil lasts longer between applications.
Wipe off the excess. The blade should feel slick, not drippy. Too much oil attracts dust and turns into its own kind of grime.
Step Six: Check the Moving Parts
If you are new to clean pruning shears, start with the simplest option and build from there.
While the shears are clean and open, give them a once-over:
- Tighten the pivot bolt. A loose pivot lets the blades wobble, which makes ragged cuts. Most shears have a simple bolt and lock nut. Snug it until the blades move smoothly with no side play.
- Inspect the spring. The spring should push the handles apart crisply. If it is bent, rusted through, or weak, replace it. Springs are cheap and most brands sell spares.
- Look at the blade edge. If cleaning revealed nicks or a rounded edge, it is time to sharpen. Cleaning first means your file meets clean steel, which gives a better edge.
- Check the latch. The safety latch that holds the shears closed should click firmly. A broken latch means an open blade in the toolbox, which is a cut waiting to happen.
The Two-Minute Habit That Prevents Deep Cleans
When it comes to clean pruning shears, getting the details right makes all the difference.
A full deep clean takes half an hour. The habit that avoids it takes two minutes. After each pruning session, wipe the blades with a rag dampened with rubbing alcohol. This removes fresh sap before it hardens and kills any pathogens picked up along the way. Then wipe the blades with the oily rag you keep in the shed. Done.
Gardeners who do this find they need a real deep clean only once or twice a season instead of every few weeks. The Essential Home and Garden guide makes the same point: routine wiping beats periodic rescue missions.
Keep a small kit where you store the shears: a rag, a small bottle of alcohol, and an oily cloth in a zip bag. When the kit is right there, the habit sticks.
What Not to Use
Many homeowners find that clean pruning shears is easier than they expected once they know the basics.
A few household items should stay away from your shears:
- Abrasive powders and harsh scouring. They scratch the blade finish and create spots where rust starts.
- Undiluted bleach for routine cleaning. It corrodes steel. Save the bleach solution for disease, rinse well, and oil after.
- Motor oil. It works as a rust barrier but brings chemicals you do not want near your plants. Stick to plant-safe oils.
- The dishwasher. Heat, harsh detergent, and a long wet cycle are everything steel hates. Hand wash only.
Storing Shears So They Stay Clean
The key to clean pruning shears is choosing the right approach for your space and budget.
Clean shears stay clean when stored right. Hang them by the handle hole or lay them flat in a dry spot. Do not toss them loose in a bucket with other tools, where edges bang together and dull. Keep them out of damp corners of the shed. If your storage area is humid, a small pouch of silica gel in the tool drawer helps.
For gardeners with grip trouble, pruners for arthritis hands and pruners for small hands cover ergonomic options that still clean up the same way.
A pair of shears cleaned with household items and stored dry can last for decades. The blades may need sharpening now and then, and the spring may need replacing once in a blue moon, but the core tool just keeps going. All it asks is soap, vinegar, a little oil, and a few minutes of your time.
References
Botanikks. (n.d.). Step-by-step guide to cleaning pruning shears. https://www.botanikks.com/gardening/how-to-clean-pruning-shears/16392/1
Essential Home and Garden. (n.d.). How to clean pruning shears - Sterilize and clean your pruners. https://www.essentialhomeandgarden.com/clean-sterilize-pruning-shears/
Gecko Green. (n.d.). How to clean pruning shears to avoid spreading plant diseases and pests. https://geckogreen.com/clean-pruning-shears-avoid-plant-disease
Iowa State University Extension. (n.d.). How do I sanitize my pruning shears? https://yardandgarden.extension.iastate.edu/faq/how-do-i-sanitize-my-pruning-shears
Nursery Management. (n.d.). How to: Keep your tools clean. https://www.nurserymag.com/article/nm0414-keep-tools-clean/
Oh So Spotless. (n.d.). How to clean pruning shears and sharpen them. https://ohsospotless.com/how-to-clean-pruning-shears/
Secrets of the Green Garden. (n.d.). Essential guide to cleaning and sterilizing your pruning shears. https://secretsofthegreengarden.com/essential-guide-to-cleaning-and-sterilizing-your-pruning-shears/
Tasting Table. (n.d.). This kitchen staple can keep dirt and rust off your garden tools. https://www.tastingtable.com/1932662/olive-oil-dirt-rust-garden-tools/
Tom's Guide. (n.d.). I tried a new method to clean my pruning shears. https://www.tomsguide.com/home/gardening/i-tried-a-new-method-to-clean-my-pruning-shears-heres-why-it-cant-beat-my-time-honored-routine
University of Arizona Extension. (n.d.). Sanitizing pruning tools. https://extension.arizona.edu/sites/extension.arizona.edu/files/attachment/SanitizingTools.pdf
Was this guide helpful?

About My Garden US
The My Garden US editorial team writes practical, in-depth home and garden guides for American homeowners — tested advice, no fluff.