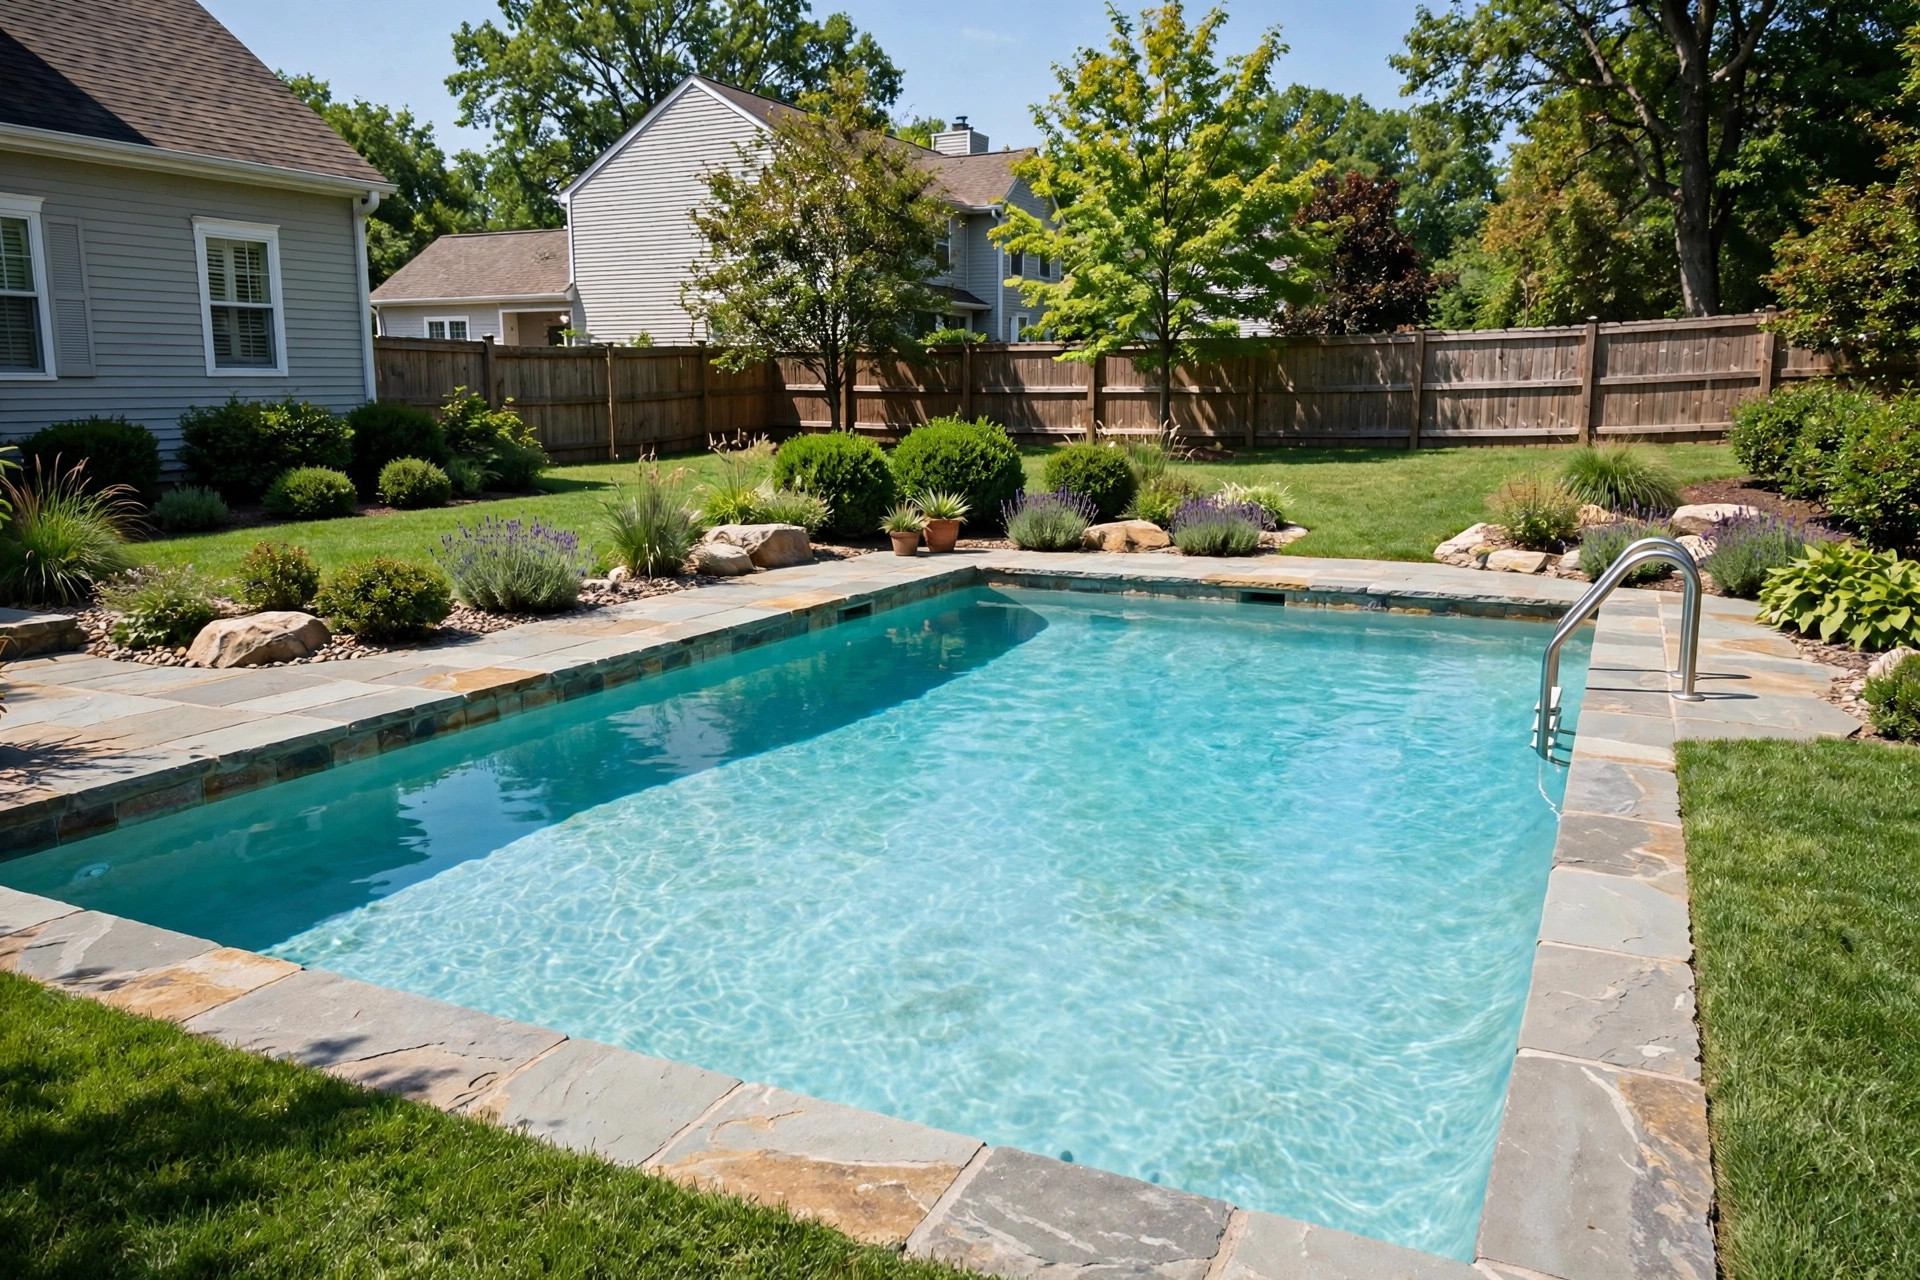

A salt water pool can be a great joy for a family. The water feels soft on the skin. It smells less like chlorine than a normal pool. But a salt water pool is not a pool with no care. It still needs work to start the season in good shape. This salt water pool startup guide beginners can trust will walk you through the whole process, one step at a time.
Many new pool owners think a salt system runs itself. It does not. The salt cell only makes chlorine. The rest of the job is yours. You must add the salt. You must test the water. You must keep the pump and the cell in good order.
Why a Good Startup Matters
Opening day sets the tone for the whole summer. Water that starts clean stays clean with small effort. Water that starts dirty will fight you all season. Algae grows fast in warm water. It can take hold in just a few days if the chemistry is off.
A proper startup also protects your gear. Salt is hard on metal and on some pool parts. If salt levels are wrong, or the cell runs when it should not, you can wear out parts fast. A new salt cell can cost several hundred dollars. Ten minutes of care at startup can save you that cost.
Think of startup as a health check for the pool. You look at everything once, fix what needs fixing, and then enjoy the summer.
Before You Add Anything: Inspect the Pool: Salt Water Pool Startup Guide Beginners
Do not add salt or chemicals to a pool you have not checked. Start with your eyes.
Look at the Pool Shell and Deck
Walk around the pool. Look for cracks in the walls or the floor. Check the tile line for loose tiles. Look at the coping stones on the edge. If you see damage, fix it before you fill or treat the water. Water can seep into cracks and make them worse.
Clear leaves and trash out of the pool. Use a net with a long pole. Scoop out everything you can. Less debris means less work for your filter later.
Check the Pump, Filter, and Heater
Look at your pump for leaks. Check the hoses and seals. Make sure the pump basket is in place and not cracked. A cracked basket lets trash reach the pump motor, which can burn it out.
Look at the filter gauge. Most pools use a sand, cartridge, or earth filter. If the cartridge looks worn or torn, replace it now. Backwash a sand filter before startup so it runs clean. If you have a heater, check it for rust and loose wires.
Inspect the Salt Cell
The salt cell is the heart of the system. Take it out and look inside. A white crust on the plates is normal mineral buildup. Heavy crust is not. If the plates look worn thin or broken, you may need a new cell. Cells last about three to five years. Check your records to see how old yours is.
Never run the salt cell in low salt water. Never run it in cold water below the maker’s limit, often around 60 degrees. The control panel will show you salt level and warnings. Read the manual once a year so you know what the lights mean.
Step One: Balance the Basic Water Chemistry
Test your water before you add salt. You can use test strips, a liquid drop kit, or take a sample to a pool store. Many beginners find the drop kit best, since it is more exact than strips.
Test these items first:
– Free chlorine: 1 to 3 parts per million – pH: 7.2 to 7.6 – Total alkalinity: 80 to 120 parts per million – Calcium hardness: 200 to 400 parts per million for plaster pools – Cyanuric acid (stabilizer): 60 to 80 parts per million for salt pools
Adjust in the right order. Fix alkalinity first. Then fix pH. Then add stabilizer if it is low. Salt goes last, after the basic chemistry is in range.
This order matters because each chemical affects the others. If you add salt first and then find your pH is off, you will chase your tail. Slow down. Do one thing at a time.
If your water is green or cloudy when you open the pool, shock it first. A salt system cannot clear a green pool on its own. Use pool shock, run the pump all day and night, brush the walls, and wait until the water is clear. Only then move to the salt step.
Step Two: Add the Salt
This is the step beginners fear most. It is simple if you go slow.
First, find how much salt you need. Your pool maker or the salt system manual will tell you the target level. Most salt pools run at 3,000 to 3,500 parts per million. Check the exact number for your unit.
You need to know your pool’s size in gallons to dose salt right. A round above-ground pool and a large in-ground pool need very different amounts. If you do not know your gallons, measure the pool and use an online pool volume chart, or ask your pool builder.
Buy pool salt, not table salt. Pool salt is pure sodium chloride with no additives. Table salt has anti-caking agents that can stain your pool. Rock salt for roads is not clean enough. The bag should say it is made for pools. A 40-pound bag is the common size.
How to Add Salt the Right Way
1. Turn off the salt chlorine generator at the control panel. Leave the pump running. 2. Test the current salt level with a salt test strip or meter. Write it down. 3. Figure out how many pounds you need to reach your target. 4. Add only about three quarters of what you think you need. Walk around the pool and pour the salt into the deep end. Do not dump it all in one spot. 5. Brush the pool floor to spread the salt. Do not let piles sit on the plaster. Salt piles can stain the finish. 6. Let the pump run for 24 hours so the salt dissolves fully. 7. Test the salt level again. Add more only if you are still low.
Go slow on purpose. It is easy to add more salt. It is very hard to take salt out. The only way to lower salt is to drain water and add fresh water. That is a big job. Better to aim a little low and creep up to the target.
Keep the salt cell off for the full 24 hours after you add salt. The cell must not run in water where salt is still dissolving. Once the salt is fully mixed and the level is right, turn the system back on.
Step Three: Set the Chlorine Output
With salt in the water, turn on the generator. Start at a medium setting, often around 50 percent. Run the pump long enough each day to filter all the water. For most home pools, that means 8 to 12 hours of pump time.
Test free chlorine after two days. If it is below 1 part per million, raise the output a little or run the pump longer. If it is above 3, lower the output. Small changes work best. Wait a full day between changes.
Sun eats chlorine fast. If your pool gets full sun all day, you will need more output or more pump hours than a shaded pool. Hot weather also raises demand. Check levels twice a week in the first month until you learn your pool’s pattern.
Remember that the salt system makes chlorine all the time, but it makes it slow. After a pool party or a storm, the water may need a boost. You can add a small dose of liquid chlorine to handle the spike. That is normal and does not mean your system is broken.
Types of Salt Systems and Options
Not all salt systems work the same. Knowing your type helps at startup.
In-line systems are plumbed into the pool pipes. The cell sits in the return line. These are common for in-ground pools. Startup is as described above: balance water, add salt, turn on the cell.
Drop-in or hang-on units work for many above-ground pools. The cell hangs over the pool wall or floats in the water. They are easy to install but treat smaller water volumes. Dose salt with extra care, since small pools swing fast.
Systems with self-cleaning cells flip the electric charge to shake off mineral buildup. They still need a check each season. Self-cleaning is not the same as no cleaning.
Some owners add a pool chemical feeder for chlorine as a backup for heavy use weeks. Others keep a pool vacuum made for steps and benches to keep the salt from settling in corners. For a small yard, it helps to plan the whole setup early, and small yard pool ideas can guide your layout choices.
Cost and Price of a Salt Pool Startup
Startup costs are modest if your gear is in good shape. Here is what most beginners spend:
– Pool salt: 40-pound bags often cost 8 to 15 dollars. A large pool may need 6 to 10 bags at first fill. – Test kit or strips: 15 to 40 dollars for a good home kit. – Balancing chemicals: 30 to 80 dollars for pH, alkalinity, and stabilizer products. – Shock: 20 to 40 dollars if the pool opened green. – New salt cell: 300 to 800 dollars, only if yours is worn out.
After startup, running costs stay low. You will buy a few bags of salt each year and test supplies. The main cost over time is cell replacement every few years and pump electricity.
Do not buy the cheapest salt you find if it is not labeled for pools. Impure salt can add metals that stain the pool. A few dollars saved on salt can cost hundreds in stain removal.
Care and Upkeep Through the Season
Startup is the hard part. Weekly care is easy if you keep a routine.
Test the water every week. Check chlorine, pH, and salt level. Salt does not leave the pool except through splash-out and backwashing, so the level drops slow. Top it up as needed.
Clean the salt cell every two to three months, or when the control panel warns you. Mix one part muriatic acid with four parts water in a bucket. Soak the cell for a few minutes until the crust fizzes off. Rinse it well. Always add acid to water, never water to acid, and wear gloves and eye cover.
Brush the pool walls once a week. Salt pools can grow a fine scale on the tile line. A quick brush stops it from building up. Keep the skimmer basket and pump basket empty. A full basket strains the pump.
After heavy rain, the pool may overflow and dilute the salt. After hot dry weeks, top up with a hose and retest.
At season end, close the pool by the book. Remove the cell if your manual says to store it inside for winter. Cold can crack a cell left full of water.
Safety Tips for Beginners
Pool chemicals demand respect. Store them in a cool, dry place, away from kids and pets. Never mix different chemicals in one bucket. Never add chemicals when swimmers are in the water.
Muriatic acid burns skin and eyes. Wear gloves and goggles. Open the container outside, upwind of your face. If acid touches your skin, rinse with lots of water right away.
Salt itself is safe, but bags are heavy. Lift with your legs. Keep salt dry in storage so it does not clump.
Water safety matters too. A salt pool is still a pool. Keep a fence with a locking gate. Never leave small children alone near the water. Learn the pool safety rules from the U.S. Consumer Product Safety Commission before swim season starts.
Electrical safety counts as well. Salt water conducts electricity. Keep all pool electric gear bonded and grounded by a licensed electrician. If a pump or light acts strange, turn off the breaker and call a pro.
Frequently Asked Questions
How long does a salt water pool startup take?
Plan on three to seven days. Day one is cleaning and checks. Days two and three are for balancing chemistry and adding salt. Then you wait a day for the salt to dissolve, and a few more days to dial in the chlorine output. Rushing leads to mistakes.
Can I swim right after adding salt?
Wait until the salt is fully dissolved and the chemistry is in range. That usually means 24 hours after adding salt, with the pump running. Test before you swim. The water should be clear, and chlorine should read 1 to 3 parts per million.
Why is my salt pool cloudy after startup?
Cloudy water often means the filter needs more run time, or the chemistry is off. Check pH and chlorine first. Make sure the pump runs long enough each day. If the water stays cloudy for more than a few days, take a sample to a pool store for a full test.
Do I ever need to shock a salt water pool?
Yes, at times. Shock after heavy storms, pool parties, or algae blooms. The salt cell makes chlorine slow and steady. Shock gives a fast boost when demand spikes. Follow the shock label and wait until chlorine drops back to normal before swimming.
How do I know if my salt cell is bad?
Signs include low chlorine even at full output, warning lights that will not clear, and plates that look thin or broken. Most cells last three to five years. If cleaning does not help and the cell is old, plan for a new one.
Can I convert my chlorine pool to salt later?
Yes, in most cases. You add a salt system to the plumbing, balance the water, and add salt as in this guide. Have an electrician wire the control panel. Check that your heater and any metal rails are rated for salt water.
A Short Final Word
Starting a salt water pool is not hard. It just takes care and patience. Check the gear. Balance the water. Add salt slow. Let the system find its pace. Do these steps in order, and your pool will reward you with soft, clear water all summer long. Keep this guide handy, test each week, and enjoy the swim.
For more background, see Swim University, Hot Spring Spas, and Bullfrog Spas. For more background, see The Spruce, The Home Depot, and Leslie’s Pool Supplies. See Pool Warehouse for more detail.
References
Bullfrog Spas. (n.d.). Hot tubs and spas. https://www.bullfrogspas.com Hot Spring Spas. (n.d.). Hot tubs and spas. https://www.hotspring.com Leslie’s Pool Supplies. (n.d.). Pool supplies and equipment. https://www.lesliespool.com Pool Warehouse. (n.d.). Pool equipment and supplies. https://www.poolwarehouse.com Swim University. (n.d.). Pool and hot tub care guides. https://www.swimuniversity.com The Home Depot. (n.d.). Home improvement products. https://www.homedepot.com The Spruce. (n.d.). Home and garden advice. https://www.thespruce.com U.S. Consumer Product Safety Commission. (n.d.). Product safety information. https://www.cpsc.gov
Was this guide helpful?

About Michael Thompson
The My Garden US editorial team writes practical, in-depth home and garden guides for American homeowners — tested advice, no fluff.
You May Also Like
How to Install Inground Pool Lights: A Complete Step-by-Step Guide
April 26, 2026 0 views
The Best Pool Vacuum for Automatic Cleaning: What to Know Before You Buy
March 10, 2026 0 views
Best Pool Light for Night Swimming
April 28, 2026 0 views