
A leaking pool skimmer can waste hundreds of gallons of water each week. It can also raise your water bill and damage the ground around your pool. Many pool owners ask how to fix pool skimmer leaking without calling a repair crew. The good news is that most skimmer leaks can be found and fixed at home. This guide explains the common causes, the tools you need, and the steps to seal the leak. It uses plain language and simple methods that work for most home pools.
Why a Leaking Skimmer Matters
The skimmer is the small box at the edge of your pool. It pulls in surface water and traps leaves and dirt. From there, water flows to the pump and filter. When the skimmer leaks, water escapes before it reaches the filter. Your pool loses water every day. You must add fresh water often. That can change your chemical balance and make cleaning harder.
A small leak can grow into a big one. Water that escapes underground can wash away soil. That can cause the deck to settle or crack. If the skimmer leak is near the wall, it can weaken the pool structure over time. Fixing the leak early saves money and protects your pool. That is why pool owners should act as soon as they notice water loss near the skimmer.
Signs That Your Pool Skimmer Is Leaking: How to Fix Pool Skimmer Leaking
Before you repair anything, make sure the skimmer is the real source. Pool water drops for many reasons. Heat, splash, and backwashing all lower the level. Use these tests to find the true leak.
The Bucket Test
Fill a bucket with pool water and set it on a pool step. Mark the water level inside the bucket and outside the pool. Wait one full day. If the pool level drops more than the bucket level, you likely have a leak.
The Food Coloring Test
Turn off the pump. Squeeze a few drops of food coloring near the skimmer mouth. Watch where the color flows. If the dye is pulled into a crack or gap in the skimmer, you have found the leak.
Water Level Clues
If the water drops and then stops at the bottom of the skimmer mouth, the leak is probably in the skimmer itself. If the water keeps dropping below the skimmer, the leak may be in the pipes or the liner. This simple check can save you from fixing the wrong part.
What to Look For: How to Choose Repair Materials
Not every leak needs the same fix. The right material depends on the kind of leak and the kind of pool you own.
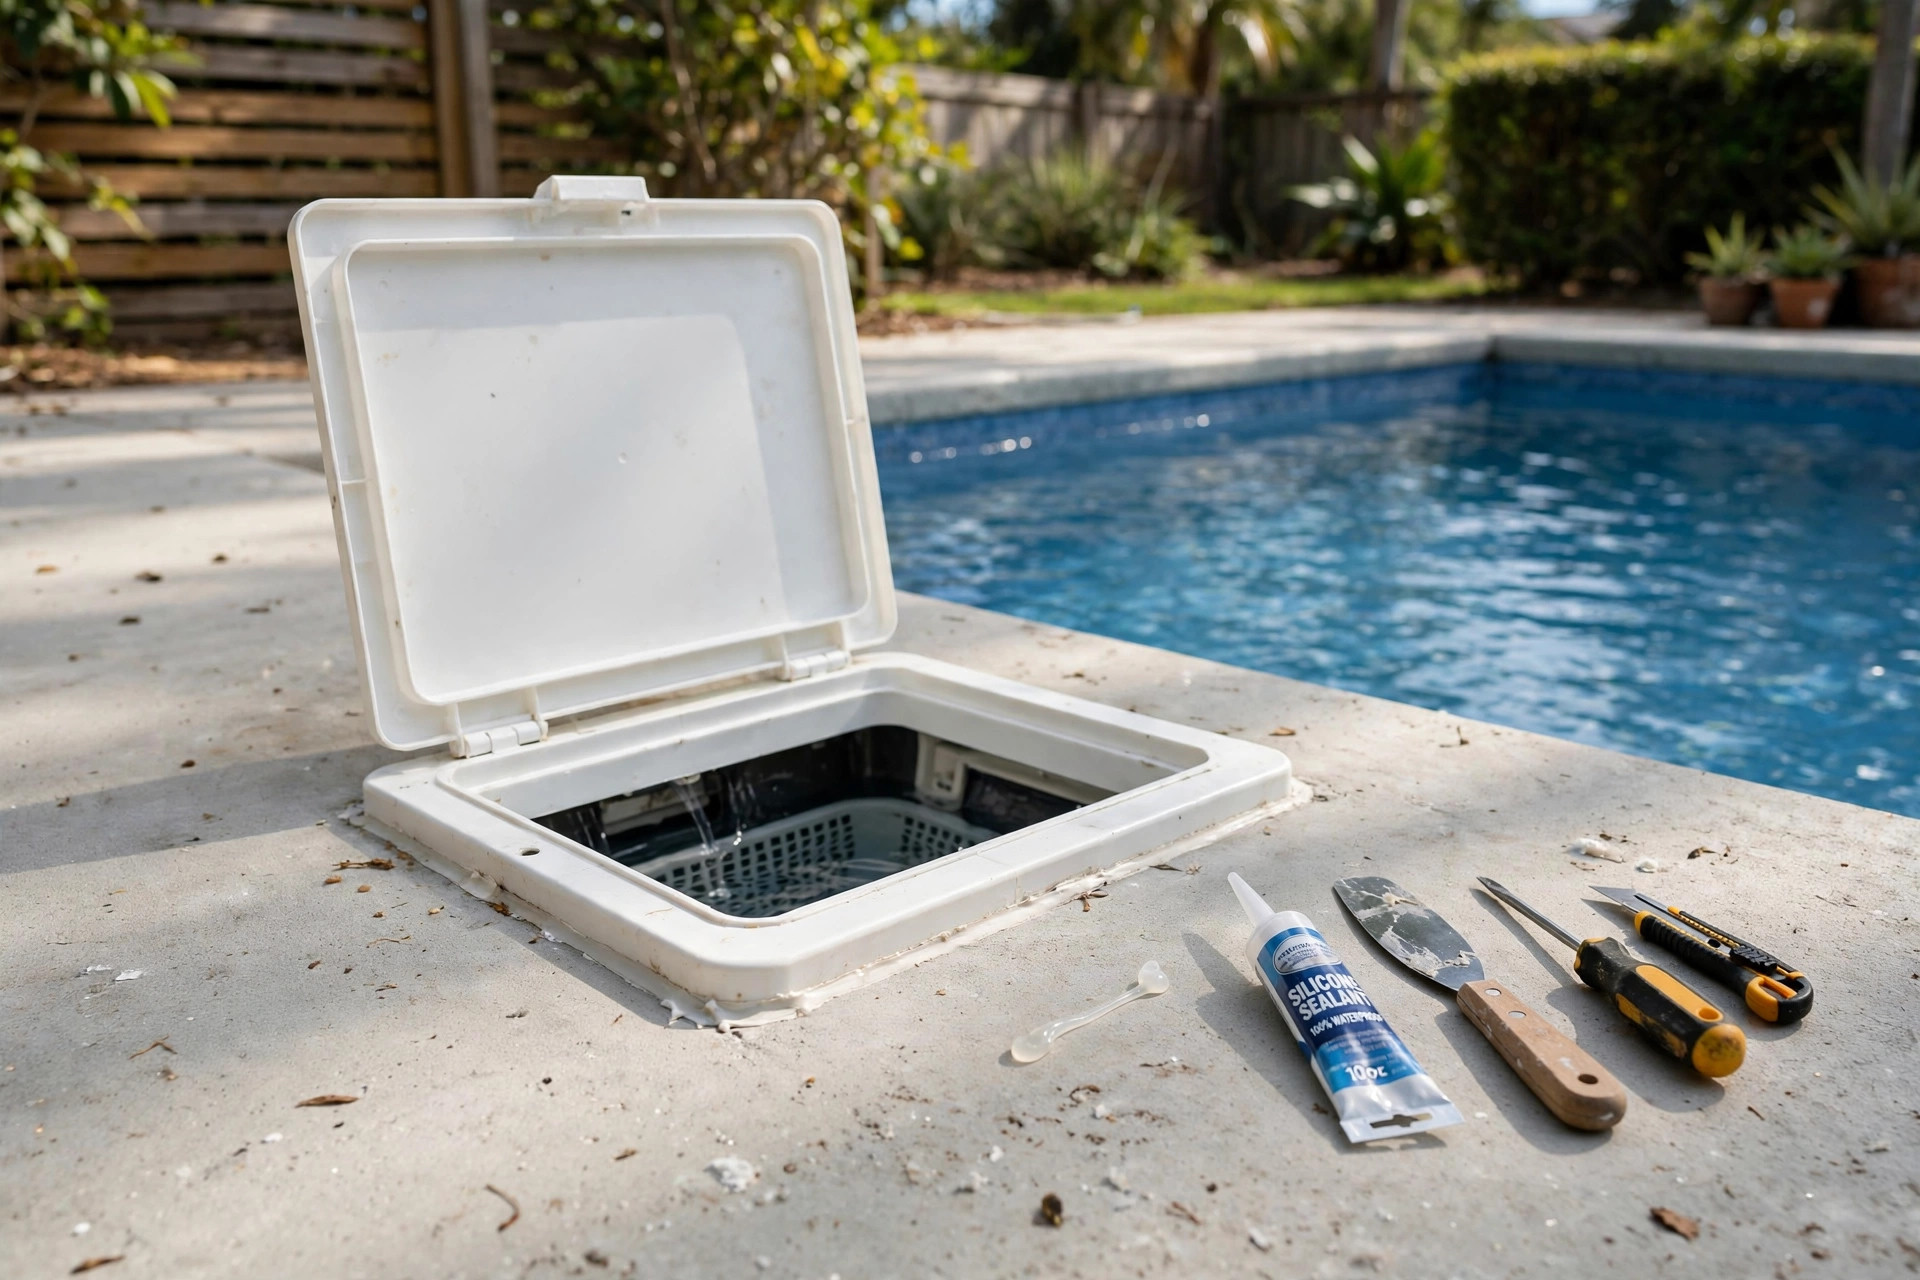
– Pool-safe silicone or polyurethane sealant. Use this for small cracks and gaps. Make sure the label says it is safe for pools. You can find these products at a home improvement store. – Two-part epoxy putty. This is best for small holes and cracks in the plastic skimmer body. It hardens under water, so you can use it without draining the pool. – Skimmer repair kit. Pool supply retailers sell kits with gaskets, screws, and faceplates for common skimmer models. – Replacement skimmer. If the skimmer body is badly cracked, a new unit may be the best choice. Replacement parts are sold for most pool types.
Avoid household caulk. It will not last under pool chemicals and sunlight. Always use products made for pool use. If you need a new skimmer, read our guide to the best pool skimmer for inground pools before you buy.
Types of Pool Skimmer Leaks
Skimmer leaks come in a few common forms. Each one has its own fix.
Crack in the Skimmer Body
The plastic box can crack from age, cold weather, or shifting ground. Water seeps through the crack and into the soil. Small cracks can be sealed with epoxy. Large cracks may call for a new skimmer.
Leak at the Skimmer Throat
The throat is the opening between the pool and the skimmer box. The seal here can wear out. Water leaks through the gap and behind the wall. This is common in vinyl liner pools. A fresh bead of sealant usually fixes it.
Loose or Worn Skimmer Faceplate
The faceplate is the frame around the skimmer mouth. It is held by screws with gaskets behind it. If screws are loose or gaskets are worn, water leaks around the edges. Tightening the screws or fitting new gaskets often solves the problem.
Leaking Skimmer Pipe
Sometimes the leak is in the pipe that leaves the skimmer. The joint where the pipe meets the skimmer can crack. This kind of leak needs more work. You may need to dig around the skimmer to reach the pipe.
How to Fix Pool Skimmer Leaking: Step-by-Step
Follow these steps in order. Work slowly and let each product dry as the label says.
Step 1: Lower the water level. Turn off the pump. Drain the water to just below the skimmer mouth. This gives you dry space to work. Do not drain a vinyl liner pool too far. Check your liner type before you start. If you have a vinyl pool, you may also want to read our pool liner replacement cost estimate guide for long-term planning.
Step 2: Clean the skimmer. Remove the basket and the weir door. Brush out dirt and algae. A clean surface helps sealants stick well.
Step 3: Find the exact leak. Dry the skimmer inside and out. Look for cracks, gaps, and loose screws. Use a flashlight to see small cracks in the plastic.
Step 4: Seal small cracks. Mix the two-part epoxy putty as the label says. Press it firmly into the crack. Smooth the surface with a wet finger. Let it cure for the full time on the label.
Step 5: Reseal the throat. If the throat seal is worn, scrape out the old sealant. Clean the joint. Apply a fresh bead of pool-safe silicone. Smooth it with a damp cloth.
Step 6: Fix the faceplate. Remove the faceplate screws. Check the gaskets. Replace any that are cracked or flat. Set the faceplate back in place and tighten the screws evenly. Do not over-tighten, or you may crack the plastic.
Step 7: Refill and test. Fill the pool back to the normal level. Turn the pump on. Watch the skimmer for one full day. Mark the water level and check it again after 24 hours. If the level holds, the fix worked. If not, repeat the food coloring test to find the leak you missed.
Many pool owners find that step-by-step pool care guides help them keep track of regular checks like this one.
Cost and Price
Most do-it-yourself skimmer repairs cost very little. A tube of pool-safe sealant costs around ten to twenty dollars. Epoxy putty costs about the same. A skimmer repair kit with gaskets and screws runs twenty to forty dollars. These items are easy to find at pool supply stores and home improvement retailers.
If you must replace the whole skimmer, the part itself costs fifty to one hundred fifty dollars. A professional install can add two hundred to five hundred dollars or more. The price depends on your pool type and how much digging is needed. A simple sealant fix is almost always cheaper than waiting until the leak grows.
Care and Upkeep
Good upkeep can stop skimmer leaks before they start. Check the skimmer basket each week. Empty it before it fills. A full basket can strain the skimmer and the pump. Look at the water level often. A sudden drop is the first warning of a leak.
Keep your pool chemistry balanced. Low pH can eat away at plastic parts over time. Test the water with a good kit and adjust as needed. Your pool filter system works best when the skimmer feeds it clean, steady water.
At the start and end of the season, inspect the skimmer mouth and faceplate. Tighten loose screws. Look for small cracks in the plastic. Catching a crack when it is small keeps the repair simple. Cover the pool in winter if you close it. Ice and freeze cycles are hard on skimmer bodies.
Write down the date of each check in a small pool log. Note the water level, the chemical readings, and any cracks you see. A log helps you spot slow changes that are hard to see from day to day. It also helps a repair crew if you ever call one. A few minutes of notes each week can add years to the life of your skimmer and your pool equipment.
Safety
Water and electricity do not mix. Always turn off the pump at the breaker before you put your hands in the skimmer. Let the area dry before you use sealants that need a dry surface. Wear gloves when you mix epoxy putty. Keep children and pets away from the pool while you work.
If you must drain part of the pool, do not leave an empty vinyl pool sitting for long. The liner can shrink or tear. When in doubt, ask a pool professional for help. The Consumer Product Safety Commission also offers pool safety information that every pool owner should read. If your home has a hot tub or spa as well, remember that spas have their own care needs. Makers like Hot Spring and Bullfrog Spas publish care guides for their products.
Frequently Asked Questions
Can I fix a pool skimmer leak without draining the pool?
Yes, for small cracks. Two-part epoxy putty hardens under water. You can press it into a crack while the pool is full. For throat resealing and faceplate work, it is better to lower the water to below the skimmer.
How long does a skimmer repair last?
A good epoxy or sealant repair can last several years. The life of the repair depends on the product, the pool chemistry, and the weather. Check the repair each season. If it starts to fail, redo it before the leak grows.
What if the skimmer keeps leaking after I seal it?
The leak may be in the pipe or behind the skimmer. It may also be a second crack you did not see. Run the food coloring test again. If you still cannot find it, call a pool leak detection service. They use sound and pressure tools to find hidden leaks.
Can a leaking skimmer damage my pool?
Yes. Water that escapes into the ground can wash away soil. That can cause the deck to sink and the wall to shift. In vinyl pools, a leak at the skimmer throat can let water get behind the liner. Fixing leaks fast protects the whole pool.
Should I replace the skimmer or repair it?
Repair first if the crack is small and the skimmer body is otherwise sound. Replace the skimmer if the plastic is brittle, the crack is long, or the same spot keeps leaking. A full replacement is more work, but it solves the problem for good.
A Final Word
Knowing how to fix pool skimmer leaking is a useful skill for any pool owner. Most leaks come from small cracks, worn gaskets, or tired sealant. With basic tools and pool-safe products, you can fix these problems yourself in one afternoon. Find the leak with a simple test, clean the area, seal the crack, and check your work. Regular checks keep small problems small. For more home care ideas, The Spruce offers many plain guides on pool and home upkeep.
References
Bullfrog Spas. (n.d.). Hot tubs and spas. https://www.bullfrogspas.com Hot Spring Spas. (n.d.). Hot tubs and spas. https://www.hotspring.com Leslie’s Pool Supplies. (n.d.). Pool supplies and equipment. https://www.lesliespool.com Pool Warehouse. (n.d.). Pool equipment and supplies. https://www.poolwarehouse.com Swim University. (n.d.). Pool and hot tub care guides. https://www.swimuniversity.com The Home Depot. (n.d.). Home improvement products. https://www.homedepot.com The Spruce. (n.d.). Home and garden advice. https://www.thespruce.com U.S. Consumer Product Safety Commission. (n.d.). Product safety information. https://www.cpsc.gov
Was this guide helpful?

About Michael Thompson
The My Garden US editorial team writes practical, in-depth home and garden guides for American homeowners — tested advice, no fluff.
You May Also Like

Pool Leak Detection Service Near Me: A Homeowner’s Guide
July 7, 2026 0 views
How to Clean Pool Walls Without Draining
February 16, 2026 0 views
Best Hot Tub for Seniors Reviews: What to Know Before You Buy
March 22, 2026 0 views