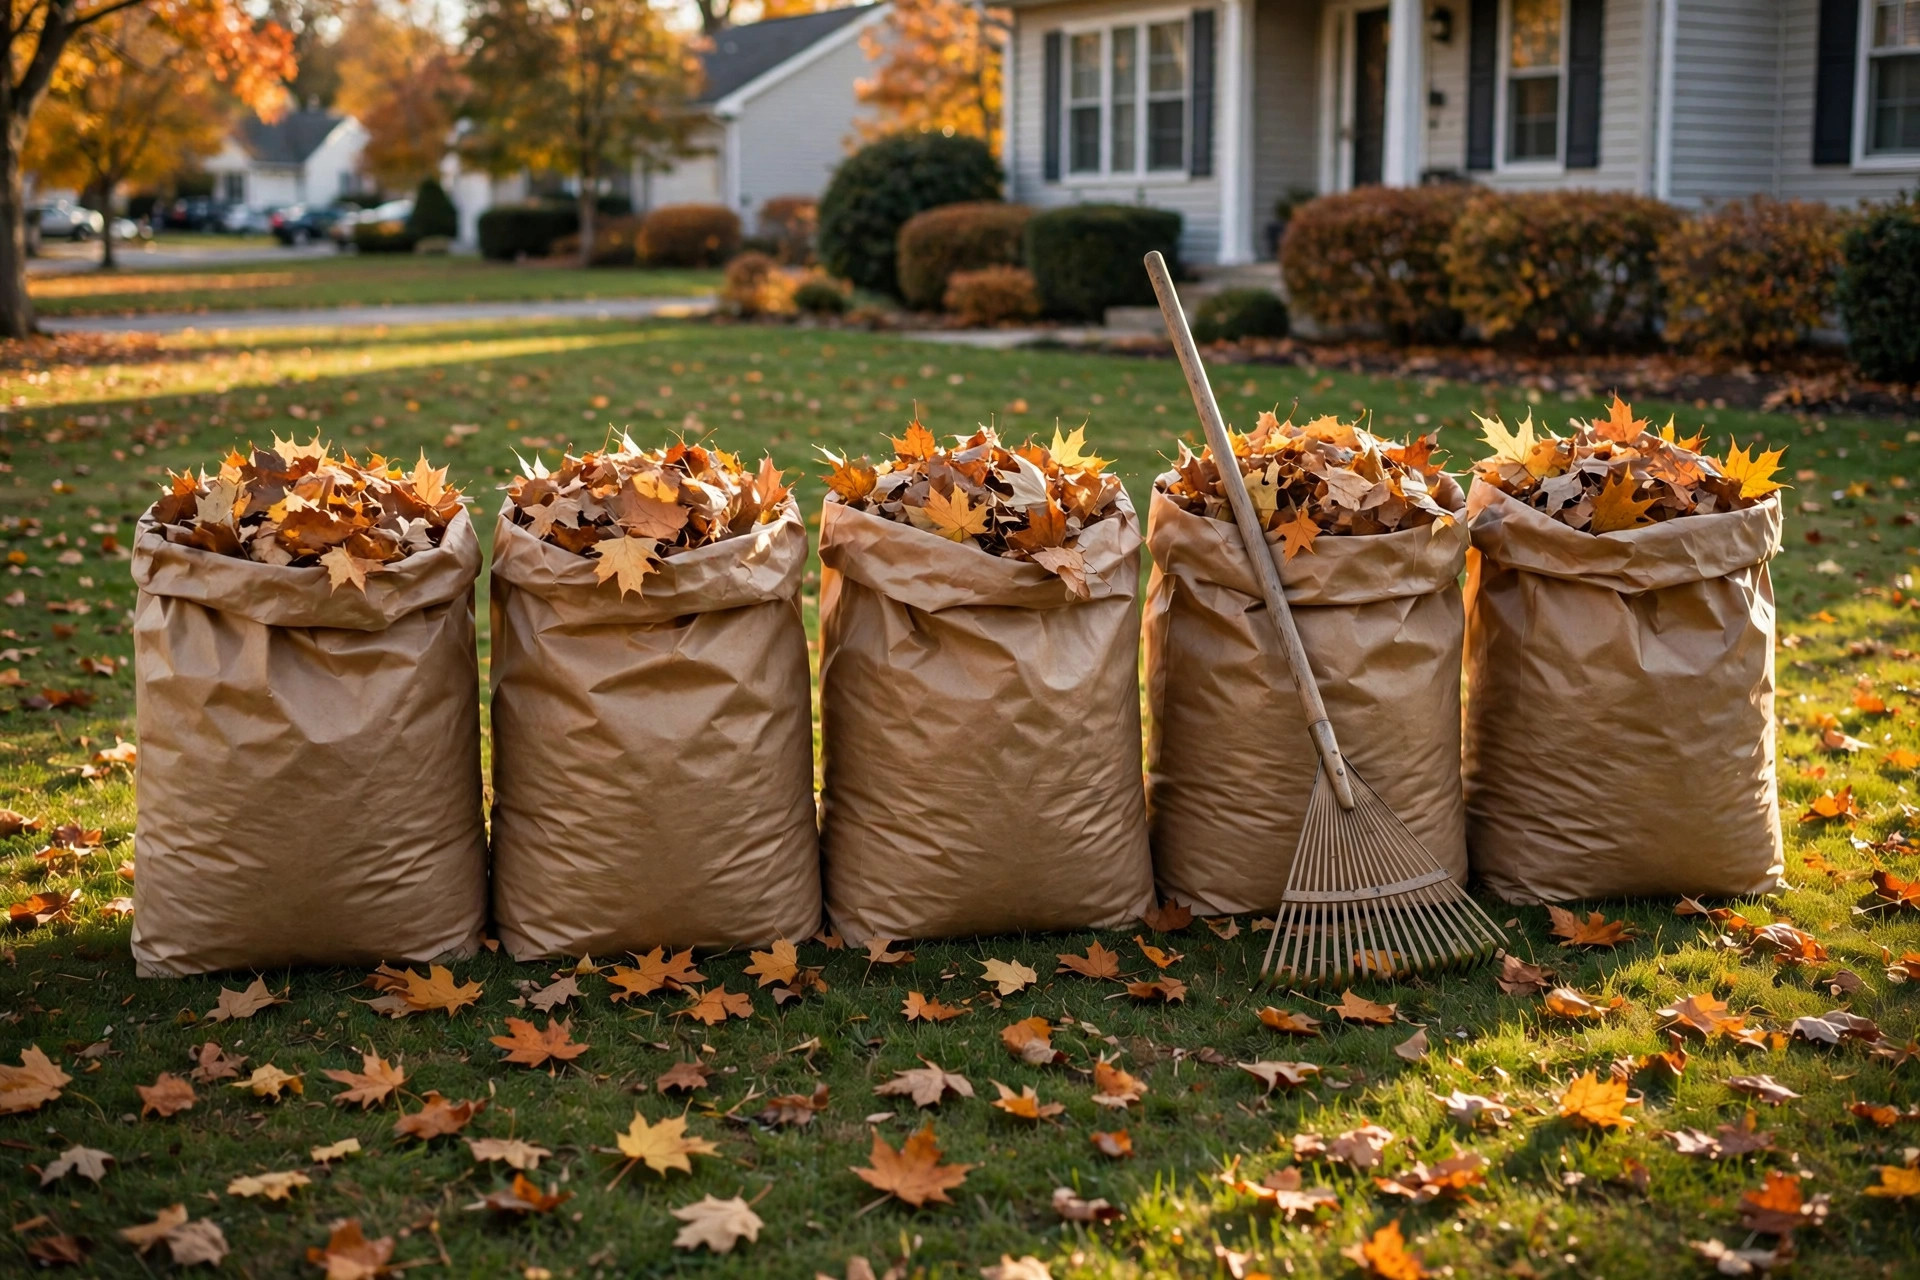

Every fall, American yards drop tons of leaves. Many homeowners rake them to the curb and forget them. That is a waste of good material. Learning how to compost leaves in bags turns that waste into free, rich soil for the garden. The method is simple. Fill bags with damp leaves, close them, wait, and let nature work. No pile is needed. No bin is needed. The bag does the job of the bin.
Why Composting Leaves in Bags Matters
Fall leaves are rich in carbon. Carbon feeds the small organisms that build soil. When leaves rot down, they form a dark, crumbly material called leaf mold. Leaf mold holds water in soil. It feeds worms. It feeds plant roots. Garden centers sell it for good money. You can make it free with leaves from your own yard.
Bag composting matters because it suits small yards. A compost heap takes space and care. A row of bags takes little room. Bags sit along a fence or behind a shed. They need no turning with a fork. They need no fence wire. For renters and town lots, this method fits well.
There is also a simple money gain. Bagging leaves for the trash costs time and sometimes fees. Some towns charge for yard waste pickup. Composting in bags saves that cost. It also cuts the need to buy mulch and soil conditioner each spring. The leaves you have today become the soil food you need next year.
What to Look for Before You Start: How to Compost Leaves in Bags
Before you learn how to compost leaves in bags, check what you have. You need dry or fresh leaves. You need bags. You need water. That is the whole list. But a few details make the work faster.
First, look at the leaf type. Oak leaves are tough and slow to rot. Maple and birch leaves rot fast. Mixed leaves work best. A mix of leaf types gives a mix of textures. The mix breaks down into better mold.
Second, look for sticks and trash. Pick out large sticks. They do not rot in a bag. Pick out plastic bits and glass. Keep the leaves clean. Small twigs are fine. Pine needles are fine in small amounts.
Third, check the weather. Fall is the best time to start. The air is cool. The leaves are fresh. But you can start in spring with old leaves too. Old leaves rot slower. Fresh fall leaves rot faster because they are softer.
Types of Bags for Leaf Composting
Not all bags work the same. Three types are common: paper lawn bags, black plastic bags, and large yard tote bags.
Paper Lawn and Leaf Bags
Paper lawn bags are the most common choice. They are cheap. They sell at most garden centers and hardware stores. They hold about 30 gallons. They tear if they get too wet, so you must keep them in a sheltered spot. The good news is that the paper itself rots. By spring, the bag may fall apart. You can put the whole bag into the garden bed. The paper adds carbon too. Retailers like Home Depot and Lowe’s sell these bags in packs each fall.
Black Plastic Garbage Bags
Black plastic bags are the fastest option. The black color absorbs sun heat. Heat speeds rot. The plastic holds moisture in. Leaves in black bags can turn to mold in six months. The bag does not rot, so you must open it and empty the finished mold. Use heavy bags, not thin ones. Thin bags rip and spill. This method is sometimes called composting fall leaves in paper bags’ cousin: leaf mold in black garbage bags. Both work. Black bags just work faster.
Reusable Yard Tote Bags
Some gardeners use big canvas or mesh tote bags. These bags last for years. They let air flow in. Air flow helps, but it also dries the leaves out. You must check moisture more often with totes. Totes are a good choice if you plan to do this every year. Sites like Gardener’s Supply sell sturdy garden tools and storage items for this kind of work.
How to Compost Leaves in Bags: Step by Step
Here is the full method, from rake to finished mold.
Step 1: Gather the Leaves
Rake leaves off the lawn and paths. A wide leaf rake moves them fast. Tool makers such as Fiskars make rakes in many sizes. Choose one that fits your strength. Rake leaves into a pile near your bag station. Remove big sticks and trash from the pile.
Step 2: Shred the Leaves
Shredding is the single best trick for speed. Whole leaves mat down into flat layers. Water cannot pass through. Air cannot pass through. Shredded leaves leave gaps. Gaps let air and water in. Rot moves twice as fast, sometimes three times as fast.
You can shred leaves with a lawn mower. Spread leaves thin on the lawn. Run the mower over them with the bag attached. Empty the mower bag into your leaf bags. A string trimmer in a trash can also shreds leaves. Or buy a small leaf shredder. Do not skip this step if you want fast results.
Step 3: Fill the Bags
Set a bag upright. Fill it with shredded leaves. Do not pack them tight. Loose leaves rot better. Fill the bag about three quarters full. Wet leaves are heavy, so leave room. If you use paper bags, keep them upright and dry on the outside.
Step 4: Add Water
Leaves need moisture to rot. Dry leaves just sit. Pour water into each bag until the leaves feel like a wrung-out sponge. Damp, not dripping. Add about a gallon per bag, then check. In dry weather, check bags every few weeks. Lift a handful of leaves. If they feel dry, add more water.
Step 5: Add a Nitrogen Boost (Optional)
Leaves are high in carbon and low in nitrogen. The tiny organisms that rot leaves need nitrogen. You can speed things up with a nitrogen source. A handful of fresh grass clippings per bag works. So does a cup of cheap lawn fertilizer. Coffee grounds work too. This step is optional. Leaves will rot without it. But a boost can cut months off the wait.
Step 6: Close and Store the Bags
Tie plastic bags shut. Fold paper bags closed. Poke a few small holes in plastic bags for air. Store the bags in a shady spot. Sun heat helps black bags. Paper bags do better in shade, since sun dries them out. A spot behind the shed or along a north fence works well. Keep bags off bare soil if you want to protect the lawn beneath them. A row of pallets makes a fine base.
Step 7: Wait and Check
Now comes patience. Check bags once a month. Squeeze a handful of leaves. They should feel damp. If they are dry, add water. If they smell sour, they are too wet. Open the bag for a day to let air in. In most cases, you will find finished leaf mold in six to twelve months. Oak-heavy bags may take a full year. Shredded maple may finish in four months.
Cost and Price
This method is nearly free. Here is a rough cost list.
Paper lawn bags cost about one to two dollars each in fall packs. A yard with one big tree may need ten to twenty bags. Total: ten to forty dollars. Black garbage bags cost less per bag, often under a dollar each in bulk. Reusable totes cost fifteen to thirty dollars each but last for years.
Water is the only other cost, and it is small. If you already own a rake and a mower, the tool cost is zero. A leaf shredder costs one hundred to two hundred dollars, but it is not required. Compared with buying bagged leaf mold at five to ten dollars a bag, home-made mold pays for itself fast.
For price checks on bags and garden tools, review sites and stores help. Consumer Reports tests yard tools and bags for strength. How-to sites like Bob Vila and The Family Handyman run yearly fall yard guides with cost tips.
Care and Upkeep of Bag Compost
Bag compost needs little care, but a little care helps. Walk past your bags once a month. Look for tears. Paper bags tear when soaked. Slide a torn bag into a fresh bag. Do not let leaves spill onto the lawn for weeks. Spilled wet leaves kill grass.
Watch the weight. Wet bags are heavy. Do not stack paper bags more than two high. The bottom bag will crush and split. Plastic bags can stack three high in cool shade.
In winter, leave the bags alone. Cold slows rot. Freezing stops it. That is normal. Rot picks up again in spring. Do not add water to frozen bags. Wait for a thaw.
In spring, check progress. Pull a handful from the middle of a bag. Finished leaf mold is dark brown. It crumbles in your hand. You may still see a few leaf veins. That is fine. Unfinished material looks like flat leaf pieces. Give it more time.
Use the finished mold right away or store it. Empty black bags into a pile or bin. The mold keeps well in a dry pile. Paper bags can go straight into the garden. Tear the bag open and spread the mold around plants. The paper scraps can go under the mold as mulch.
Where to Use Finished Leaf Mold
Leaf mold is one of the best soil foods. Mix it into garden beds at planting time. Spread a two-inch layer around trees and shrubs as mulch. Add it to potting mix for containers. Seed sellers like Burpee note that rich organic matter helps young plants grow strong roots.
Leaf mold also improves clay soil. Clay holds water too long. Leaf mold opens it up. Roots grow deeper. In sandy soil, leaf mold holds water that would drain away. It is useful in almost every American garden soil. Gardening guides at The Spruce cover leaf mold uses in depth.
If you also keep a compost bin for kitchen scraps, you can mix leaf mold with food-scrap compost. The mix makes a balanced garden fertilizer. And if you want a larger setup later, read how to build a compost bin cheap to scale up from bags to bins.
Safety
Leaf composting is safe, but a few rules matter. Wear gloves when you handle old leaves. Old leaf piles can hold mold spores. A dust mask helps if you shred dry leaves. Shredding throws up dust.
Keep bags away from house walls if they stay wet. Wet bags against siding can stain wood and invite insects. Give bags six inches of air space from walls.
Do not compost leaves from trees sprayed with weed killer. Some weed killers pass through compost and can harm garden plants. If a lawn service sprays your yard, ask what they use. When in doubt, keep those leaves out of the garden.
Do not burn leaves in the bags. Paper bags burn fast. Plastic bags give off toxic smoke. Many towns ban leaf burning. Composting is the safer path.
FAQ
How long does it take to compost leaves in bags?
Six to twelve months for most bags. Shredded leaves in black plastic bags can finish in four to six months in warm weather. Whole oak leaves in paper bags may take a full year. Shredding and moisture are the two big speed factors.
Should I use paper or plastic bags?
Both work. Paper bags are cheap and rot with the leaves, so cleanup is easy. Plastic black bags hold heat and moisture, so they finish faster. Pick paper for ease. Pick black plastic for speed.
Do I need to turn the leaves in the bags?
No. That is the main charm of this method. Turning speeds a heap, but bags work without it. The small air holes and loose fill give enough air. Just check moisture once a month.
Can I compost leaves in bags over winter?
Yes. Cold slows the rot but does not ruin it. Bags left out all winter pick up again in spring. Many gardeners fill bags in November and find finished mold by the next fall. Start in fall for the best timing.
What if my bag smells bad?
A sour or rotten smell means too much water and too little air. Open the bag for a day. Fluff the leaves with a stick. Let the bag drain. The smell should fade in a few days. Next time, add less water and poke more air holes.
Can I add kitchen scraps to leaf bags?
It is better not to. Food scraps in bags draw rats and flies. Bags are hard to turn, so food rots unevenly. Keep food scraps in a proper bin. Leaves alone make clean, safe mold. Plants grown in grow bags also do well with a leaf mold mix, and that mold should stay food-free too.
A Final Word
Learning how to compost leaves in bags is one of the simplest garden skills. Rake, shred, fill, water, wait. The bags sit quiet all winter. By next fall, they hold black gold for your soil. No bin to build. No pile to turn. Just leaves, bags, and time. Start this fall, and your garden will thank you next spring.
References
Bob Vila. (n.d.). Home improvement advice. https://www.bobvila.com Burpee. (n.d.). Seeds, plants, and gardening supplies. https://www.burpee.com Consumer Reports. (n.d.). Product reviews and ratings. https://www.consumerreports.org Family Handyman. (n.d.). DIY home repair and maintenance. https://www.familyhandyman.com Fiskars. (n.d.). Garden and cutting tools. https://www.fiskars.com Gardener’s Supply Company. (n.d.). Gardening tools and supplies. https://www.gardeners.com Lowe’s. (n.d.). Home improvement products. https://www.lowes.com The Home Depot. (n.d.). Home improvement products. https://www.homedepot.com The Spruce. (n.d.). Home and garden advice. https://www.thespruce.com
Was this guide helpful?

About Sarah Mitchell
The My Garden US editorial team writes practical, in-depth home and garden guides for American homeowners — tested advice, no fluff.
You May Also Like
Raised Garden Bed Soil Mix Recipe
January 4, 2026 0 views
The Best Garden Rake for Thatch Removal: A Plain Guide for Healthy Lawns
June 19, 2026 0 views
Cold Hardy Plants for Zone Five: A Guide to a Strong Garden
April 28, 2026 0 views