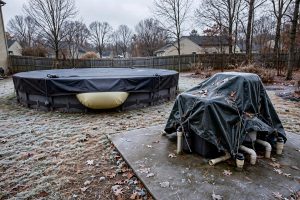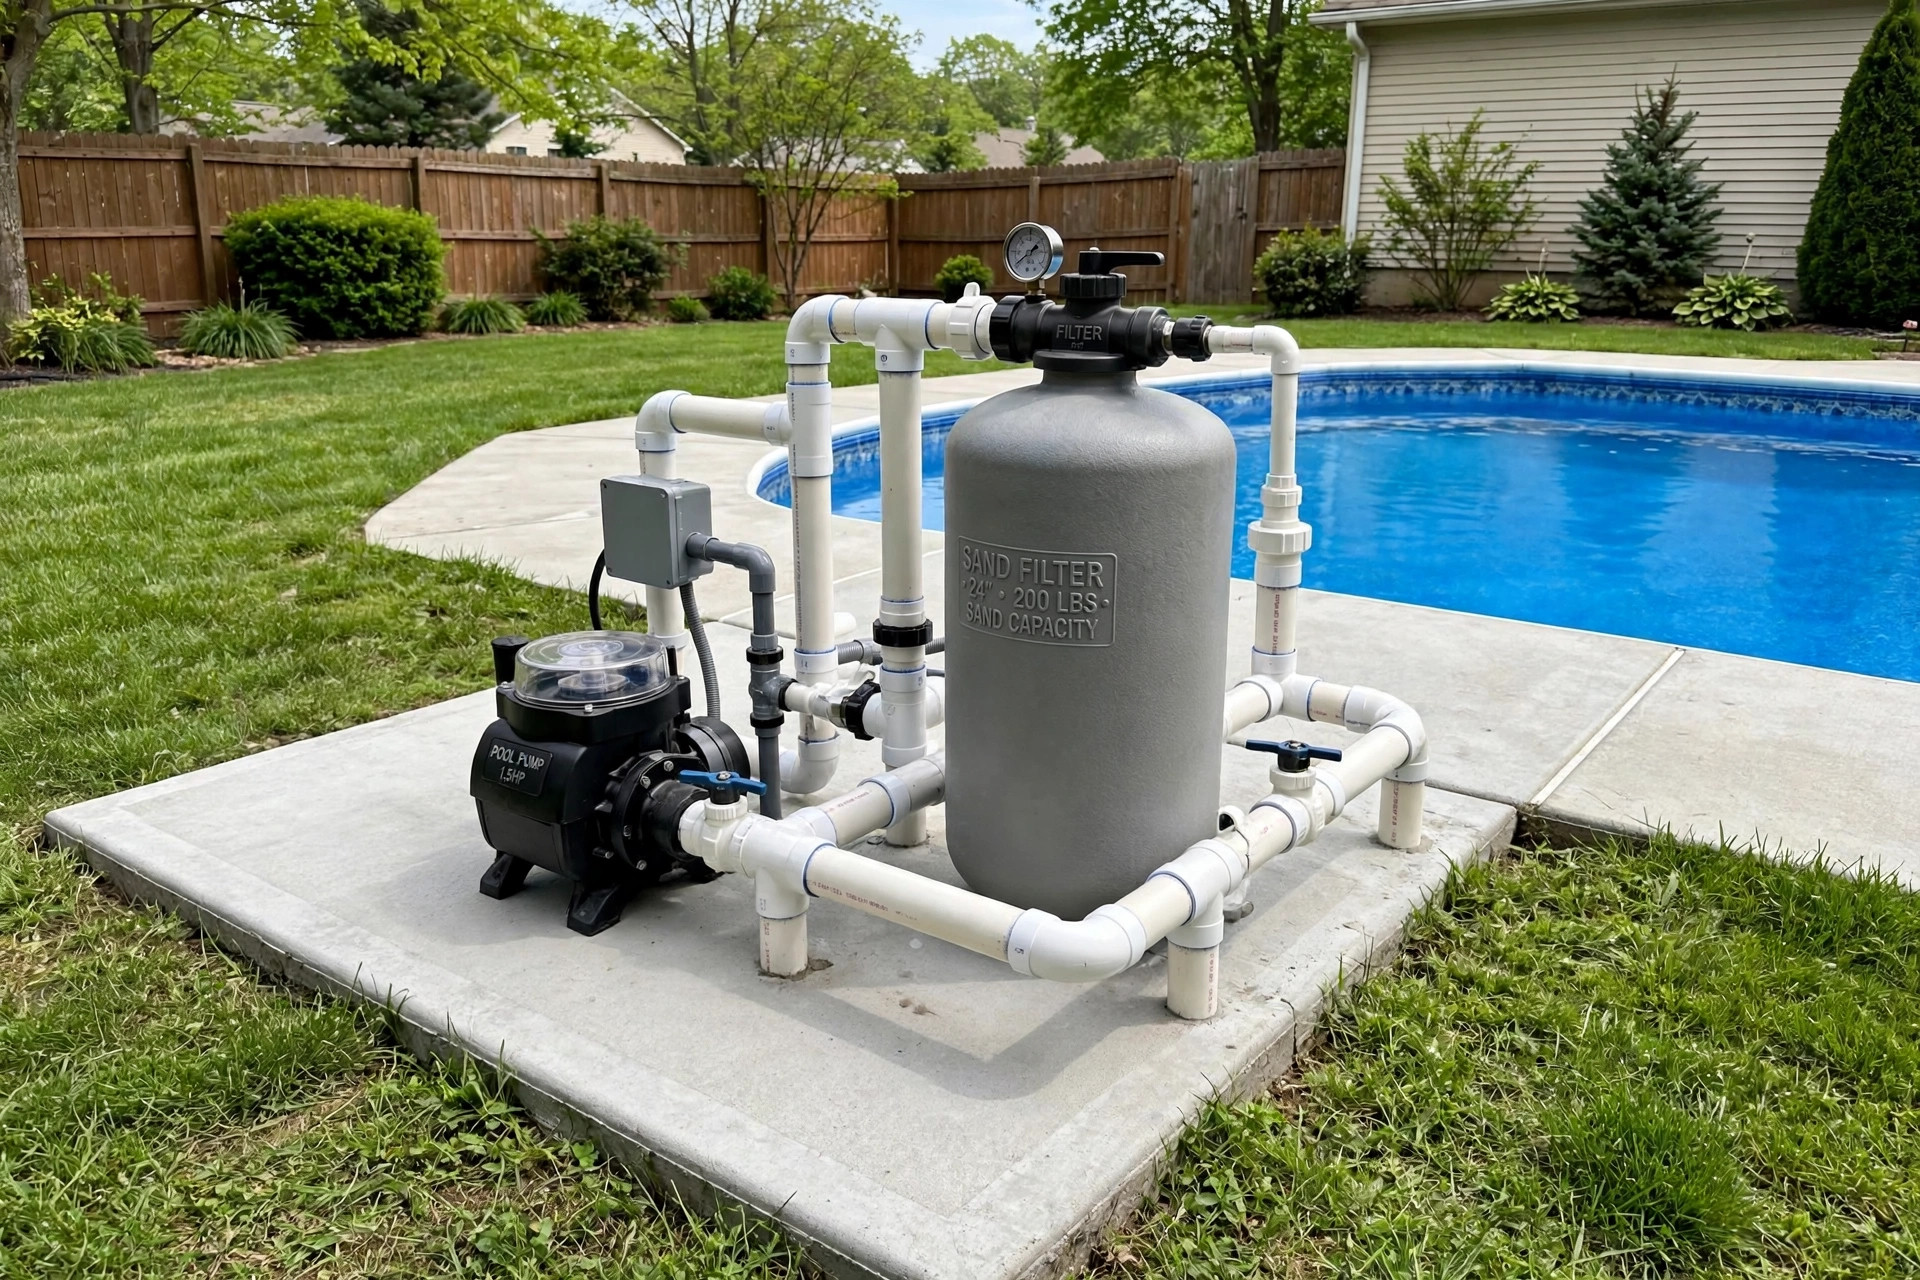

Every pool pump, filter, and heater needs a solid place to stand. The same rules apply to hot tubs and spas, whose pumps and heaters rest on pads just like pool gear. Without a proper base, the gear sinks into soft soil, shifts with frost, and shakes loose from its pipes. This pool equipment pad installation guide walks you through the whole job from the ground up. You will learn how to pick the right spot, prepare the base, and set a pad that keeps your equipment level, dry, and safe for years.
A well built pad does more than hold weight. It keeps pipes lined up so they do not leak at the joints. It drains water away from the motor so rust cannot take hold. If you are planning a new pool pump installation for inground pools or just replacing old gear, a good pad is the first step that pays off for a decade or more.
Why a Proper Pad Matters
Pool equipment is heavy and full of water. A pump and sand filter together can weigh several hundred pounds once filled. A heater adds more. When that load sits on bare ground, the soil settles in an uneven way. One corner drops an inch. Pipes that were straight now bend. Joints crack. Water leaks out. The pump works harder. The motor wears out sooner.
A pad stops all of that. It spreads the weight over a wide, flat area. It holds the equipment at one height so pipes stay in line. It lifts the gear off wet soil, which slows rust and rot. It also keeps grass and weeds from growing up around the motor, where they trap damp air and block airflow. Spa makers such as Bullfrog Spas give the same advice for their hot tub equipment bases. Owners who take time with this part of the job see fewer repairs and longer equipment life. The cost of the pad is small next to the price of a burned out pump.
What to Look for Before You Start: Pool Equipment Pad Installation Guide
Local Rules and Setbacks
Some towns and counties have rules about where pool equipment may sit. There may be a minimum distance from the property line, the house, or a neighbor’s window. Some places ask for a barrier or screen around the equipment. Others require a licensed electrician for the power hookup. Call your local building office before you dig. If a permit is needed, get it in hand first.
Picking the Right Spot
Choose a spot that is close to the pool but out of the way. Shorter pipe runs mean the pump works less hard. Look for ground that is naturally high and dry, not a low spot where rain collects. Keep the pad at least a few feet from the pool edge so splashed water drains away from the gear. Leave room to walk around the equipment. You will need space to open the pump lid, backwash the filter, and service the heater.
Power and Plumbing Access
The pad must sit near the electrical panel feed that serves the pool. The wiring run should be short and direct. Plan where the pipes will enter from the pool. They should come up through or beside the pad in a straight line. Avoid spots where pipes must bend sharply or run under a walkway. If you are unsure about the electrical side, plan to have an electrician handle that part while you build the pad yourself.
Types of Equipment Pads
Concrete Slab Pads
A poured concrete slab is the most common choice. It is strong, lasts for decades, and does not move once it cures. A four inch thick slab with wire mesh or rebar handles any home pool load. Concrete resists sun, rain, and pool chemicals. The main trade off is effort. You must frame it, mix or order the concrete, pour, level, and let it cure for several days. Once poured, it cannot be moved. Home improvement guides such as This Old House walk through the pouring steps in detail. If you think the equipment layout may change in the future, weigh that point.
Precast Concrete Pads
Precast pads come ready made from a supply yard. They are thick concrete blocks sized for pool gear, often four by four feet. Pool supply stores such as Pool Warehouse stock them alongside pumps and filters. You dig a shallow bed of gravel, level it, and set the block down. There is no mixing, no framing, and no cure time. They are heavy to move by hand, so you may need a helper or a dolly. Precast pads are a fine middle path between a full pour and a plastic pad.
Plastic Equipment Pads
Molded plastic pads are light and easy to set. They often have a waffle or ribbed bottom that grips gravel and spreads weight. They cost less than concrete and never crack from frost. Home centers such as The Home Depot and Lowe’s carry them in the pool aisle. The trade off is stiffness. On very soft soil, a plastic pad can flex under a heavy filter. On firm, well drained ground they work well. Many pool owners pick plastic pads for above ground pools and small filter systems. If you are shopping for a best above ground pool for families, a plastic pad is often all you need.
Gravel and Paver Bases
Some owners set equipment on packed gravel topped with concrete pavers. This method drains well and is easy to fix if one paver settles. The risk is that pavers can shift over time, and the surface is never as flat as a slab. For light gear on a budget it can work. For a full pump, filter, and heater set, a solid pad is the safer pick.
How to Choose the Right Size
Lay out your equipment on paper before you buy or build. Measure the pump, the filter, and the heater. Add at least twelve inches of clear space around each unit for air and service. Add space for the valve manifold and any salt system or chlorinator. Most home setups need a pad of about four by six feet. Larger pools with big sand filters and heaters may need five by eight feet. When in doubt, go bigger. Extra pad space costs little and is never wasted.
Step by Step Installation
Step 1: Mark the Site
Use stakes and string to mark the pad outline on the ground. Check that the outline is square by measuring the diagonals. They should match. Confirm the spot meets your setback rules. Look overhead for branches and power lines that could drop debris or water onto the gear.
Step 2: Dig and Grade
Dig out the marked area to a depth of six to eight inches. Remove roots, rocks, and soft topsoil. Grade the bottom so it is level side to side and slopes very slightly away from the house, if it is near one. Pack the soil with a hand tamper. A firm base is the secret to a pad that never moves.
Step 3: Add the Gravel Base
Pour four inches of crushed stone or gravel into the hole. Rake it level. Tamp it down hard in two inch layers. Pool care sites such as Swim University note that good drainage under the pad is one of the best ways to protect the pump motor. Gravel drains water away from the bottom of the pad and stops the soil from pumping up in wet weather. Check the level with a long board and a spirit level. Fix low spots now, because you cannot fix them after the pad goes down.
Step 4: Set the Pad
For a plastic or precast pad, bed it directly on the gravel and check it level in all directions. Shift gravel under the low corners until it sits true. For a poured slab, build wood forms around the edge, lay a sheet of plastic or weed fabric over the gravel, and set wire mesh on small blocks so it sits in the middle of the pour. Pour the concrete, screed it flat with a straight board, and finish the top with a trowel. Slope the surface very slightly so rain runs off.
Step 5: Cure and Settle
Let a poured slab cure at least three to five days before you load it. Keep it damp in hot weather so it does not dry too fast. For precast and plastic pads, you can set equipment the same day. Walk around the pad and confirm it feels solid. A rocking pad means the gravel under it needs more tamping.
Step 6: Mount the Equipment
Set the pump, filter, and heater in their planned spots. Bolt or strap tall units to the pad if your area sees high wind or if local rules ask for it. Connect the pipes, keeping runs as straight as you can. Use unions at each unit so you can take the gear apart for repair without cutting pipe.
Step 7: Wire and Test
Have a licensed electrician make the final wire hookup, including the bond wire that ties the metal parts of the pool system together. This wire is a key safety part of any pool system. Once power is on, run the pump and check every joint for drips. Watch the pressure gauge. Listen for odd noise that could mean the pump is not level. Fix small issues now while the tools are still out.
Cost and Price Guide
The price of a pool equipment pad varies with type and size. A molded plastic pad for a small system can cost as little as a hundred dollars or less. A precast concrete pad in the four by four foot range often runs a few hundred dollars. A poured slab built yourself may cost a few hundred in concrete, gravel, and lumber for a standard size. Retailers like Leslie’s list current pad prices so you can budget before you dig. Hiring a contractor to pour the slab can push the job past a thousand dollars in some markets, depending on access and soil work.
Look at the full picture when you compare. A cheap base that shifts and cracks pipes will cost you far more in repairs. A sound pad protects a pump, filter, and heater that together cost thousands. Spend the money once, spend it well.
Care and Upkeep
A pad needs little care, but a small check each season keeps it sound. In the spring, look for cracks in the concrete and for any corner that has settled. Wash the pad with a hose to clear leaves, dirt, and chemical dust. Seasonal checklists from The Spruce are a handy reminder of these small tasks. Keep the area clear of weeds so air can move around the motor. Check that drain paths still slope away from the gear. If you use a plastic pad, lift one edge now and then to make sure the gravel under it is still level. Small fixes in the spring beat big repairs in July. Pair the pad check with our guide to opening your pool for the summer season so the whole system is ready before the first swim.
Safety Notes
Pool equipment mixes water and power, so safety rules matter. Keep the pad and the gear at least the required distance from the pool water, per your local code. Never let extension cords lie across the pad or trail through puddles. Make sure the pump motor is bonded and grounded by a qualified electrician. Keep the equipment area clear of stored chemicals, fuel cans, and clutter. Lock any gate to the equipment area if small children visit the pool. The U.S. Consumer Product Safety Commission publishes pool safety guidance that every pool owner should read (cpsc.gov).
If your gear sits in a low spot, add a drain or a dry well beside the pad so storm water cannot pool around the motor. Standing water and motors are a bad mix. After heavy rain, walk out and look. If the pad is under water, you need better drainage.
Frequently Asked Questions
How thick should a pool equipment pad be?
Four inches of concrete is the common standard for home pool equipment. Large sand filters or commercial gear may call for six inches. Plastic pads are made to their own spec, and you should follow what the maker prints on the box.
Can I put a pool pump on dirt or grass?
You can, but you should not. Dirt settles, grass holds moisture, and weeds block airflow around the motor. A pad costs little and prevents most of the common equipment failures. Even a simple gravel bed is better than bare soil.
Does the pad need to be level?
Yes. The pad must be level in all directions. A tilted pump can trap air, wear bearings unevenly, and leak at pipe joints. Check with a spirit level before and after you set the gear.
How far should the pad be from the pool?
Keep the pad a few feet from the pool edge so splash water drains away from the gear, and follow any setback rules from your local building office.
Do I need a permit for an equipment pad?
Rules vary by town. Many places need a permit for the electrical hookup even if the pad itself needs none. Call the building office before you start. It is a quick call and it protects you from fines and rework.
Should I bolt the equipment to the pad?
Bolting or strapping tall or top heavy units is wise in windy areas and is required by code in some regions. It keeps the gear from tipping or walking during a storm. Check your local rules and the maker instructions.
Final Word
A pool equipment pad is not a glamorous part of pool ownership. Nobody swims on it. Nobody takes a photo of it. But it is the quiet base that keeps the whole system running. Pick a dry spot. Build a level base. Give the gear room to breathe and room for you to work. That is exactly what a good foundation should do.
References
Bullfrog Spas. (n.d.). Hot tubs and spas. https://www.bullfrogspas.com Hot Spring Spas. (n.d.). Hot tubs and spas. https://www.hotspring.com Leslie’s Pool Supplies. (n.d.). Pool supplies and equipment. https://www.lesliespool.com Lowe’s. (n.d.). Home improvement products. https://www.lowes.com Pool Warehouse. (n.d.). Pool equipment and supplies. https://www.poolwarehouse.com Swim University. (n.d.). Pool and hot tub care guides. https://www.swimuniversity.com The Home Depot. (n.d.). Home improvement products. https://www.homedepot.com The Spruce. (n.d.). Home and garden advice. https://www.thespruce.com This Old House. (n.d.). Home renovation guidance. https://www.thisoldhouse.com U.S. Consumer Product Safety Commission. (n.d.). Product safety information. https://www.cpsc.gov
Was this guide helpful?

About Emily Rodriguez
The My Garden US editorial team writes practical, in-depth home and garden guides for American homeowners — tested advice, no fluff.
You May Also Like
Inground Pool Heater Installation Cost: What You Will Pay
March 14, 2026 0 views
How to Patch Pool Liner Underwater: A Simple Guide for Pool Owners
February 3, 2026 0 views
Best Pool for Backyard Fun Ideas: A Guide to Picking the Right Pool
October 4, 2026 0 views