---
Table of Contents
Table of Contents
- Patch Inflatable Spa Leak: Slow Leak or Something Else
- What You Will Need
- Step 1: Find the Leak
- Step 2: Prepare the Surface
- Step 3: Apply the Patch
- Step 4: Test Your Work
- Patching Underwater Leaks
- When a Patch Will Not Do
- Preventing the Next Leak
- Water Leaks vs Air Leaks
- Frequently Asked Questions
- The Bottom Line
- References
Your inflatable spa was firm last week. Now the walls feel soft, and you are topping up the air every couple of days. Nobody dragged it across the patio. Nothing dramatic happened. This is the classic slow leak: a pinhole or tiny seam gap that lets air escape bit by bit. If you want to patch inflatable spa leak, start with the basics below.
A slow leak does not mean your spa is done. Most small punctures in inflatable hot tubs can be patched at home with a basic vinyl repair kit. The job takes under an hour of hands-on time plus curing time. This guide shows you how to find the leak, prepare the surface, and apply a patch that actually holds, so your spa gets back to firm and stays that way.
Patch Inflatable Spa Leak: Slow Leak or Something Else
When it comes to patch inflatable spa leak, getting the details right makes all the difference.
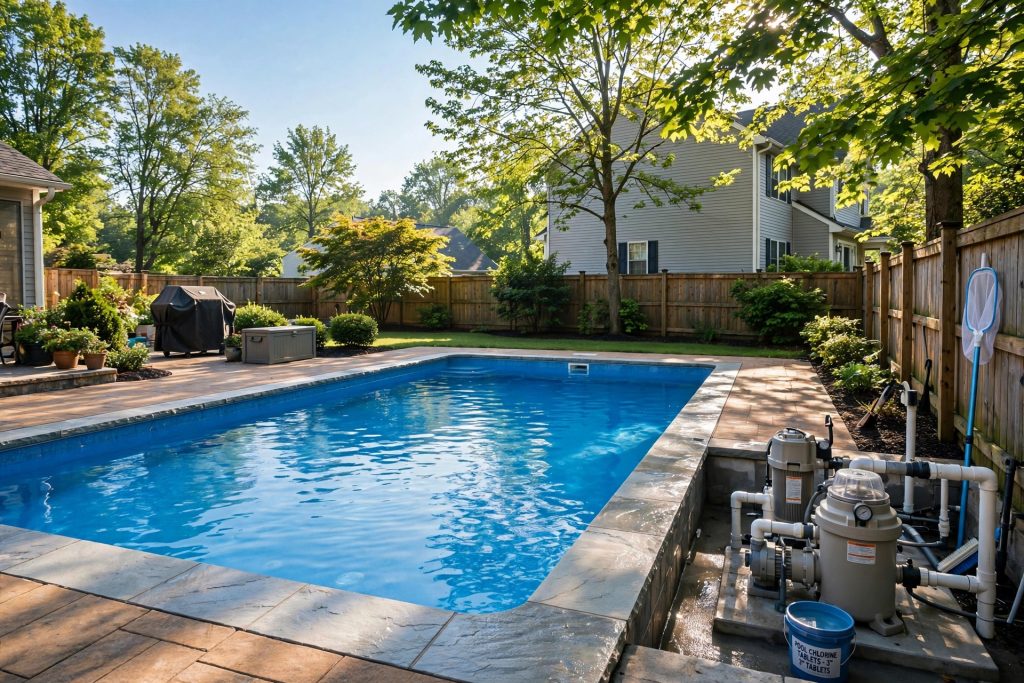
Many homeowners find that patch inflatable spa leak is easier than they expected once they know the basics.
Before you start hunting for holes, make sure air loss is really the problem. Inflatable spas lose a little firmness for normal reasons.
Temperature swings. Air contracts when it cools. A spa that feels firm on a warm afternoon can feel soft on a cool morning. If the firmness comes back when the day warms up, that is physics, not a leak.
Normal seepage. Vinyl and PVC walls let a tiny amount of air pass through over time. Topping up every few weeks is normal.
Valve issues. The inflation valve may not be seated fully, or its seal may be dirty. Check the valve cap and the valve base before assuming the wall is punctured.
A real slow leak has a pattern: the tub needs air every few days, the soft spot stays soft regardless of temperature, and you may hear a faint hiss if you press your ear to the wall in a quiet moment. If that sounds familiar, read on.
What You Will Need
Many homeowners find that patch inflatable spa leak is easier than they expected once they know the basics.
The key to patch inflatable spa leak is choosing the right approach for your space and budget.
A vinyl repair kit made for inflatable spas is the core of this job. Look for one that lists your brand or says it works on PVC and vinyl inflatables. The Lay-Z-Spa PVC repair kit is one example of a kit with patches, glue, and an applicator sized for spa walls.
Your kit list:
- Vinyl repair kit with PVC patches and vinyl cement
- Isopropyl alcohol or spirit for cleaning
- Clean cloths
- Scissors
- Marker or masking tape for marking the leak
- A weight such as a sandbag or heavy book
- Soapy water in a spray bottle (for finding the leak)
- Fine sandpaper (only for roughing smooth PVC if the kit calls for it)
Work in a dry, shaded spot. Glue cures best out of direct sun, and wind blows dust onto wet adhesive.
Step 1: Find the Leak
The key to patch inflatable spa leak is choosing the right approach for your space and budget.
With a little planning, patch inflatable spa leak can fit even a busy schedule.
You cannot patch what you cannot find. Slow leaks hide well, so be methodical.
Listen first. Inflate the spa fully. In a quiet moment, press your ear against the wall and move slowly around the tub. A pinhole often gives a faint hiss.
Use soapy water. Mix dish soap with water in a spray bottle. Spray it generously over the inflated wall, working in sections: outer wall, inner wall, floor seam, and around fittings. Watch for bubbles that grow or stream. Bubbles mark the leak. The Lazy Spa repair overview describes this soapy-water method as the standard way to locate air leaks.
Check the usual suspects. Slow leaks favor certain spots: seams where panels join, the floor-to-wall joint, areas near the inflation valve, and any place the tub rubbed against a rough surface. Check under the tub too, since grit trapped beneath causes abrasion punctures.
Mark every leak. When you find bubbles, dry the spot and mark it with a marker or a small piece of masking tape. Slow leaks sometimes come in pairs, so finish the full circle before you start patching.
Step 2: Prepare the Surface
With a little planning, patch inflatable spa leak can fit even a busy schedule.
Before you start, it helps to understand how patch inflatable spa leak works in real homes.
A patch only holds as well as the surface beneath it. Do not rush this part.
Deflate the tub fully. Press the air out and flatten the wall around the leak. A flat, relaxed surface bonds far better than a stretched one.
Clean the area. Wipe the repair zone with isopropyl alcohol or spirit on a clean cloth. This removes body oils, sunscreen residue, and grime that stop glue from bonding. Let it dry completely.
Trim and round the patch. Cut a patch at least 2 centimeters larger than the hole on all sides. Round the corners. Square corners peel up over time; round ones stay down. The vinyl repair glue kit instructions stress cutting the patch larger than the damage and holding it firmly in place.
Dry-fit the patch. Lay the patch over the leak and check the fit. It should sit flat with no wrinkles or lifted edges.
Step 3: Apply the Patch
Before you start, it helps to understand how patch inflatable spa leak works in real homes.
A good plan for patch inflatable spa leak saves time, money, and frustration.
Spread the adhesive. Apply a thin, even layer of vinyl cement to both the patch and the repair area, following your kit's directions. Some kits use self-adhesive patches that need no glue. Others need glue on both surfaces with a short tack time before joining.
Press the patch down. Center it over the leak and press firmly from the middle outward. Work out every air bubble. Trapped air under a patch becomes a weak spot that fails later. The inflatable repair walkthrough recommends using a smooth tool, like a screwdriver handle, to roll bubbles out toward the edges.
Hold pressure. Keep firm pressure on the patch for several minutes. Then set a weight on it, such as a sandbag, so it stays pressed while the glue cures.
Let it cure fully. This is where patience pays. Most kits need at least several hours; a full day is safer. Do not inflate the tub early. A patch that looks stuck but has not cured will blow out under pressure and leave a bigger mess than the original pinhole.
Step 4: Test Your Work
A good plan for patch inflatable spa leak saves time, money, and frustration.
For most people, patch inflatable spa leak comes down to a few smart choices.
After the full cure time, inflate the spa to its normal firmness. Spray soapy water over the patch and watch for bubbles. If none appear, the repair holds.
Let the tub sit inflated for a day before you fill it with water. Check firmness again. If it holds air for 24 hours, fill it, heat it, and enjoy. If the tub still loses air, repeat the soapy-water hunt. You may have missed a second pinhole.
Do not rush when you patch inflatable spa leak.
Patching Underwater Leaks
For most people, patch inflatable spa leak comes down to a few smart choices.
If you are new to patch inflatable spa leak, start with the simplest option and build from there.
Some kits are rated for underwater use, which matters when the leak sits below the waterline and you would rather not drain the tub. Underwater patches use a different adhesive that cures in contact with water. The technique is the same: clean the area as best you can, press the patch on firmly, and hold it longer than you think you need to.
That said, a dry repair is stronger than a wet one whenever you have the choice. If the leak is above the waterline, or if you can lower the water level to expose it, do the repair dry. Save underwater patches for leaks you truly cannot reach any other way.
When a Patch Will Not Do
If you are new to patch inflatable spa leak, start with the simplest option and build from there.
When it comes to patch inflatable spa leak, getting the details right makes all the difference.
Patching handles pinholes, small punctures, and minor seam gaps. It does not fix everything.
Long tears. A rip longer than a few inches, especially along a seam, flexes too much for a simple patch. A professional repair shop can heat-weld large tears, but the cost may approach the price of a new tub.
Valve failures. If the inflation valve itself leaks and cleaning the seal does not help, you need a replacement valve, not a patch.
Delamination. If the wall layers are separating over a wide area, the material is failing. Patching one spot will not stop the next one from going.
Leaks at the pump or heater connections. Water leaks around fittings and internal plumbing are a different problem from air leaks in the wall. The Lazy Spa repair guide advises calling a professional for pump, heater, and control unit issues, since electrical parts carry real safety risk.
If your tub needs new walls but the pump unit still runs fine, compare the cost of a replacement tub body against a whole new spa. Sometimes the smart move is to keep the pump and replace the inflatable part.
Preventing the Next Leak
When it comes to patch inflatable spa leak, getting the details right makes all the difference.
Many homeowners find that patch inflatable spa leak is easier than they expected once they know the basics.
A few habits stretch the life of an inflatable spa well beyond the average.
Use a ground mat. Always set the tub on its ground cloth or a foam mat. Grit and small stones under the tub cause slow abrasion punctures that take weeks to show up.
Keep sharp objects away. That sounds obvious, but the usual culprits are jewelry, pet claws, and patio furniture dragged too close. The guide to protecting inflatable hot tubs from dogs has practical tips for pet owners, including keeping a vinyl repair kit on hand for accidents.
Do not overinflate. Firm is good; drum-tight is not. Overinflation stresses seams, especially on hot days when the air inside expands.
Rotate the tub now and then. Deflate it once a season, clean underneath, and set it back down turned slightly. This evens out sun exposure and wear.
Store it right. If you pack the tub away for a cold season, clean and dry it fully, fold it loosely, and store it indoors where it will not freeze or get chewed by rodents. A tub crushed into a tight ball develops crease cracks at the folds.
Keep a repair kit in the cabinet. Patches, glue, and alcohol cost little and save a soak. Check the glue's condition once a year, since old adhesive loses its grip.
Water Leaks vs Air Leaks
Many homeowners find that patch inflatable spa leak is easier than they expected once they know the basics.
This guide covers air leaks in the inflatable wall. Water leaks are different. If water pools under the tub while the walls stay firm, check the inlet and outlet connections, the drain valve, and the ground beneath for a plumbing drip. Tighten fittings by hand first. Water leaking from inside the pump unit needs professional attention. Do not open electrical housings yourself.
Frequently Asked Questions
The key to patch inflatable spa leak is choosing the right approach for your space and budget.
How long does a patch last? A well-applied patch on a pinhole can last for years. The bond is often stronger than the surrounding vinyl. Poor surface prep is the main reason patches fail early.
Can I use duct tape as a temporary fix? It will hold air for a short time, but duct tape adhesive softens in heat and leaves a gummy residue that makes a proper patch harder later. Use it only to get through a weekend, then do the real repair.
Do I need to drain the tub to patch an air leak? No. Air leaks are in the wall above or around the water. You only need the tub deflated and the repair area dry. Drain only if the leak is below the waterline and your kit is not rated for underwater use.
Will the patch be visible? Clear PVC patches blend in well on most tubs. You will see it if you look closely, but it will not stand out across the yard.
The Bottom Line
With a little planning, patch inflatable spa leak can fit even a busy schedule.
A slow inflatable spa leak is annoying, not fatal. Find it with soapy water, prep the surface like you mean it, apply a rounded patch with firm pressure, and give the glue its full cure time. Most owners fix their first leak in an afternoon and never fear the second one. Keep a kit handy, protect the tub from sharp edges and grit, and your spa will stay firm for many seasons.
If the pump unit ever gives you trouble beyond the wall, the above-ground pool liner replacement cost guide is a useful reference for weighing repair against replacement, and families choosing their next setup can browse above-ground pools for families. For the pure relaxation side of ownership, the best hot tubs for stress relief roundup is worth a look, and a tired lid can be priced through the hot tub cover replacement cost guide. A little care goes a long way when you patch inflatable spa leak.
References
- Answers.com. (n.d.). How should I treat the water in a hot tub? https://www.answers.com/Q/How_should_I_treat_the_water_in_a_hot_tub
- DIY.com. (n.d.). Stormsure inflatable hot tub repair kit. https://www.diy.com/departments/stormsure-inflatable-hot-tub-repair-kit/5060219662999_BQ.prd
- Hotels Abruzzo. (n.d.). Can you repair a Lazy Spa? https://hotelsabruzzo.com/can-you-repair-a-lazy-spa
- Hot Tub Ireland. (n.d.). Vinyl repair glue kit: Heavy-duty pool and inflatable repair. https://www.hottubireland.ie/product-page/vinyl-repair-glue-kit-bestway
- Hot Tub Ireland. (n.d.). Vinyl repair kit Lay Z Spa. https://www.hottubireland.ie/product-page/vinyl-repair-kit-lay-z-spa
- Inflatable Repairs. (n.d.). How to repair PVC inflatable hot tubs, spas, pools and paddle boards. https://www.inflatable-repairs.co.uk/pages/how-to-repair-pvc-inflatable-your-hot-tub-spa-pool-paddle-board-sup-kayak-canoe-or-air-bed
- Outside Modern. (n.d.). Lazy Spa puncture repair kit: 5 step fix for your inflatable hot tub. https://www.outsidemodern.com/lazy-spa-puncture-repair-kit/
- Simple Inflatables. (n.d.). How to protect your inflatable hot tub from dogs. https://simpleinflatables.com/how-to-protect-your-inflatable-hot-tub-from-dogs-in-year/
Was this guide helpful?

About My Garden US
The My Garden US editorial team writes practical, in-depth home and garden guides for American homeowners — tested advice, no fluff.
You May Also Like

Salt Water vs Chlorine Pool Pros Cons: A Plain Guide for Homeowners
September 16, 2026 5 views
The Best Hot Tub Gazebo for Privacy: A Quiet Corner in Your Own Yard
March 11, 2026 3 views
Salt Water Pool Filter Cleaning Guide
July 17, 2026 3 views