---
Table of Contents
Table of Contents
- Fix Paint Drips on Interior Doors: Why Drips Form on Doors
- Catch It While It Is Wet
- Fixing a Dry Drip: The Sanding Method
- What About a Razor Blade?
- Dealing With Runs on Door Panels
- Sanding Between Coats Prevents the Next Drip
- Choosing the Right Sandpaper
- Touch-Up Tips for an Invisible Repair
- When to Start Over
- References
You painted the door, stepped back, and there they are. Small raised beads of paint along the edge. A run that slid down a panel and dried into a ridge. Drips happen to everyone. Doors are the worst spot for them because the paint goes on thick and gravity pulls it down before it sets. The steps below show how to fix paint drips on interior doors in plain language.
The good news is that a drip is one of the easiest paint flaws to fix. You do not need to repaint the whole door. With a little sanding and a careful touch-up, the repair can disappear completely. This guide shows you how to fix paint drips on interior doors the right way, from the moment you spot them to the final smooth coat.
Fix Paint Drips on Interior Doors: Why Drips Form on Doors
When it comes to fix paint drips on interior doors, getting the details right makes all the difference.
Many homeowners find that fix paint drips on interior doors is easier than they expected once they know the basics.
A drip is just too much paint in one spot. It comes from an overloaded brush or roller, from paint that is too thin, or from working too slowly on a vertical surface. Doors collect drips in certain places: the bottom edges of panels, the corners where stiles meet rails, and along the bottom rail where paint runs off the edge.
Temperature and humidity play a part too. Paint that dries too slowly stays wet long enough to slide. Paint that dries too fast skins over while the layer under it is still moving, which traps the run. A door painted in a cool, damp room is more likely to drip than one painted in warm, dry air with good ventilation.
Knowing the cause helps you avoid the next one. Load the brush lightly. Keep coats thin. Multiple thin coats beat one thick layer every time, and each layer dries evenly for a smoother finish. Work top to bottom so you catch runs before they set. But when a drip does form, the fix below will handle it.
Catch It While It Is Wet
Many homeowners find that fix paint drips on interior doors is easier than they expected once they know the basics.
The key to fix paint drips on interior doors is choosing the right approach for your space and budget.
The best time to fix a drip is the minute you see it. Wet paint is easy to move.
Take the tip of your brush, with very little paint on it, and lightly feather over the drip. Feathering out a wet drip with the brush tip is the fastest fix there is. Use long, gentle strokes in the direction the paint wants to flow. The goal is to spread the extra paint into a thin, even film. Do not scrub or press hard. One or two soft passes are enough.
Check your work from the side. Tilt your head so the light rakes across the door. A simple rubber band around the can helps keep excess paint off your brush in the first place, which prevents most drips before they start. Walk the length of the door and look along it before you move on to the next coat.
If the paint is tacky but not dry, stop. Touching half-set paint tears the film and makes a bigger repair. Let it dry fully and fix it the dry way instead.
Fixing a Dry Drip: The Sanding Method
The key to fix paint drips on interior doors is choosing the right approach for your space and budget.
With a little planning, fix paint drips on interior doors can fit even a busy schedule.
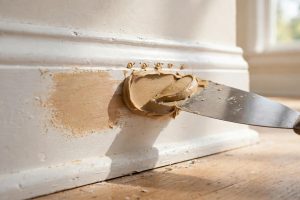
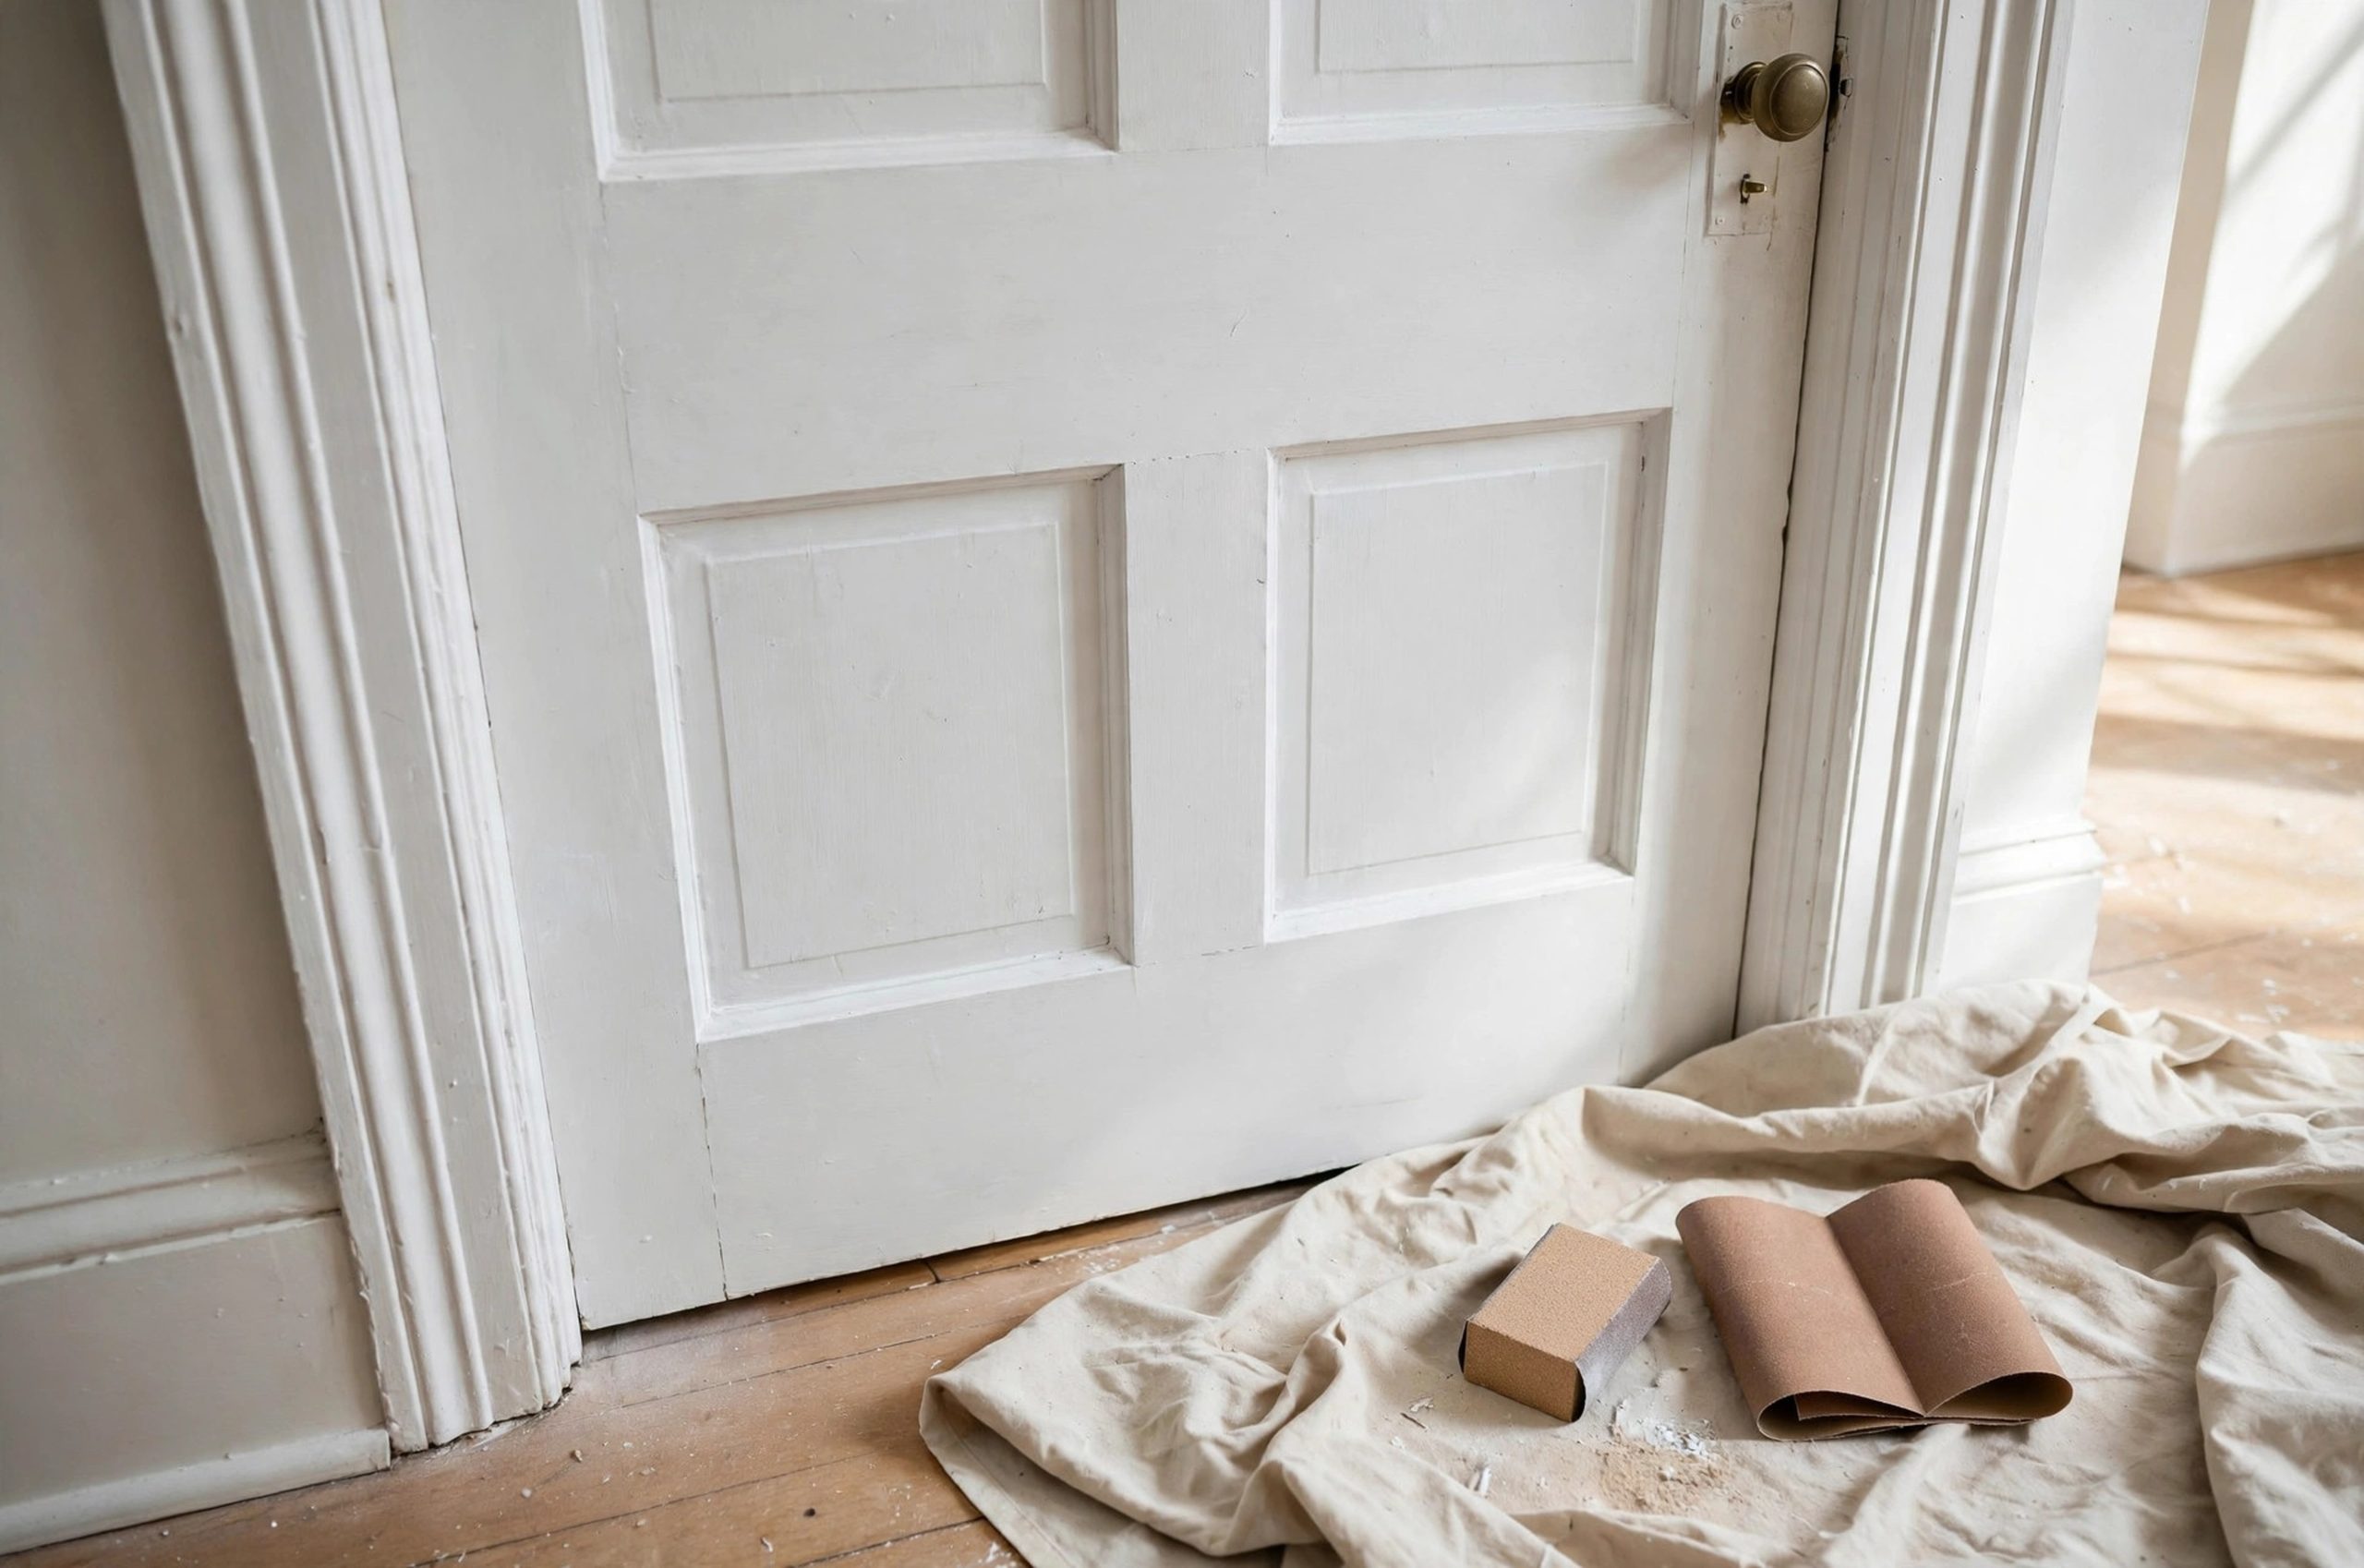
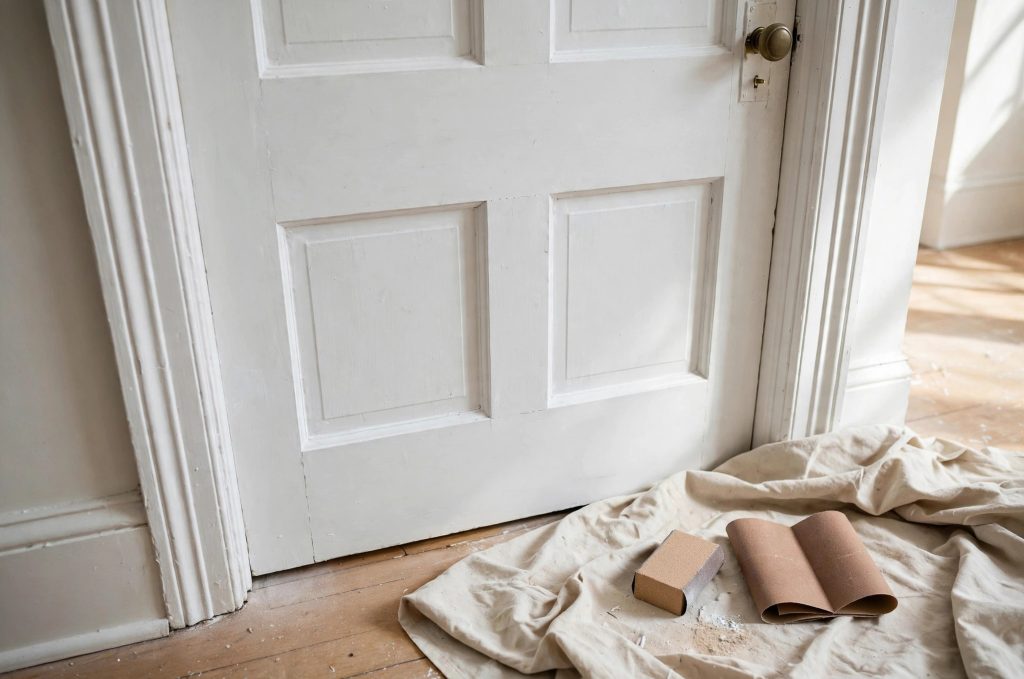
Once a drip is dry, sanding is the way to level it. You will need fine sandpaper, a sanding block or sponge, a damp cloth, and a small brush for touch-up.
Step 1: Let it cure. Fresh paint feels dry to the touch long before it is hard. Give the drip at least a full day. Sanding soft paint gums up the sandpaper and leaves a bigger mark.
Step 2: Start with a medium grit. Wrap 120-grit sandpaper around a small block. Starting with 120-grit to level the drip, then moving to 220-grit for the final smoothing, is the sequence that works. Sand the drip itself with light pressure, working in the direction of the drip. The block keeps you from rounding the surrounding paint. Check often with your fingertip. You are done when the raised bead feels level with the paint around it.
Step 3: Feather the edges. Switch to 220-grit paper and sand a wider area around the repair. This blends the sanded spot into the surrounding finish so the touch-up does not show a hard edge. Sand just enough to dull the sheen. You are not trying to remove paint, only to smooth it.
Step 4: Clean the dust. Wipe the area with a damp cloth and let it dry. Dust trapped under the touch-up coat shows through as bumps.
Step 5: Touch up with a brush. Apply a thin coat of the same paint with a small, soft brush. Feather the edges of the touch-up into the surrounding paint. One thin coat is usually enough. If the spot still shows, let it dry and add a second thin coat.
What About a Razor Blade?
Some painters shave tall drips with a single-edge razor blade before sanding. It works, but it is risky on a door. The blade can dig into the paint around the drip and leave a gouge that is harder to fix than the drip was. If you try it, hold the blade almost flat against the surface and shave with almost no pressure. For most people, sanding alone is safer and just as effective.
Dealing With Runs on Door Panels
With a little planning, fix paint drips on interior doors can fit even a busy schedule.
Before you start, it helps to understand how fix paint drips on interior doors works in real homes.
Paneled doors are drip magnets. Paint collects where the panel meets the frame, and it runs down the flat panel below. The fix is the same, but prevention is worth extra effort here.
When you paint a paneled door, do the panels first, then the rails and stiles. Brush the inside corners of each panel and pull the excess paint away from the corners before it can run. Work one panel at a time and finish it before moving on. A common mistake is to brush the whole door quickly and plan to even it out later. By the time you come back, the paint has started to set and the runs are locked in.
If you are painting both sides of a door, paint one side, let it dry fully, then flip it. Laying the door flat on sawhorses for painting nearly ends drip problems, because the paint cannot run on a horizontal surface. Flat sanding and painting gives the most even coats with the least risk of drips, though it takes more time to remove and rehang the door.
Sanding Between Coats Prevents the Next Drip
Before you start, it helps to understand how fix paint drips on interior doors works in real homes.
A good plan for fix paint drips on interior doors saves time, money, and frustration.
A light sanding between coats does two jobs. It knocks down any small drips and dust nibs from the last coat, and it gives the next coat a surface to grip. Sanding between coats is standard practice on doors for a smooth, sealed finish. Use 220-grit paper, sand lightly over the whole door, and wipe the dust off with a tack cloth or damp rag.
This step takes ten minutes and it is the difference between a door that looks brushed-on and a door that looks sprayed. Skip it and every flaw in the first coat prints through the second one. For more on choosing paint that suits doors, see our review of the best paint for closet doors, and for cabinet-style doors our shaker cabinet door buying guide.
Choosing the Right Sandpaper
A good plan for fix paint drips on interior doors saves time, money, and frustration.
For most people, fix paint drips on interior doors comes down to a few smart choices.
Grit numbers confuse people, but the rule is simple. Lower numbers are coarser and remove material fast. Higher numbers are finer and polish.
- 120 grit: levels the drip itself. Coarse enough to cut the raised bead without hours of work.
- 150 to 180 grit: bridges the gap between leveling and finishing.
- 220 grit: feathers the repair and scuffs the surface between coats.
Do not jump straight to very fine paper on a tall drip. You will sand for ages and polish the drip instead of removing it. And do not use coarse paper on the final pass. It leaves scratches that the touch-up coat cannot hide.
Wet sanding with very fine paper is another option for the final smoothing, especially on high-gloss doors. Dip the paper in water with a drop of dish soap and sand lightly. A full door restoration follows this same sand-and-smooth rhythm from stripping to final coat. Wipe the surface dry before you touch up.
Touch-Up Tips for an Invisible Repair
For most people, fix paint drips on interior doors comes down to a few smart choices.
If you are new to fix paint drips on interior doors, start with the simplest option and build from there.
The touch-up coat is where repairs succeed or fail. Use the same paint from the same can if you can. Even the same color from a different batch can dry a hair off, and the eye catches it in side light.
Thin the touch-up paint slightly if it has thickened in the can. Stir it well first. Apply with a soft brush and keep the coat thin. Thin, even application with proper drying time between coats is what keeps the repair invisible.
Match the sheen. A flat touch-up on a semi-gloss door will show as a dull spot. This sounds obvious, but people grab whatever brush is handy and forget to check the can. Label your leftover paint with the room and the sheen so the next repair is easy.
If the door has many drips or the finish is rough all over, it may be faster to sand the whole door lightly and roll on one fresh topcoat. A small foam roller gives a smooth, even film on flat door surfaces. One full coat hides a dozen small repairs at once. For bigger cabinet and furniture paint jobs, our guide to spray painting kitchen cabinets covers the same thin-coat thinking on a larger scale.
When to Start Over
If you are new to fix paint drips on interior doors, start with the simplest option and build from there.
Most drips are worth fixing. A full strip is rarely needed. But consider repainting the whole door if the paint is peeling, if there are dozens of runs, or if the old paint is so thick that details are filling in. In that case, sand the door well, fill any dents with wood filler made for trim, prime bare spots, and apply two thin topcoats.
A door is a high-touch surface. It deserves a finish you are proud of. A few minutes of sanding turns a flawed paint job into a clean one, and the skill carries over to every painted surface in the house. Keep this guide handy the next time you fix paint drips on interior doors.
References
When it comes to fix paint drips on interior doors, getting the details right makes all the difference.
- Equalle. (n.d.). No-sag paint prep: Sanding doors flat vs hung, pros and cons. https://equalle.com/blogs/safety-and-gear/no-sag-paint-prep-sanding-doors-flat-vs-hung-pros-cons
- Kotona. (n.d.). Restoring an old door is worth it: Here's how. https://www.kotona.com/articles/restoring-an-old-door
- Answers.com. (n.d.). How can I fix paint drips from spraying? https://www.answers.com/interactive-hobbies/How-can-i-fix-paint-drips-from-spraying
- Receiving Help Desk. (n.d.). Sanding between coats of paint on doors. https://receivinghelpdesk.com/ask/sanding-between-coats-of-paint-on-doors
- Livingetc. (n.d.). How to fix paint drips: 4 steps to rescue your walls. https://www.livingetc.com/advice/how-to-fix-paint-drips
- The Kitchn. (n.d.). How to avoid paint drips when you're painting. https://www.thekitchn.com/paint-hack-for-preventing-drips-23437022
- Inspired Painting. (n.d.). Expert tips from leading painters for a flawless finish. https://medium.com/@inspiredpaintingd/expert-tips-from-leading-painters-runaway-bay-for-a-flawless-finish-68be60faa005
- Holmes Waterproofing Services. (n.d.). Painting techniques for a smooth and even finish. http://holmeswaterproofing.co.za/painting-techniques-for-a-smooth-and-even-finish/
Many homeowners find that fix paint drips on interior doors is easier than they expected once they know the basics.
The key to fix paint drips on interior doors is choosing the right approach for your space and budget.
Was this guide helpful?

About My Garden US
The My Garden US editorial team writes practical, in-depth home and garden guides for American homeowners — tested advice, no fluff.
You May Also Like

Painting Steel Entry Door Tips USA: A Practical Guide for Homeowners
March 27, 2026 3 views
Spray Painting Kitchen Cabinets Cost Near Me: A Plain Guide to Prices and Hiring
September 26, 2026 8 views
Solid Stain vs Paint for Deck: USA Guide
September 10, 2026 6 views