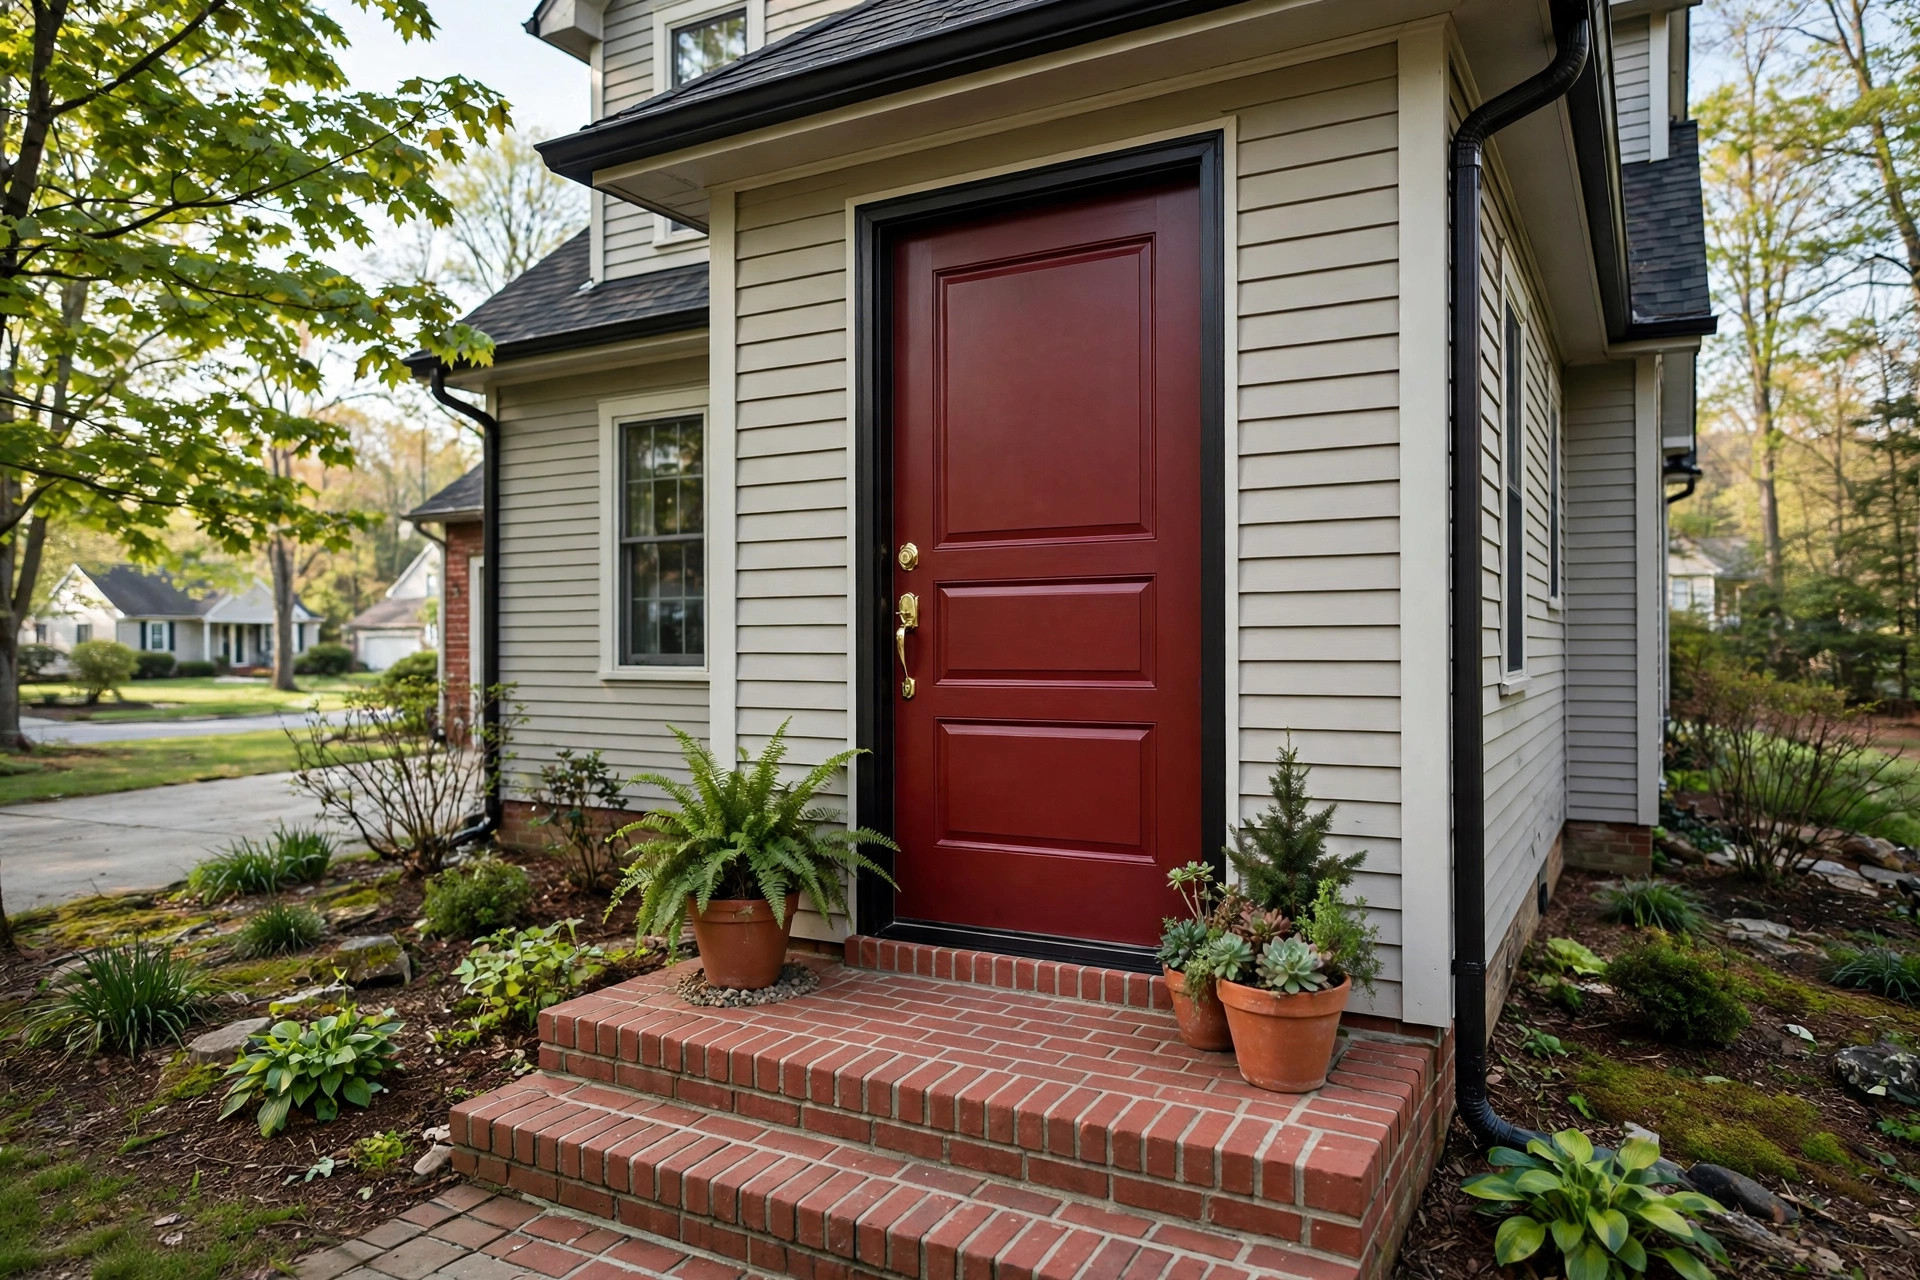

A front door is the first thing a guest sees. It is also the last thing a buyer sees on a showing sheet. Many steel entry doors in the United States arrive from the factory with a plain white or gray primer coat. That plain coat does its job for a while. Then it dulls, chalks, or peels. These painting steel entry door tips USA homeowners use most often will help you renew the door with your own hands. The work is not hard. It takes care, the right primer, and the right weather. When done well, a painted steel door looks nearly as smooth as a factory finish and lasts many years.
Why Painting a Steel Entry Door Is Worth the Work
A steel door is strong. It resists warping, splitting, and rot. But the painted skin on a steel door is its only real defense. Sun beats down on the south face. Rain runs down the panels. Winter throws road salt and ice at the lower rail. The finish must stand up to all of it.
A fresh coat of paint does more than look pretty. It seals small scratches before rust can start under them. Once rust bubbles under paint, you must sand it out and prime again. A timely coat of paint saves you from that larger repair.
Curb appeal is the other reward. Real estate writers often note that a painted front door is one of the least costly upgrades with the biggest visual payoff. A bold color like deep red, navy, or forest green can give a plain facade a clear point of interest. A quiet color like warm gray or classic black keeps the look neat and traditional.
What to Look For Before You Start: Painting Steel Entry Door Tips Usa
Check the Door’s Condition First
Walk up to the door on a clear morning. Run your hand across the panels. Look for rust spots, chips, and peeling. Small chips along the bottom edge are common. They come from shoes, carts, and lawn tools. Press on any soft spot. If the metal feels thin or gives way, rust may have eaten through. That kind of damage is past a paint job. A door that has rusted through needs replacement.
Note where the old paint is failing. Peeling around the glass insert or along panel edges tells you the primer lost its grip there. You will sand those spots down to bare metal and prime them again. Doors that were never properly primed will shed paint in sheets. A good primer bond is the heart of this whole project.
Match Paint to Sun and Weather
A door that faces full afternoon sun needs paint that can take heat. Dark colors on a sun-facing door can reach very high temperatures. The paint film expands and contracts. Cheap paint cracks under that stress. Spend a little more for a quality exterior acrylic in that case.
A door under a deep porch roof lives an easier life. It sees little direct sun and less driving rain. Almost any good exterior paint will do there. Think about your local weather as well. Humid coastal air asks for mildew-resistant formulas. Desert sun asks for strong UV resistance. Cold northern winters ask for a paint that stays flexible below freezing.
Types of Paint and Primer for Steel Doors
Not every paint sticks to metal. Steel needs a primer made for metal, and a topcoat made for the outdoors. Here are the common choices.
Metal primer. An oil-based or acrylic metal primer is the safest start on bare steel. Oil-based primer grips well and blocks rust. It smells strong and takes a day to dry. Acrylic metal primer dries in an hour and cleans up with water. Many homeowners now prefer the acrylic kind for easy cleanup. Either works if you let it dry fully.
Exterior acrylic latex paint. This is the topcoat most painters reach for on steel doors. It flexes with temperature change. It resists fading. It dries fast between coats. Buy a satin or semi-gloss sheen. Flat sheen shows handprints and dirt. High gloss looks fine but shows every brush mark. Satin is the happy middle for most doors.
Direct-to-metal paint. Some products claim no primer is needed. They can work on a door that still has a sound factory finish. On bare metal or heavy rust repair, use a real primer anyway. The primer coat is cheap insurance.
Spray paint for touch-ups. A matching spray can is handy for small nicks after the main job. Use it sparingly. Heavy spray coats run and drip. For small chips, a touch-up brush gives better control.
Tools and Supplies You Will Need
Gather everything before you start. A half-finished door looks bad, and paint dries faster than you think.
– Painter’s tape and plastic sheeting – Medium and fine sandpaper (120 and 220 grit) or sanding sponges – A wire brush for rust spots – Trisodium phosphate substitute or a good degreasing cleaner – Tack cloths or damp rags – Metal primer, one quart is plenty for one door – Exterior acrylic latex paint in satin or semi-gloss, one quart – A 4-inch foam roller for flat areas and a quality angled sash brush for panels and edges – Drop cloth for the floor or walkway – A screwdriver to remove hardware
If you want a very smooth finish, some homeowners use a paint sprayer for the whole door. A good guide to choosing the right paint sprayer for home projects can help you decide whether spraying fits your budget and your skill level.
Step by Step: How to Paint a Steel Entry Door
Plan the job for a mild day. Paint likes temperatures between 50 and 85 degrees Fahrenheit. Paint likes low humidity and no direct hot sun on the work surface. A door in shade dries evenly. A door in blazing sun dries too fast and shows lap marks.
Step 1: Remove the hardware. Take off the doorknob, lockset, deadbolt, knocker, and any kick plate. Tape the hinges if you leave the door hung. Many painters take the door off the hinges and lay it flat on sawhorses. Flat work is easier and drips run less. If you remove the door, plug the hinge mortises with rags so the jamb stays clean.
Step 2: Clean the door. Wash the whole door with a degreasing cleaner. Kitchens throw grease. Hands leave oil around the knob. Pollen and dust sit in panel grooves. Paint will not bond to grease. Rinse with clean water and let the door dry fully.
Step 3: Sand. Scuff the whole door with 120-grit sandpaper. You are not removing all the old paint. You are giving the new paint something to hold. Sand rust spots and chips down to bright metal with the wire brush first, then smooth the edges with sandpaper. Wipe the dust away with a tack cloth. Dust left on the door will show through the finish.
Step 4: Prime. Brush or roll a thin, even coat of metal primer on all bare spots. If the old finish is badly worn, prime the whole door. Let the primer dry as long as the can says. Oil-based primer may need a full day.
Step 5: Paint the first coat. Use the foam roller on flat areas and the angled brush on panels, edges, and around the glass. Work in thin coats. Thin coats dry smooth. Thick coats sag and run. Start at the top of the door and work down. Paint the edges of the door last so you can catch drips.
Step 6: Lightly sand between coats. Once the first coat is dry, lightly scuff it with 220-grit sandpaper. Wipe off the dust. This step is the secret to a smooth finish. Skip it and the second coat may look rough.
Step 7: Paint the second coat. Apply it the same way, thin and even. Two coats cover well and last long. A third coat is rarely needed on a properly primed door.
Step 8: Rehang and reattach. Wait at least 24 hours before you put the hardware back. Paint may feel dry sooner, but it stays soft for a while. Pressing a lockset into soft paint leaves a ring you will always see.
Cost and Price: Doing It Yourself or Hiring Help
Doing it yourself is cheap. A quart of primer costs about 15 to 25 dollars. A quart of quality exterior paint costs about 20 to 35 dollars. Tape, sandpaper, cleaner, and a brush and roller add another 20 to 40 dollars. Most homeowners finish one door for under 100 dollars in materials.
Hiring a painter changes the math. A professional charge to paint one entry door often runs 200 to 500 dollars in the United States. The price moves with your region, the door’s condition, and whether the painter must strip old paint or repair rust. For price context on nearby exterior work, some homeowners compare with exterior brick painting service costs before deciding.
The real cost of the DIY route is time. Plan for one full day of work plus drying time. If you count your weekend hours as free, the savings are large. If your door has heavy rust or many glass inserts, a pro may earn the fee. Tape and brush work around glass takes patience.
Care and Upkeep After Painting
A new paint job needs gentle treatment for the first month. The paint cures slowly. Avoid hanging wreaths or signs with metal hooks for at least 30 days. Do not scrub the door with strong cleaners. A soft cloth and mild soap are enough.
Wash the door once or twice a year. Spring pollen and winter grime both dull the finish. Check the bottom rail each fall for chips. A tiny chip is easy to touch up now and hard to fix once rust starts. Keep a small jar of the leftover paint with the door’s name on it. Label it with the color name and sheen. In five years you will thank yourself.
Storm doors add a wrinkle. A glass storm door can trap heat against the main door in summer. The extra heat shortens paint life. If you have a full-view storm door on the sunny side, choose a light color or a paint rated for high heat.
Safety While You Work
Painting a door is safe work, but take a few simple steps. Work with the garage door open or outside if you use oil-based primer. The fumes build up fast in a closed room. Wear a dust mask when you sand old paint. Wear it too when you sand a door painted before 1978, because the old paint may contain lead. Federal rules cover lead paint work in older homes, and you can read the basics on the government’s lead information pages before you disturb old layers.
Keep rags soaked with oil-based primer or cleaner away from heat. They can catch fire on their own if bunched up hot. Lay used rags flat outdoors to dry, then throw them away. Keep children and pets away from the wet door. Curious hands leave prints in soft paint.
Frequently Asked Questions
Do I need to remove the door to paint it? Painting the door on its hinges works fine if you tape the hardware and the weatherstrip. Removing the door and laying it flat makes the job easier and cuts down on drips. Either way, keep the door out of service for a day so the paint can harden.
Can I paint over the factory finish? Yes, if the factory finish is sound. Clean it, scuff-sand it, and paint over it with exterior acrylic. If the factory coat is peeling or chalking badly, sand the loose paint off and prime the bare spots. A full strip is rarely needed.
What sheen is best for a steel entry door? Satin is the most popular choice. It hides small flaws, resists dirt, and still has a soft glow. Semi-gloss works well too and cleans a bit easier. Skip flat sheen. It marks too easily on a door that gets touched every day.
How long does a painted steel door last? A well-prepped door with quality paint lasts five to ten years in most of the United States. Sun, salt air, and storm doors shorten that range. Shade and mild weather lengthen it. Watch for chips along the bottom rail. Touch them up fast.
Brush, roller, or sprayer? A brush and foam roller give an excellent finish with the least fuss. Spraying gives the smoothest finish of all, but it needs masking of the whole area and some practice. Most first-timers do better with a brush and roller. The same advice shows up in many porch and patio paint buying guides, which stress thin coats over fancy tools.
Can I paint a steel door in winter? You can if the door and the air stay above 50 degrees during painting and drying. A heated garage works. Cold air slows drying and weakens the bond. If you must paint in cold weather, pick a day above the limit and keep the door warm for 24 hours after.
A Final Word
Painting a steel entry door is honest, simple work. It asks for a clean surface, a real metal primer, thin coats, and patience between coats. Nothing in the job is beyond a careful beginner. The payoff is a door that greets you with color instead of wear, and a home that looks kept. Pick a dry mild day, gather your supplies, and give it a full weekend. The door will pay you back every time you come home.
For more background, see Benjamin Moore, The Home Depot, and Lowe’s. For more background, see This Old House, Bob Vila, and The Spruce. Buying guides are also published by HGTV and Sherwin-Williams.
References
Benjamin Moore. (n.d.). Paints and stains. https://www.benjaminmoore.com Bob Vila. (n.d.). Home improvement advice. https://www.bobvila.com HGTV. (n.d.). Home and garden ideas. https://www.hgtv.com Lowe’s. (n.d.). Home improvement products. https://www.lowes.com Sherwin-Williams. (n.d.). Paints and coatings. https://www.sherwin-williams.com The Home Depot. (n.d.). Home improvement products. https://www.homedepot.com The Spruce. (n.d.). Home and garden advice. https://www.thespruce.com This Old House. (n.d.). Home renovation guidance. https://www.thisoldhouse.com
Was this guide helpful?

About Jennifer Lee
The My Garden US editorial team writes practical, in-depth home and garden guides for American homeowners — tested advice, no fluff.
You May Also Like

The Best White Paint for Interior Walls: A Plain Guide for American Homes
March 31, 2026 0 views
Sliding Barn Door Paint Ideas USA Homeowners Use for a Fresh Farmhouse Look
January 22, 2026 0 views
Kitchen Cabinet Refinishing Service Cost USA
September 6, 2026 0 views