---
Table of Contents
Table of Contents
- Install a Pool Bonding Wire: Bonding Is Not Grounding
- What the Code Requires
- When to DIY and When to Call a Pro
- Tools and Materials
- Step 1: Plan the Loop
- Step 2: Dig the Trench
- Step 3: Connect the Frame
- Step 4: Bond the Equipment
- Step 5: Bond the Water
- Step 6: Close the Loop and Inspect
- Mistakes That Fail Inspections
- Keep It Working
- References
Electricity and water are a bad mix. Pool bonding is the safety system that keeps them from meeting through you. A bonding wire connects every metal part around the pool, the pump, the heater, the frame, the water itself, into one continuous loop of copper. If stray voltage shows up anywhere, everything rises and falls together, and no shock passes through a swimmer. If you want to install a pool bonding wire, start with the basics below.
Bonding is required by the National Electrical Code for permanently installed pools. Many owners install the bonding loop themselves, especially on above ground pools. It is straightforward work, but it is electrical safety work, so the details matter. Here is how to install a pool bonding wire yourself, and how to know when to call an electrician instead.
Install a Pool Bonding Wire: Bonding Is Not Grounding
When it comes to install a pool bonding wire, getting the details right makes all the difference.
Many homeowners find that install a pool bonding wire is easier than they expected once they know the basics.
People mix these up constantly, and the difference matters.
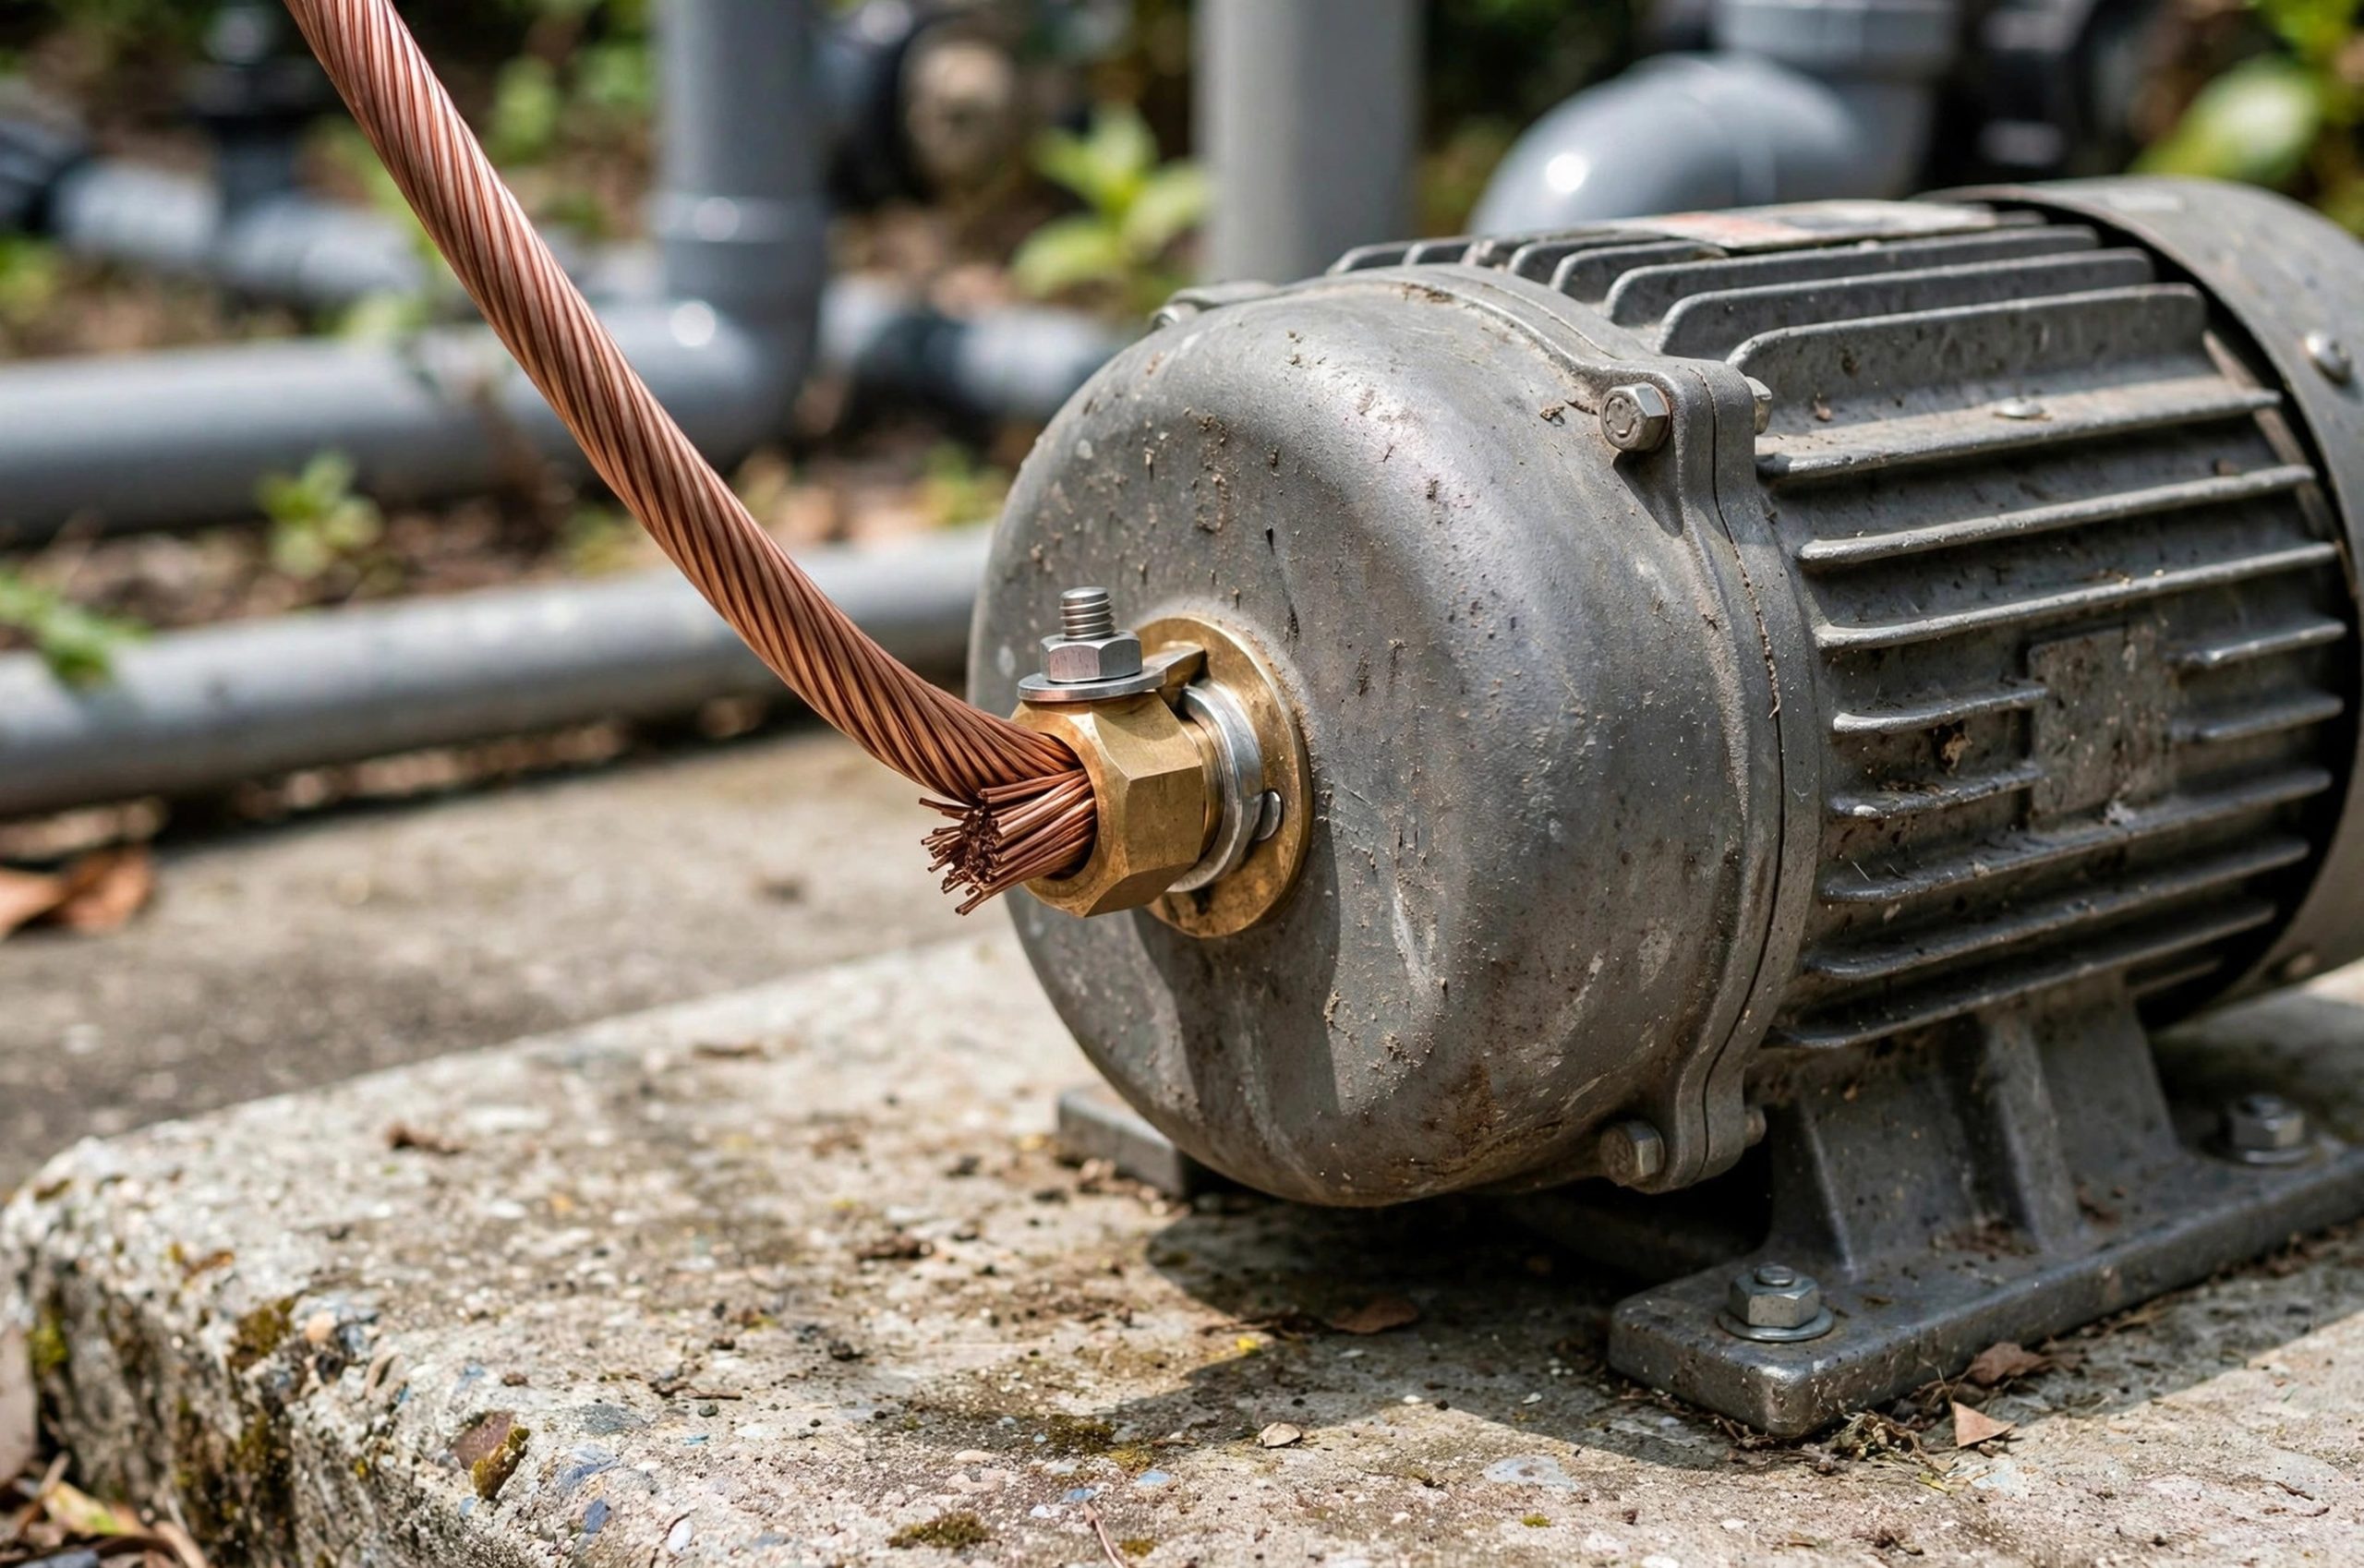
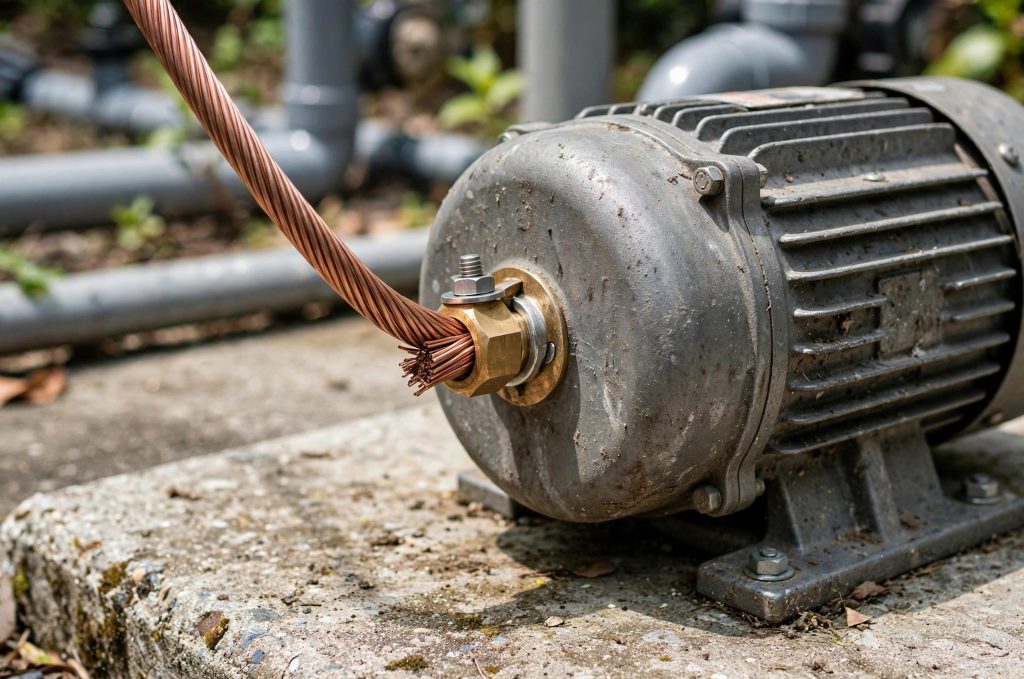
Grounding gives fault current a path back to trip the breaker. The green wire in the pump's power cord does this. Bonding connects all the metal parts near the pool to each other so they sit at the same electrical potential. The bare copper wire on the outside of the pump does this (Trouble Free Pool, n.d.-a).
Bonding does not connect to a ground rod or back to the panel. That surprises most DIYers. The code specifically says the equipotential bonding conductor is not required to extend to any panelboard or grounding electrode. Its job is to make one continuous grid around the pool, not to serve as the building ground (JDesigns, n.d.).
Think of it this way. Grounding protects the equipment. Bonding protects the swimmer. You need both.
What the Code Requires
Many homeowners find that install a pool bonding wire is easier than they expected once they know the basics.
The key to install a pool bonding wire is choosing the right approach for your space and budget.
The rules live in NEC Article 680.26. You do not need to memorize the code book, but know the basics.
The bonding conductor must be solid copper, size 8 AWG or larger. It can be bare, covered, or insulated. Connections must use listed clamps, pressure connectors, or exothermic welds made for the purpose. Sheet metal screws and random hardware do not count (Trouble Free Pool, n.d.-c).
Everything conductive near the pool joins the loop: the pool shell or frame, the pump motor, the heater, metal ladders and rails, metal fences and awnings within five feet, metal piping, and the pool water itself. For inground pools, the code also calls for a grid or ring around the pool extending three feet out under the deck (JDesigns, n.d.).
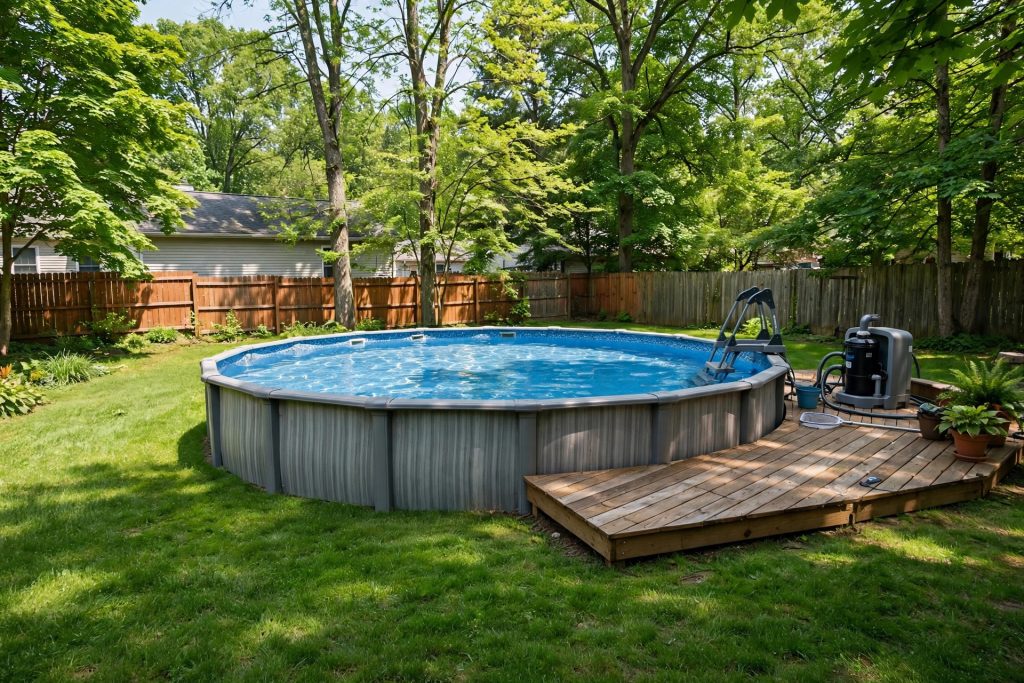
For above ground pools, the practical version is a continuous loop of copper around the pool, connected to the frame at four or more evenly spaced points, plus the pump, plus the water through a bonding plate or fitting (Mike Holt Forum, n.d.).
Local inspectors enforce this. Check with yours before you start, since local amendments can add requirements. If your town requires a permit for the work, pull it.
When to DIY and When to Call a Pro
The key to install a pool bonding wire is choosing the right approach for your space and budget.
With a little planning, install a pool bonding wire can fit even a busy schedule.
Be honest about your skill level. This is safety wiring, not a bookshelf.
DIY makes sense when you are bonding an above ground pool, replacing a corroded bonding wire on existing equipment, or adding a missed connection like a booster pump. The work is mechanical: run wire, make solid connections, keep it continuous.
Call a licensed electrician when the pool is inground and needs a full grid under new concrete, when you are unsure whether your pump is properly grounded and GFCI protected, or when anything about the existing wiring looks wrong. Also call one if your inspector wants the work done under permit by a licensed pro. There is no prize for guessing on shock protection (DoItYourself, n.d.).
Whatever you do, confirm the pump circuit is GFCI protected. Bonding and GFCI work as a team. Neither replaces the other.
Tools and Materials
With a little planning, install a pool bonding wire can fit even a busy schedule.
Before you start, it helps to understand how install a pool bonding wire works in real homes.
You need solid bare copper wire, 8 AWG minimum. Buy more than you think. A continuous unbroken loop around the pool plus runs to the equipment adds up fast. For a typical above ground pool, plan on the pool's circumference plus extra for the equipment connections (MGK Pools, n.d.).
Get listed bonding lugs for each connection point. Direct-burial rated lugs suit the underground loop. Split bolts join wire to wire. Stainless steel machine screws and nuts attach lugs to metal frames. Do not use sheet metal screws.
Tools: wire cutters, a shovel or trenching spade, a drill with bits for the frame connections, wrenches, and a screwdriver. A water bonding plate or fitting for the skimmer bonds the pool water itself, which the code requires when no other bonded part touches the water (Trouble Free Pool, n.d.-c).
Step 1: Plan the Loop
Before you start, it helps to understand how install a pool bonding wire works in real homes.
A good plan for install a pool bonding wire saves time, money, and frustration.
Walk the pool and list every metal part: pump, heater, filter housing if metal, ladder, rails, metal fence sections near the pool, the pool wall or frame. Each one needs a connection to the loop.
For an above ground pool, plan a loop in the ground about a foot out from the pool wall, buried several inches deep. Mark four or more evenly spaced points on the frame where the wire will connect. Plan the run from the loop to the equipment pad, where the pump, heater, and any other metal equipment each get tied in (MGK Pools, n.d.).
Keep the wire as one continuous piece where possible. Where you must join, use listed split bolts or connectors. Every splice is a future corrosion point, so fewer is better.
Step 2: Dig the Trench
A good plan for install a pool bonding wire saves time, money, and frustration.
For most people, install a pool bonding wire comes down to a few smart choices.
Dig a shallow trench around the pool, about six to eight inches deep, roughly a foot from the wall. You are not burying treasure. The wire needs to sit below the surface where it will not get nicked by a mower or edger.
Keep the trench clear of sharp rocks that could cut the wire over time. If the ground is rocky, lay a bed of sand under the wire.
Run the trench from the pool to the equipment pad as well, so the loop reaches the pump and heater in one clean path.
Step 3: Connect the Frame
For most people, install a pool bonding wire comes down to a few smart choices.
If you are new to install a pool bonding wire, start with the simplest option and build from there.
At each of the four or more frame points, attach a bonding lug to the metal wall or an upright. Drill through the metal, bolt the lug on with stainless hardware, and run the loop wire through it. Scrape paint off the contact area so the lug bites bare metal. A lug on paint is a lug doing nothing.
Space the points evenly around the pool. On a round pool, think of clock positions. On an oval, cover both curves and both straights (DoItYourself, n.d.).
Lay the wire in the trench as you go, keeping it continuous from lug to lug.
Step 4: Bond the Equipment
If you are new to install a pool bonding wire, start with the simplest option and build from there.
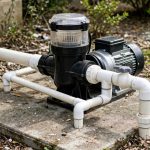
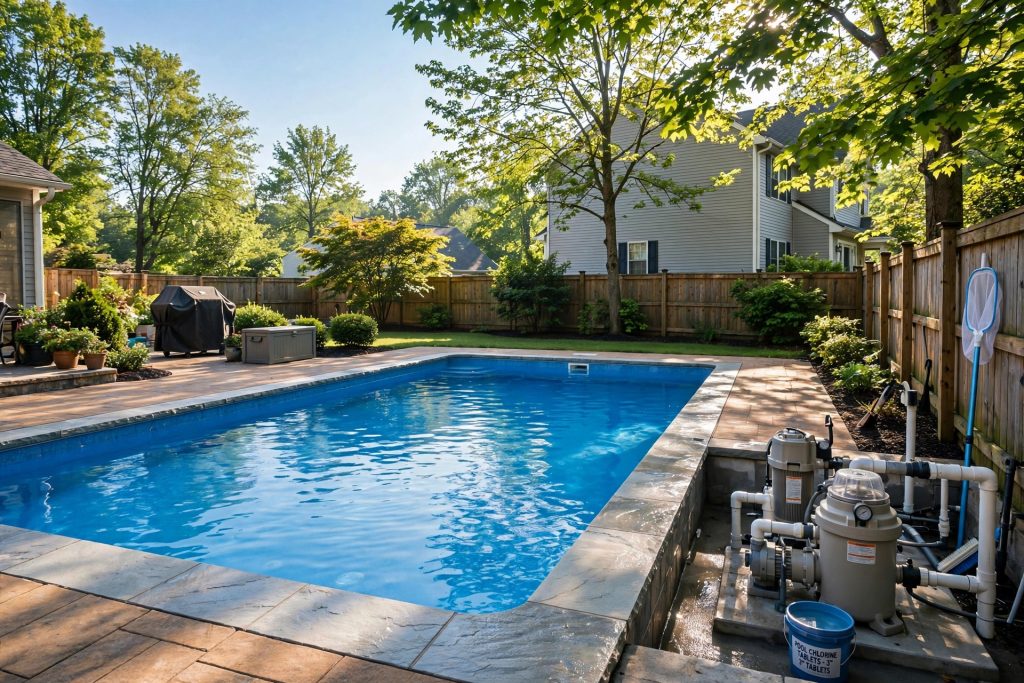
At the pad, run the wire to each piece of metal equipment. The pump motor has a bonding lug on the outside of the housing, usually near the back or bottom. Loosen it, slip the wire in, and tighten firmly. Pentair's own motor manuals show this exact connection: solid copper 8 AWG or larger from the external bonding lug to the pool's bonding system (Pentair, n.d.).
Bond the heater the same way, using its bonding lug. If you have a booster pump for a cleaner, bond it too, tying into the existing wire with a split bolt (Trouble Free Pool, n.d.-b).
Bond any metal within five feet of the water: pipes, conduit, fence sections, awnings. Each gets a lug and a tie to the loop.
Step 5: Bond the Water
When it comes to install a pool bonding wire, getting the details right makes all the difference.
The pool water itself must join the bonding grid. On many pools, a metal ladder or rail in contact with the water does this. If nothing bonded touches the water, add a listed water bonding device.
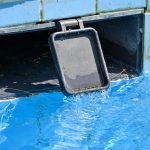
The common retrofit is a stainless bonding plate that mounts in the skimmer. Drill the specified hole in the skimmer wall, mount the plate with the included hardware, and connect the bonding wire to its lug. The plate sits in constant contact with the water (Retail Market, n.d.).
In-line bonding fittings that thread into the plumbing near the pump are another option. Either way, the water joins the same copper loop as everything else.
Step 6: Close the Loop and Inspect
Many homeowners find that install a pool bonding wire is easier than they expected once they know the basics.
Bring the wire back to its starting point so the loop is continuous. The wire should form one unbroken ring around the pool with tails to the equipment. Tighten every lug. Tug each connection. A loose bond is barely better than none.
Backfill the trench carefully. Do not nick the wire with the shovel. Tamp the soil lightly.
Walk the whole system with fresh eyes. Every metal part on your list should have a visible wire running to it. Every connection should be tight and on bare metal. Take photos for your records and for the inspector.
Call for inspection if your town requires it. An inspector checking bonding is quick when the work is neat and complete.
Mistakes That Fail Inspections
The key to install a pool bonding wire is choosing the right approach for your space and budget.
Running the bond wire to a ground rod instead of keeping it as its own loop. Using wire smaller than 8 AWG. Connecting lugs over paint. Using sheet metal screws. Leaving the water unbonded. Splicing with wire nuts meant for indoor circuits. Skipping the heater or the booster pump. Each of these is common, and each fails the point of the system (Conversions Tech, n.d.).
Another classic: bonding the pump but forgetting the metal fence three feet from the water. Walk the five-foot zone and bond it all.
Keep It Working
Bonding is not install-and-forget. Copper corrodes, soil shifts, and landscapers cut things.
Once a season, walk the loop's visible parts. Check the equipment lugs for tightness and green corrosion. Look at the trench line for digging damage. Confirm the skimmer bonding plate is still secure. If you add new metal equipment, a new fence, or a heater, bond it into the loop the day it goes in.
Test with a meter if you want real confidence. With everything connected, resistance between any two bonded parts should read near zero. High resistance means a bad connection somewhere. Find it and fix it.
A proper bonding loop is invisible, silent, and boring. That is exactly what you want from safety gear. For related equipment work, see the pool pump replacement cost estimate and the inground pool cost breakdown. A little care goes a long way when you install a pool bonding wire.
References
Conversions Tech. (n.d.). Pool and spa junction box requirements: NEC 680 bonding guide. https://conversionstech.com/blogs/resources/pool-and-spa-junction-box-requirements-nec-680-bonding-guide
DoItYourself. (n.d.). Pool bonding. https://www.doityourself.com/forum/electrical-ac-dc/357796-pool-bonding.html
JDesigns. (n.d.). Pool equipotential bonding explained: Code requirements for pools. https://www.jdesigns.com/blog/pool-equipotential-bonding-explained-code-requirements-for-pools
MGK Pools. (n.d.). Above ground pool bonding kit. https://mgkpools.com/product/pool-bonding-kit/
Mike Holt Forum. (n.d.). Above ground pool. https://forums.mikeholt.com/threads/above-ground-pool.2557463/
Pentair. (n.d.). Grounding, bonding, wiring: Two-speed motor manual. https://manualsdump.com/en/manuals/pentair-mpe-mpea-mpra/29766/7
Retail Market. (n.d.). Pool skimmer bonding kit: NEC compliant water equipotential plate. https://www.retailmarket.net/products/above-ground-pool-skimmer-water-bonding-plate-kit-compliant-pool-water-equipotential-bonding/
Trouble Free Pool. (n.d.-a). What is bonding the pump to the pool? https://www.troublefreepool.com/threads/what-is-bonding-the-pump-to-the-pool.5787/
Trouble Free Pool. (n.d.-b). Should booster pump also be grounded? https://www.troublefreepool.com/threads/should-booster-pump-also-be-grounded.75774/
Trouble Free Pool. (n.d.-c). Electrical bonding: Further reading. https://www.troublefreepool.com/wiki/index.php?title=Electrical_Bonding
Was this guide helpful?

About My Garden US
The My Garden US editorial team writes practical, in-depth home and garden guides for American homeowners — tested advice, no fluff.
You May Also Like
Best Pool Cover Pump for Winter: A Plain Buyer's Guide
January 4, 2026 2 views
Best Pool Heater for Saltwater Pools: What Owners Should Know
March 16, 2026 1 views
Best Pool Vacuum for Pebble Finish: How to Choose the Right One
January 13, 2026 4 views