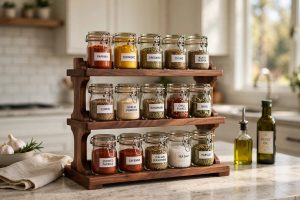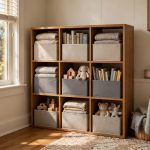
A labeled bin answers the question before anyone asks it. Where do the batteries go? The bin says so. Where are the winter hats? The bin says so. Without labels, every bin is a mystery box, and the whole household depends on one person's memory. Learning how to label storage bins so everyone finds things turns your storage system from a private filing cabinet into a public library. The rest of this guide covers label storage bins in plain language.
Table of Contents
Table of Contents
- Label Storage Bins: Why Labels Matter More Than Bins
- Write Labels People Actually Understand
- Choose the Right Labeling Tools
- Place Labels Where Eyes Look
- Use Color Coding for Instant Recognition
- Label by How People Search, Not by Perfect Categories
- Build the System in the Right Order
- Maintain Labels Over Time
- The Payoff
- References
Good labels are specific, visible, and consistent. They use words the whole household understands. And they stay put. Here is how to build a labeling system that actually works.
Label Storage Bins: Why Labels Matter More Than Bins
When it comes to label storage bins, getting the details right makes all the difference.
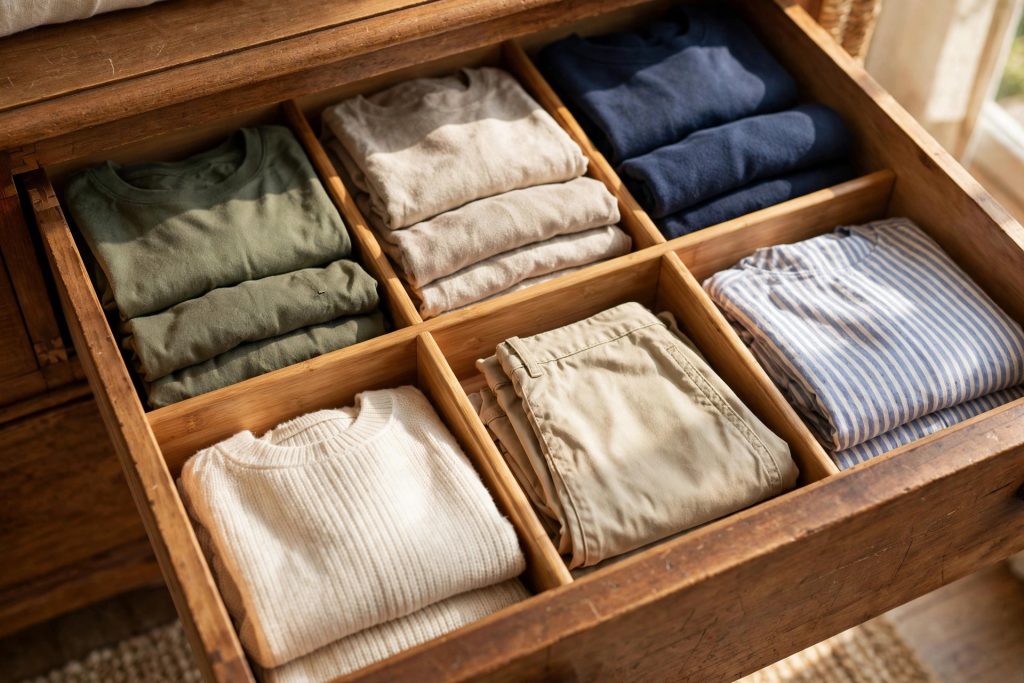
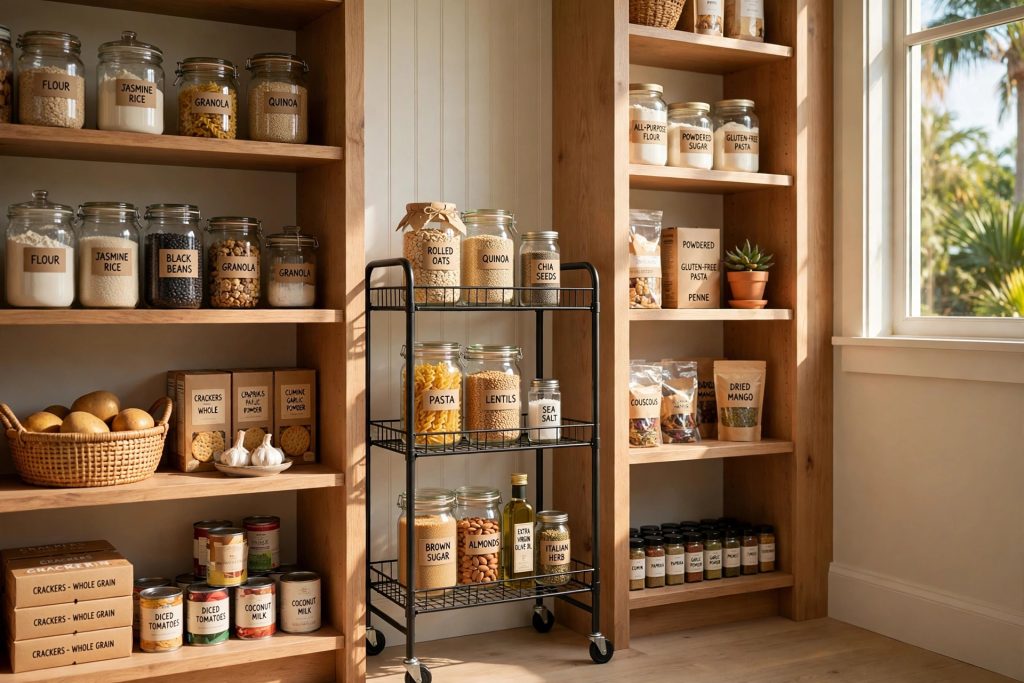
Many homeowners find that label storage bins is easier than they expected once they know the basics.
Buying bins feels like organizing. It is not. Bins without labels become junk drawers with lids. People open three bins to find one thing, give up, and leave the bins open. Within weeks, the system collapses.
Labels change the behavior. When a bin says "Light Bulbs," nobody puts batteries in it. When a bin says "Sofia's Art Supplies," nobody has to ask where the crayons live. One writer who labeled every bin in her house found that labels cut family confusion more than any lecture ever did: people put things away correctly when the destination is obvious. Clear wording does the work that reminders never could.
Labels also protect your system from you. Six months from now, you will not remember what is in the bin marked "Stuff." You will remember what is in the bin marked "Camping Kitchen Gear." Future you is a stranger. Label for that stranger.
Write Labels People Actually Understand
Many homeowners find that label storage bins is easier than they expected once they know the basics.
The key to label storage bins is choosing the right approach for your space and budget.
The golden rule: label with the words your household already uses. "Holiday Baking" beats "Seasonal Culinary Supplies." "Phone Chargers" beats "Electronics Accessories." If a guest or a babysitter can understand the label without asking, it is a good label.
Be specific. "Office Supplies" is vague. "Printer Paper," "Envelopes and Stamps," and "Pens and Notepads" are useful. But do not go so narrow that a bin holds three items. Aim for categories that match how people look for things. Think about the question someone asks: "Where are the...?" The label should complete that sentence.
Avoid joke labels and clever abbreviations. "Misc" is the enemy. So is "Various." So is "Random." A bin labeled "Misc" is a bin where organization goes to die. If you cannot name the category, the items do not belong together. Split them.
For shared households with kids, add pictures to word labels. A photo of the actual contents taped to the bin works even for kids who cannot read yet. The Container Store's organizing tips emphasize labeling everything, from boxes to shelves, as the key step that makes a system usable by the whole household.
Choose the Right Labeling Tools
The key to label storage bins is choosing the right approach for your space and budget.
With a little planning, label storage bins can fit even a busy schedule.
You have three good options: a label maker, chalk or dry-erase labels, and printed labels. Each fits different situations.
A label maker is the workhorse. Brother's P-touch label makers print on laminated tape that resists water, fading, and handling. The labels stick to plastic bins, glass jars, and metal shelves. For bins whose contents rarely change, like "Tax Records" or "Holiday Lights," a label maker gives a clean, permanent result. The Best Buy guide to Brother label makers shows how one handheld device handles everything from pantry containers to cables and storage bins.
Chalkboard or dry-erase labels suit bins whose contents change. Stick-on chalk labels peel off and rewrite easily. Clip-on label holders on wire shelves let you swap paper cards in seconds. Use these for active categories like "Donate," "Kids' Outgrown Clothes," or seasonal bins that rotate.
Printed labels from a home printer work well for a big labeling session. Print a sheet of matching labels, cut them out, and attach with clear packing tape for durability. This is the fastest way to label thirty bins in an afternoon with a consistent look.
Whatever tool you choose, use large, high-contrast text. A label nobody can read from two feet away is decoration, not information. Black on white is the most readable combination.
Place Labels Where Eyes Look
With a little planning, label storage bins can fit even a busy schedule.
Before you start, it helps to understand how label storage bins works in real homes.
A label on the wrong side of the bin is almost as bad as no label. Place labels on the side that faces out when the bin sits on the shelf. For bins on high shelves, put the label on the front face near the bottom edge, tilted slightly down so it reads from below. For bins on low shelves, put it near the top edge.
For deep bins on high shelves, add a second label on the lid or top edge. When you pull the bin down, you see the top first. Two labels cost nothing and save the "is this the right one?" shuffle.
On open-front bins, label the front lip. On stackable bins, keep labels aligned in a vertical column so scanning the stack is fast. On bins inside closets, make sure the label is visible with the door open and the light on. Test placement by standing where you would actually stand and checking readability.
Use Color Coding for Instant Recognition
Before you start, it helps to understand how label storage bins works in real homes.
A good plan for label storage bins saves time, money, and frustration.
Color coding adds a second layer of information that works at a glance. Assign each family member a color: blue bins for Dad, green for Mom, yellow for the kids. Or assign colors by category: red for urgent or important, green for seasonal, blue for household supplies.
Keep the system simple. Three to five colors maximum. More than that and nobody remembers the code. Write the color key on a card taped inside a closet door or on the fridge until everyone learns it.
Colored tape on bin handles, colored labels, or colored bins themselves all work. For kids' rooms, color coding by child prevents the daily "that's mine" argument. Project Isabella's storage guide recommends color coding alongside clear wording and sensible bin placement as the three pillars of a system that survives real life.
Label by How People Search, Not by Perfect Categories
A good plan for label storage bins saves time, money, and frustration.
For most people, label storage bins comes down to a few smart choices.
The most common labeling mistake is organizing by logic instead of behavior. A perfectly logical category system that nobody follows is worse than a slightly messy one everyone uses.
Watch how your household actually looks for things. If everyone asks "where are the school snacks?" then the bin should say "School Snacks," not "Granola Bars, Crackers, Fruit Pouches." If the kids call them "art stuff," label the bin "Art Stuff." The label serves the users, not the organizer's sense of order.
Group by project or occasion when that matches real life. "Birthday Party Supplies," "Beach Day Gear," and "Car Emergency Kit" are more useful than splitting those items across generic categories. People grab the whole bin and go.
Build the System in the Right Order
For most people, label storage bins comes down to a few smart choices.
Do not buy labels before you sort. The order that works: sort items into groups, choose bins that fit the groups, place the bins where they will live, then label. Labeling last means every label describes reality instead of a plan.
When you label, do a full pass in one session if you can. A half-labeled system confuses people more than an unlabeled one, because they cannot tell which bins to trust. Put on music, print or write all the labels, and walk the house sticking them on.
Involve the household in naming. When kids help choose the words on their bins, they remember the system. When a partner agrees that "Tools" means the toolbox bin and not the junk drawer, the system sticks.
Maintain Labels Over Time
If you are new to label storage bins, start with the simplest option and build from there.
Labels fade, peel, and go out of date. Check labels when you do seasonal cleanouts. Replace peeling ones. Update any label whose contents changed. A bin labeled "Baby Clothes" holding toddler toys is a lie that teaches everyone to ignore labels.
When a bin's purpose changes permanently, relabel immediately. Do not cross out and scribble. A fresh label takes thirty seconds and keeps the system trustworthy. Keep spare labels and a marker in a junk drawer so fixes happen on the spot.
For bins that hold files and important papers, our guide to clear storage bins with lids covers sizes that fit documents and keeps labels readable. For toy rooms, affordable toy storage bins pair well with picture labels kids can follow. And for baby gear staging, nursery storage baskets work with simple word labels the whole family reads at a glance.
The Payoff
When it comes to label storage bins, getting the details right makes all the difference.
A well-labeled home runs quieter. Fewer questions. Fewer opened bins. Fewer "where is the..." texts from the other room. The system works when you are not there, which is the true test of any organization.
Start with the ten most-opened bins in the house. Label them this weekend with specific words, readable text, and smart placement. You will feel the difference by Monday. Then keep going, one shelf at a time, until every bin in the house answers its own question. Keep this guide handy the next time label storage bins comes up.
References
Many homeowners find that label storage bins is easier than they expected once they know the basics.
Ash in the Wild. (n.d.). The best Container Store plastic bins for organizing your home. https://www.ashinthewild.com/container-store-plastic-bins/
Best Buy Canada. (n.d.). Create, label, organize with the Brother P-touch N10 BTag label maker. https://blog.bestbuy.ca/computers-laptops-tablets/printers/create-label-organize-with-the-brother-p-touch-n10-btag-label-maker
Life and Work Blog. (n.d.). Top pantry shelf: Best storage hacks for rarely used items. https://lifeandwork.blog/top-pantry-shelf-best-storage-hacks-rarely/
Manidin. (n.d.). Container solutions: Compact and convenient storage ideas. https://manidin.com/blogs/tips/container-store-options
paerm.com. (n.d.). Brother label maker labels: Types, uses, and creative applications. https://paerm.com/brother-label-maker-labels/
Project Isabella. (n.d.). 5 ways to maximize space with organized storage containers. https://projectisabella.com/blogs/tips/5_ways_to_maximize_space_with_organized_storage_containers
Retail Market. (n.d.). Brother P-Touch PT-D202 label maker for home organization. https://www.retailmarket.net/products/brother-p-touch-home-personal-label-maker-pt-d202/
The Container Store. (n.d.). Storage containers and bins. https://www.containerstore.com/s/storage/1
Was this guide helpful?

About My Garden US
The My Garden US editorial team writes practical, in-depth home and garden guides for American homeowners — tested advice, no fluff.
You May Also Like
Buy Closet Organizer Systems Online in California: A Complete Guide
September 24, 2026 6 views
Affordable Basement Shelving Units for Sale: A Simple Buyer's Guide
July 19, 2026 3 views
Premium Pantry Food Storage Containers Buying Guide
April 23, 2026 4 views