
A leaking pool filter is one of the most common problems a pool owner will face. When you want to know how to fix pool filter leaking, the answer is usually simple. Most leaks come from worn seals, loose fittings, or small cracks. With basic tools and a little care, you can stop the drip in a single afternoon. This guide explains where leaks come from, how to find them, and how to repair them step by step.
Why a Leaking Pool Filter Matters
A pool filter that leaks wastes water and money. Even a slow drip can add up to gallons per day. Over a month, that loss can be large. The water bill rises, and the pool level falls. You must add water more often, and each refill changes the chemical balance.
A leak also puts stress on the pump. When the filter loses water, the pump can draw in air. Air in the system lowers pressure and makes the pump work harder. The motor runs hotter and may burn out early. A pump replacement costs far more than a filter repair.
There is a third reason to act fast. Leaking water around the equipment pad can damage other parts. Salt water is harsh on metal. It corrodes pump housings, heater parts, and wiring. Chlorine leaks can stain and weaken concrete pads. Fixing the leak early protects everything near it.
How to Find the Source of the Leak: How to Fix Pool Filter Leaking
Before you learn how to fix pool filter leaking, you must know where the water comes from. Start with the system running. Watch each part of the filter closely.
Check the Clamp Band or Lid Seal
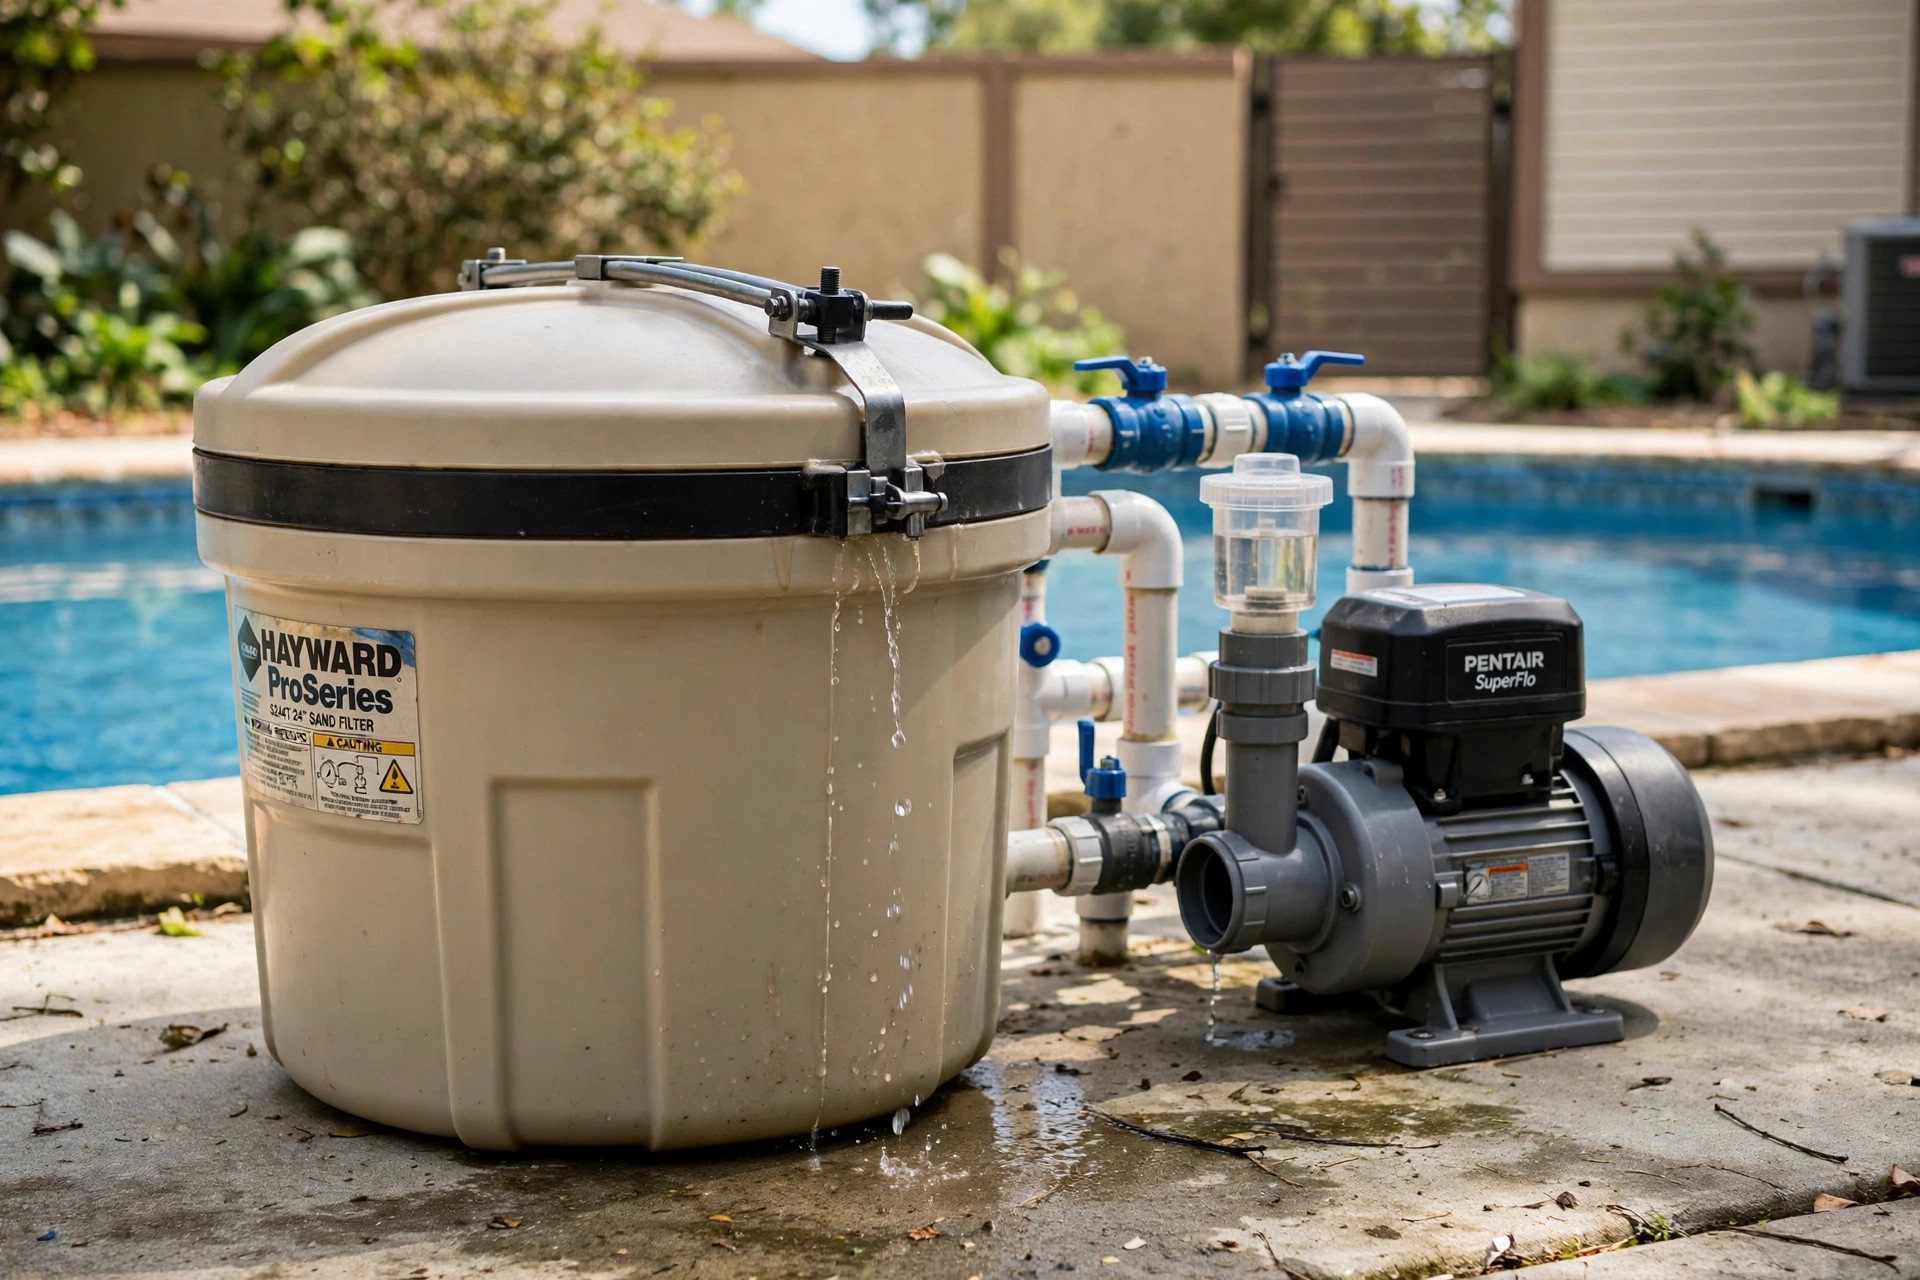
The most common leak point is the lid or clamp band. On a sand filter, a large clamp band holds the two halves of the tank together. On a cartridge or DE filter, the lid sits on top of the body with a large O-ring. Run your finger along the seam. A wet line or drip means the seal has failed.
Inspect the Drain Plug and Fittings
Look at the drain plug at the base of the filter. These plugs often loosen over the season. Check the inlet and outlet pipes where they meet the filter. Threaded fittings can weep. Union fittings may show a steady drip.
Look for Cracks in the Tank
Walk around the filter tank. Look for hairline cracks, especially near the bottom and around molded seams. A small crack may spray a fine mist under pressure. Turn the pump off and see if the mist stops. If it does, the crack is in the pressure side.
Use the Dry Test
If the leak is hard to see, dry the filter with a towel. Then wrap suspect areas with a dry paper towel. Run the pump for ten minutes. The wet towel marks the exact spot. This simple test saves time and avoids guesswork.
What You Will Need
Most pool filter repairs need only a few items. Gather these before you begin:
– A replacement O-ring or gasket that fits your filter model – Pool-safe silicone lubricant (never use petroleum jelly on rubber) – Pipe thread sealant tape, often called Teflon tape – A strap wrench or large adjustable wrench – A clean bucket, towels, and a garden hose – A flashlight for close inspection
Good guides on pool care basics can be found at Swim University, which covers filter types and common repairs in plain terms.
Step-by-Step: How to Fix Pool Filter Leaking
Follow these steps in order. The whole job usually takes under two hours.
Step 1: Turn Off the Pump and Close Valves
Safety comes first. Switch off the pump at the breaker, not just the timer. Close the valves on the suction and return lines. This stops water from flowing while you work. Put the multiport valve, if your filter has one, in the closed or winter position.
Step 2: Release the Pressure
Open the air relief valve on top of the filter. Water and air will escape. Wait until the flow stops. The gauge should read zero. Never open a filter under pressure. The lid can blow off and cause serious injury. Pool safety guidance from the U.S. Consumer Product Safety Commission stresses the danger of pressurized pool equipment.
Step 3: Remove the Lid or Clamp Band
Loosen the clamp band bolts or twist off the lid, depending on your model. A strap wrench helps on large lids. Set the lid down on a soft towel to protect the seal surface. Keep the bolts where you can find them.
Step 4: Inspect the O-Ring
Pull the O-ring from its groove. Look for flat spots, cracks, nicks, or a stretched shape. An O-ring that has gone flat will not seal even if it looks clean. This is the cause of most leaks, and replacing it is the core of how to fix pool filter leaking on cartridge and DE filters. Rinse the groove with the hose and wipe it clean.
Step 5: Lubricate and Replace the Seal
Coat the new O-ring with a thin layer of pool-safe silicone lubricant. This helps it seat evenly. Set it in the groove with no twists. On sand filters with a clamp band, check the band itself for rust or bending. A bent band will not close evenly.
Step 6: Reassemble and Tighten Evenly
Set the lid or tank halves in place. Tighten the clamp band bolts a little at a time, moving from side to side. This keeps the seal even all around. Do not over-tighten. Snug is enough. Over-tightening can crack the plastic flange.
Step 7: Fix Leaking Fittings and Plugs
For the drain plug, wrap the threads with two or three layers of Teflon tape. Screw it back in by hand, then snug it with a wrench. For union fittings, check the small union O-ring. Replace it if it is worn. For PVC connections, a leaking joint may need to be cut out and reglued. That is a bigger job, but it is still within reach of a careful homeowner. Replacement parts for many models are listed at Pool Warehouse, and Leslie’s stocks O-rings, gaskets, and seal kits for most major brands.
Step 8: Restart and Test
Open the valves. Stand clear of the filter. Start the pump. Open the air relief valve until water flows out, then close it. Watch every seam for ten minutes. Check again after an hour. If all is dry, the repair is done.
Types of Leaks and What They Mean
Not all leaks are the same. Knowing the type helps you pick the right fix.
O-Ring and Gasket Leaks
These are the most common. They appear at the lid, the clamp band, or the drain plug. They start as a slow drip and grow over time. A new seal fixes them in almost every case.
Cracked Housing
A crack in the filter tank is more serious. Small cracks in the plastic can sometimes be patched with pool-grade epoxy made for pressure vessels. This is a temporary fix. A cracked tank is a sign the filter is near the end of its life. If the crack grows, the tank can split under pressure. Replace the filter rather than risk a burst.
Leaking Multiport Valve
On sand and DE filters, the multiport valve on top can leak at the gasket between the valve and the tank. The valve handle may also drip. A valve gasket kit is cheap and easy to install. If the valve body itself is cracked, replace the whole valve. Store staff at The Home Depot can help you match valve gaskets to common filter brands.
Leaking Unions and PVC Joints
A drip at a union usually means a worn union O-ring or a loose ring nut. Tighten the nut by hand. If it still drips, replace the O-ring. A drip at a glued PVC joint means the joint has failed. Cut it out and rebuild it with new pipe and fittings.
Cost and Price Guide
Fixing a leaking pool filter is one of the cheapest pool repairs. An O-ring costs five to twenty dollars. A clamp band kit may cost thirty to sixty dollars. A multiport valve gasket kit runs twenty to forty dollars. Teflon tape and silicone lubricant add a few dollars more.
If you hire a pool technician, expect a service call of seventy-five to one hundred fifty dollars, plus parts. A full filter replacement is the big expense. A new residential filter costs three hundred to over one thousand dollars, depending on size and type. That is why early repair pays for itself many times over.
Keep receipts for parts. If the filter is still under warranty, the maker may cover a cracked tank or a failed clamp band. Check your manual before you buy parts.
Care and Upkeep After the Repair
Once you know how to fix pool filter leaking, a little upkeep will stop it from coming back.
Lubricate the main O-ring once a season. When you open the filter for cleaning, pull the seal, rinse it, and apply fresh silicone lubricant. Never use petroleum-based grease. It eats rubber and shortens the seal’s life.
Open the filter on a regular schedule. Sand filters need the lid opened for inspection each year. Cartridge filters need the cartridges pulled and cleaned several times a season. Each opening is a chance to check the seal before it fails.
Keep the equipment area clean. Leaves and debris hold moisture against metal parts. Trim plants away from the pad so air can move. Wipe down the tank a few times a year and look for early signs of wear.
Watch the pressure gauge. A steady rise in pressure means the filter is dirty. Backwash or clean the media on time. High pressure puts extra load on seals and can force water past a worn O-ring.
The Spruce offers seasonal checklists that cover filter care in simple steps at The Spruce, which many owners use as a home reference.
Safety Rules to Follow
Pool equipment holds pressure. A filter can run at twenty to thirty pounds per square inch. Treat it with respect.
Always turn off the pump before opening the filter. Release pressure through the air relief valve before you loosen anything. Stand to the side, not over the lid, when you remove it. Keep children away from the equipment pad while you work.
If you see a bulging tank or hear a popping sound, turn off the pump at once. Do not try to patch a tank that is bulging. Call a professional. A burst tank can throw parts with great force.
Wear gloves and eye protection when handling filter media. DE powder is a lung irritant. Old filter sand is heavy and may hold sharp bits. Dispose of used media according to local rules.
Common Mistakes to Avoid
Many owners make the same errors when they try to fix a leak. Avoid these.
Do not use silicone caulk from a tube as a seal. It is not made for pressure. It will fail, and it is hard to clean off. Use the right O-ring instead.
Do not over-tighten the clamp band. The band should be snug and even. Cranking it down can warp the flange and make the leak worse.
Do not ignore a small drip. A drip is a warning. Seals do not heal. The leak will grow, and it may fail all at once on a hot day when the system runs hardest.
Do not mix filter parts from different brands. O-rings look alike but measure differently. Match the part number from your manual.
FAQ
How long does a pool filter O-ring last?
Most O-rings last three to five years. Sun, heat, and pool chemicals wear them down. A ring that sits flat in its groove or shows cracks needs replacement.
Can I use the pool while the filter leaks?
A small drip is not an emergency, but it is not wise to swim while you plan the repair. A leak can grow fast. Shut the system down if the water loss is heavy. For general equipment care tips, Bullfrog Spas and Hot Spring both publish owner guides that cover routine checks.
Why does my filter leak only when the pump runs?
This means the leak is on the pressure side. Water is forced out only under pressure. Check the lid seal, the clamp band, and the outlet fittings. The dry towel test works well for this case.
Should I repair or replace a cracked filter tank?
Patch small cracks only as a short-term fix. Plan to replace the tank. A cracked pressure vessel is a safety risk. If the filter is old, a new unit matched to your system, such as the options in this guide to the best pool filter for saltwater systems, with better flow may also cut your energy use.
What size O-ring does my filter need?
O-rings are model specific. Find the model number on the filter label. Look up the parts list in the manual or on the maker’s site. Bring the old ring to the store so you can compare size and thickness.
How often should I check for leaks?
Give the filter a quick look each week during swim season. Walk the pad, check the seams, and glance at the gauge. A one-minute check catches most leaks before they grow.
A Final Word
Learning how to fix pool filter leaking is a skill every pool owner should have. The job is simple, the parts are cheap, and the payoff is large. You save water, protect your pump, and keep the pool running clean. Start by finding the exact leak. Replace the worn seal. Tighten what is loose. Test under pressure. With a little care each season, your filter will serve you well for many years, and problems like cloudy pool water will stay rare.
References
Bullfrog Spas. (n.d.). Hot tubs and spas. https://www.bullfrogspas.com Hot Spring Spas. (n.d.). Hot tubs and spas. https://www.hotspring.com Leslie’s Pool Supplies. (n.d.). Pool supplies and equipment. https://www.lesliespool.com Pool Warehouse. (n.d.). Pool equipment and supplies. https://www.poolwarehouse.com Swim University. (n.d.). Pool and hot tub care guides. https://www.swimuniversity.com The Home Depot. (n.d.). Home improvement products. https://www.homedepot.com The Spruce. (n.d.). Home and garden advice. https://www.thespruce.com U.S. Consumer Product Safety Commission. (n.d.). Product safety information. https://www.cpsc.gov
Was this guide helpful?

About Lisa Anderson
The My Garden US editorial team writes practical, in-depth home and garden guides for American homeowners — tested advice, no fluff.
You May Also Like
The Best Hot Tub Chemicals Starter Kit: What to Buy and Why
May 16, 2026 0 views
How to Remove Algae from Pool Walls
March 3, 2026 0 views
The Best Pool Vacuum for Automatic Cleaning: What to Know Before You Buy
March 10, 2026 0 views