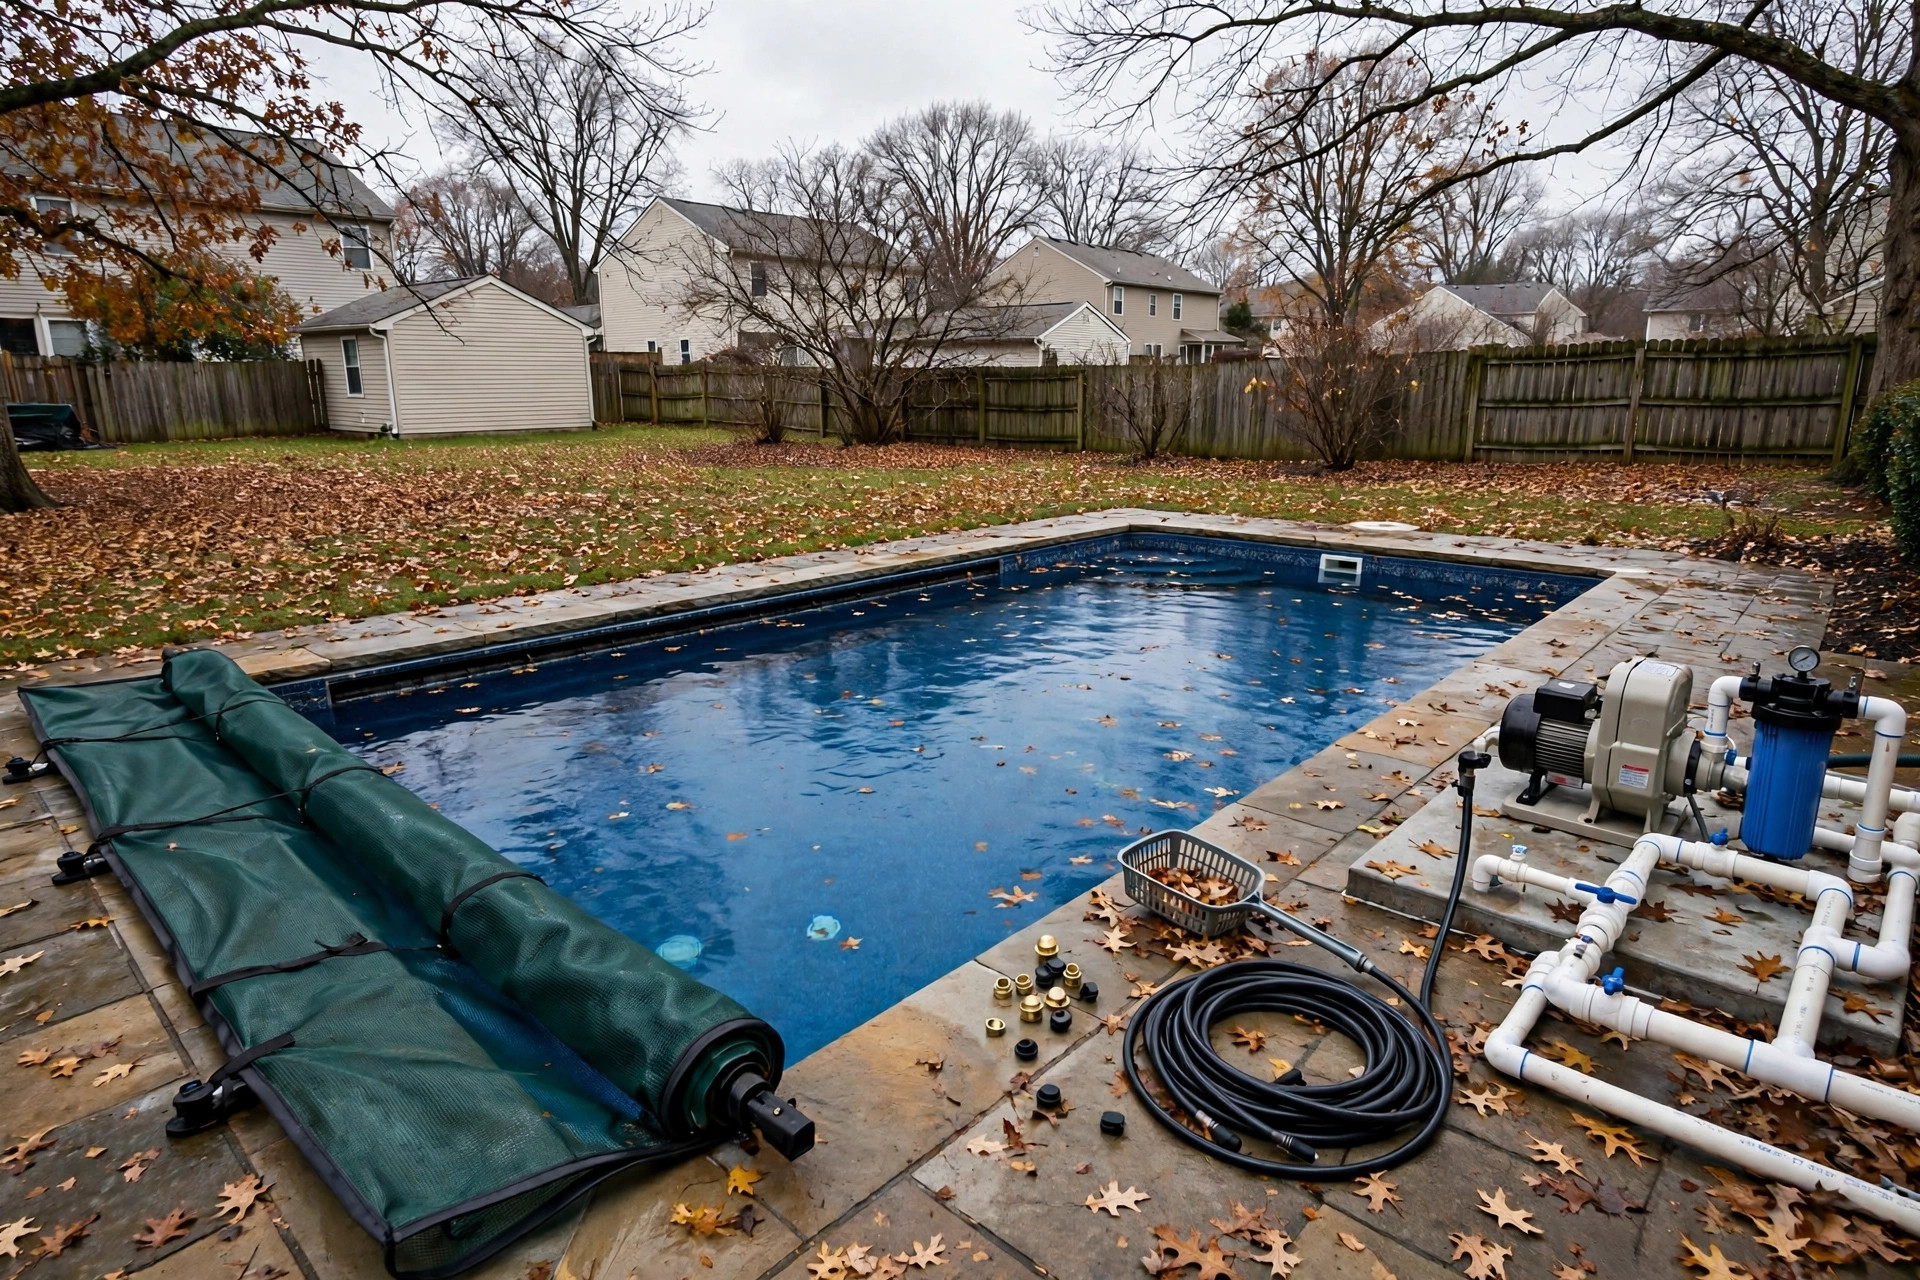
Every fall, inground pool owners face the same hard job. Water must be lowered. Pipes must be drained. Equipment must be shut down. If you want to learn how to winterize inground pool properly, this guide walks you through the full job in plain steps. A careful closing protects your pipes from freeze damage. It guards your pump and filter. It keeps the water clear through winter. When spring arrives, you open to clean water instead of a green mess.
Why Proper Winterizing Matters
Winter is hard on a pool. Water expands when it freezes. Ice in a pipe can crack it open. Ice in a skimmer can break the housing. A pump left full of water can split its case. Repairs like these cost thousands of dollars. A proper close costs far less.
Winterizing also protects water quality. Algae grows slowly in cold water, but it still grows. Leaves and dirt fall in all winter. Without cover and balance, spring opening takes weeks of shock and scrubbing. With a clean close and a tight cover, spring opening takes a day or two.
Many owners close a pool for the winter season too early or too late. Too early, and warm water grows algae under the cover. Too late, and a freeze cracks the pipes before you finish. Timing matters as much as the work itself.
When to Winterize Your Inground Pool: How to Winterize Inground Pool Properly
Close when daytime water temperature drops below 60 degrees Fahrenheit and stays there. In most of the northern states, that means late September or October. In the mid-Atlantic, it may be late October or early November. In the deep south, some owners skip a full close and run the pump all winter.
Do not close while water is still warm. Algae loves water above 60 degrees. A warm close under a dark cover is an algae farm. Test water temperature with a simple thermometer for a few days in a row before you start.
Watch the weather forecast. Start the job at least one week before the first hard freeze is likely. The whole process takes one long day for most owners. If you hire a pool service, book early. October slots fill fast.
Supplies You Will Need
Gather everything before you begin. A trip to the store mid-job wastes daylight.
– Winterizing chemical kit: shock, algaecide, and stain preventer – Test strips or a liquid test kit for chlorine, pH, and alkalinity – Skimmer guard or foam rope for the skimmers – Winter plugs for return lines and the main drain – Air compressor or shop vacuum to blow out the lines – Winter cover with water bags or a safety cover with anchors – Pool brush, leaf net, and vacuum head – Garden hose and clean water – Duct tape and plastic wrap for line fittings
Winter chemical kits are sold at pool supply retailers and online pool equipment shops as well as home improvement stores. Kits sized for your pool volume save money over buying each bottle alone.
Check your cover before you start. Old covers with tears or broken straps will not survive a winter. Lay the cover flat and look for thin spots, cracked seams, and missing water bags. A new cover every few years is normal. Safety covers last longer than water-bag covers, often ten years or more, so the higher price spreads out over time.
Step by Step: How to Winterize Your Inground Pool
Work in order. Each step builds on the last.
1. Clean the Pool Thoroughly
Vacuum the full floor and walls. Skim all leaves and debris from the surface. Brush the walls and steps. Dirt left in the pool feeds algae all winter. Aim for spotless. This is the most important part of how to winterize inground pool properly, because clean water closes clean.
Empty the skimmer baskets and the pump basket. Backwash a sand or DE filter until the water runs clear. Clean a cartridge filter with a hose. Dirty filters start spring with clogged media.
2. Balance the Water Chemistry
Test the water with a full kit. Aim for these ranges before closing:
– pH: 7.2 to 7.6 – Total alkalinity: 80 to 120 ppm – Chlorine: 1 to 3 ppm – Calcium hardness: 180 to 220 ppm
Adjust pH and alkalinity first. Then shock the pool with a strong chlorine dose. Step-by-step pool care guides explain dosing by pool volume in simple tables. Run the pump for a full day after shocking so the chemical spreads evenly.
Balanced water prevents stains on plaster and vinyl. It protects metal parts from corrosion. It gives the winter chemicals a clean base to work on.
3. Lower the Water Level
Drain the water below the skimmer opening. For most pools, that means two to four inches below the bottom of the skimmer. Use the pump on waste or a submersible pump.
Do not drain too far. In vinyl-liner pools, the water weight holds the liner in place. Draining a vinyl pool too low can pull the liner loose. Plaster and fiberglass pools are more forgiving but still need water left for structure.
If you live where freezes are light, you may only lower to just below the returns. If freezes are hard, go lower. Local pool shops know the common practice in your area.
4. Drain Equipment and Blow Out the Lines
This step prevents freeze damage. It is the heart of winterizing.
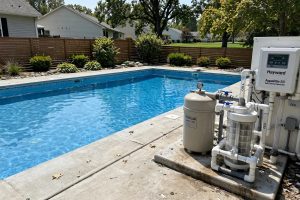
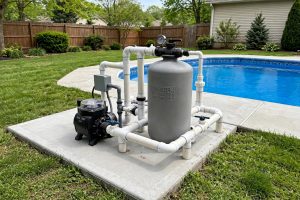
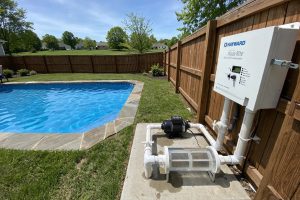
Turn off the pump and open all drain plugs on the pump, filter, heater, and chlorinator. Let all water drain out. Store the plugs in the pump basket so you find them in spring.
Next, blow out the plumbing lines. Connect an air compressor to the skimmer line through a blow-out adapter. Blow air until only mist comes out of the return jets. Then, with air still flowing, screw winter plugs into each return jet from inside the pool. A helper makes this easy: one person runs the compressor, the other plugs the jets.
Blow out the skimmer line too, then drop in a skimmer guard or foam rope to absorb ice pressure. Add pool-safe antifreeze to lines that hold standing water, such as the main drain line, if your climate needs it. Home advice sites publish winter checklists that cover this step with photos for first-timers.
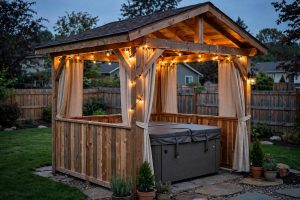
If you also own a spa or hot tub, note that spa plumbing needs the same treatment. Brands like Hot Spring and Bullfrog Spas publish winter care guidance for their equipment.
5. Add Winter Chemicals
With equipment off, add the winter kit: algaecide, stain preventer, and a chlorine floater or winter shock. Follow the label doses for your pool volume. Do not mix products in one bucket. Pour them in around the pool with the pump off, then brush lightly to mix.
These chemicals hold algae back for months. They are not a full-season sanitizer. They buy time until spring.
6. Install the Winter Cover
Stretch the cover over the pool and secure it. Water-bag covers need bags filled about two-thirds full along the edge. Safety covers anchor into the deck and pull tight. Safety covers cost more but keep children and pets from falling in.
Remove ladders, handrails, and diving boards first. Cover hardware last. A torn cover lets light and leaves in, so patch small holes with vinyl tape before winter.
Read reviews before you buy. The best pool cover for winter for your pool depends on shape, climate, and budget. Mesh covers let water through but block debris. Solid covers block light and keep water cleaner.
How Much Does Winterizing Cost
A do-it-yourself close costs 100 to 250 dollars in chemicals and supplies. The first year costs more because you buy the cover and plugs. After that, chemicals are the main cost.
A professional closing service charges 250 to 600 dollars for most inground pools. Price depends on region, pool size, and extras like safety-cover installation. Many owners do the work themselves after watching a pro once.
A cracked pipe or split pump costs 500 to 3,000 dollars to fix. Compared to that, winterizing is cheap insurance.
Care and Upkeep During Winter
A closed pool still needs attention. Check the cover once a month. Pump standing water off a solid cover with a small cover pump. A pool cover pump for winter pays for itself by preventing cover damage from heavy water and ice.
After big storms, clear branches and heavy snow from the cover. A long pole with a soft brush works well. Do not use sharp tools on the cover. Do not walk on a frozen cover.
Keep the area around the equipment pad clear of leaves and snow. Check that drain plugs stay dry. If you notice the water level rising in the pool from rain, you may need to pump some out to protect the skimmer line.
If winter is long, check once more in mid-January. Ice shifts covers and pulls water bags loose. A quick look takes ten minutes and can save a flooded yard. In warm spells, do not add chemicals or remove the cover. Wait until true spring weather holds steady.
Winter Pool Safety
A closed pool is still a drowning risk. The federal safety guidance warns that covers alone do not prevent all drownings. Keep the pool fence locked. Keep gates closed and latched. Store toys away from the pool area so children are not drawn to the water.
A properly fitted safety cover supports weight and stays tight. Water-bag covers sag and collect water, which looks inviting to children. If you have small children, a safety cover or a locked fence is the safer choice.
Never drain a pool fully for winter unless a builder tells you to. An empty pool can float up in high groundwater areas. The damage is severe and costly.
Frequently Asked Questions
Can I leave my inground pool open all winter?
In warm climates, yes. Keep the pump running and chemicals balanced. In freezing climates, no. Ice will crack pipes and equipment. Know your local frost line before you decide.
Do I need to lower the water level?
Most owners lower it two to four inches below the skimmer. This leaves room for rain and ice expansion. Vinyl-liner pools need extra care, since low water can shift the liner.
What happens if I skip winterizing?
Water freezes in pipes and cracks them. Algae grows unchecked. The pump and filter suffer freeze damage. Spring opening becomes a long, costly job instead of a quick one.
Should I use antifreeze in the lines?
Pool-safe antifreeze is common in the northern states for lines that trap water, such as the main drain. It is non-toxic but meant only for sealed plumbing, never for drinking water lines. Blow lines clear first, then add it as backup.
How do I keep the cover from sinking?
Pump standing water off solid covers. Mesh covers drain on their own but need debris cleared. Replace torn water bags before winter. A tight, centered cover lasts longer.
When should I open the pool in spring?
Open when water temperature nears 60 degrees and stays there. Remove the cover, clean it, and store it dry. Reinstall plugs, fill the pool, and start the equipment. Test and balance the water, then shock it.
A Final Word
Learning how to winterize inground pool properly is a day of work that pays off for years. Clean water, balanced chemistry, drained lines, sealed returns, and a tight cover form the full recipe. Do it right once and spring opening becomes simple. Your pipes, pump, and liner will thank you for a long, quiet winter.
References
Bullfrog Spas. (n.d.). Hot tubs and spas. https://www.bullfrogspas.com Hot Spring Spas. (n.d.). Hot tubs and spas. https://www.hotspring.com Leslie’s Pool Supplies. (n.d.). Pool supplies and equipment. https://www.lesliespool.com Pool Warehouse. (n.d.). Pool equipment and supplies. https://www.poolwarehouse.com Swim University. (n.d.). Pool and hot tub care guides. https://www.swimuniversity.com The Home Depot. (n.d.). Home improvement products. https://www.homedepot.com The Spruce. (n.d.). Home and garden advice. https://www.thespruce.com U.S. Consumer Product Safety Commission. (n.d.). Product safety information. https://www.cpsc.gov
Was this guide helpful?

About Jennifer Lee
The My Garden US editorial team writes practical, in-depth home and garden guides for American homeowners — tested advice, no fluff.