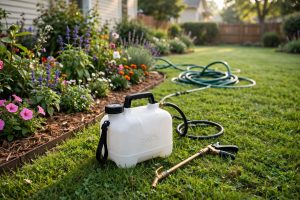

Watering by hand takes time, and much of the water never reaches the roots. When you learn how to install raised bed irrigation, you give each plant the right amount of water in the right place, every day. The work takes one weekend for most home gardeners. The parts cost less than most people expect. The reward is a bed that almost waters itself.
This guide covers planning, parts, step-by-step work, cost, care, and safety. The same basic steps apply to one small bed or a row of large ones.
Why Raised Bed Irrigation Matters
A raised bed dries out faster than ground soil. The sides let heat in, and water drains quickly. On a hot day, a bed that was soaked in the morning can be dry by afternoon. When the soil dries and then floods again and again, roots suffer. Growth slows. Fruit may crack or drop.
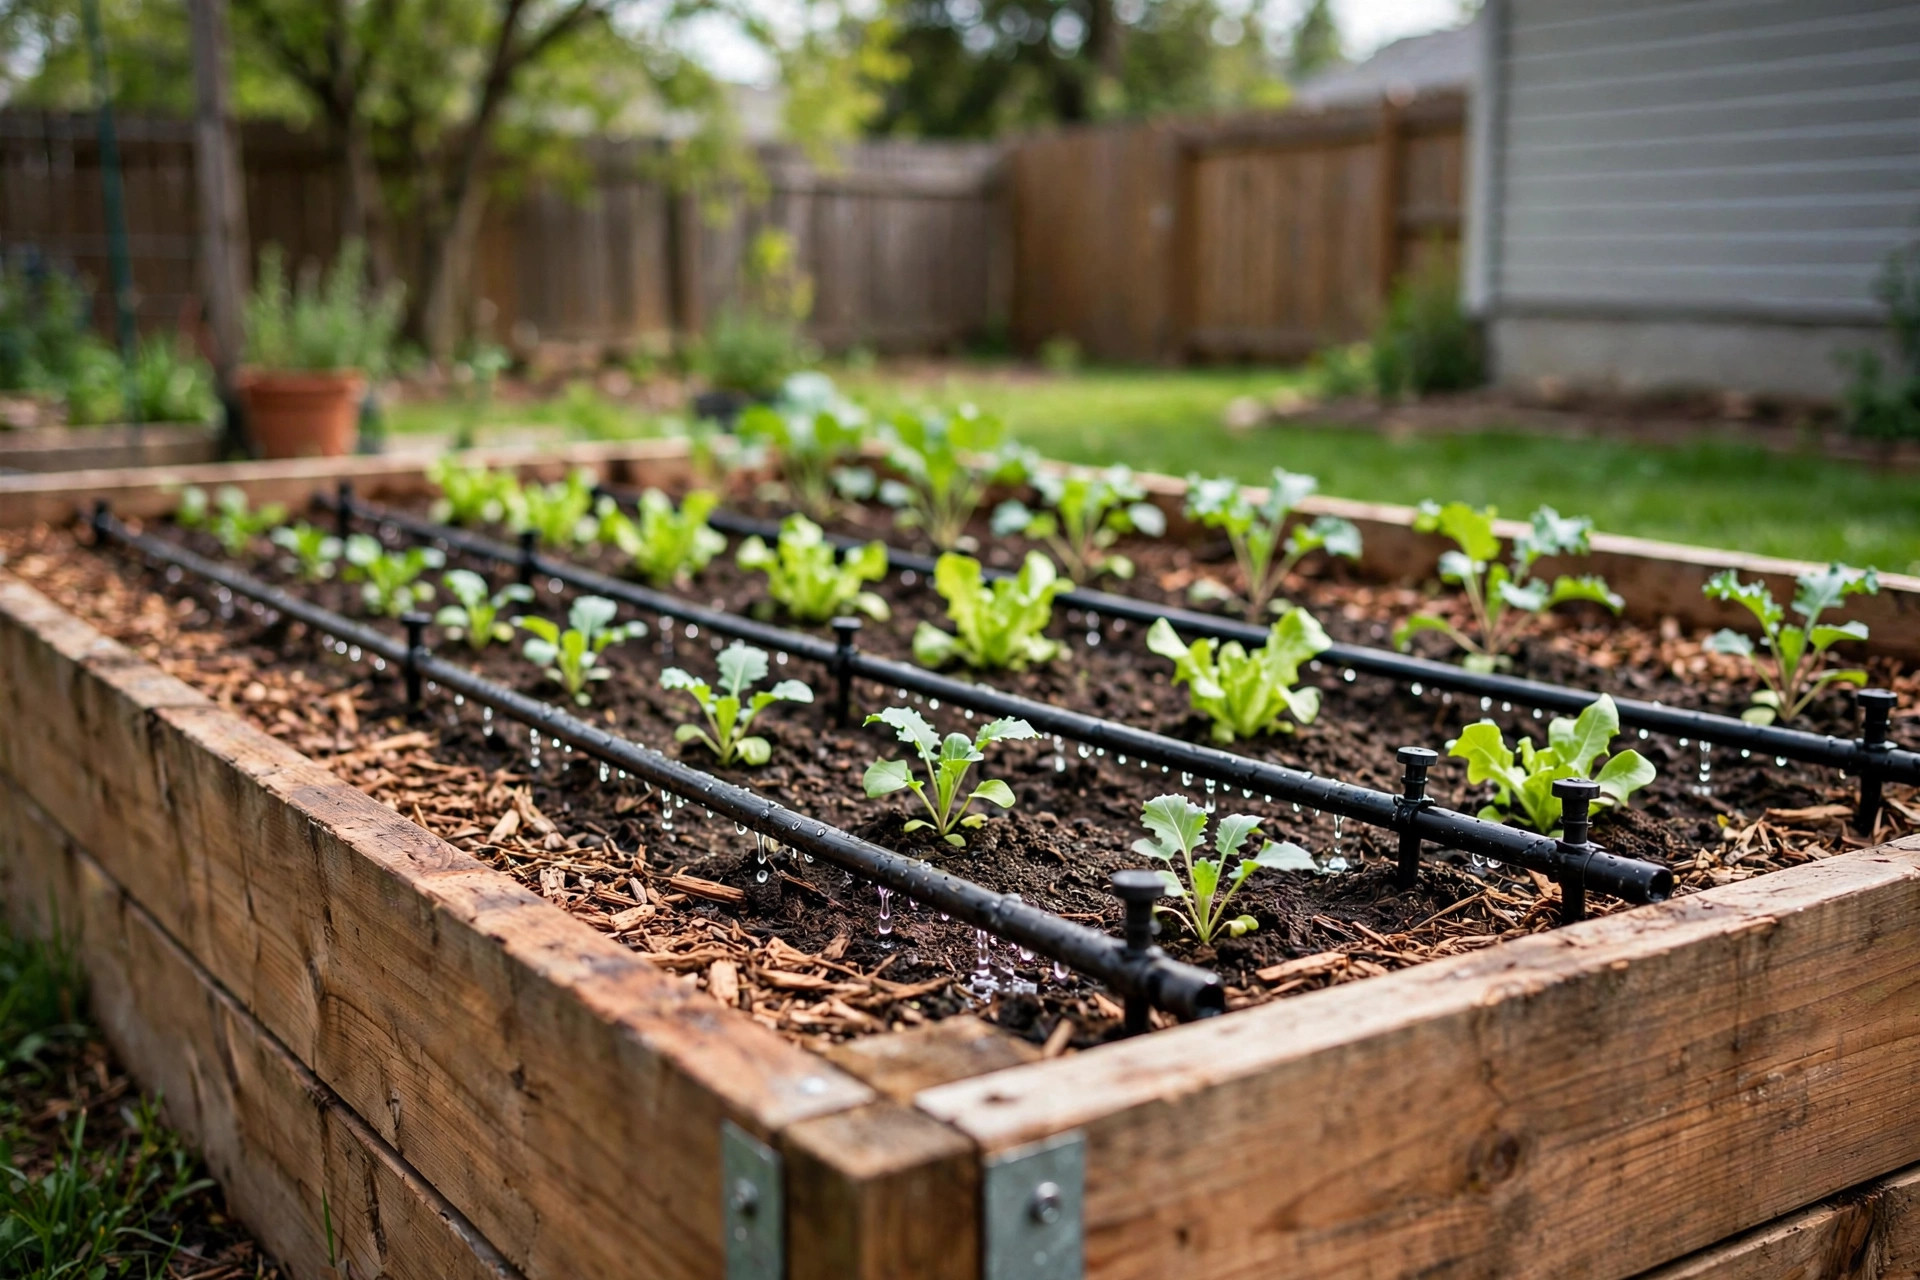
Drip irrigation puts water where the plant needs it. Slow drops soak into the soil around the roots. Very little water lands on the leaves. Very little runs off into the paths. Gardeners who switch to drip lines often cut their water use in half while growing larger plants.
There is another gain. Hand watering is slow work, and it is easy to miss days. A simple timer changes that. It opens the water each morning for a set number of minutes. It shuts it off on time. Your garden gets care even when you are away.
Planning Your Raised Bed Irrigation Layout: How to Install Raised Bed Irrigation
Good work starts with a plan. Walk out to your beds with a pencil and a sheet of paper. Draw each bed as a box. Mark its length and width. Mark where your hose bib or water source sits. This drawing is your map for the whole job.
Think about how water should travel. The main line, usually half-inch tubing, runs from the water source to each bed. Inside each bed, smaller quarter-inch drip lines run along each row of plants. Plan one drip line per row of vegetables. For wide beds with three rows, you will want three lines.
Measure the distances. You will need to know how many feet of main tubing and drip tubing to buy. Add ten percent extra to your totals. Extra tubing costs little, and a second trip to the store costs time. Also note the slope of your yard. If your beds sit well above the water source, check your pressure. The advice pages at Family Handyman cover yard water projects with clear diagrams.
Tools and Materials You Will Need
You can find the full parts list at a garden center or a home store such as Lowe’s or Home Depot. Here is what a typical raised bed system needs:
– Water timer. A hose-end timer turns the system on and off. Battery models are simple and work well. – Backflow preventer. This keeps garden water from flowing back into the house water line. Many codes require one. – Filter. A small screen filter keeps dirt out of the drip lines. Clogged lines are the most common system problem, and a filter prevents most of them. – Pressure regulator. Home water pressure is often too high for drip parts. A regulator set near 25 psi protects the lines. – Half-inch main tubing. This carries water from the source to the beds. – Quarter-inch drip tubing. This runs along the plant rows and gives off slow drops. – Fittings. Tees, elbows, and connectors join the tubing. – Stakes. These pin the tubing to the soil so it stays in place. – Punch tool and hole plugs. The tool makes clean holes where lines branch off. Plugs close mistakes.
For cutting tubing, a pair of hand pruners or garden scissors does the job. You may also want to look at our guide to the best garden scissors for pruning roses for tips on choosing hand tools that last.
Types of Raised Bed Irrigation
Before you buy, it helps to know the main options. Each has its place.
Drip Emitter Lines
Drip lines are the most popular choice. They are tubes with built-in emitters spaced along their length, often every six or twelve inches. Water seeps out slowly at each point. You lay one line per row, pin it down, and turn on the water. This style is clean, cheap, and easy to change later.
Soaker Hoses
Soaker hoses are made of a soft, porous material. Water sweats through the whole length of the hose. They work well in beds packed with many small plants, such as carrots or lettuce. They do wear out faster than rigid drip lines.
Spray Heads and Bubblers
Tiny spray heads can water a whole bed, but they are less common in raised beds. They use more water than drip, and wet leaves can bring disease. Bubblers are small posts that pour a gentle stream at the base of larger plants. Some gardeners use them for tomatoes and peppers.
Subsurface Lines
Buried drip lines sit a few inches under the soil surface. They keep the bed looking neat and lose almost no water to evaporation. Most home gardeners do better with lines on top of the soil under a layer of mulch.
For most raised beds, standard drip emitter lines are the best choice. They balance cost, water savings, and ease of use. Product reviews at Consumer Reports can help you compare brands before you buy.
How to Install Raised Bed Irrigation: Step-by-Step
Set aside a full Saturday. Work in the morning when the air is cool. Follow these steps in order.
Step 1: Connect the Head Assembly
Start at the water source, usually an outdoor faucet. Screw on the timer first. Then add the backflow preventer, the filter, and the pressure regulator, in that order. Tighten each part by hand, then give a small extra turn with a wrench. Photos of this head assembly are easy to find at Gardener’s Supply Company if you want to see the order of parts.
Step 2: Run the Main Tubing
Unroll the half-inch tubing in the sun for an hour so it softens and lies flat. Run it from the faucet to your beds, keeping it along the garden edge and out of the paths. Leave the end open for now so dirt can flush out later.
Step 3: Punch Holes at Each Bed
Where the main line passes each bed, use the punch tool to make a small hole. Push in a barbed connector. This is where the smaller line branches off. Press the connector in straight so it does not tear the hole. If you punch a hole in the wrong place, seal it with a hole plug.
Step 4: Lay the Drip Lines
Run the quarter-inch drip tubing along each plant row inside the bed. Keep the emitters close to where the young plants will sit. Pin the lines down every two feet with stakes so they do not shift. Cap or fold the far ends closed.
Step 5: Flush and Test
Before you close the line ends, flush the system. Turn the water on for a minute and let water run out of the open ends. This pushes dirt out of the lines. Then close the ends and turn the water on again. Walk the whole layout and check for leaks at every fitting.
Step 6: Set the Timer
For most vegetable beds in summer, run the system 30 to 60 minutes, three or four times a week. Sandy soil needs shorter, more frequent runs. Clay soil needs longer, slower runs. After a watering, push your finger two inches into the soil. If it feels damp, the time is right. If it feels dry, add ten minutes. If it feels soggy, cut back. The guides at The Spruce explain how to adjust schedules through the growing season.
Step 7: Cover with Mulch
Once the system runs well, cover the lines with mulch. A two-inch layer of straw or wood chips keeps the soil cool and shields the plastic from sun damage. Tuck the main line along the bed edges. Label your timer settings on a small tag so you remember what worked.
Cost and Price
A basic system for two or three raised beds often costs between $80 and $150. A starter kit runs from $35 to $70. Extra tubing and fittings add $30 to $60. A decent timer costs $25 to $50. Beds that are far from the water source need more main tubing, which adds cost by the foot.
A row of six large beds might run $200 to $350 in parts. That sounds like a lot, but the system lasts for years. The water savings alone often pay for the parts within a season or two. Watch for sales at the start of the season, when kits are often marked down. Keep your receipt in case a part fails in the first year.
Care and Upkeep
Drip systems need little care, but they do need some. Check the lines once a week while you water. Look for leaks, broken stakes, and emitters that have stopped dripping. Fixing a small leak takes minutes. Ignoring it for a month wastes water and starves plants.
Clean the filter once a month. Unscrew it, rinse the screen, and put it back. This one habit prevents most clogging. If your water is very hard, mineral crust may build up in the lines. A yearly flush with a mild vinegar solution can help, but check the maker’s advice first.
At the end of the season, drain the system. Turn off the water. Remove the timer and store it indoors where it cannot freeze. Open the line ends and let the water drain out. In cold areas, trapped water can freeze and split the tubing.
Group plants by thirst when you plan your rows. Put heavy drinkers like cucumbers and squash together. Put lighter drinkers like herbs in another bed. Then you can run each bed on its own schedule. This simple habit saves more water than any fancy part. When you replant, our notes on how to save seeds from vegetables can help you plan next season’s rows around your fixed drip lines. Our piece on how to grow tomatoes upside down covers a different style of growing, but the same rule holds: water the roots, not the leaves.
Common Mistakes to Avoid
Many first systems work fine, but a few mistakes show up again and again.
Skipping the pressure regulator. High pressure blows fittings off and splits thin tubing. Always use the regulator.
Punching too many holes. Plan first. Each extra hole in the main line is a spot that can leak.
Burying drip lines too deep. Lines buried under six inches of soil water the deep roots but leave the top dry. Young seedlings then struggle. Keep lines near the surface under light mulch.
Forgetting the filter. Without a filter, grit clogs the tiny emitters. You will spend hours poking at clogged holes. A filter costs a few dollars and takes seconds to clean.
Watering on a fixed schedule all year. Plants need less water in spring and more in summer heat. Adjust the timer as the season changes.
Running lines where tools strike them. Keep tubing out of the middle of the bed where your hoe or fork lands. Run lines close to the rows and stake them flat.
Advice columns at Bob Vila and seed experts at Burpee warn against these same errors.
Safety Notes
Use a backflow preventer on the faucet. This keeps garden water from backing into the house drinking water. It is cheap and often required by local rules.
Do not drink from the drip lines. Water that sits in warm tubing can grow bacteria. The lines are for the soil, not for people or pets.
Turn the water off before you change parts. Pressurized lines can pop apart and spray. Wear gloves when you punch holes and push fittings.
Do not run fertilizer or pesticides through cheap drip parts unless the parts are made for it. Some chemicals eat the plastic. Use a watering can for feed, or buy parts rated for chemicals.
Frequently Asked Questions
How long does it take? Most home gardeners finish in one weekend: an hour or two of planning and four to six hours of work for a few beds.
Can I add drip lines to beds that are already planted? Yes. Lay the lines along the rows, pin them down, and be gentle around roots.
What size tubing should I buy? For most home gardens, half-inch tubing for the main line and quarter-inch tubing for the row lines work well. Beds longer than 30 feet may need a larger main line.
Do I need a timer, or can I turn it on by hand? You can run it by hand, but a timer is worth the money. It waters on schedule even when you forget, and it stops on time.
How much water does a raised bed need each week? Most vegetable beds need about one to two inches of water per week in summer. That equals roughly 60 to 120 minutes of drip run time per week, split into several short runs.
Will the lines freeze in winter? Yes, if water sits inside them. Drain the lines in fall and take the timer indoors.
A Final Word
Learning how to install raised bed irrigation is one of the best upgrades a home gardener can make. The parts are simple. The work is plain and honest. The payoff comes every morning when the timer clicks on and your beds drink without you lifting a finger. Your plants grow stronger. Your water bill drops. Your weekends belong to you again.
Start small if you like. Irrigate one bed this season and see how it feels. Most gardeners who try it wish they had done it sooner. Plan well, buy good parts, flush the lines, and check the soil now and then. Do that, and your raised beds will take care of themselves for years.
References
Bob Vila. (n.d.). Home improvement advice. https://www.bobvila.com Burpee. (n.d.). Seeds, plants, and gardening supplies. https://www.burpee.com Consumer Reports. (n.d.). Product reviews and ratings. https://www.consumerreports.org Family Handyman. (n.d.). DIY home repair and maintenance. https://www.familyhandyman.com Gardener’s Supply Company. (n.d.). Gardening tools and supplies. https://www.gardeners.com Lowe’s. (n.d.). Home improvement products. https://www.lowes.com The Home Depot. (n.d.). Home improvement products. https://www.homedepot.com The Spruce. (n.d.). Home and garden advice. https://www.thespruce.com
Was this guide helpful?

About Jennifer Lee
The My Garden US editorial team writes practical, in-depth home and garden guides for American homeowners — tested advice, no fluff.
You May Also Like
Raised Garden Bed Soil Mix Recipe
January 4, 2026 0 views
Best Garden Rake for Leveling Soil: A Practical Buying Guide
February 8, 2026 0 views
The Best Garden Rake for Thatch Removal: A Plain Guide for Healthy Lawns
June 19, 2026 0 views