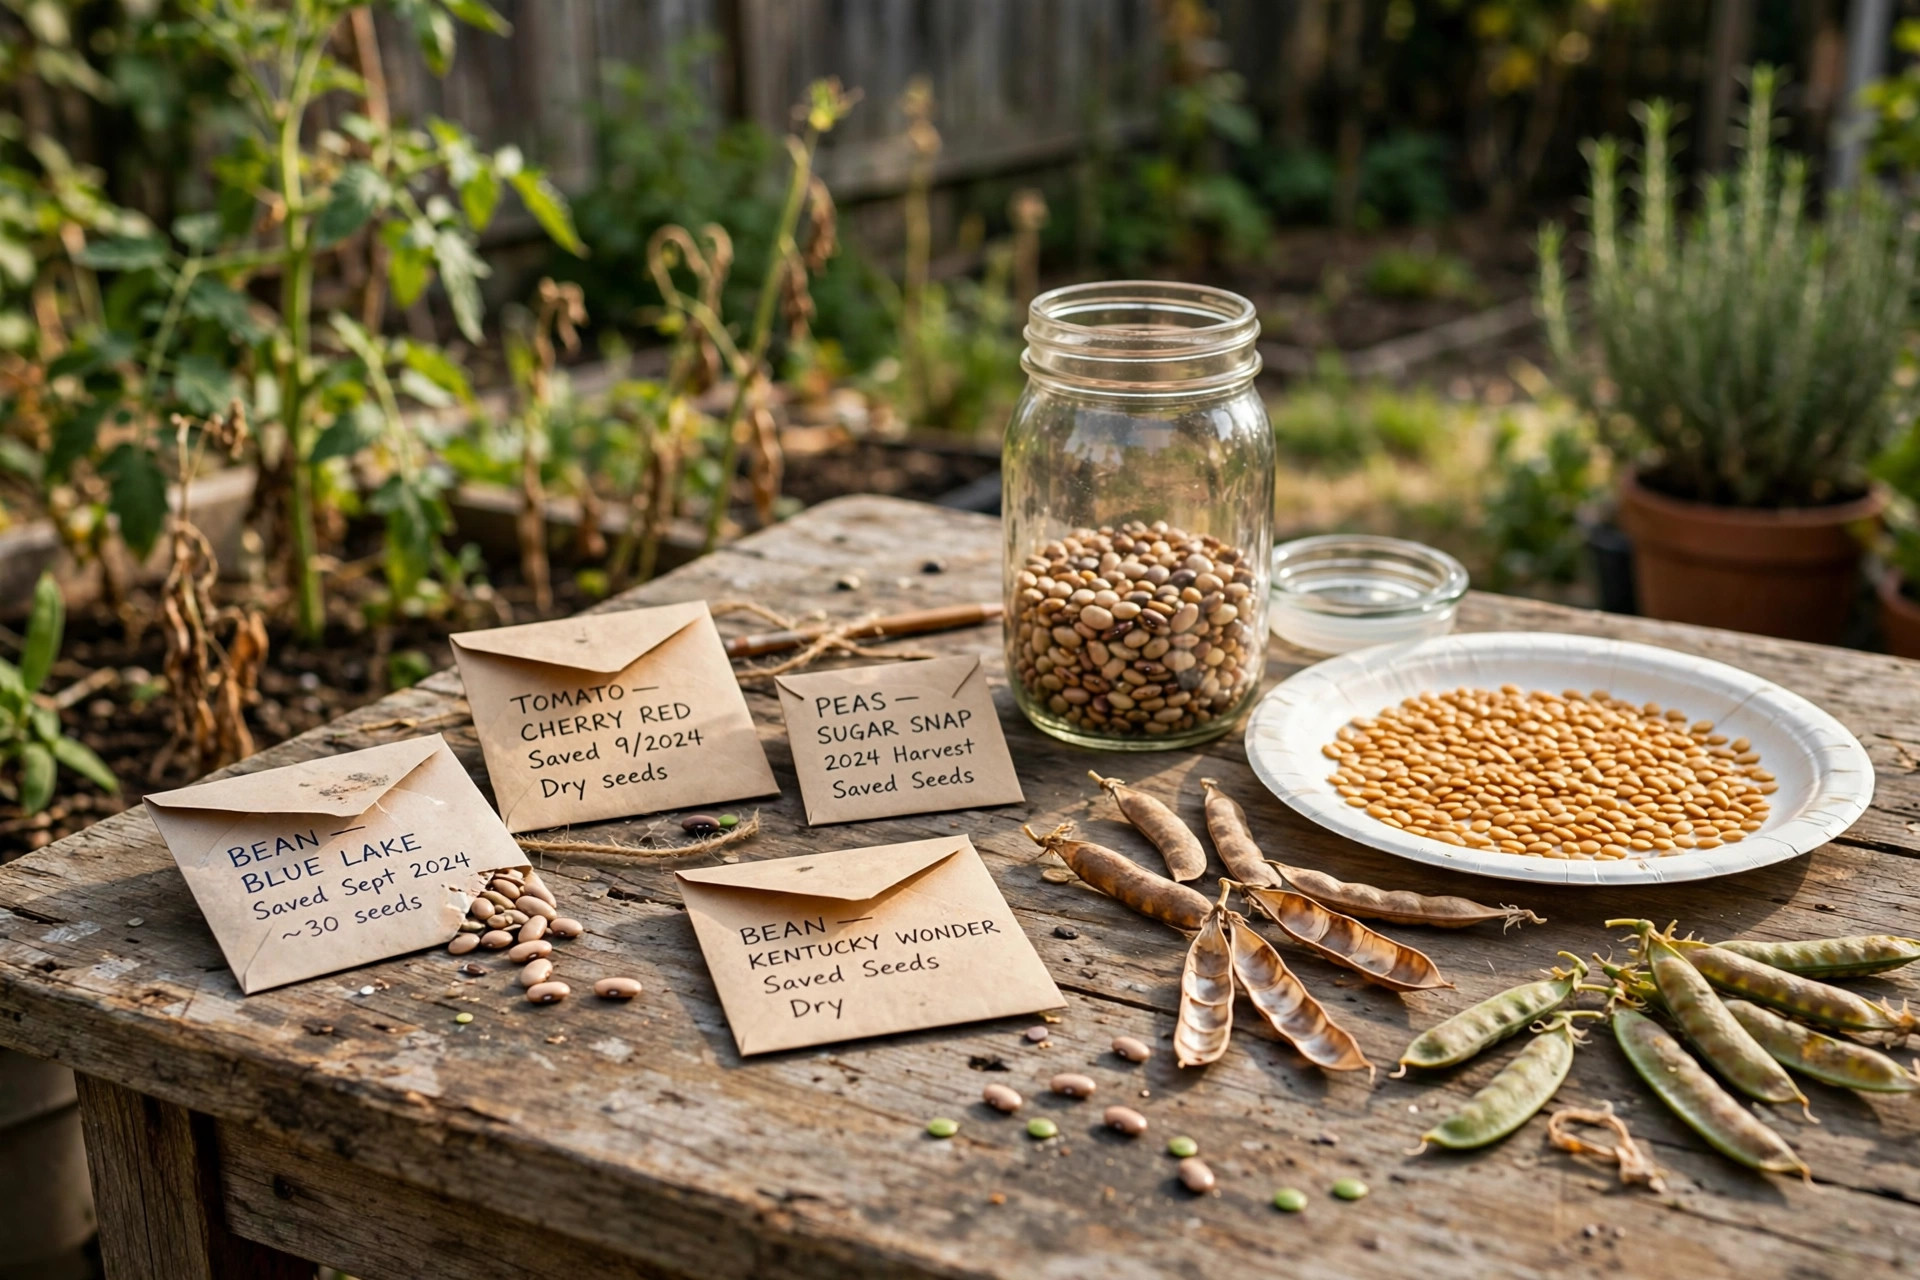
Learning how to save seeds from vegetables is one of the oldest skills in home gardening. Long before stores sold seed packets, gardeners kept seeds from their best plants each year and planted them again the next spring. The method still works today. It costs almost nothing. It takes little time. It gives you free seed, year after year, from plants you already know and trust. It also lets you keep growing the types you love most, even if stores stop selling them. This guide shows the whole process from start to finish. It covers which plants to choose, how to clean both wet and dry seeds, how to store them, and how to test them before planting time comes.
Why Save Seeds from Your Garden
Saving seeds gives you seed that costs nothing. A single packet of tomato seed may cost several dollars and hold only a few dozen seeds. One ripe tomato from your own garden can give you hundreds of seeds for free. Over a few years, the savings grow large, and a gardener with a big garden may never buy seed again for the plants that save well.
Saving seeds also keeps old types alive. Many fine heirloom vegetables no longer appear in seed catalogs. When gardeners stop growing them, those types can fade away for good. When you save the seed, you keep the line alive in your own small way.
Another gain is local fit. Plants grown from seed saved in your own soil tend to adjust to your soil, your weather, and your pests over time. The strongest plants give the seed. The seed gives plants that match your garden. Each year the match grows a little better. This quiet process has shaped garden types for hundreds of years.
There is also a simple joy in it. A jar of seed on a winter shelf holds the promise of spring.
Which Vegetables Work Best for Seed Saving: How to Save Seeds From Vegetables
Not every vegetable saves well. Some are easy for a new seed saver. Some need more skill and space. It helps to know the difference before you start.
Open-Pollinated and Heirloom Types
Start with open-pollinated and heirloom types. These plants grow true from seed. That means the seed from the plant grows into a plant much like the parent. Most old garden types are open-pollinated. Many fine gardening guides keep lists of heirloom types that save well. Look for words like “heirloom” or “open-pollinated” on the seed packet or the plant tag.
Hybrids to Skip
Skip most hybrids for seed saving. Hybrids are crosses of two parent lines. The seed from a hybrid plant often grows into a plant that looks or tastes quite different from the parent. The harvest may be poor. If the tag says “F1” or “hybrid,” buy fresh seed next year and save your effort for other plants.
Easy First Picks
Some vegetables are so easy that a child could do it. Beans and peas top the list. Their seeds are large. They dry right on the plant. They need almost no cleaning. Lettuce is easy too, once you learn to spot the seed. Tomatoes and peppers are a little more work, but the steps are simple and the results are sure. Squash, cucumbers, and melons are easy to clean but cross with nearby types, so they need some space between kinds. Save corn and brassicas like cabbage only after you learn the basics, since they need care to keep the seed pure.
Tools You Need for Seed Saving
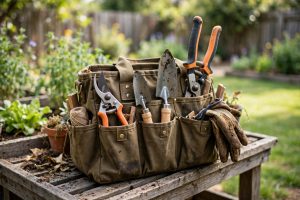
You do not need much gear. Most seed savers work with things already in the house. Still, a few simple tools make the work clean and easy.
You will need paper envelopes or small paper bags to hold the seed. You will need a dark marker and labels for each kind. Write the name of the type and the year on every envelope. Memory fades fast, and unlabeled seed is worth little.
You will need a fine screen or sieve for cleaning seed. A kitchen sieve works for large seed. A fine mesh tea strainer works for small seed. You will need clean glass jars with tight lids for storage. Many gardeners keep a few silica gel packets to hold down damp air in the jar. Product reviews of storage jars can help you pick lids that seal well.
Good hand tools matter too. You will cut ripe pods and pull dry vines from the bed. A pair of sharp pruning shears makes clean cuts and keeps your hands safe. Many makers of pruning tools sell small shears that suit this work well. After harvest, the spent plants can go to the compost bin. If your pile is slow, a compost accelerator can help turn vines and stalks into rich soil for next year.
How to Save Wet Seeds
Some vegetables hold their seeds inside wet flesh. Tomatoes, cucumbers, squash, melons, and eggplant all belong to this group. Their seeds need cleaning and drying before storage. The steps below show how to save tomato seeds at home, and the same idea works for the rest.
Pick ripe fruit from your healthiest plants. Choose plants that grew strong, stayed free of disease, and gave fruit you liked. Cut the fruit open and scoop the seeds and pulp into a clean glass jar. Add a little water, no more than half the jar full. Cover the jar loosely and set it in a warm spot for two or three days.
A light scum will form on the top. This is the fermentation step, and it does the cleaning for you. It breaks down the slick coat around each seed that can block growth. Stir the jar once a day. After two or three days, the good seeds sink to the bottom and the bad pulp floats.
Pour off the floating pulp and water. Add clean water and stir. Let it settle and pour off again. Repeat until the water stays clear. Then pour the clean seeds into a fine sieve and rinse them well under the tap.
Spread the wet seeds in a thin layer on a paper plate or a coffee filter. Never use paper towels, since wet seeds stick to them. Set the plate in a spot with good air flow, away from direct sun. Stir the seeds once a day so they dry on all sides. They should feel hard and dry in about a week. When a seed snaps cleanly instead of bending, it is dry enough to store.
Cucumbers and melons need one extra step. Let the fruit ripen past the eating stage before you take the seed. A cucumber for seed should turn yellow and soft. Then clean the seed the same way as tomatoes. Squash seeds can skip the ferment step. Just scoop, rinse, and dry them.
How to Save Dry Seeds
Beans, peas, lettuce, okra, and many herbs make dry seeds that need no washing. These are the easiest seeds to save, and they suit a first try.
Let the pods or heads dry right on the plant. For beans and peas, wait until the pods turn brown and rattle when you shake them. For lettuce, let the flower head dry until it feels crisp, then rub it between your hands to free the seed. Many garden projects suggest pulling the whole plant and hanging it upside down in a dry shed if rain threatens.
Once the pods are dry, shell the seed by hand or by stepping on the pods in a clean bag. Winnow the seed by pouring it slowly from one bowl to another in a light breeze. The light chaff blows away, and the heavy seed falls clean into the lower bowl. Pick out any broken or off-color seeds. A batch with only whole, full seeds stores best and grows best.
Dry seeds still need a short finish dry indoors. Spread them on a tray for a few days in a dry room. Then they are ready to pack.
Drying and Storing Your Seeds
Dry seed keeps. Damp seed rots. This is the whole secret of storage. Every seed you save must be fully dry before it goes into a jar. When in doubt, dry it one more day.
Pack each kind in its own paper envelope. Write the type name, the year, and the garden spot on the envelope. Then place the envelopes in a glass jar with a tight lid. Keep the jar in a cool, dark, dry place. A closet on the north side of the house works well. A cool basement works too, as long as it stays dry.
Keep saved seeds away from heat. Do not store them near a furnace, a hot attic, or a sunny window. Heat shortens the life of seed fast. A steady cool spot keeps most vegetable seeds good for three to five years. Beans and peas may last longer. Onion and parsnip seed lose strength fast and are best used the next year.
Check your jars once or twice a winter. Look for damp spots or mold.
How to Test Saved Seeds Before Planting
Before you trust your saved seed in spring, test a small sample. This step takes ten days and saves you from a failed planting.
Dampen a paper towel and lay ten seeds on it. Fold the towel over the seeds and slip it into a plastic bag. Leave the bag in a warm spot, but not in hot sun. Check it after five days, then again after ten.
Count how many seeds sprout. If eight or more sprout, the seed is strong. If five to seven sprout, plant the seed thick and thin the young plants later. If fewer than five sprout, do not use that batch. Many home and garden advice writers call this the ten-seed test, and it works for almost every vegetable.
Cost and Price
Seed saving costs almost nothing. Envelopes cost a few cents each. A marker and some labels cost a few dollars and last for years. Glass jars can come from the kitchen. A fine sieve costs a few dollars at most garden centers. The work itself takes minutes here and there through the season.
Against this, the savings are real. A gardener who grows ten kinds of vegetables may spend thirty to sixty dollars a year on seed packets. Saved seed wipes that cost out for the kinds that save well. The main cost is care: you must pick good plants, dry the seed well, and label every batch.
Safety
Seed saving is safe work, but a few simple rules keep it fully safe.
Wear gloves when you handle rough vines, dry pods, or dusty seed heads. Some plants have sharp hairs or edges. Wash your hands after handling seed, and do not eat seed meant for planting. Some seed is treated, and all of it may carry field dust.
Never save seed from sick plants. If a plant shows rot, mold, or strange spots, throw the whole plant away. Saving seed from sick plants can carry the trouble into next year. When you clean wet seed, throw away any batch that smells bad or shows heavy mold.
Keep saved seed away from small children and pets. Store seed jars on a high shelf. Some seeds are not safe to eat, and small seeds can be a choking risk.
Frequently Asked Questions
How long do saved vegetable seeds last?
Most vegetable seeds keep for three to five years in a cool, dry jar. Beans, peas, and tomatoes often last longer. Onion, parsnip, and corn seed lose strength fast and should be used the next spring. The germination test above tells you the true state of any batch.
Can I save seeds from store-bought vegetables?
You can try, but the results vary. Many store vegetables are hybrids, and their seed may not grow true. Some are picked so young that the seed never ripened. For the best results, save seed from ripe fruit grown in your own garden from known open-pollinated types.
How do I keep squash types from crossing?
Squash, pumpkins, cucumbers, and melons cross with nearby plants of the same kind. To keep seed pure, grow only one type of each kind, or keep different types far apart. Hand pollination with a small bag over the flower also works. Many gardening supplies shops sell blossom bags for this job.
Do I need to wash all seeds before storing?
No. Only wet seeds like tomatoes and cucumbers need washing. Dry seeds like beans and peas should stay dry from start to finish. Washing dry seed adds damp that can cause rot. Just clean off the chaff and pack them.
Why did my saved seeds grow into odd plants?
The parent was likely a hybrid, or the flowers crossed with a nearby type. Both are common and both teach the same lesson. Save seed only from open-pollinated types, and give crossing types enough space. Next year the results will match the parent much better.
A Final Word
Knowing how to save seeds from vegetables puts a gardener in charge of the garden from start to finish. The work is simple. Pick the best plants. Clean the seed. Dry it well. Store it cool and dark. Test it in spring. Do this for a few years, and you will have seed that suits your soil, your weather, and your taste better than any packet from a store. Start with beans or tomatoes this season. By next spring, you will wonder why you ever bought seed at all.
References
Bob Vila. (n.d.). Home improvement advice. https://www.bobvila.com Burpee. (n.d.). Seeds, plants, and gardening supplies. https://www.burpee.com Consumer Reports. (n.d.). Product reviews and ratings. https://www.consumerreports.org Corona Tools. (n.d.). Garden and landscape tools. https://www.corona-tools.com Family Handyman. (n.d.). DIY home repair and maintenance. https://www.familyhandyman.com Fiskars. (n.d.). Garden and cutting tools. https://www.fiskars.com Gardener’s Supply Company. (n.d.). Gardening tools and supplies. https://www.gardeners.com Lowe’s. (n.d.). Home improvement products. https://www.lowes.com The Home Depot. (n.d.). Home improvement products. https://www.homedepot.com The Spruce. (n.d.). Home and garden advice. https://www.thespruce.com
Was this guide helpful?

About Jennifer Lee
The My Garden US editorial team writes practical, in-depth home and garden guides for American homeowners — tested advice, no fluff.