Introduction
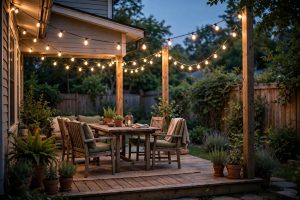
Many decks sit wide open to the street or to a close neighbor. A privacy screen is a simple wall of panels, lattice, or fabric that blocks the view. This guide on how to install deck privacy screen panels walks through the whole job in plain terms. The work is within reach of most homeowners. It takes a weekend, a short list of tools, and a steady hand. The result is a quieter, more private corner of your own yard. You can read a book, eat a meal, or sit with guests without feeling watched. The screen can also cut wind and add shade. With the right plan, the finished job looks like it has always been part of the deck.
Why a Deck Privacy Screen Matters: How to Install Deck Privacy Screen
Privacy and Comfort
The first reason people build a screen is simple. They want to relax. Neighbors walk by. Second-floor windows look down. A screen breaks the line of sight. It gives the deck the feel of an outdoor room. Children can play. Dogs can nap in the sun. Conversation stays private. The deck becomes the most used room of the house in warm months.
Wind and Sun Control
A screen does more than block views. A lattice or slatted screen softens a harsh wind. It does not stop the wind, but it breaks its force. On hot afternoons, a screen on the west side of a deck cuts the late sun. The deck stays cooler. Furniture and cushions fade more slowly. If you care about your outdoor loveseat cushions lasting longer, shade helps as much as covers do.
Property Value and Curb Appeal
A well-built screen improves the look of a home. It frames the deck. It hides an air conditioner, a grill, or a trash bin. Real estate writers often note that finished outdoor space lifts a home’s appeal. A screen is a modest project with a visible payoff. It tells a buyer that the yard is a place to live in, not just to mow.
What to Look for When You Choose a Screen
Measure First
Start with a tape measure. Measure the length of deck railing where the screen will stand. Most screens run from the deck floor to about six feet high. Local rules often cap fence and screen height at six feet. Check with your town or county before you buy. Write down the length in feet. Round up. Buy a little extra material.
Types of Screen Panels
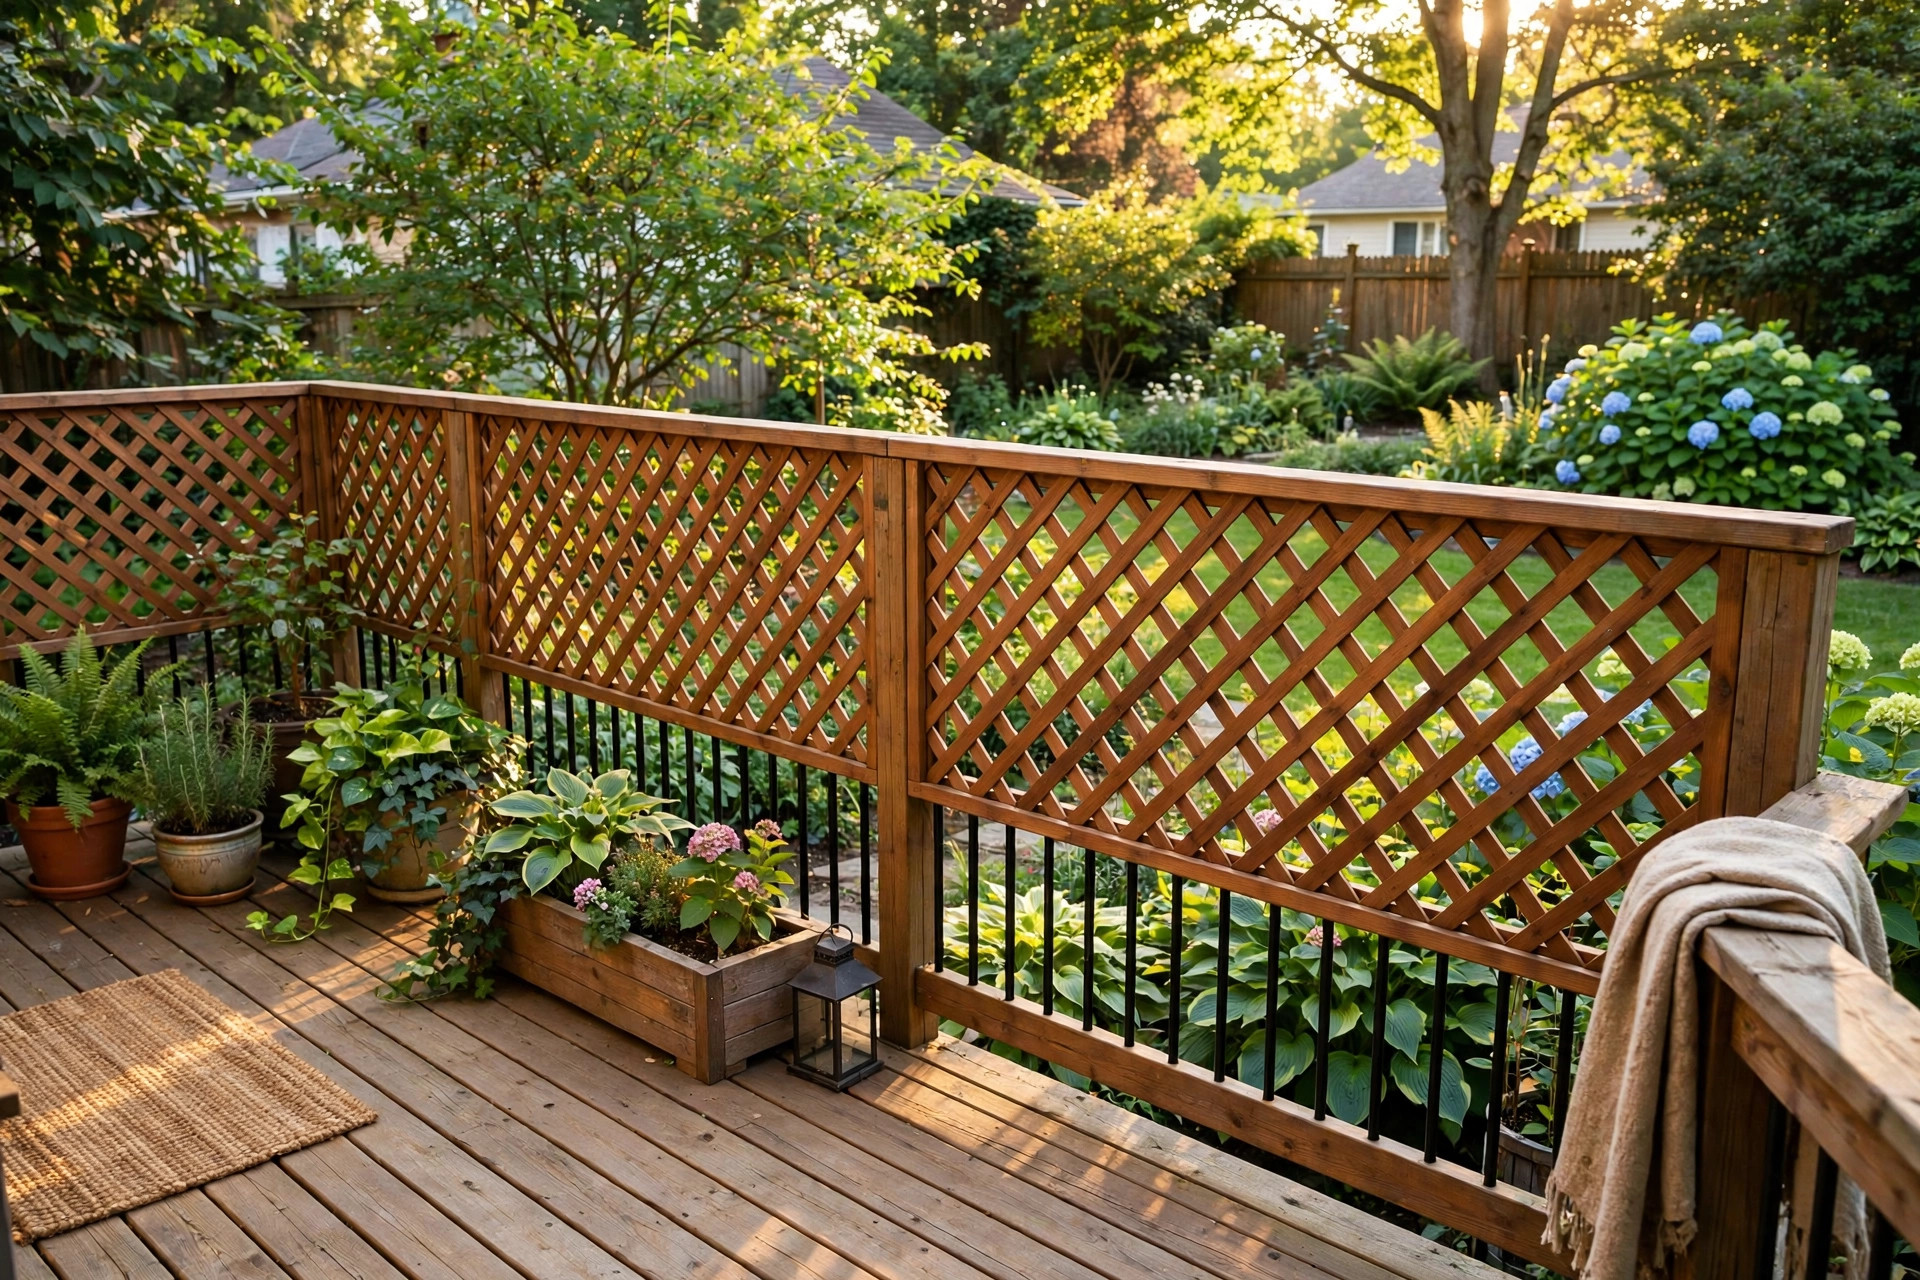
Screens come in several forms. Wood lattice panels are common and cheap. They come in four-by-eight-foot sheets. Vinyl lattice costs more but never needs paint. Slatted wood screens give a modern look. Horizontal boards with small gaps let air through. Fabric screens and shade sails are the cheapest option. They attach with grommets and cable. Bamboo rolls give a quick, natural look. Each type mounts a little differently, but the steps below work for all of them.
Wood, Vinyl, or Fabric
Wood is the classic choice. Cedar and redwood stand up to weather. Pressure-treated pine is cheaper but must dry before you stain it. Vinyl costs more up front but needs almost no care. Fabric is the least lasting. It fades in two or three years. It works well as a trial. If you are unsure where you want the screen, start with fabric. Move it around for a season. Then build the permanent version.
Check Local Rules and Permits
Some towns treat a tall screen like a fence. A permit may be needed. Homeowner associations often have rules on color, height, and style. Call the town office and read the association rules. It takes an hour. It saves a tear-down order later. If you rent, ask the landlord in writing.
Tools and Materials List
Gather the tools before you start. You will need a tape measure, a level, a drill with bits, a circular saw or hand saw, a hammer, and a post-hole digger if you add posts. You will also need screws rated for outdoor use, brackets or L-braces, concrete mix if you set posts, and the panels themselves. Add safety glasses and work gloves. A helper makes the job far easier. Panels are light but awkward.
How to Install a Deck Privacy Screen
Step 1: Plan the Layout
Mark the line of the screen with a chalk line or a string. Keep it inside the deck edge by at least two inches. Check that doors and gates still swing clear. Look at where the sun falls in the afternoon. The screen works best on the west or north side of most American decks. Decide where each post or support will go. Supports should be no more than four feet apart for lattice, and six feet apart for heavy boards.
Step 2: Attach to the Existing Railing
The simplest method uses the deck railing you already have. Most railings have a top rail and posts. You can bolt screen posts to the inside face of the railing posts. Use carriage bolts, not nails. Drill pilot holes first to keep the wood from splitting. Check each post with a level. The post must stand straight up. A leaning post makes a leaning screen.
Step 3: Add New Posts if Needed
Some decks have no railing, or the railing is weak. Then you must set new posts. Dig holes twelve inches wide and below the frost line. In most states this means twenty-four to thirty-six inches deep. Set the post in the hole. Pour dry concrete mix around it. Add water. Check the level again as the concrete sets. Let it cure for a day before you hang panels. Guides at hardware retailers such as Home Depot show depth charts by state.
Step 4: Cut the Panels to Size
Measure the space between posts. Subtract a quarter inch for ease. Mark the panel and cut it with a circular saw. For lattice, put tape along the cut line to stop splintering. Cut slowly. Let the saw do the work. Wear safety glasses. Sawdust from treated wood is not healthy to breathe. A dust mask is a wise extra.
Step 5: Mount the Panels
Hold the panel in place. A helper is worth the trouble here. Drive screws through the panel frame into the post. Use two screws top and bottom on each side. For vinyl panels, drill the holes a little larger than the screw. Vinyl swells in heat. The larger hole lets it move. For fabric screens, screw eye bolts into the posts and hook the grommets with short bungee cords. The cords keep the fabric tight in wind. Home design sites like Bob Vila and HGTV offer photo guides that show the screw pattern up close.
Step 6: Add a Top Cap
A top cap is a flat board laid across the tops of the posts. It ties the posts together. It also gives the screen a finished look. Cut a two-by-six to run the full length. Screw it down into each post top. Sand the edges smooth. The cap also sheds rain off the post ends. This small step adds years to a wood screen.
Step 7: Finish and Seal
Paint or stain protects wood. Let new pressure-treated wood dry for four to six weeks first. Stain soaks in and shows the grain. Paint covers the grain but lasts longer. Either way, seal all six sides of each board if you can. The bottom edge matters most. It sits closest to the damp deck. Product testers at Consumer Reports compare outdoor finishes each year and note that two thin coats beat one thick coat.
Cost and Price Guide
A deck privacy screen is not a costly project. A four-by-eight wood lattice sheet costs about twenty to forty dollars. Screws, brackets, and stain add another fifty to eighty dollars. A thirty-foot screen built from lattice and new posts often runs three hundred to six hundred dollars in materials. Vinyl panels cost twice as much. Fabric screens are the cheapest. A thirty-foot run of shade fabric with hardware can cost under one hundred dollars. Hiring a carpenter adds labor. Expect two hundred to five hundred dollars per day of labor in most regions. Most screens take one to two days for a pro. Doing it yourself saves that cost in full. Compare prices at stores like Lowe’s and Wayfair before you buy. Prices shift with the season. Spring is the high season for deck goods.
Care and Upkeep
Seasonal Checks
Walk the screen each spring. Look for loose screws. Tighten them. Check for cracked lattice and warped boards. Replace damaged pieces while the damage is small. Push on each post. If a post wobbles, the footing may have failed. Fix it before a storm does. A yearly check takes twenty minutes. It stops small faults from growing.
Cleaning the Panels
Wash the screen once a year. A garden hose and a soft brush do the job. Mild dish soap cuts grime. Do not use a harsh pressure washer on wood lattice. It tears the thin strips. For mildew, mix one part white vinegar with three parts water. Scrub, then rinse. Vinyl can take a pressure washer on a low setting. Fabric screens can be taken down and washed with soap and water. Outdoor living guides at The Spruce suggest cleaning before you stain, so the finish bonds well.
Restaining and Repairs
Restain wood every two to three years. The sun breaks down finish faster on the south and west sides. Watch those sides. Sand lightly before you recoat. Touch up paint chips at once. Bare wood rots fast. Keep plants trimmed back from the screen. Leaves trap damp air against the boards. Metal brackets can rust. A guide to rust prevention for patio metal applies here too. Swap rusted screws for stainless ones. Stainless costs more but never rusts.
Safety Notes
Work safe from the first step. Wear safety glasses when you drill and saw. Wear gloves when you lift posts and panels. Splinters are a small but real risk. Keep the work area clear of children and pets. Concrete dust burns skin and lungs. Wear a mask when you mix it. If your deck is high off the ground, use a stable ladder or a scaffold. Never lean far out past a railing. Call the utility locator before you dig near the deck. In most states, the free 811 service marks buried lines. A cut gas or power line is a disaster. Take the free call.
Frequently Asked Questions
How tall should a deck privacy screen be?
Six feet is the common height. It blocks the view of a standing adult. Many local codes cap screens at six feet. Measure from the deck floor. If your town allows it, seven feet gives more shade. Higher screens catch more wind. They need stronger posts.
Can I install a privacy screen on a deck without a railing?
Yes. You must set new posts in concrete footings. The steps above cover this. Make sure the deck frame can hold the extra weight and wind load. A heavy screen on a weak deck is unsafe. When in doubt, ask a local builder.
Will a privacy screen block all wind?
No. A solid screen blocks most wind but acts like a sail. This is why many builders prefer lattice or slatted screens. Gaps of one to two inches let air pass. The wind force drops sharply. The deck stays calm enough for dinner. Full blockage is rarely worth the risk.
How long does a wood privacy screen last?
A cedar screen with good finish lasts fifteen to twenty years. Pressure-treated pine lasts ten to fifteen years. Vinyl lasts twenty-five years or more. Fabric lasts two to four years. Care is the deciding factor. A neglected screen rots in half the time. Keep up the checks and the finish.
Do I need a permit for a deck privacy screen?
It depends on your town. Many towns require a permit for any structure over six feet tall. Some require permits for any screen at all. Homeowner associations add their own rules. Call before you build. A permit is cheap. A fine and a tear-down are not.
Can I attach a screen to a vinyl or composite railing?
Yes, but with care. Composite railings are hollow. Screws alone will pull out. Use through-bolts with washers on the far side. Spread the load. Check the railing maker’s guide first. Some makers void the warranty if you drill. A freestanding post just inside the railing avoids the issue.
A Final Word
Learning how to install deck privacy screen panels is a weekend project with a long reward. Plan the layout. Check the rules. Set the posts straight. Hang the panels with care. Seal the wood. The deck turns into a private outdoor room. You will use it more. The cost is modest. The comfort is real. For more help with outdoor projects, see our guides on heavy-duty patio furniture covers and outdoor living ideas from Frontgate, Article, and Polywood.
References
Article. (n.d.). Modern furniture. https://www.article.com Bob Vila. (n.d.). Home improvement advice. https://www.bobvila.com Consumer Reports. (n.d.). Product reviews and ratings. https://www.consumerreports.org Frontgate. (n.d.). Outdoor furniture and decor. https://www.frontgate.com HGTV. (n.d.). Home and garden ideas. https://www.hgtv.com Lowe’s. (n.d.). Home improvement products. https://www.lowes.com Polywood. (n.d.). Outdoor furniture. https://www.polywood.com The Home Depot. (n.d.). Home improvement products. https://www.homedepot.com The Spruce. (n.d.). Home and garden advice. https://www.thespruce.com Wayfair. (n.d.). Furniture and home goods. https://www.wayfair.com
Was this guide helpful?

About David Wilson
The My Garden US editorial team writes practical, in-depth home and garden guides for American homeowners — tested advice, no fluff.