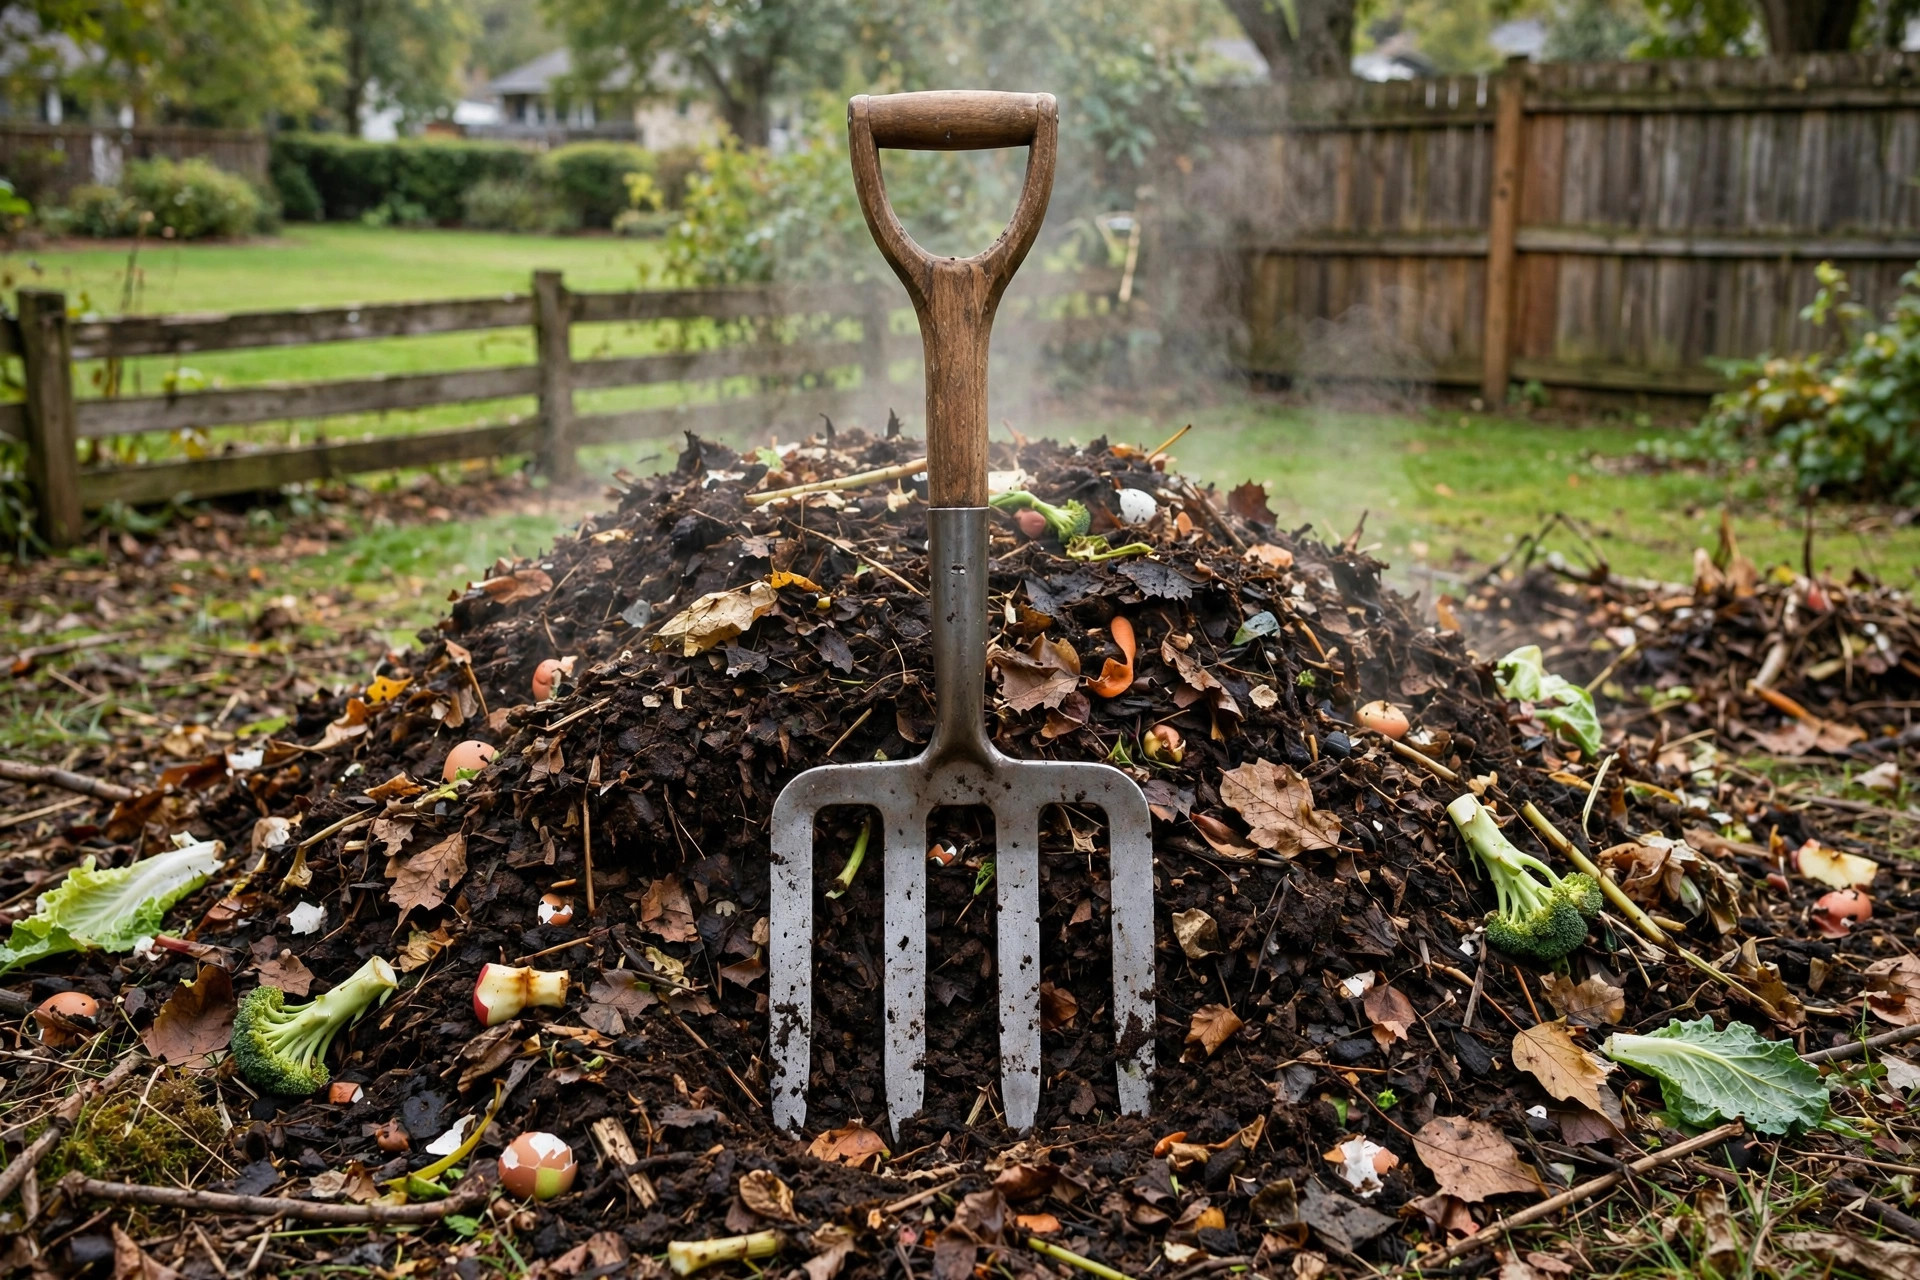

Turning a compost pile is simple work, but it asks for the right tool. A shovel cuts and scoops. A fork lifts and aerates. The best garden fork for turning compost does both jobs well, and it does them without straining your back. Compost needs air to break down. When a pile sits packed and still, the center overheats while the edges stay cool. Material mats together and decay slows. A fork opens the pile, mixes greens and browns, and lets oxygen back in. The work takes minutes with a good fork and twice as long with a poor one. This guide explains what makes a fork right for compost, which features matter most, what you can expect to pay, and how to keep your tool in shape for years.
Why Turning Matters for Compost
Compost is alive. Tiny organisms do the work of decay, and most of them need oxygen. Without air, a pile turns slimy and sour. The smell tells you the truth. A well-turned pile smells like forest soil. A neglected pile smells like rot.
Turning does three things at once. It adds air. It mixes wet and dry material. It moves the outer edges into the hot center, where decay works fastest. Most home piles need turning every one to three weeks in warm weather. In cold months, less often is fine.
The right fork makes this job light. Tines slide between material instead of fighting it. The pile lifts and falls apart. Heavy kitchen scraps and wet leaves move with little effort. With a poor tool, every forkful feels like a fight. Composters who hate turning usually hate their tool, not the chore. Guides at The Spruce explain how aeration speeds up the whole composting process, and their point matches what gardeners learn by doing: air is the main ingredient.
What to Look for in a Compost Fork: Best Garden Fork for Turning Compost
Tines: Count, Shape, and Spacing
A standard digging fork has four square tines. For compost, that is the right starting point. Four tines catch enough material to move a full load but leave enough gaps for fines to fall through. Flat tines bend less under wet loads than thin round ones. Look for tines about 11 to 12 inches long. Longer tines reach deep into tall piles. Shorter tines suit shallow bins.
Spacing matters too. Tines set too close together act like a shovel and push material. Tines set too wide let everything fall through. The middle range, roughly one and a half to two inches apart, lifts compost well.
The Handle: Length and Grip
Compost forks come with D-handles, T-handles, and long straight handles. For turning a pile, a D-handle gives the best control. Both hands work close to the tool, and the D shape stops the fork from twisting in wet material. A long handle suits tall bins where you need reach, but it gives less leverage for heavy lifting.
Length should match your height. Stand the fork upright. The top of the handle should reach your chest or chin. A handle too short forces you to bend. A handle too long is awkward to lift. Ash wood handles absorb shock and feel warm in cold weather. Fiberglass handles cost more but never split and stand up to years of wet work.
Steel Quality and Construction
Cheap forks bend. The head is stamped thin, and the tines curl the first time you lever a heavy load. A good fork uses forged carbon steel or boron steel. The tines keep their shape. The neck where head meets handle should be one solid socket, not a thin tang that wobbles loose.
Check the weight. A fork head around two to three pounds feels balanced. Lighter forks flex too much. Heavier forks tire your arms over a long turning session. Hold the tool before you buy when you can. Reviews at Consumer Reports often note that solid socket construction is the single best predictor of a garden tool’s long life, and compost forks are no exception.
Types of Forks You Can Use for Compost
The Digging Fork
The digging fork is the classic choice. Four flat tines, a D-handle, a sturdy socket. It turns compost, breaks up matted layers, and handles finished compost at the end. If you buy only one fork, make it a digging fork. Makers like Fiskars and Corona Tools sell forged models that gardeners use for decades.
The Border Fork
A border fork is a smaller digging fork. The head is narrower and the handle shorter. It works well in small bins and tumblers where a full-size fork cannot turn. It also suits smaller gardeners. The trade is leverage: moving a big pile with a border fork takes more passes.
The Compost Aerator Tool
Some tools are made only for aeration. They have a long shaft and folding wings that open inside the pile. You push the tool down and pull up, and the wings stir the material. These tools reach the center of deep piles without full turning. They do not replace a fork, but they work between full turnings. Gardeners at Gardener’s Supply Company often pair an aerator with a good fork for the best of both methods.
The Pitchfork
A pitchfork has long, thin, rounded tines made for loose hay. It moves dry leaves into a pile nicely. It is a poor choice for wet, heavy compost because the thin tines bend and the load slips off. Use a pitchfork to build the pile, then switch to a digging fork to turn it.
Cost and Price: What to Expect
A basic compost fork costs between 25 and 45 dollars at stores like The Home Depot and Lowe’s. These forks work, but the steel is softer and the handles are shorter lived. Expect three to five years of steady use.
Mid-range forks run 50 to 80 dollars. The steel is forged, the socket is solid, and the handle is ash or fiberglass. This is the sweet spot for most composters. A 60-dollar fork that lasts twenty years costs three dollars a year.
Premium forks cost 90 to 130 dollars or more. You pay for better balance, lifetime warranties, and handles shaped for comfort. For someone who turns a large pile every week, the comfort is worth it. Whatever you spend, the fork is one of the cheapest parts of composting. The pile itself is free.
Care and Upkeep
Compost is wet and acidic. It eats tools that are left dirty. A few simple habits keep a fork working for years.
Clean the tines after each use. Knock off stuck material and rinse with a hose. Dry the fork before you put it away. Wet steel rusts in the shed. Rub a thin coat of oil on the head once a season. Linseed oil on the wooden handle keeps it from drying and splitting. Sandpaper takes off rough spots that cause blisters.
Store the fork hanging on a wall, tines down, or standing head-up in a dry corner. Never leave it lying in the pile. Moisture and acids attack the socket first, and a loose head is the most common reason forks get thrown away. Project guides at Family Handyman and Bob Vila both stress that dry storage matters more than any coating for tool life.
Safety While Turning Compost
A fork is a simple tool, but a compost pile has its own hazards. Wear gloves. Finished compost is safe to handle, but fresh material can hold mold spores, sharp sticks, and thorns. A dust mask helps on dry, dusty days when turning throws fine particles into the air.
Watch your footing. Wet compost is slippery, and a pile edge can give way. Stand with your feet planted and lift with your legs, not your back. Take a break before you get tired. Tired muscles make sloppy moves, and sloppy moves lead to a tine in a boot or a pulled back.
Keep children and pets clear of the work area. A swinging fork head is heavy enough to hurt. When you set the fork down, lay it flat with the tines pointing away from foot traffic, or stand it tines-down in the pile. Never leave a fork leaning against a bin where it can slide and fall. If your garden soil is heavy as well as your compost, the best garden fork for clay soil follows the same safety rules with a shorter, stouter head.
Frequently Asked Questions
Can I use a regular shovel instead of a fork to turn compost?
You can, but a fork works better. A shovel blade pushes through packed material and does not let air in as it lifts. The gaps between fork tines let fine material fall back through, which breaks up clumps naturally. A shovel is the right tool for moving finished compost into a wheelbarrow. For turning, use the fork.
How often should I turn my compost pile?
Every one to three weeks in warm weather is enough for most home piles. A pile turned weekly finishes fastest. A pile turned monthly still finishes, just slower. If the pile smells sour or feels cold and wet, turn it right away. If it steams when you open it, the microbes are working and you can leave it alone for a while longer.
Should the fork tines be flat or pointed?
Flat tines are better for compost. They are wider, stronger, and less likely to bend under a wet load. Pointed tines suit hard, dry ground where the fork must pierce first. Compost is soft. You want lift, not penetration. Most digging forks sold today have flat tines for this reason.
What size fork is best for a small compost bin?
Use a border fork or a short D-handle fork. A full-size fork cannot turn inside a narrow bin, and you will spend the whole job fighting the bin walls. If you are starting from scratch, a sturdy bin helps as much as a good fork. You can learn how to build a compost bin cheap from simple pallets or wire mesh, and size your fork to match.
Does a more expensive fork really make turning easier?
Up to a point, yes. The jump from a 30-dollar fork to a 60-dollar fork is real: better steel, better balance, a socket that stays tight. Past about 80 dollars, you pay for comfort and warranty rather than turning power. A mid-range forged fork turns compost as well as anything on the market.
Can I turn compost in winter?
You can, but it helps less. Cold slows the microbes, so winter turning does not speed decay much. Still, one midwinter turn mixes the pile and sets it up for a fast start in spring. Wear warm gloves with good grip, because cold steel handles get slippery. Suppliers like Burpee note in their composting guides that a fall turn, plus a layer of leaves on top, keeps a pile working later into the season.
A Final Word
The best garden fork for turning compost is the one that fits your hands, your pile, and your budget. Four flat tines. A solid socket. A handle at the right height. Those three things matter more than brand names or fancy features. Turn your pile every week or two, clean the fork when you finish, and store it dry. The pile will reward you with dark, sweet-smelling compost, and the fork will still be working long after the first batch is spread on the garden. Finished compost is a fine mulch for beds and trees too, and if you collect fall leaves, you may enjoy learning how to make leaf mold compost as a next project.
References
Bob Vila. (n.d.). Home improvement advice. https://www.bobvila.com Burpee. (n.d.). Seeds, plants, and gardening supplies. https://www.burpee.com Consumer Reports. (n.d.). Product reviews and ratings. https://www.consumerreports.org Corona Tools. (n.d.). Garden and landscape tools. https://www.corona-tools.com Family Handyman. (n.d.). DIY home repair and maintenance. https://www.familyhandyman.com Fiskars. (n.d.). Garden and cutting tools. https://www.fiskars.com Gardener’s Supply Company. (n.d.). Gardening tools and supplies. https://www.gardeners.com Lowe’s. (n.d.). Home improvement products. https://www.lowes.com The Home Depot. (n.d.). Home improvement products. https://www.homedepot.com The Spruce. (n.d.). Home and garden advice. https://www.thespruce.com
Was this guide helpful?

About David Wilson
The My Garden US editorial team writes practical, in-depth home and garden guides for American homeowners — tested advice, no fluff.
You May Also Like
How to Harden Off Seedlings Before Planting: A Simple Day by Day Plan
June 28, 2026 0 views
How to Make Leaf Mold Compost: A Plain Guide
September 11, 2026 0 views
Seed Starting Trays with Dome Reviews: What to Know Before You Buy
September 1, 2026 0 views