
Clay soil is hard to work. When it is dry, it sets like brick. When it is wet, it sticks to everything like wet cement. A common garden fork bends or snaps under this strain. That is why the search for the best garden fork for clay soil matters to so many gardeners. The right tool saves your back, saves your time, and lets you shape a garden bed out of ground that fights you.
A garden fork is not a shovel. A shovel lifts soil. A fork loosens it, lifts it, and breaks it apart. In clay ground, this is the work that counts. This guide walks through what makes a fork strong enough for clay, the main types you can buy, what you should pay, and how to use and care for your fork so it lasts for years.
Why Clay Soil Needs a Special Fork
Clay is made of very fine grains packed tight. Water drains slow through it. Roots have a hard time pushing through. When you dig into clay with a cheap fork, three things go wrong. The tines bend sideways. The handle cracks where it meets the head. The socket that holds the head comes loose.
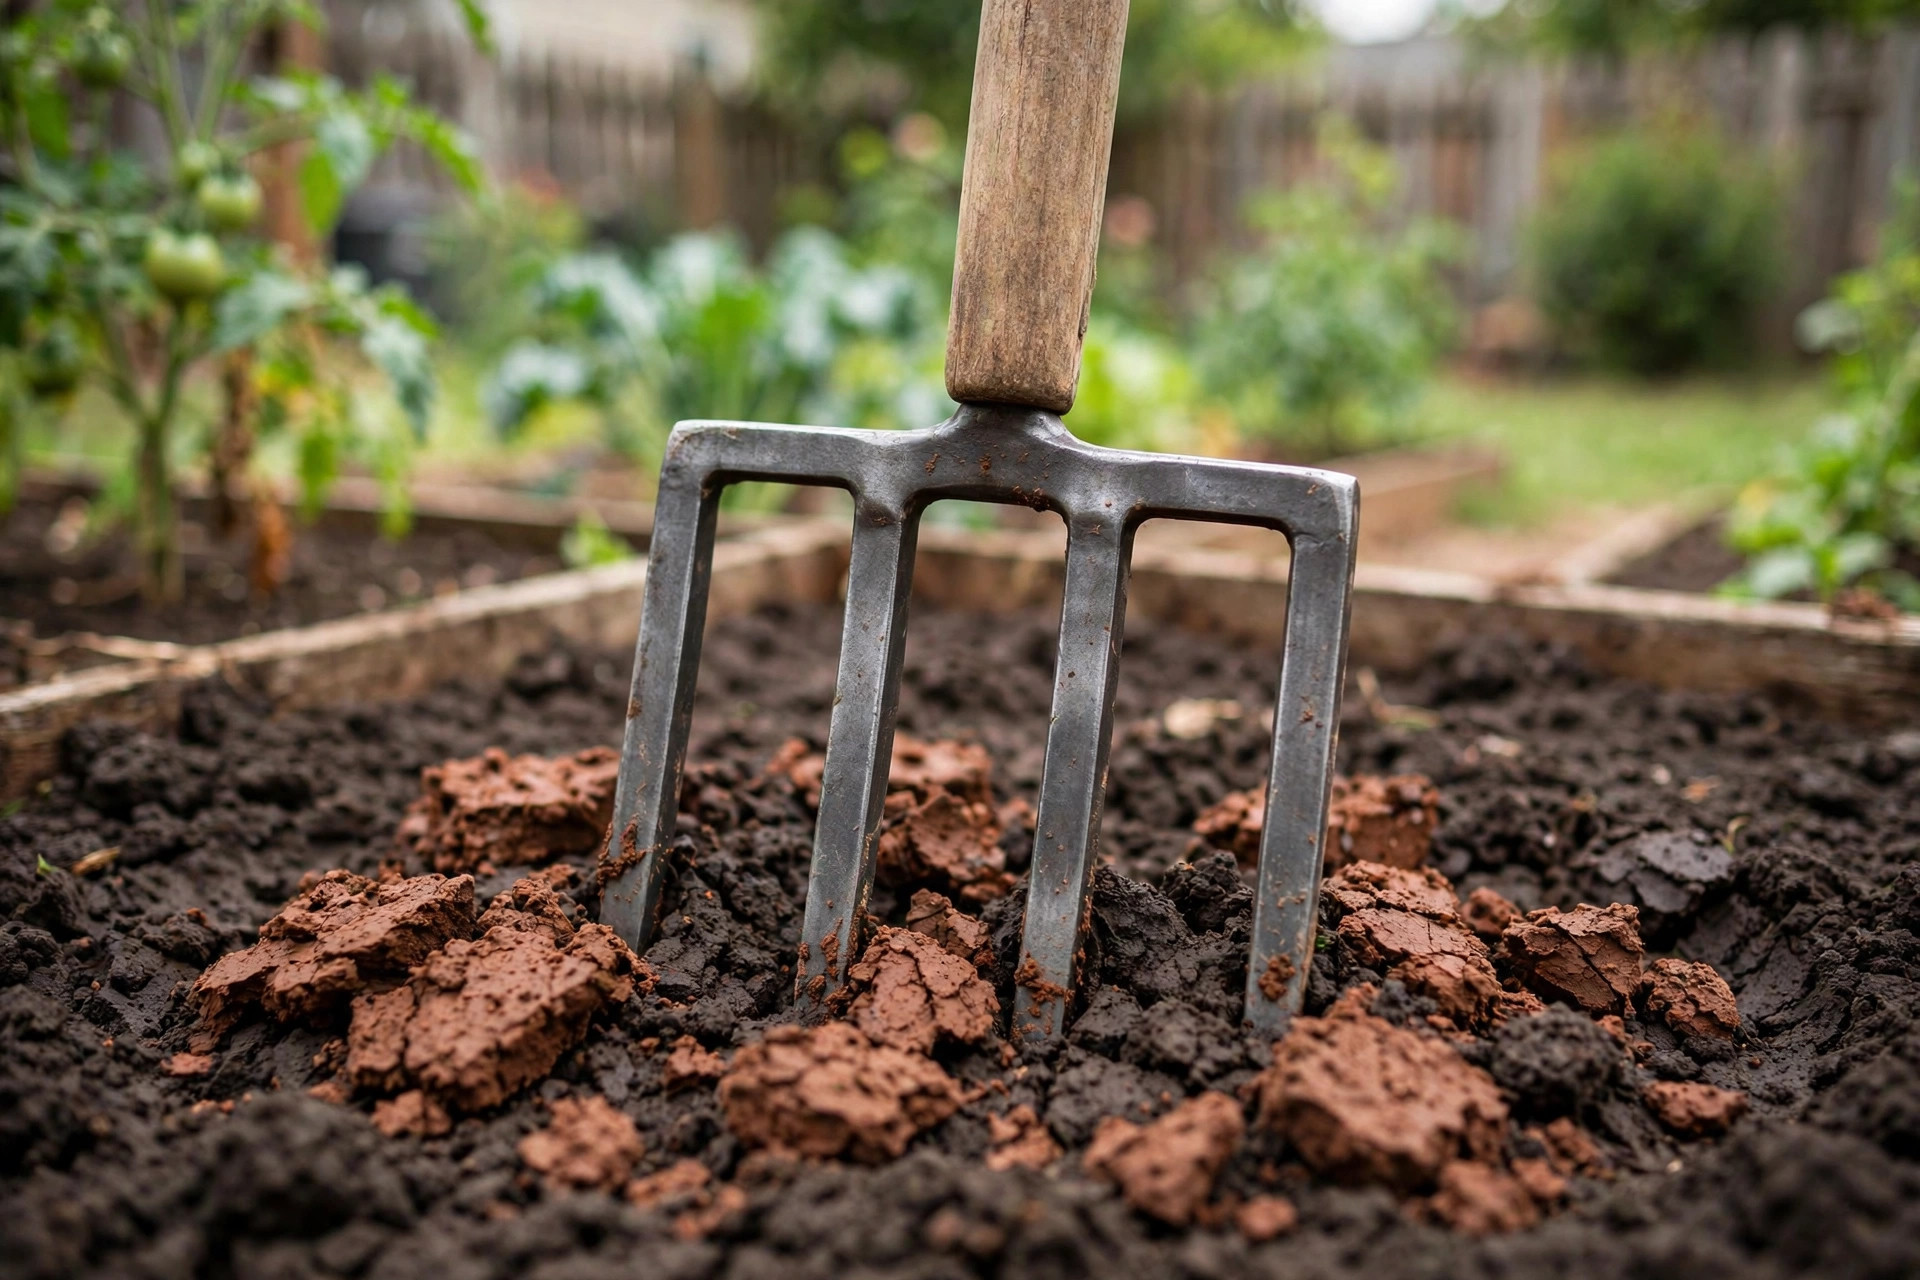
A fork built for clay is made of better steel. The tines are thick and square or flat, not thin and round. The head is forged, which means it is shaped from one piece of hot metal, not cast from melted metal in a mold. Forged heads do not snap at the weak points where tines meet the head. You will also find stronger handles and a longer socket, which is the metal neck that joins the head to the handle.
Gardening sites like The Spruce often point out that the right tool for heavy soil makes the work safer. When a fork bends mid-stroke, your body takes the shock. A rigid fork moves the soil, not you.
What to Look for in a Garden Fork for Clay Soil: Best Garden Fork for Clay Soil
The Head
Look for a forged carbon steel head. Carbon steel is tougher than plain steel and holds its shape under strain. The tines should be square or flat in cross-section. Flat tines slide into clay with less resistance than round ones, and they do not twist when you pry.
The number of tines matters too. Four tines is the standard for a digging fork. Some forks have five or six, which spreads the load and is good for lifting, but four stout tines dig better in clay.
Check the socket. It should run at least six inches up the handle. A long socket spreads the force of prying over more of the handle, so the wood does not crack at the joint. For more on keeping your handles strong, read our guide on how to sharpen garden tools properly.
The Handle
Wood handles made of ash or hickory are the classic choice. They are strong, and they absorb shock better than steel or fiberglass. A T-handle gives a firm grip for pushing down. A D-handle gives more control for lifting and turning. For clay digging, many gardeners prefer the D-handle because it keeps the hands centered and the grip sure when you pry hard.
Fiberglass handles are lighter and will not rot. They are a fair choice if you store tools outdoors or in a damp shed. Steel shafts are the strongest of all, but they pass every shock straight into your wrists and shoulders.
Length and Weight
A digging fork for clay is usually about 40 to 45 inches long overall. The handle alone is around 28 to 30 inches. Heavier is not always better, but a fork that weighs five to seven pounds has the heft to sink into clay without you stomping on it.
Retailers such as Home Depot and Lowe’s list fork weight and tine count in the product details, so compare before you buy.
Types of Garden Forks for Heavy Clay
Digging Fork
This is the main tool for clay. Four stout, flat tines, about 11 to 12 inches long. It digs, loosens, and turns heavy ground. If you buy only one fork for clay, buy this one.
Border Fork
A smaller version of the digging fork, with a shorter handle and a narrower head. It is good for tight spots between plants, but it lacks the leverage to break new clay ground. Use it for light work in beds you have already opened up.
Spading Fork
A spading fork has flat, blade-like tines, often with sharpened edges. It cuts through clay and roots at once. Some gardeners use it as a middle ground between a spade and a digging fork.
Compost and Manure Fork
Long, thin, bent tines made for lifting light loads like straw and compost. This fork is not meant for clay. It will bend on the first hard push.
Tool makers like Fiskars and Corona Tools make digging forks with reinforced heads that stand up to heavy ground. Reading the product tests at Consumer Reports can help you compare build quality across brands.
Cost and Price
A garden fork for clay costs more than a basic hardware store fork, but the price is fair for the steel you get.
– Basic digging fork: 25 to 40 dollars. Fine for light soil, risky for clay. – Mid-range forged fork: 45 to 80 dollars. The sweet spot for clay. Forged head, ash handle, solid socket. – Professional-grade fork: 90 to 150 dollars. Thicker tines, longer socket, often with a lifetime warranty.
Prices shift with the season. Spring often brings sales at Gardeners Supply Company and the big home centers. A good fork is a buy-once purchase. The cheap fork you replace every two years costs more in the end.
Do not forget the cost of soil improvement. Mixing compost into clay makes digging easier year after year. For bed building, see our piece on the best soil for raised vegetable beds.
How to Use a Garden Fork in Clay Soil
Technique matters as much as the tool. Good technique keeps both the fork and your back in one piece.
Dig When the Soil Is Right
Never dig clay when it is waterlogged. The tines slide in, but the soil sticks to everything and comes up in heavy slabs. Never dig it bone dry either. It will be rock hard, and you will bounce the fork off it.
The right time is a day or two after rain. The soil should be moist but crumbly. Squeeze a handful. It should form a loose ball that falls apart when you poke it. That is diggable clay.
The Rocking Method
Push the fork straight down with your foot on the shoulder of the head. Then rock the handle back and forth a few times before you lift. This breaks the clay into chunks around the tines. Then lift with your legs, not your back, and shake the clay off the tines.
Work in Small Bites
Take bites about six inches deep and a foot wide. Deep, wide bites sound faster, but they overload the fork and your back. Small bites let the tines do the breaking. Patience wins in clay.
Amend as You Go
Break up the clay, then mix in compost, leaf mold, or aged manure. Fork the amendment into the top eight inches. The organic matter opens up the clay structure so water drains and roots spread. Over two or three seasons, this changes the soil itself. Seed and plant suppliers like Burpee carry soil amendments and cover crop seed that help clay ground.
The Family Handyman site has step-by-step soil improvement projects that pair well with a new digging fork.
Care and Upkeep
Clean the tines after every use. Clay dries on steel like concrete. A stiff brush and a hose take it off while it is fresh. If clay has dried hard, soak the head in a bucket of water, then scrub.
Oil the head once a month in the growing season. A light coat of linseed oil or even vegetable oil keeps rust off. Rust pits the tines and makes clay stick worse.
Sand the handle smooth once a year. Splinters come from weathered wood. Rub the handle with medium sandpaper, then wipe on boiled linseed oil. The oil feeds the wood and keeps it from drying out and cracking.
Store the fork indoors, head down or hung on a hook. Leaving it outside in rain and sun ruins both the steel and the handle. Keep it away from the damp corner of the shed.
Sharpening matters less for a digging fork than for a spade, but square tines with clean edges slide into clay better. A metal file run along the front edges of the tines once a season keeps them sharp. Project guides at Bob Vila cover basic tool maintenance in plain steps.
Safety
Wear sturdy boots with thick soles. You will stand on the fork’s shoulder, and a thin shoe sole lets the steel press into your foot. Gloves with good grip stop blisters and keep your hands on the handle when it is wet.
Lift with your legs. A fork full of wet clay is heavy. Bend your knees, keep your back straight, and let your legs do the work. Rest often. Clay digging is hard labor, and tired muscles lead to slips.
Check the fork before each use. Look for cracks in the handle, a loose head, or bent tines. A fork that breaks mid-stroke can throw you forward. If the head is loose in the socket, drive the handle back in and pin it tight before you dig.
Keep the tines away from buried lines. Call your local utility marking service before you dig deep in a new area. Tines go deep, and gas or cable lines are closer to the surface than most people think.
FAQ
Can a garden fork really work in heavy clay?
Yes, if it is a forged digging fork with stout tines. A cheap cast fork will bend. A forged fork with thick, flat tines breaks clay into chunks without damage.
Should I wet clay soil before digging?
Light moisture helps. Water the ground a day before you dig, or work a day or two after rain. Waterlogged clay is worse than dry clay, so do not soak it.
Is a garden fork or a shovel better for clay?
Use both. The fork breaks up and loosens the clay. The shovel lifts and shapes it. For the first pass through hard clay, the fork is the better tool.
How do I stop clay from sticking to the fork?
Keep the tines clean and lightly oiled. Dig at the right moisture level. Some gardeners spray the tines with a cooking-oil spray before heavy digging sessions. It washes off and works well.
What length handle is best for clay digging?
A standard 28 to 30 inch handle gives the right leverage for most adults. Shorter people may do better with a slightly shorter handle. The key is comfort at full push.
When should I replace my garden fork?
Replace it when tines bend and will not straighten, when the handle cracks deep, or when the head wobbles in the socket. A good fork lasts decades with care.
A Final Word
The best garden fork for clay soil is a forged digging fork with thick flat tines, a long socket, and an ash or hickory handle. It costs more than the cheap fork at the discount rack, but it earns that price on the first hard dig. Pair it with good technique, steady soil improvement, and simple care, and your clay ground will turn into a garden that grows. If you also tend beds with lighter work, pair your fork with the right companion tools like a garden hoe for weeding and you will be ready for the whole season.
References
Bob Vila. (n.d.). Home improvement advice. https://www.bobvila.com Burpee. (n.d.). Seeds, plants, and gardening supplies. https://www.burpee.com Consumer Reports. (n.d.). Product reviews and ratings. https://www.consumerreports.org Corona Tools. (n.d.). Garden and landscape tools. https://www.corona-tools.com Family Handyman. (n.d.). DIY home repair and maintenance. https://www.familyhandyman.com Fiskars. (n.d.). Garden and cutting tools. https://www.fiskars.com Gardener’s Supply Company. (n.d.). Gardening tools and supplies. https://www.gardeners.com Lowe’s. (n.d.). Home improvement products. https://www.lowes.com The Home Depot. (n.d.). Home improvement products. https://www.homedepot.com The Spruce. (n.d.). Home and garden advice. https://www.thespruce.com
Was this guide helpful?

About Jennifer Lee
The My Garden US editorial team writes practical, in-depth home and garden guides for American homeowners — tested advice, no fluff.
You May Also Like
Best Garden Kneeler With Handles Reviews: A Complete Buying Guide
January 15, 2026 0 views
Compost Accelerator for Faster Breakdown: A Practical Guide
May 6, 2026 0 views
The Best Garden Gloves for Landscaping Work: A Buyer Guide
January 16, 2026 0 views