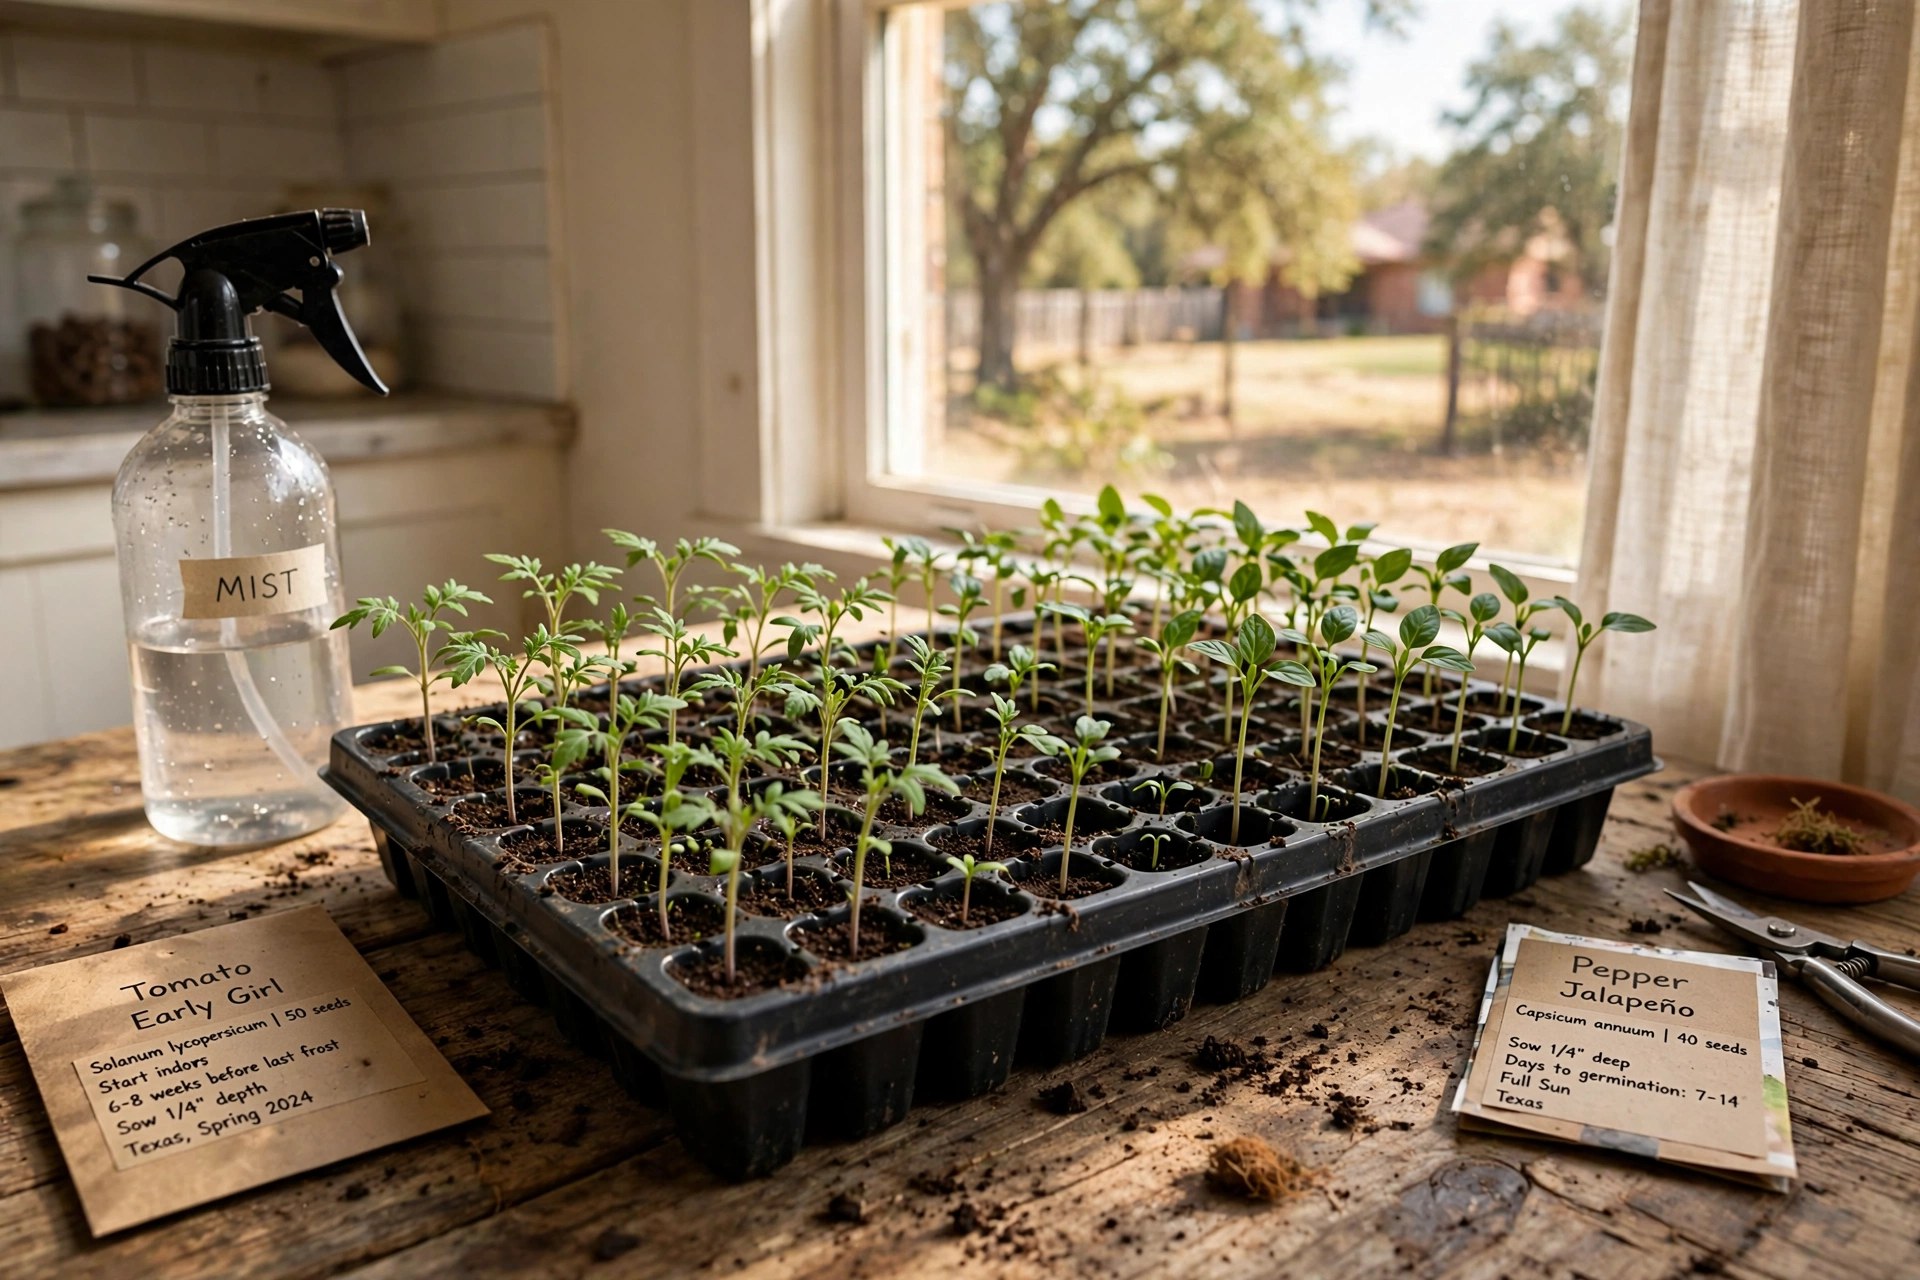
Texas has a long growing season, but the heat comes fast and the spring weather swings hard. Tender plants need a head start indoors. That is where seed starting trays Texas homes USA gardeners rely on make a real difference. These simple trays hold soil and seeds in neat rows on a table or shelf. They give seeds steady warmth and moisture. They protect young plants from wind and cold nights. A tray of seedlings can be ready to move outside just when the weather turns. That head start can mean more tomatoes, more peppers, and more flowers. For anyone new to gardening in Texas, a good tray is one of the cheapest tools with the biggest payoff. This guide explains why trays matter, how to choose them, what kinds exist, what they cost, and how to keep them working year after year.
Why Seed Starting Trays Matter in Texas
Texas weather is hard on new plants. Spring can bring warm days and cold nights in the same week. Summer heat arrives early in the south. Seeds planted straight in the ground face all of these swings. Many fail to sprout. Others sprout and die in a late freeze. Starting seeds indoors removes much of this risk. You control the soil, the water, and the warmth. The plants grow strong roots before they face the real world.
Timing matters in Texas. The state stretches across many climate zones. North Texas can freeze into April. South Texas may be warm in February. The Old Farmer’s Almanac publishes frost dates that help gardeners plan, and you can check them at Almanac. Seed starting trays let you work back from those dates. Count back the weeks each seed needs. Start them indoors on time. When the frost danger passes, your seedlings are ready to go out.
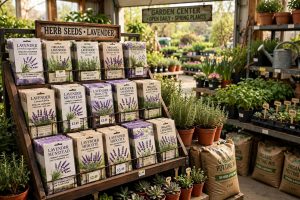
Trays also save money. Seed packets cost little. One packet can fill several trays. Buying the same number of nursery plants would cost far more. Trays give access to more plant kinds too. Nurseries carry common types. Seed sellers like Burpee and Park Seed offer hundreds of varieties. Many heirloom tomatoes and peppers never appear on store shelves. With a tray, you can grow them all.
Trays also stretch the season on both ends. In fall, many Texas gardeners start a second round of seeds indoors while the summer garden is still producing. The young plants go out as the heat fades. This can add months of harvest time in one year. Without trays, that second season is much harder to time right.
Warm-season crops gain the most from indoor starting. Tomatoes, peppers, eggplant, and okra all like a long warm season to ripen. Starting them inside gives them extra weeks of growth. Cool-season crops like lettuce and spinach can go straight in the ground in fall and late winter. Flowers such as marigolds and zinnias also start well in trays. Match the method to the plant for the best result.
How to Choose the Right Trays: Seed Starting Trays Texas Homes Usa
Not all trays are the same. A few simple points make the choice easy.
Cell Size
Trays come with cells of different sizes. Small cells suit small seeds like herbs and flowers. Larger cells suit tomatoes, peppers, and squash. Big cells hold more soil. More soil means more water and more room for roots. Plants can stay in big cells longer before transplant. If you plan to start many kinds of seeds, buy trays with two or three cell sizes.
Drainage
Good drainage is a must. Roots rot in standing water. Look for trays with holes in each cell. The tray should sit in a solid bottom tray that catches water. Water from the bottom when you can. Bottom watering pulls moisture up into the soil. It keeps the tops of the cells dry. Dry tops mean less mold and fewer gnats.
Material
Plastic trays are common and cheap. Thick plastic lasts for years. Thin plastic may crack after one season. Peat pots for seedlings are another option. They break down in the soil, so you plant the whole pot. This avoids root damage at transplant time. But peat pots dry out fast in dry Texas air. They need more water and closer watching. Biodegradable fiber trays work much the same way.
Light and Heat
Seeds need light once they sprout. A sunny south window works for a few trays. For more trays, use a simple shop light hung low over the plants. Keep the light close to stop seedlings from getting tall and weak. Seeds also like warmth to sprout. A heat mat under the tray can speed germination. This is handy for peppers, which like warm soil to wake up.
Types and Options
Standard plastic cell trays are the most common choice. They come in packs and stack well for storage. They last for years with care.
Soil blocker systems press soil into blocks with no tray at all. They cost more at first. They cut down on plastic waste. Many serious gardeners swear by them.
Self-watering trays have a water tank below. The soil wicks water up as needed. They keep moisture even day to day. They suit busy gardeners who cannot water every morning.
Domed trays come with a clear plastic lid. The lid holds in warmth and moisture. It speeds sprouting. Remove the lid once seeds are up to stop mold from forming.
Wicking trays use a cloth or felt mat to draw water up from a base. They work much like self-watering trays. They cost less and have no moving parts. They suit small setups on a windowsill.
For gardeners who want sturdy reusable gear, Gurney’s and White Flower Farm sell long-lasting options. Reusable trays save money over time. Wash them well between uses. Clean trays stop plant disease from passing one year to the next.
Cost and Price
Prices vary by size and quality. Basic plastic trays cost only a few dollars each. A pack of ten may cost less than twenty dollars. Domed trays and self-watering kits cost more. A full starter kit with a tray, dome, and heat mat may cost thirty to sixty dollars.
Long-term value is what counts. A thick plastic tray can serve for five or more seasons. That brings the yearly cost down to almost nothing. Compare that with the price of nursery plants. One good season of seedlings pays for the trays many times over. Add a shop light and a heat mat to the budget if you plan to grow many trays. Both last for years and make seedlings much stronger. If you want a broad view of prices before you buy, a seed starting trays buying guide can help you compare models and costs side by side.
Care and Upkeep
Clean trays at the end of each season. Wash them with warm soapy water. Rinse well. Soak them in a mild bleach mix for ten minutes. Rinse again and let them dry in the sun. This kills fungus and bacteria. Clean trays give next year’s seedlings a fresh start.
Store trays out of the sun when not in use. Texas sun breaks down cheap plastic fast. Stack trays in a garage or shed. Keep them dry and out of the rain.
During the growing season, check trays daily. Seedlings drink a lot of water as they grow. Water in the morning so leaves dry by night. Good air flow stops mold. A small fan set on low near the trays helps. The moving air makes stems stronger too. Thin out extra seedlings early. One strong plant per cell beats three weak ones. The USDA’s National Institute of Food and Agriculture supports research on home food production that backs these simple habits, and you can read more at NIFA.
Label each tray as you plant it. A simple plant tag with the seed name and date saves confusion later. Young seedlings of peppers and tomatoes look much the same. Good labels keep varieties straight. They also teach you what worked. When a batch fails, the date on the tag tells you when it was planted. That note helps you do better next time.
Before moving plants outside, harden them off. Set trays outside in shade for a few hours a day. Increase the time over a week. This slow change gets plants used to sun and wind. Plants moved out too fast can wilt or burn in one afternoon.
Safety
Seed starting is safe, but a few care points matter. Wash hands after handling seed starting mix. Some mixes give off fine dust when dry. Wear a mask when filling trays to avoid breathing that dust. Keep trays away from small children and pets. Damp soil and fertilizer can upset a pet’s stomach.
Heat mats use electricity. Buy one made for seed starting. Never use a heating pad made for people. Keep cords away from water. Unplug mats when the tray is empty.
If you use a bleach mix to clean trays, rinse well. Bleach left on the plastic can harm young roots. Let trays dry fully before filling them with soil.
Frequently Asked Questions
When should I start seeds indoors in Texas? It depends on where you live. South Texas gardeners may start as early as January. Central Texas often starts in February or March. North Texas waits until March. Check your last frost date and count back the weeks each seed needs. The Old Farmer’s Almanac and Gardening Know How both publish dates by region.
How much light do seedlings need? Fourteen to sixteen hours a day is best. A bright window alone is rarely enough in winter. Hang a light just above the plants and raise it as they grow.
Can I reuse seed starting trays? Yes. Thick plastic trays last for years. Wash and disinfect them each season. Thin trays may crack after one use. Replace them when they warp or split.
Do I need a heat mat? Not always. A warm room works for most seeds. Heat mats help peppers, eggplant, and other heat lovers sprout faster. They are a nice extra, not a must.
What soil should I use in the trays? Use a seed starting mix, not garden soil. Seed mix is light and clean. It drains well. Garden soil is too heavy and may carry disease. The Spruce and Monrovia offer plain guides on picking mixes and plants for home growers.
Can I start herb seeds in trays too? Yes. Herbs like basil, parsley, and cilantro start well in trays. If you want to grow them from seed, see this organic herb seeds guide for buying tips.
What temperature should the room be? Most seeds sprout well between 65 and 75 degrees. Peppers and eggplant like it warmer, near 80 degrees. A room that feels warm to you is fine for most kinds. Cold rooms slow sprouting a lot.
A Final Word
A seed starting tray is a small thing. But in a Texas home it can change a garden. It brings order to the start of the season. It saves money. It opens the door to kinds of plants no store sells. Start with one tray and a packet of seeds. Learn the rhythm of watering and light. By next year, you may be filling a whole table.
References
Burpee. (n.d.). Seeds, plants, and gardening supplies. https://www.burpee.com Gardening Know How. (n.d.). Gardening guides and plant care. https://www.gardeningknowhow.com Gurney’s Seed & Nursery Co. (n.d.). Seeds, plants, and garden supplies. https://www.gurneys.com Monrovia. (n.d.). Plants for home gardens. https://www.monrovia.com National Institute of Food and Agriculture. (n.d.). Agricultural research and extension. https://www.nifa.usda.gov Park Seed. (n.d.). Seeds, plants, and gardening supplies. https://www.parkseed.com The Old Farmer’s Almanac. (n.d.). Gardening calendars and advice. https://www.almanac.com The Spruce. (n.d.). Home and garden advice. https://www.thespruce.com White Flower Farm. (n.d.). Plants, bulbs, and garden supplies. https://www.whiteflowerfarm.com
Was this guide helpful?

About James Carter
The My Garden US editorial team writes practical, in-depth home and garden guides for American homeowners — tested advice, no fluff.