A seed starting schedule by zone guide answers one plain question: when should you start your seeds? The answer is not the same in Maine and in Texas. Your hardiness zone decides it. Your zone number tells you how cold your winters get, and from it you can work out your last frost date in spring.
Start too early and seedlings grow weak under dim light. Start too late and the season ends before peppers ripen. A schedule keeps you in the middle ground. It maps each crop to a number of weeks before your last frost, and it tells you which seeds to sow indoors and which to plant straight in the ground.
This guide walks through the whole system: how to find your zone, how to read a seed packet with your last frost date in mind, sample calendars for cold, middle, and warm zones, the supplies that matter, what they cost, and how to keep seedlings strong. If you are new to this, read our guide on how to start seeds indoors first, then come back here to fix your dates.
Why a Zone-Based Schedule Matters
The United States Department of Agriculture divides the country into hardiness zones, from Zone 1 in the far north to Zone 13 in the warmest states. Most American gardeners live between Zone 3 and Zone 10. The map is built from average winter lows and was never meant to be a planting calendar by itself, but it points you to the dates that matter, above all the last frost of spring.
A frost can kill a tender seedling in one night. Tomatoes, peppers, basil, squash, and cucumbers all fear cold soil, while peas, spinach, lettuce, carrots, and onions can take it. A good schedule treats these two groups differently. Cool-season crops often go straight into the garden as soon as the ground can be worked. Warm-season crops start indoors weeks earlier so they are sturdy when the danger of frost has passed.
Day length matters too. February seeds get far less light than April seeds, which is why northern gardeners gain the most from grow lights. A schedule by zone builds all of this in and gives you a week-by-week plan matched to your climate.
How to Read Your Hardiness Zone: Seed Starting Schedule By Zone Guide
Finding Your Zone Number
Find your zone on the USDA plant hardiness map by typing in your zip code, then write the number down where you will see it. Everything in this article refers back to it.
Zones shift slowly as winters warm, so check the map every few years. If your number has moved up by one, your last frost date has likely moved earlier too.
Working From Your Last Frost Date
Your last frost date is the average date of the final spring frost in your area, not a promise. Most gardeners wait an extra week for tender crops.
Take the date and count backward. A tomato packet that says “start indoors 6 to 8 weeks before the last frost” gives you your sowing window: with a May 15 last frost, you sow between March 20 and April 3. Do the same math for each crop. Seed companies such as Burpee print these week counts on their packets, so read the back of every packet before you plan.
What to Look For in a Seed Starting Schedule
A useful schedule has four columns: the crop name, the weeks before last frost to sow indoors, whether it should be direct sown instead, and the transplant date. Some gardeners add a fifth column for notes, such as “needs bottom heat” or “dislikes root disturbance.”
Watch for three details in any schedule. First, germination time: peppers can take two to three weeks to sprout and must be sown earlier than tomatoes even though both move out at the same time. Second, days to maturity: a variety needing 100 days from transplant is a poor pick for Zone 4, where the frost-free window may be only 110 days. Third, soil temperature: some seeds refuse to sprout in cold soil, so a soil thermometer saves a lot of grief.
Keep most of your trays full of crops that have worked for you, and save a little room for experiments.
Starting Seeds by Zone: A Spring Calendar
The calendars below use weeks before the average last frost. Adjust the dates to your own town.
Zones 3 and 4: The Short Season
With last frost between May 15 and June 1, start onions, leeks, and celery 10 to 12 weeks before last frost, in late February or early March. Peppers follow at 8 to 10 weeks, and tomatoes, eggplant, and basil go in at 6 to 8 weeks. Brassicas like cabbage and broccoli start at 4 to 6 weeks and can move out a little before the last frost, since they tolerate light cold.
Direct sow peas, spinach, and lettuce as soon as the soil can be worked, often four weeks before the last frost, and wait until two weeks after the last frost for beans, squash, cucumbers, and corn. Choose short-season varieties with the fewest days to maturity, and give warm crops the sunniest beds.
Zones 5 and 6: The Middle Ground
Last frost usually lands between April 15 and May 15. Onions and leeks start 10 to 12 weeks out, in late January or February, followed by peppers at 8 to 10 weeks, tomatoes and basil at 6 to 8 weeks, and brassicas at 4 to 6 weeks, transplanted two weeks before the last frost under row cover.
Cool-season crops go into the ground four to six weeks before the last frost, and warm-season transplants move out one to two weeks after it. You have room for a second sowing of lettuce and beans in June, and fall crops like kale can start in July for autumn harvest.
Zones 7 and 8: The Long Season
Last frost often comes between March 15 and April 15. Onions start 10 to 12 weeks out, sometimes in December under lights, followed by peppers at 8 to 10 weeks and tomatoes at 6 to 8 weeks, transplanted by early April. Okra, sweet potatoes, and melons all thrive here.
The challenge here is heat, not cold. Cool-season crops must be sown in February or March, or they bolt when summer arrives. Many gardeners here run two gardens in one year: spring crops harvested by June, then beans, squash, and fall greens planted in late summer.
Zones 9 and 10: The Warm Winter
Last frost may fall in January or February, or never come at all, so seeds can start nearly year round. Tomatoes sown in January transplant in March, and peppers sown in February go out in April. Summer heat shuts down tomatoes and lettuce from June through August, so the main sowing season runs from late summer into winter, when these zones grow carrots, broccoli, peas, and greens.
In warm zones the schedule flips: cool-season crops start in September and October, and January becomes the heart of the growing year. Frost protection is still wise on cold nights, but the calendar is far less strict.
Types of Seed Starting Setups
A Sunny Windowsill
The simplest setup costs nothing: a south-facing window, a tray of cells, and a clear dome will sprout lettuce, herbs, and many flowers. The weakness is light. Winter sun is weak and short, so seedlings stretch toward it and grow thin. Turn trays daily.
Grow Lights
A basic shop light with full-spectrum tubes, hung two to three inches above the seedlings, changes everything. Give 14 to 16 hours of light a day with a simple timer. The stems stay short and thick. Testers at Consumer Reports have reviewed indoor grow lights if you want to compare models.
Heat Mats and Thermostats
Peppers, eggplant, and many herbs sprout faster on gentle bottom heat, around 75 to 80 degrees. A heat mat with a thermostat keeps the soil steady without cooking the seeds. Remove the mat once most seeds have sprouted, then move trays under lights at once.
Cold Frames for the Final Step
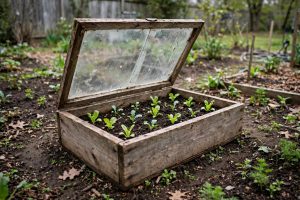
A cold frame is a bottomless box with a clear lid that sits on the soil. It hardens seedlings to outdoor life over a week or two before transplanting. Plans are shared by Family Handyman, and many gardeners build one from scrap lumber and an old window. Open the lid wider each day so plants meet wind and sun in small doses.
What Supplies to Gather
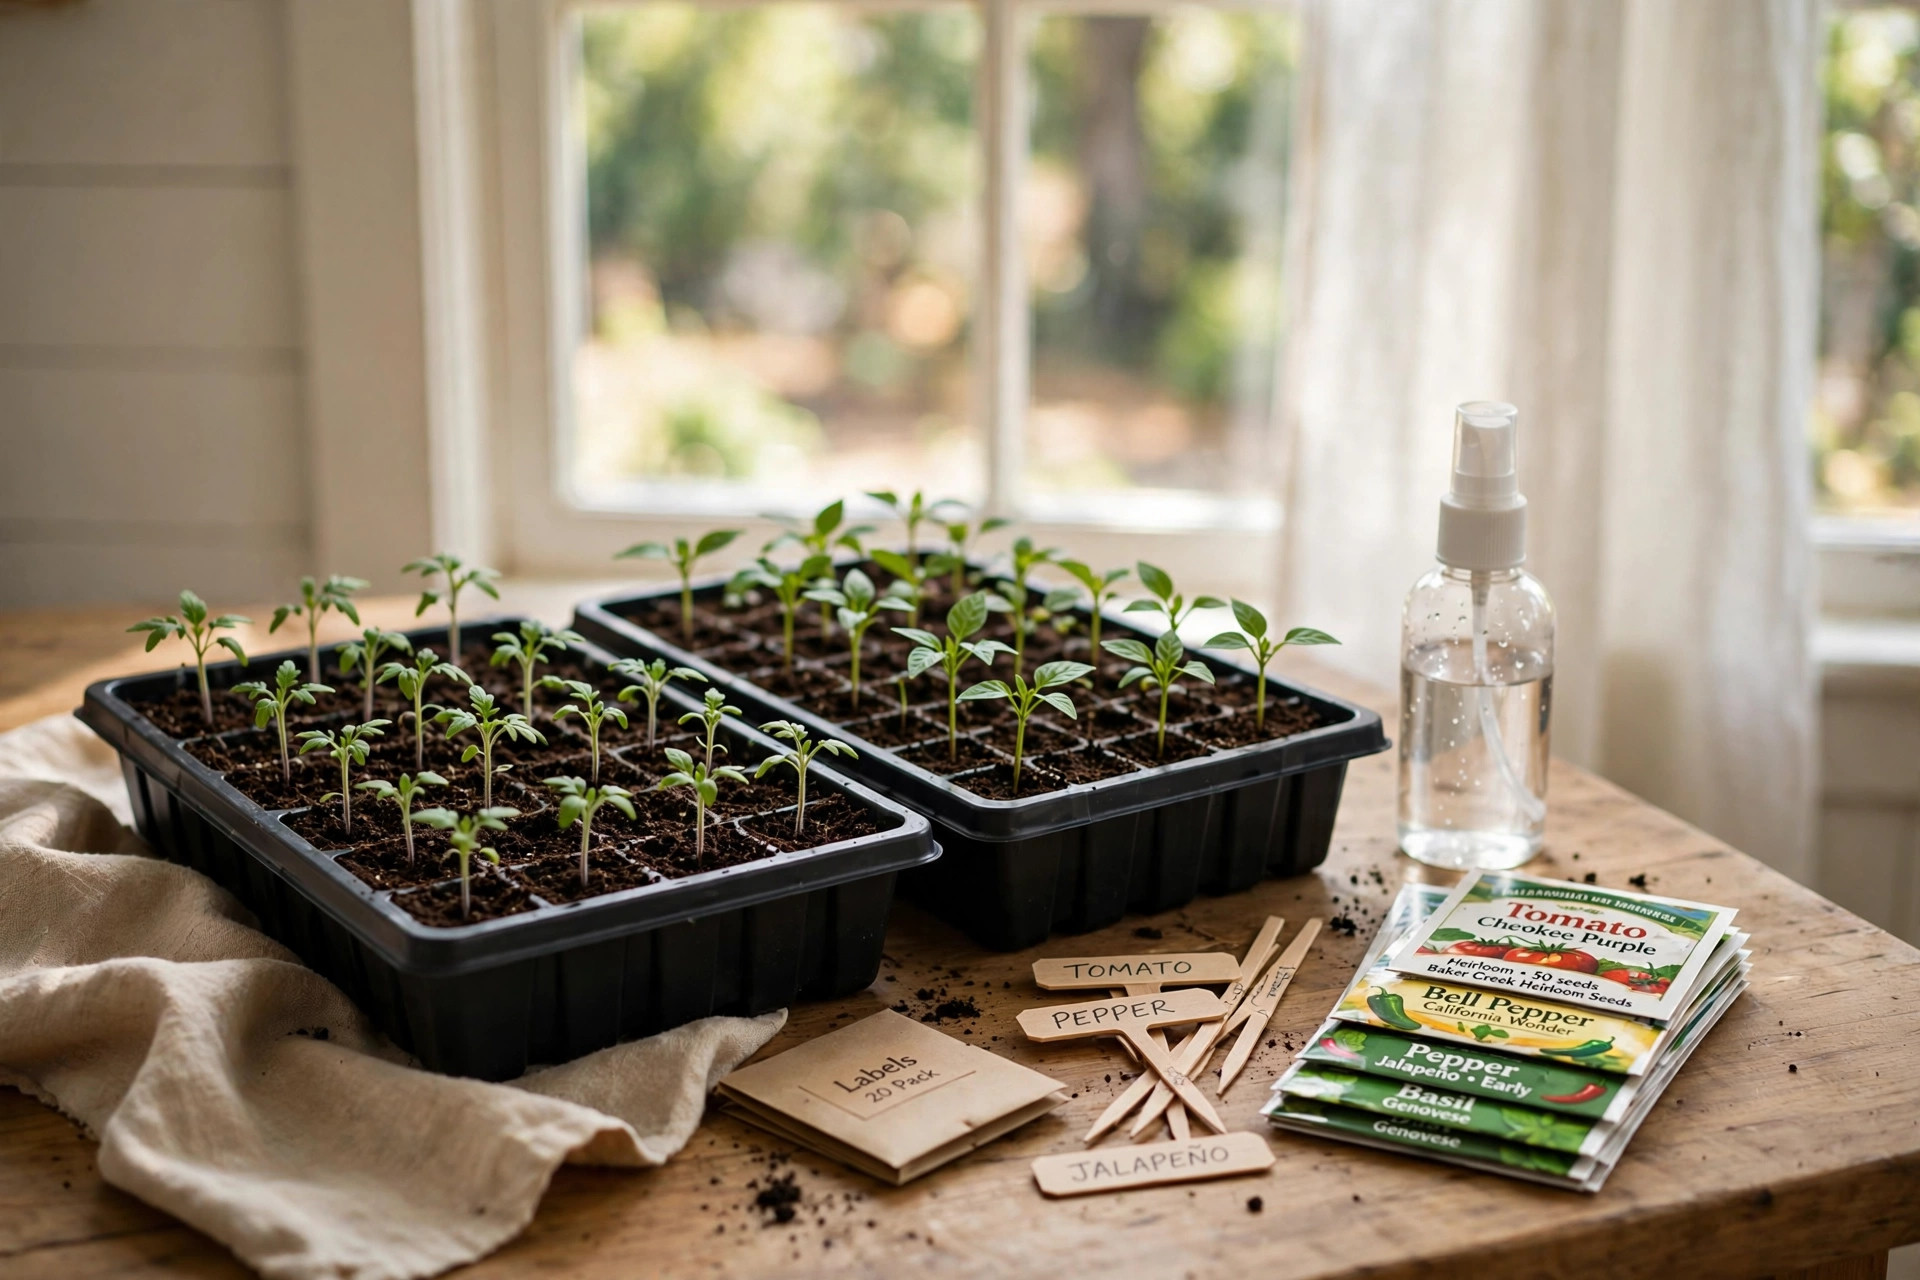
You do not need much. A standard 1020 tray with a humidity dome, cell inserts, and a bag of seed starting mix will serve a small garden for years. Add plant labels and a waterproof marker, and a spray bottle to keep the surface moist without washing seeds away.
Seed starting mix is fine and light, free of the bark chunks found in potting soil. Our comparison of seed starting mix vs potting soil explains when each is the right choice. Many gardeners start seeds in the light mix and move up to potting soil at transplant time.
Big retailers like Home Depot and Lowe’s carry trays, domes, mats, and lights every spring. Specialty shops such as Gardener’s Supply Company sell complete seed starting kits with fitted lights. Wash trays with diluted bleach between seasons to stop disease.
Cost and Price of Seed Starting Supplies
Seed starting is one of the cheapest parts of gardening. A packet of seeds costs two to five dollars and holds far more than one household needs. A 1020 tray with dome and cell inserts runs about ten to fifteen dollars, and a bag of seed starting mix costs eight to twelve dollars and fills many trays.
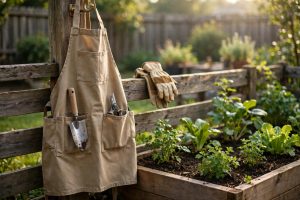
Grow lights are the largest single cost: a two-foot LED fixture with a timer runs thirty to sixty dollars, and a heat mat with thermostat costs twenty-five to forty dollars. Transplanting tools are a one-time buy; Corona Tools and others sell sturdy versions that last for years.
A beginner can start for thirty to fifty dollars with a windowsill setup, while a full station with lights, mats, and shelving runs one hundred to one hundred fifty. Nursery transplants often cost four to six dollars each, so a tray of home-grown tomatoes can pay for the setup in a single spring.
Care and Upkeep of Young Seedlings
Water from the bottom: set trays in a shallow pan of water, let the mix drink for twenty minutes, then drain what is left. Top watering packs the soil and can knock small seedlings flat. Keep the mix damp, never soggy, and remove the clear dome once seeds sprout so air can move.
Give strong light for 14 to 16 hours a day, since weak light is the most common cause of tall, pale seedlings. Keep the room near 65 to 70 degrees after germination, and run a small fan on low across the trays for a few hours a day to build stocky stems.
Feed lightly once true leaves appear, using liquid fertilizer at half strength every week or two. Thin crowded cells to one seedling each by snipping the extras at the soil line, since pulling them can disturb the roots of the one you keep.
Before transplanting, harden plants off over seven to ten days: set them outside in shade for an hour or two, then bring them in, lengthening the time and sun each day. Our guide to how to harden off seedlings before planting walks through the steps. Skipping this step is the fastest way to lose healthy seedlings to shock. The garden section at The Spruce and Bob Vila’s articles also cover the process well.
Safety Around Seeds and Supplies
Seed starting is safe work, but a few cautions apply. Grow lights and heat mats run on electricity near water, so keep cords dry and never leave a damaged mat plugged in. Run lights on a timer rather than around the clock.
Some seeds carry coatings that should not be eaten. Keep packets away from small children and pets, and wash your hands after handling seeds and soil. Open bags of mix outdoors or wear a dust mask, and store fertilizers and pest products on a high shelf, away from children.
Frequently Asked Questions
Can I start seeds directly in the garden instead of indoors?
Yes. Peas, beans, carrots, radishes, lettuce, and spinach prefer direct sowing: they dislike root disturbance and sprout fast in cool soil. Warm-season crops like tomatoes and peppers gain the most from an indoor head start. The packet will say “direct sow” or “start indoors” plainly.
What happens if I start seeds too early?
Seedlings outgrow their pots before the weather allows planting and become root bound and leggy. You can pot them up to buy time, but each move sets them back. It is better to sow on schedule than to sow early and fight the calendar.
Do I need a grow light, or is a window enough?
A bright south window can raise a small batch of seedlings. For more than a tray or two, or for an early start in February, a light pays for itself in sturdier plants that transplant with less shock and bear earlier.
How do I know when seedlings are ready to transplant?
Wait until frost danger has passed for tender crops, the soil has warmed, and the seedlings have several sets of true leaves and thick stems. Harden them off first, since a seedling that has never felt wind or direct sun will wilt on its first full day outside.
Should I use last year’s leftover seeds?
Often yes. Most vegetable seeds stay viable for two to five years if kept cool and dry. Test a few on a damp paper towel in a sealed bag. Onion and parsnip seed fade fastest, so buy those fresh.
A Short Final Word
A schedule turns seed starting from guesswork into habit. Find your zone, mark your last frost date, and count backward for each crop. Adjust a little each year as you learn your garden. The work is small and the reward is large: strong plants, on time, ready for your season.
References
Bob Vila. (n.d.). Home improvement advice. https://www.bobvila.com Burpee. (n.d.). Seeds, plants, and gardening supplies. https://www.burpee.com Consumer Reports. (n.d.). Product reviews and ratings. https://www.consumerreports.org Corona Tools. (n.d.). Garden and landscape tools. https://www.corona-tools.com Family Handyman. (n.d.). DIY home repair and maintenance. https://www.familyhandyman.com Gardener’s Supply Company. (n.d.). Gardening tools and supplies. https://www.gardeners.com Lowe’s. (n.d.). Home improvement products. https://www.lowes.com The Home Depot. (n.d.). Home improvement products. https://www.homedepot.com The Spruce. (n.d.). Home and garden advice. https://www.thespruce.com
Was this guide helpful?

About Lisa Anderson
The My Garden US editorial team writes practical, in-depth home and garden guides for American homeowners — tested advice, no fluff.