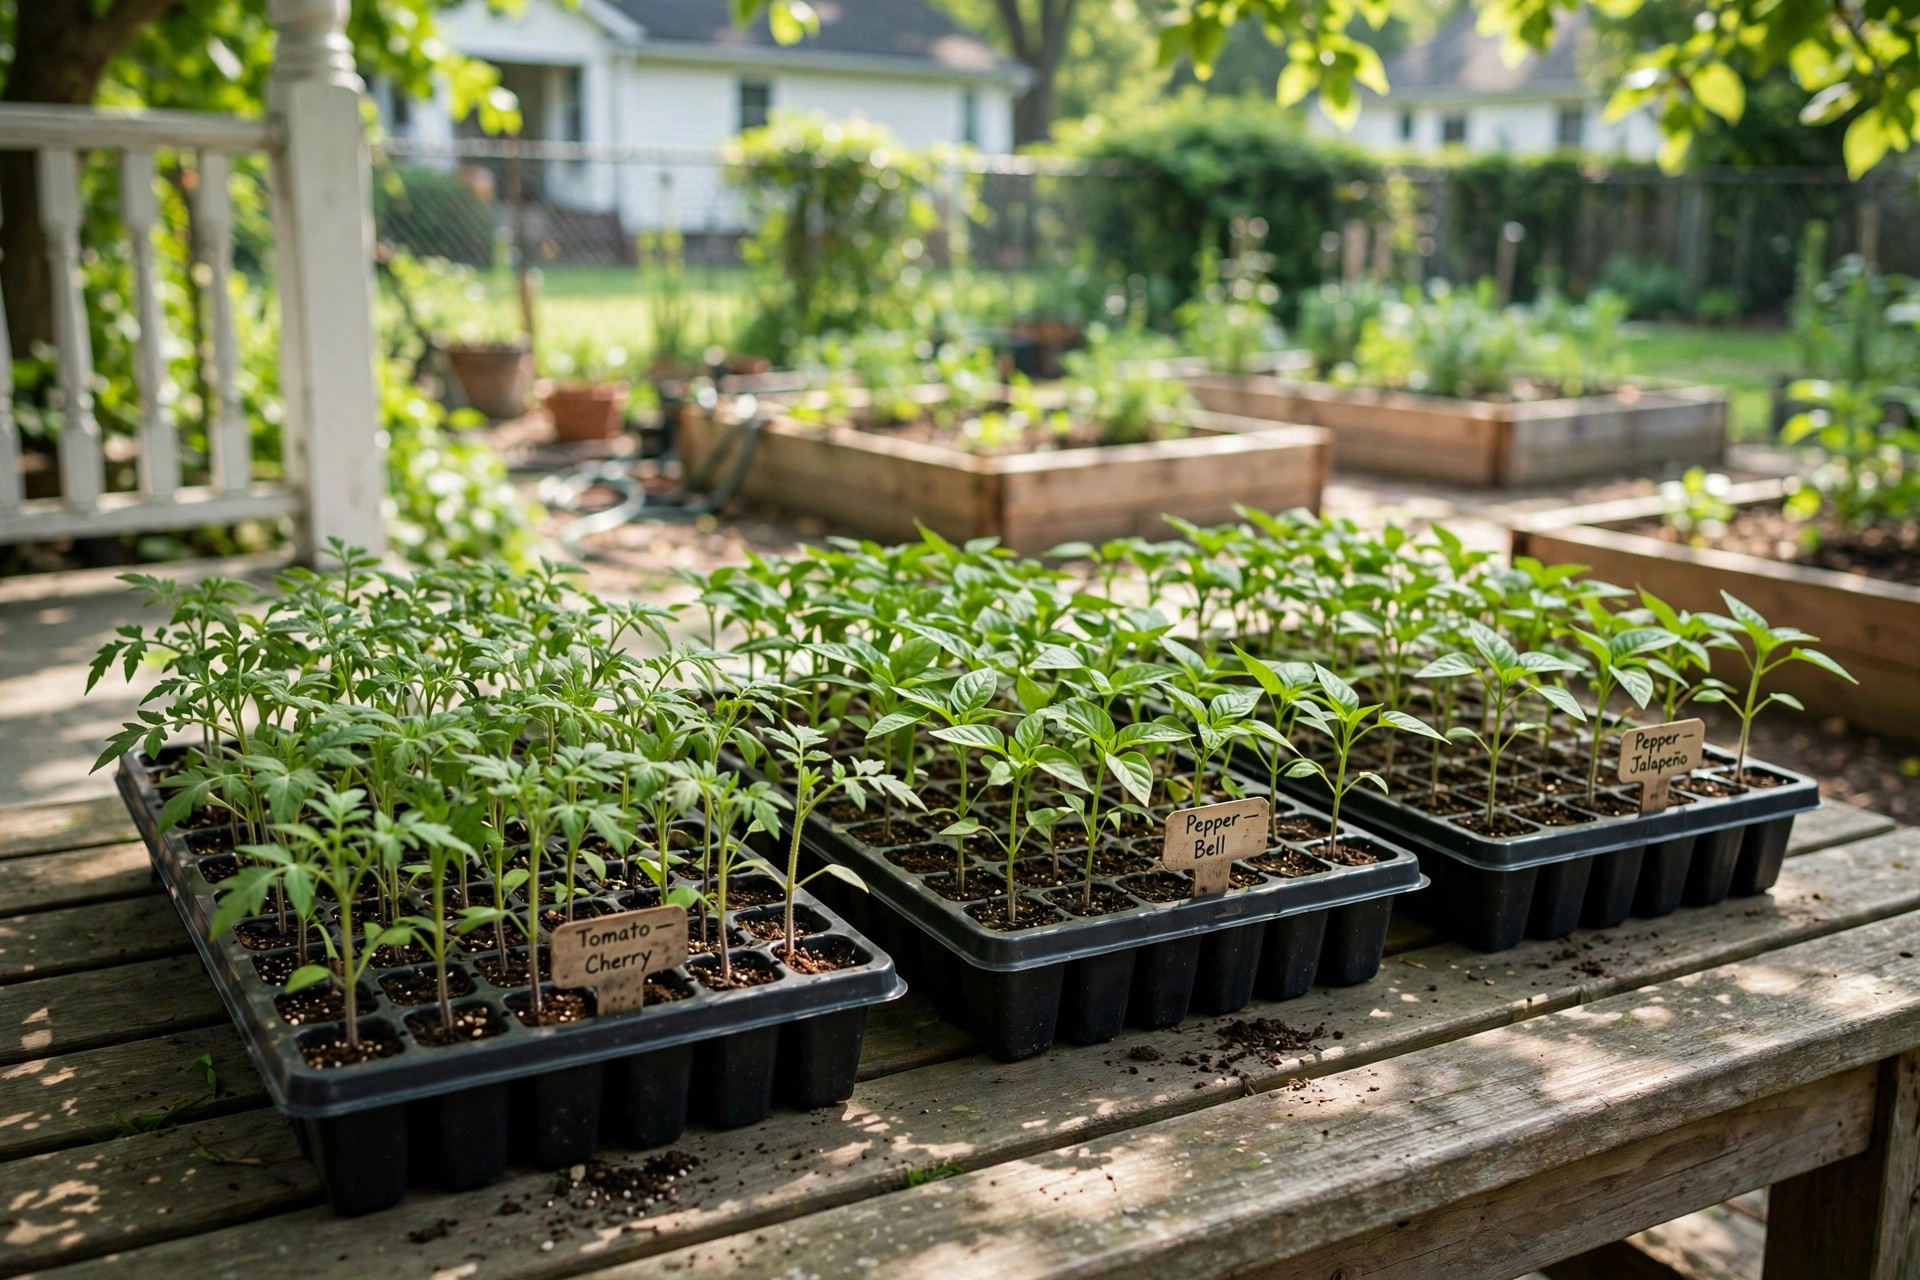

Every spring, thousands of gardeners learn how to harden off seedlings before planting the hard way. They start seeds indoors under lights. The seedlings grow tall and green. Then the gardener sets them straight into the garden on a warm day. Within hours the leaves turn white. The stems wilt. Some plants die. The season gets off to a poor start, and it all comes from one skipped step.
Hardening off is the bridge between the soft indoor world and the hard outdoor world. It takes about one to two weeks. It costs almost nothing. It saves nearly every seedling you raised. This guide explains the full process in plain steps, from the first hour outside to the final day in the ground.
Why Hardening Off Matters
Seedlings raised indoors live a sheltered life. The air never moves. The light is gentle and steady. The temperature stays warm day and night. The plants respond by growing thin leaves and soft stems. They look healthy, but they are tender.
The outdoors is a different world. Sunlight is far stronger than any grow light. Wind dries leaves and bends stems. Night air can drop thirty degrees below the daytime high. A plant moved straight from the house to the garden goes into shock. The leaves bleach white where the sun burned them. The roots stall. Growth stops for days, or the plant gives up and dies.
Hardening off builds toughness little by little. Each day the plant spends a bit more time outside. The leaves grow a thicker skin against the sun. The stems grow stiffer against the wind. The roots adjust to cooler soil. By the end of the process the seedling can stand a full day outdoors without harm. Gardeners who study how to start seeds indoors guide often do excellent indoor work, then lose the gain by skipping this step. Do not skip it.
When to Begin and What to Watch: How to Harden Off Seedlings Before Planting
Timing matters more than technique. Start hardening off one to two weeks before the date you plan to plant outside. Most warm-season crops, such as tomatoes, peppers, and basil, must wait until the danger of frost has passed. Cool-season crops, such as cabbage, broccoli, and lettuce, can handle light frost and may go out earlier.
Watch the night temperature. When the forecast shows nights above 50 degrees Fahrenheit, tender seedlings can begin their first short outings. Cool-season seedlings can start when nights stay above 40 degrees. Never set tropical plants like basil out when the night air drops below 50. Cold soil slows them more than most gardeners expect.
Watch the plants themselves. Begin only when seedlings have two to four true leaves. True leaves are the second set to appear, shaped like the adult leaf of the plant. Seedlings younger than this are too fragile for outdoor air. Also check that the stems stand upright on their own. A plant that flops over indoors will suffer more in the wind.
Watch the sky as well. The first outings should land on mild, cloudy days. Strong sun on day one will scorch leaves that have never felt real daylight. Heavy rain will beat young stems flat. A calm, overcast morning is the perfect start. Many guides on how to transplant seedlings outdoors safely point to the same rule: gentle weather first, full exposure later.
Hardening Methods and Options
The Carry In and Out Method
This is the classic method, and it needs no gear at all. Set the trays outside in a sheltered spot in the morning. Bring them back inside in the afternoon. Lengthen the outdoor time a little each day.
A common schedule looks like this. Day one: one to two hours in shade. Day two: two to three hours, still mostly shade. Day three: three to four hours, with a little morning sun. From day four onward, add about an hour per day and move the trays into more sun. By day ten to fourteen the plants stay out all day and all night. Then they are ready for the garden.
The Cold Frame Method
A cold frame is a low box with a clear lid that sits over plants outdoors. It shelters seedlings from wind while letting in full light. This tool makes hardening almost automatic. Open the lid a little more each day. Close it on cold nights. Within a week or two the plants are used to outdoor life. Gardeners who plan to harden many trays each spring find a cold frame worth its small cost. Retailers such as Home Depot and Lowe’s carry simple frames, and Gardener’s Supply Company offers several sturdy designs.
The Sheltered Corner Method
If you cannot carry trays in and out each day, park them in a sheltered spot. A porch, a cold garage doorway, or the lee side of the house works well. Leave the trays there around the clock once the nights are warm enough. The plants get full daylight but little wind. After several days, move them a few feet at a time into more open air. This method suits busy people. It is less exact than the daily schedule, but it still gives far better results than planting straight from indoors.
Floating Row Cover for Tender Nights
A light fabric row cover adds a few degrees of warmth on cool nights. Drape it over the trays in the evening and lift it in the morning. This lets you start hardening a few days earlier than the bare forecast would allow. Seed companies such as Burpee sell row cover in garden-size rolls, and advice sites like The Spruce explain how to anchor it so the wind does not carry it off.
What It Costs
Hardening off is one of the cheapest garden tasks. The carry in and out method costs nothing but a few minutes a day. Most gardeners already own trays, and the porch or patio is free.
A few items can make the job easier. A cold frame costs from about twenty dollars for a simple kit to over one hundred for a large wooden model. A roll of floating row cover costs under twenty dollars and lasts several seasons. A soil thermometer, which helps you check that the ground is warm enough at planting time, costs under fifteen dollars. None of these is required. Review sites such as Consumer Reports test garden gear each year if you want to compare quality before buying.
The real cost of skipping this step is far higher. A flat of dead tomato seedlings means buying replacement plants at the nursery, which can cost far more than the seed packet did. Even plants that survive transplant shock may yield two to three weeks late. A little patience now pays back in an earlier, stronger harvest.
Care During the Hardening Period
Watering needs change outdoors. Wind and sun dry the soil mix faster than indoor air did. Check the trays every day. Water when the top of the mix feels dry to the touch. Water gently, from the base of the trays if you can, so the stems stay dry. Wet leaves in cool air invite disease.
Feeding also shifts. Seedlings raised in seed starting mix vs potting soil comparisons show that plain starting mix holds little food. Once plants have true leaves, a half-strength liquid fertilizer once a week keeps them green during hardening. Do not feed on the first two or three days outside. Let the plants settle first.
Watch for wind damage. A light breeze is good medicine. It makes stems grow thicker. But a hard wind on day two can snap a tender stem. Keep trays against a wall or fence for the first days. If a windy day arrives early in the schedule, shorten the outing or skip it. The schedule is a guide, not a law.
Watch for pests as well. Aphids and slugs find outdoor trays fast. A daily look under the leaves catches most trouble early. Hand tools makers like Fiskars and Corona Tools sell small pruners and cultivators that help you tidy damaged leaves and keep trays clean.
Bring the trays inside if a hard frost threatens. Tender seedlings die below freezing, and cool-season plants suffer too if the cold is deep. A surprise frost does not ruin the plan. You simply add a day or two to the schedule and keep going.
Safety Notes
Hardening off is safe work, but a few cautions apply. Carry trays with both hands and keep a clear path. A full flat of wet soil is heavy. Set it down rather than twist with it.
Protect your back when moving many flats. Lift with the knees, not the waist. A small garden cart or wagon saves repeated trips up and down porch steps. Home project sites like Bob Vila and Family Handyman offer simple plans for tray racks and carrying shelves if you harden off in large numbers each year.
Sun and heat affect the gardener too. Drink water and wear a hat on warm spring days. Wash your hands after handling potting mix, and wear gloves if the mix irritates your skin.
Keep chemicals away from the seedlings during this time. Do not spray weed killer near trays set outside. Even a light drift can kill young plants. Fertilizer is fine at half strength. Pesticides should wait until the plants are settled in the garden.
Frequently Asked Questions
How long does hardening off take?
Plan on seven to fourteen days. Fast, sturdy plants like lettuce may be ready in a week. Tender plants like peppers and eggplant often need the full two weeks. Cool, cloudy weather slows the process. Warm, bright weather speeds it.
Can I harden off seedlings in one day?
No. A single day of sun will scorch leaves that have lived under lights. The plant needs gradual exposure to build its defenses. Rushing the process is little better than skipping it.
What time of day should seedlings go outside?
Morning is best. The light is gentle and the air warms slowly. Avoid putting tender trays out in the harsh midday sun during the first days. Late afternoon outings also work if the morning was stormy.
Do I need to harden off store-bought transplants?
Usually not. Nursery plants have lived outdoors or in a greenhouse for weeks. They are already used to sun and wind. If you bought plants that were kept deep inside a store, give them two or three days of shade first to be safe.
What if my seedlings get sunburned anyway?
Move them back to shade for a day or two. Trim leaves that turned fully white and papery. Keep the soil moist but not soggy. Most seedlings recover and grow new healthy leaves within a week.
Can seedlings stay out overnight during hardening?
Yes, once two conditions hold. The night temperature must be safe for the crop, and the plants must have had at least a week of daytime outings. Start with one warm night, then add more. Full nights out are the last step before planting.
A Short Final Word
Learning how to harden off seedlings before planting is a small skill with a large reward. It turns the tender indoor plant into a tough outdoor grower. The method is simple. Set the trays out for a short time. Bring them in. Repeat, a little longer each day. Within two weeks your seedlings will stand in full sun and night air without harm, ready for the garden bed. The few minutes it takes each day will pay you back in healthy plants and an earlier harvest all season long.
References
Bob Vila. (n.d.). Home improvement advice. https://www.bobvila.com Burpee. (n.d.). Seeds, plants, and gardening supplies. https://www.burpee.com Consumer Reports. (n.d.). Product reviews and ratings. https://www.consumerreports.org Corona Tools. (n.d.). Garden and landscape tools. https://www.corona-tools.com Family Handyman. (n.d.). DIY home repair and maintenance. https://www.familyhandyman.com Fiskars. (n.d.). Garden and cutting tools. https://www.fiskars.com Gardener’s Supply Company. (n.d.). Gardening tools and supplies. https://www.gardeners.com Lowe’s. (n.d.). Home improvement products. https://www.lowes.com The Home Depot. (n.d.). Home improvement products. https://www.homedepot.com The Spruce. (n.d.). Home and garden advice. https://www.thespruce.com
Was this guide helpful?

About Sarah Mitchell
The My Garden US editorial team writes practical, in-depth home and garden guides for American homeowners — tested advice, no fluff.
You May Also Like
Best Watering Can for Indoor Plants
April 23, 2026 0 views
How to Grow Squash Vertically on a Trellis
January 11, 2026 0 views
How to Grow Potatoes in Containers: A Plain and Practical Guide
July 18, 2026 0 views