
Introduction
Natural stone floors look rich and last for many decades. They need more care than plain ceramic tile. This sealing natural stone tile floors guide usa walks you through the whole job from start to finish. You will learn which sealers to buy, how to put them down, what the work costs, and how to keep the floor looking new.
Stone such as marble, granite, slate, limestone, and travertine is porous. The surface has tiny holes. Spilled coffee, wine, cooking oil, and even plain water can sink into those holes and leave marks. A quality sealer slows this down. It does not make the stone waterproof. It buys you time to wipe up spills before they stain. If your home has stone tile in the kitchen, the bath, or the entryway, sealing is one of the smartest steps you can take.
Why Sealing Matters for Natural Stone: Sealing Natural Stone Tile Floors Guide Usa
Water is the enemy of natural stone. So are acids and oils. Marble and limestone react to lemon juice and vinegar. The acid can etch the surface and dull the polish. Granite and slate hold up better, but they still absorb liquids through the pores. Once a stain sets deep in the stone, it is hard or impossible to remove. Honing or polishing by a professional is the only fix in some cases, and it costs far more than a bottle of sealer.
Sealing also protects the grout lines. Grout is often more porous than the stone itself. Dirty grout makes even a fine floor look old. A sealer on both the stone and the grout keeps dirt out and makes cleaning easier. Many homeowners who research sealing natural stone tile floors also look into the best grout sealer for bathroom tile usa to guard those grout lines.
A sealed floor is easier to live with day to day. Mopping goes faster. Spills bead up instead of spreading. The stone keeps its color longer. In homes with pets, entryways see mud and tracked water. Kitchens see food spills. Baths see soap and hard water. Each of these rooms benefits from a fresh coat of sealer. Editors at The Spruce note that natural stone needs regular care to keep its look, and sealing sits at the top of that list.
How to Tell If Your Floor Needs Sealer
Before you buy anything, test the stone. The water test is simple and free. Sprinkle a few drops of water on the floor in several spots. Try a busy area and a quiet corner. Watch what happens over five to ten minutes.
If the water beads up on the surface, the old sealer is still working. You can wait. If the water soaks in and leaves a dark spot, the stone needs a new coat. Dark spots that fade as the stone dries are normal. Dark spots that stay after drying point to deeper trouble. In that case, clean the stone well before sealing.
Test the grout too. Drip water on a grout line. If it soaks in fast, the grout needs sealing as well. Older floors often need two or more coats to reach full protection. New tile should be sealed after the grout cures, which takes about seventy-two hours for cement grout.
The guides at Daltile explain that different stones absorb water at different rates. Limestone and sandstone are thirsty. Dense granite is less so. Match your effort to the stone you own.
Types of Sealers for Natural Stone
There are two main families of sealers. Knowing the difference will guide your choice.
Penetrating Sealers
Penetrating sealers soak into the pores of the stone. They do not sit on the surface and do not change how the floor looks. They work by lining the tiny holes so water and oil cannot enter easily. Most pros favor them for stone floors. They last a long time and never peel or flake. Solvent based versions tend to go deeper and last longer. Water based versions have less odor and clean up with soap and water. Product pages at Lowe’s and The Home Depot list both kinds, with clear notes on coverage per gallon.
Topical Sealers
Topical sealers form a film on top of the stone. They can add a sheen, from a soft satin glow to a high gloss. They give strong stain protection. The trade off is upkeep. A topical film wears under foot traffic and can scratch or scuff. When it fails, it may need to be stripped before a new coat goes on. Topical sealers suit low traffic areas and decorative stone. For busy floors, penetrating sealers are the safer pick.
Enhancing Sealers
Enhancing sealers are a type of penetrating sealer. They darken the stone and bring out its color and pattern. They are popular for slate and tumbled travertine. They do not add gloss. They simply make the stone look wet in a pleasant way. Always test a small hidden spot first.
How to Choose the Right Sealer
Start with the stone type. Marble and limestone need sealers made for softer, acid sensitive stone. Granite and slate accept most penetrating sealers. Travertine often has pits filled at the factory. Check that those fills are sound before you seal.
Next, look at the room. Kitchens and baths need strong protection against food, grease, and soap. A premium penetrating sealer with oil resistance is worth the price there. Entryways face grit and water. Sealers with good abrasion resistance help.
Read the coverage rate on the label. Most sealers cover one hundred to two hundred square feet per gallon per coat. Measure your rooms before you shop. Buy a little more than you think you need. Running out mid job leaves visible seams.
Check drying and cure times. Many sealers dry to the touch in an hour or two. Full cure takes twenty-four to seventy-two hours. Plan the job so no one walks on the floor during cure time.
Odor matters too. Solvent based sealers smell strong. Open windows and run fans. Water based sealers smell mild and suit homes with children or anyone sensitive to fumes. The care articles at Mohawk Flooring stress choosing products that match the floor and the household.
Step-by-Step: How to Seal Stone Tile Floors
Set aside a full day. Rushing leads to missed spots and uneven coats. Work room by room.
Step One: Clear and Clean
Move all furniture and rugs out of the room. Sweep the floor well. Then mop with a stone safe cleaner. Avoid vinegar, bleach, and harsh acids. They can etch marble and limestone. A pH neutral stone cleaner is the right choice. Rinse with clean water. Let the floor dry fully. This may take several hours. Sealing over moisture traps it in the stone.
Step Two: Test in a Hidden Spot
Pick a corner behind a door or inside a closet. Apply the sealer there first. Wait for the full cure time. Check the color and finish. This small test saves you from a large mistake.
Step Three: Apply the First Coat
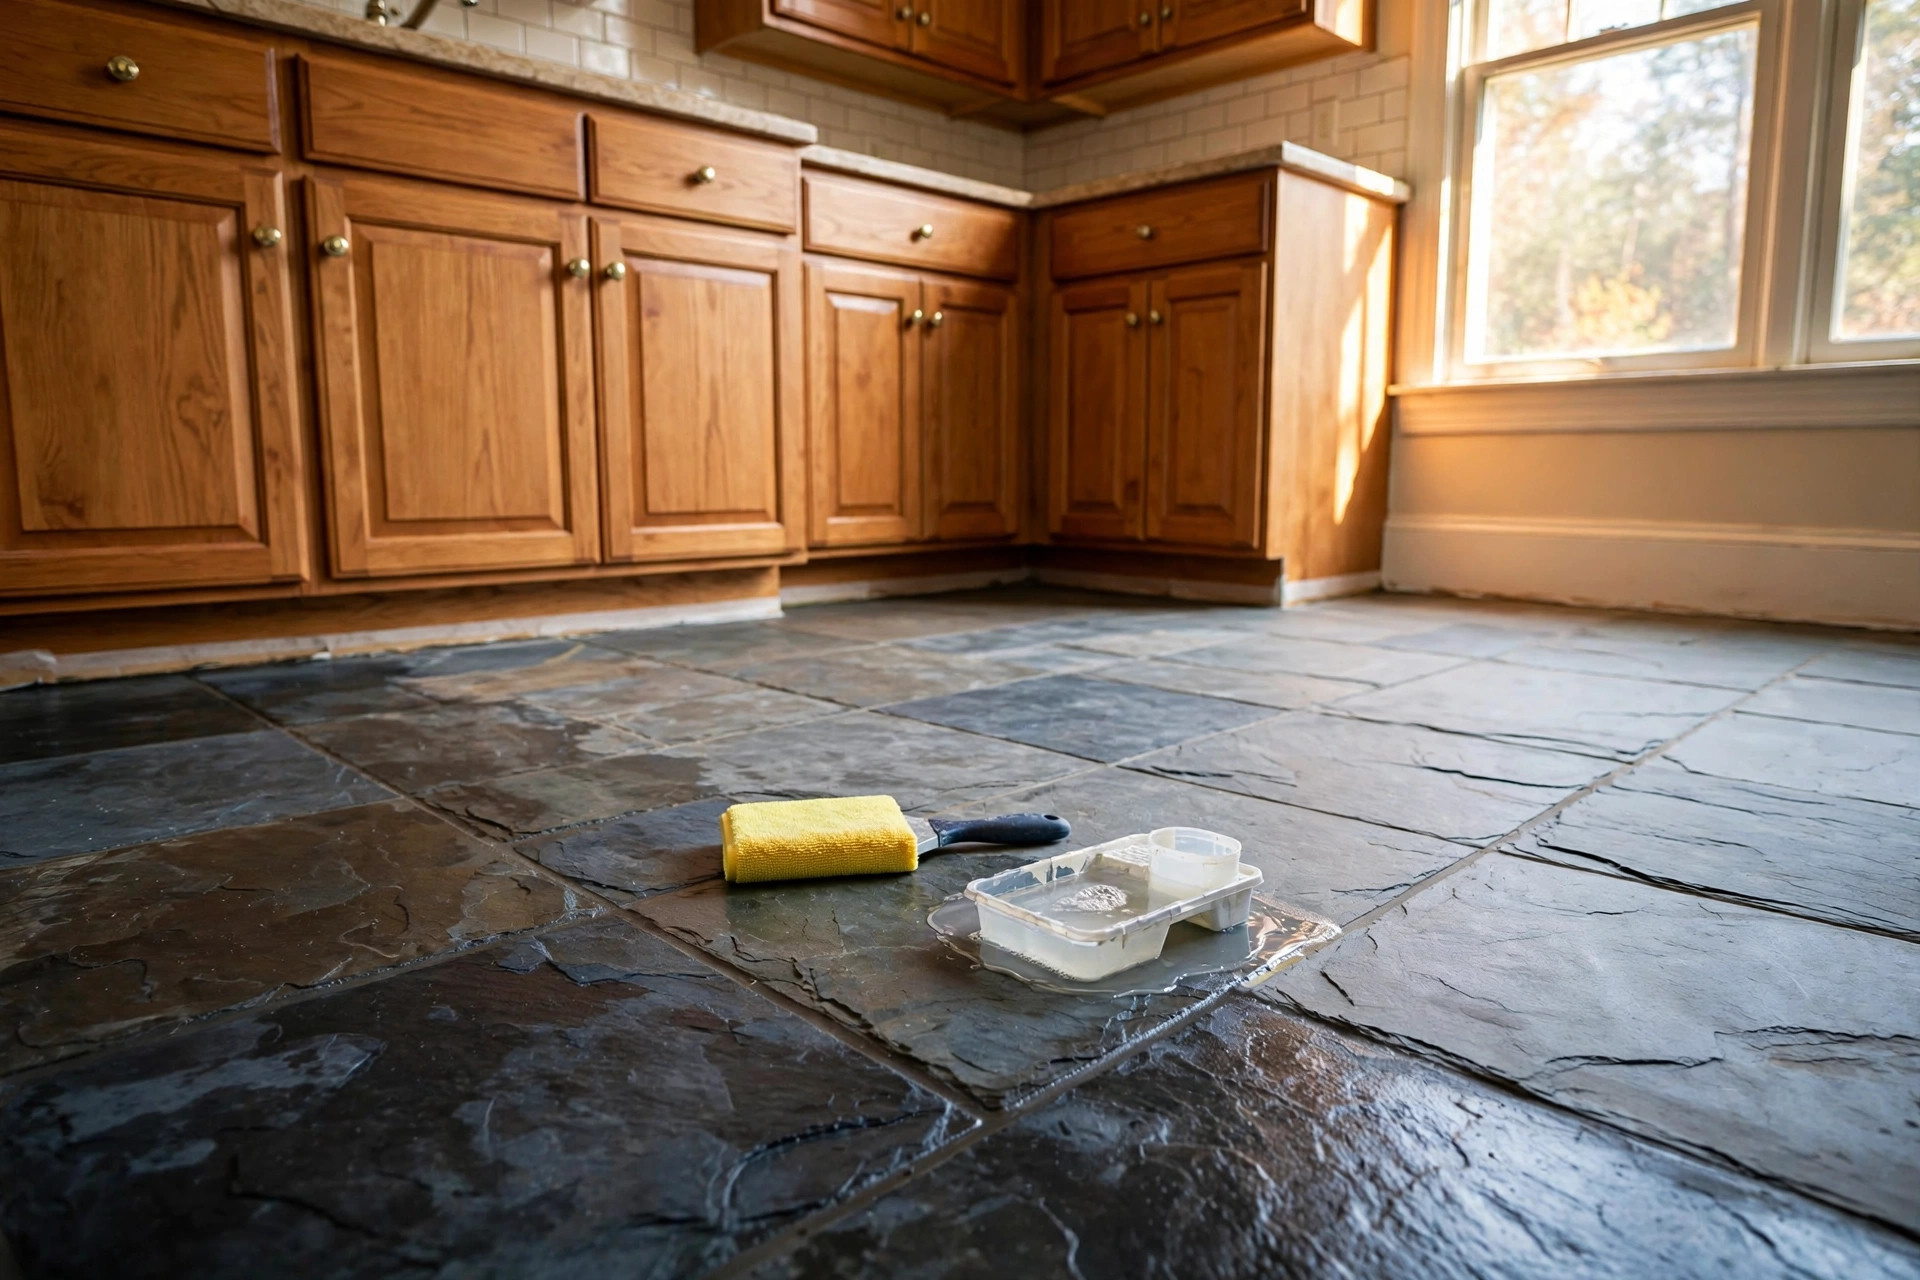
Work in small sections of about four by four feet. Apply the sealer with a paint pad, a lambswool applicator, or a foam roller. Use a brush for edges and corners. Spread a thin, even layer. Do not flood the floor.
Keep a wet edge as you move across the room. This avoids lines where sections meet. If the sealer soaks in fast and the surface looks dry within minutes, the stone will take another coat.
Step Four: Wipe Off the Excess
After five to ten minutes, check for puddles or thick spots. Buff them out with a clean dry cloth. Any sealer left sitting on the surface can dry into a hazy film. The how to guides at This Old House remind readers that thin coats and careful wipe offs give the best finish.
Step Five: Apply the Second Coat
Wait the time the label says, often one to two hours. Apply a second coat the same way. Most stone floors need two coats. Very porous stone may need three. Wipe off the excess each time.
Step Six: Let It Cure
Stay off the floor for at least twenty-four hours. Keep pets out too. Avoid wet mopping for seventy-two hours if you can. Full cure gives the sealer time to bond deep in the stone. Rushing this step shortens the life of the job.
Step Seven: Clean Up and Reseal on Schedule
Wash tools with soap and water for water based products, or with mineral spirits for solvent based ones. Note the date on your calendar. Most sealers last two to five years on floors. Test with water once a year and reseal when the stone absorbs it.
Cost and Price in the USA
Doing it yourself is cheap. A gallon of quality penetrating sealer costs between thirty and seventy dollars in American stores. It covers roughly one hundred to two hundred square feet per coat. Most rooms need two coats. A typical two hundred square foot kitchen costs about sixty to one hundred dollars in sealer plus a cleaner and applicators. Supplies from Shaw Floors dealers and big box stores fall in this range.
Hiring a professional costs more but saves time. Pros charge about one to three dollars per square foot for cleaning and sealing. A two hundred square foot room runs two hundred to six hundred dollars. Deep cleaning or stain removal adds to the bill. Large homes with stone throughout can run into the thousands.
Compare this to the cost of repair. Polishing etched marble can cost several dollars per square foot. Replacing stained stone costs far more. Sealing is the cheapest insurance your stone floor can get. Homeowners weighing new floors may also compare the terrazzo tile flooring cost per square foot when planning a larger project.
Care and Upkeep After Sealing
A sealed floor still needs gentle care. Sweep or vacuum often. Grit acts like sandpaper under shoes. Use a dust mop for daily cleaning. Damp mop weekly with a pH neutral stone cleaner. Never use vinegar, lemon cleaners, or bleach. They break down the sealer and etch the stone.
Wipe up spills fast. Sealer buys you time, not forever. Red wine, coffee, and cooking oil still need prompt cleanup. Use mats at doors and felt pads under furniture legs to stop scratches.
Steam mops are not a good idea for stone. The heat can weaken the sealer and push moisture into the pores. Stick to a damp mop with mild cleaner. Rinse the mop often so you are not spreading dirty water.
Watch high traffic paths. Hallways and kitchen work zones wear faster. Test those spots with water each year and touch up just those areas if they fail. There is no need to reseal the whole floor when only the busy path needs help. The product range at LL Flooring includes stone safe cleaners that make this routine simple.
If the grout darkens over time, a grout sealer touch up helps. Readers comparing options may find the best grout for shower floor reviews usa useful when grout itself needs repair rather than just sealing.
Safety
Read every label before you start. Wear rubber gloves and eye protection. Solvent based sealers give off strong fumes. Open windows and set up fans for cross ventilation. Keep children and pets out of the room until the floor is dry and cured.
Do not smoke near solvent based products. Store leftover sealer in a cool, dry place, sealed and out of reach of children. If sealer gets on skin, wash with soap and water. If it gets in eyes, rinse with clean water and seek help if irritation lasts.
Do not smoke near solvent based products. Store leftover sealer in a cool, dry place away from heat, sealed and out of reach of children. If sealer gets on skin, wash with soap and water. If it gets in eyes, rinse with clean water and seek help if irritation lasts.
Dispose of rags and applicators safely. Solvent soaked rags can be a fire risk. Spread them flat outdoors to dry before throwing them away, or seal them in a metal can with water. Follow your town’s rules for hazardous waste.
Frequently Asked Questions
How often should I seal natural stone tile floors?
Most floors need resealing every two to five years. Kitchens and entryways wear faster. Test with water once a year. When water soaks in instead of beading, it is time to reseal.
Can I seal the floor myself or should I hire a pro?
Most homeowners can do this job. It needs no special tools. Hire a pro if the stone is badly stained, etched, or if the floor is very large. Pros also help when old topical sealer must be stripped first.
Will sealer change the color of my stone?
Plain penetrating sealers keep the natural look. Enhancing sealers darken the stone and deepen its pattern. Topical sealers can add sheen. Test in a hidden spot before you commit.
Can I use the same sealer on the grout?
Yes, in most cases. Penetrating sealers work on both stone and grout. Give the grout lines a full pass since grout drinks sealer fast. Some products are made just for grout and work fine too.
How long does the sealer take to dry?
Most sealers dry to the touch in one to two hours. Full cure takes twenty-four to seventy-two hours. Avoid wet mopping and heavy traffic until the cure is complete. Check the label for exact times.
Is sealed stone safe for kitchens and baths?
Yes. Sealed stone handles kitchen spills and bath moisture well. Wipe up food and soap spills promptly. Use bath mats to catch standing water. In showers, stone needs more frequent resealing because of constant water and soap exposure.
A Short Final Word
Sealing natural stone tile floors is a simple job with a large payoff. Clean the floor, test a spot, apply thin coats, wipe off the excess, and let it cure. The whole task takes a day and the protection lasts for years. Mark your calendar, test with water each year, and reseal when the stone tells you it is time.
References
Daltile. (n.d.). Ceramic and porcelain tile. https://www.daltile.com LL Flooring. (n.d.). Hardwood, vinyl, and tile flooring. https://www.llflooring.com Lowe’s. (n.d.). Home improvement products. https://www.lowes.com Mohawk Flooring. (n.d.). Flooring products. https://www.mohawkflooring.com Shaw Floors. (n.d.). Flooring products. https://www.shawfloors.com The Home Depot. (n.d.). Home improvement products. https://www.homedepot.com The Spruce. (n.d.). Home and garden advice. https://www.thespruce.com This Old House. (n.d.). Home renovation guidance. https://www.thisoldhouse.com
Was this guide helpful?

About Michael Thompson
The My Garden US editorial team writes practical, in-depth home and garden guides for American homeowners — tested advice, no fluff.
You May Also Like

Best Washable Area Rugs for Living Room Use: A Plain Buying Guide
May 14, 2026 0 views
Peel and Stick Backsplash Tile Reviews USA: What Homeowners Report in 2026
April 18, 2026 0 views
Mexican Tile for Bathroom Floor for Sale: A Plain Buyer’s Guide
June 21, 2026 0 views