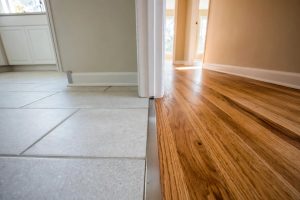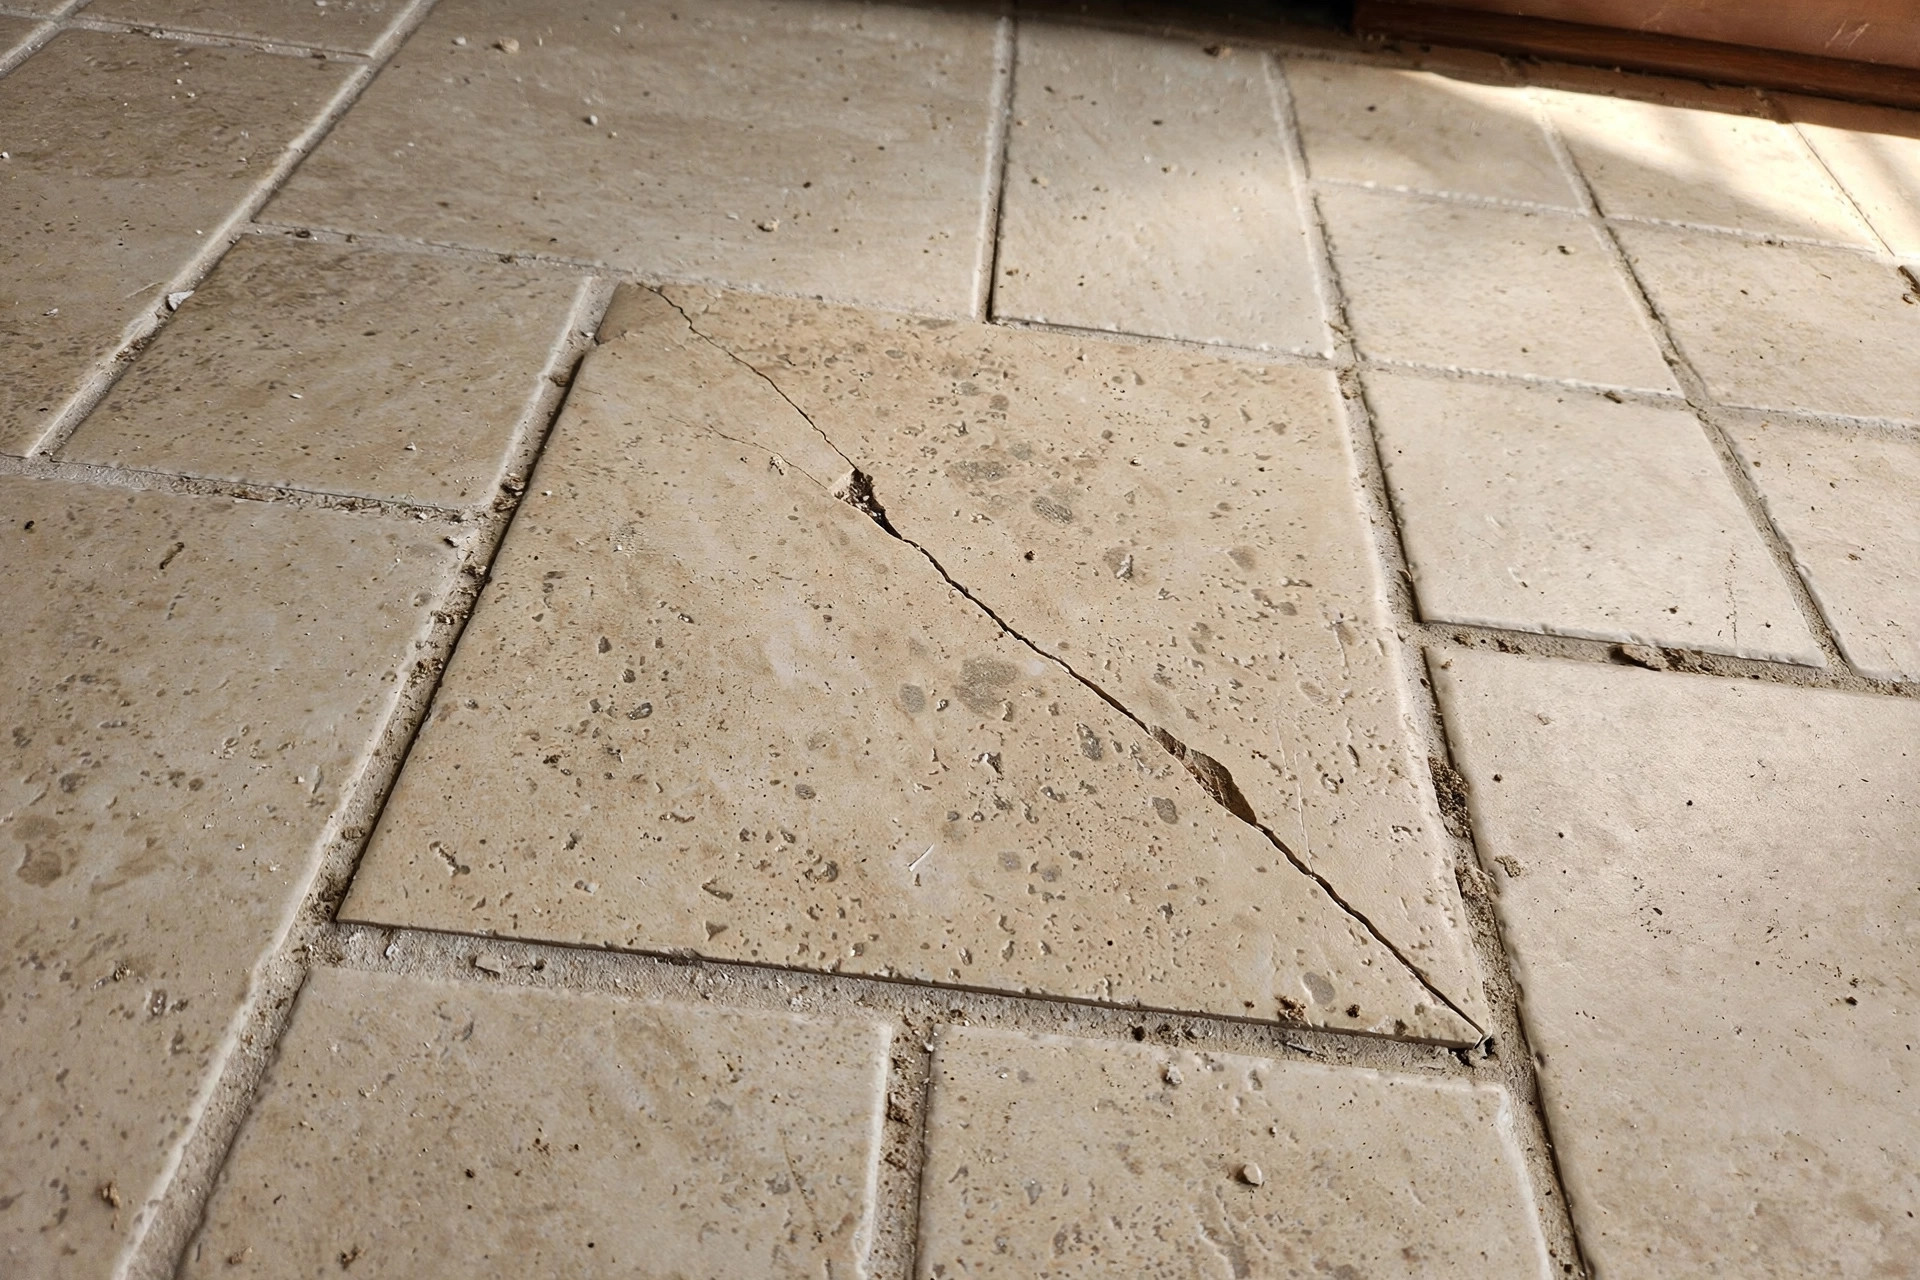

A single cracked floor tile can spoil the look of a whole room. The good news is that this replacing single cracked floor tile guide will show you how to remove the broken piece and set a new one without tearing up the rest of the floor. The job takes one afternoon. It needs only basic tools. With care, the repair will be nearly invisible.
Why One Cracked Tile Deserves Quick Attention
A cracked tile is more than an eyesore. Water can seep through the crack into the subfloor below. In a kitchen or bathroom, that moisture can cause swelling, mold, or a loose bond under nearby tiles. A crack also has sharp edges. Bare feet can get cut on a raised shard. Small pieces of tile can chip off over time and make the crack wider.
The longer you wait, the harder the repair becomes. Dirt packs into the crack and stains it. The tile underlay may weaken. Neighboring tiles can shift as the broken one rocks. A repair done early is cheaper and simpler. You replace one tile now, or you may face a larger repair later.
Replacing a single tile also protects the value of your home. Floors are one of the first things a buyer notices. A single mismatched or cracked tile stands out in photographs and walk-throughs. One afternoon of work keeps the floor looking cared for.
What to Look for Before You Begin: Replacing Single Cracked Floor Tile Guide
Find a Matching Tile
The hardest part of the job is often finding a tile that matches. Check your garage, basement, or utility closet for leftover tiles from the original installation. Many builders leave a box behind. The shade, size, and texture must match. Even a small difference in color will show.
If you have no spares, take a clear photo of the tile and bring a broken chip to the store. Flooring retailers such as The Home Depot carry wide ranges of ceramic and porcelain tile. A matching tile from the same product line is the best outcome. If the exact tile is discontinued, pick the closest shade and place the new tile in a less visible spot by swapping it with an existing tile from under a cabinet or rug.
Check the Subfloor and Adhesive
Before you buy materials, look at the cracked tile closely. Press on it gently. If it rocks, the adhesive beneath has failed. If the floor feels spongy, moisture may have reached the subfloor. A quick check saves you from setting a new tile on a weak base. The Spruce flooring guides explain how subfloor condition affects tile life.
Identify the Tile Type
Most floor tiles are ceramic or porcelain. Porcelain is denser and harder. Ceramic is lighter and easier to cut. Knowing the type helps you pick the right replacement and the right tools. If you are unsure, read our comparison of porcelain vs ceramic tile for floors to learn the differences.
Tools and Materials You Will Need
Gather everything before you start. A mid-project trip to the store wastes time and risks a poor color match if you rush.
– Grout saw or oscillating tool with grout blade – Hammer and cold chisel – Safety glasses and work gloves – Drill with a masonry bit (optional, for starting the break) – Thin-set mortar or tile adhesive – Notched trowel – Replacement tile – Tile spacers – Grout in a matching color – Grout float and sponge – Bucket of clean water – Painter’s tape
Many of these items are sold as kits at stores like Lowe’s. Buying a small bag of thin-set and a small box of grout keeps costs low.
Step-by-Step: Removing and Replacing the Tile
Step 1: Protect the Area
Lay painter’s tape over the grout lines around the cracked tile. The tape shields neighboring tiles from chips while you work. Put on your safety glasses and gloves. Tile shards are sharp.
Step 2: Remove the Old Grout
Use the grout saw or oscillating tool to cut out the grout around the cracked tile. Work down to the full depth of the grout bed. Take your time. Rushing this step can chip the edges of the good tiles next to it. Clean out all loose grout dust with a damp sponge.
Step 3: Break and Lift the Cracked Tile
Drill a few holes in the center of the cracked tile if you want a clean starting point. Then place the chisel near the center and tap it with the hammer. Break the tile into small pieces and lift them out. Work from the center toward the edges. Never pry against a neighboring tile. Pull out every fragment, including the small ones hiding along the edges.
Step 4: Clean the Base
Scrape away all old thin-set from the subfloor until you reach a flat, solid surface. A stiff putty knife works well. Vacuum the dust. The new tile must sit on a clean, level bed. Any ridge of old mortar will make the tile sit too high. This Old House recommends checking the depth so the new tile sits flush with its neighbors.
Step 5: Dry-Fit the New Tile
Set the replacement tile in the empty space without mortar. Check that it sits level with the surrounding tiles. Place tile spacers at the edges to keep the grout lines even. If the tile is slightly thick, note how much extra mortar to scrape away.
Step 6: Apply Thin-Set and Set the Tile
Mix the thin-set to the thickness of peanut butter. Spread it on the subfloor with the notched trowel. Set the tile in place with a slight twist to spread the mortar. Press it down until it is level with the neighbors. Put the spacers back in. Wipe away any mortar that squeezes up into the grout lines.
Step 7: Let the Mortar Cure
Do not walk on the new tile for at least 24 hours. Thin-set needs time to harden. Cover the area with a box or a chair so nobody steps on it by mistake.
Step 8: Grout the Joints
Remove the spacers. Mix the grout and press it into the joints with the grout float. Hold the float at an angle and work the grout in from several directions. Wipe the tile face with a damp sponge. Rinse the sponge often. After the grout firms up, buff away the haze with a dry cloth.
Step 9: Seal the Grout
Once the grout has cured for about three days, apply grout sealer. The sealer keeps water and stains out of the porous grout. See our notes on the best grout sealer for bathroom tile for product types that work on floors too.
Types of Tile and Grout to Consider
Ceramic Tile
Ceramic tile is the most common choice for home floors. It is easy to cut and comes in many colors. It suits kitchens, bathrooms, and entryways. Manufacturers such as Daltile offer lines that stay in production for years, which makes future matches easier.
Porcelain Tile
Porcelain is harder and less porous than ceramic. It resists stains and handles heavy traffic well. It costs a bit more and needs a wet saw for clean cuts. Brands like Shaw Floors and Mohawk publish shade and size details that help with matching.
Cement Grout vs. Epoxy Grout
Standard cement grout is cheap and easy to use. It needs sealing. Epoxy grout costs more but resists stains and water without a sealer. For a kitchen or bathroom floor, epoxy is worth the extra cost. Read our full breakdown of epoxy grout vs cement grout before you decide.
Cost and Price of Replacing One Tile
Replacing a single tile is one of the cheapest floor repairs. A single replacement tile costs between 2 and 10 dollars. A small bag of thin-set costs about 10 to 15 dollars. A small box of grout costs about 8 to 15 dollars. Grout sealer adds another 8 to 12 dollars. If you already own basic tools, the total material cost often stays under 50 dollars.
Tool costs apply only if you must buy them. A grout saw costs about 10 dollars. An oscillating tool costs 40 to 80 dollars but serves many future projects. LL Flooring and other retailers list project calculators that help you estimate materials for larger jobs.
Hiring a professional changes the picture. A tile setter may charge a minimum service fee of 150 to 300 dollars for a single-tile visit. The work itself takes about an hour, but travel and setup set the price. Doing it yourself saves that fee.
Care and Upkeep After the Repair
Keep the new grout dry for at least three days after sealing. Then clean the floor with a pH-neutral cleaner. Avoid bleach and harsh acids. They can eat into grout and dull the tile glaze.
Place felt pads under furniture legs near the repair. Heavy dragging can crack a new tile before the mortar reaches full strength, which takes about four weeks. Sweep grit off the floor often. Sand and small stones act like sandpaper under shoes.
Reapply grout sealer once a year in wet areas. The test is simple. Drip water on the grout line. If it beads up, the sealer still works. If it soaks in, it is time to reseal.
Safety Notes for the Job
Wear safety glasses at all times while breaking tile. Chips can fly several feet. Wear heavy gloves when handling broken pieces. The edges are as sharp as glass.
Work in a ventilated room when mixing thin-set and grout. The dust can irritate the lungs. A simple dust mask is enough for a small job. Keep children and pets out of the work area until the floor is grouted and dry.
If the tile was installed before the 1980s, test for asbestos before you disturb it. Old vinyl tiles and some mastics contained asbestos. Do not sand or scrape suspect material until a lab test clears it.
Frequently Asked Questions
Can I replace a single floor tile without breaking the ones around it?
Yes. The grout saw step is the key. Once the grout around the cracked tile is fully removed, the tile is free on all four sides. Breaking it from the center outward keeps the force away from the neighboring tiles. Painter’s tape adds one more layer of protection.
How long does it take to replace one cracked floor tile?
The hands-on work takes about one to two hours. Most of the project time is waiting. Thin-set needs 24 hours to cure before grouting. Grout needs about three days before sealing. Plan the job over a long weekend if the tile sits in a busy walkway.
What if I cannot find a tile that matches?
Try the tile manufacturer first, then flooring outlets and salvage shops. If no match exists, take a tile from a hidden spot, such as under the refrigerator or inside a closet, and put the closest new tile in that hidden spot. The eye rarely notices a slight shade change in a dark corner.
Should I use epoxy grout or cement grout for one tile?
For a kitchen, bathroom, or entryway, epoxy grout is the stronger choice. It resists water and stains without a sealer. For a dry area like a hallway, standard cement grout with a sealer works fine and costs less. Match the grout type to the grout already on the floor so the color and texture blend.
Can I walk on the new tile the same day?
No. Walking on the tile before the thin-set cures can shift it and break the bond. Wait a full 24 hours. Light foot traffic is fine after that. Full strength develops over about four weeks, so avoid heavy loads in the first month.
A Short Final Word
A cracked tile does not mean a ruined floor. With one matching tile, a bag of thin-set, and a free afternoon, you can make the repair disappear. Work slowly, keep the area clean, and let each layer cure fully. Your floor will look whole again, and the fix will last for years.
References
Daltile. (n.d.). Ceramic and porcelain tile. https://www.daltile.com LL Flooring. (n.d.). Hardwood, vinyl, and tile flooring. https://www.llflooring.com Lowe’s. (n.d.). Home improvement products. https://www.lowes.com Mohawk Flooring. (n.d.). Flooring products. https://www.mohawkflooring.com Shaw Floors. (n.d.). Flooring products. https://www.shawfloors.com The Home Depot. (n.d.). Home improvement products. https://www.homedepot.com The Spruce. (n.d.). Home and garden advice. https://www.thespruce.com This Old House. (n.d.). Home renovation guidance. https://www.thisoldhouse.com
Was this guide helpful?

About Lisa Anderson
The My Garden US editorial team writes practical, in-depth home and garden guides for American homeowners — tested advice, no fluff.
You May Also Like

Best Carpet Pad for Concrete Slab USA: A Complete Buying Guide
March 19, 2026 0 views
Berber vs Frieze Carpet: A Full Comparison for USA Homes
September 9, 2026 0 views
Best Hardwood Floor Cleaner for Pets: What to Know Before You Buy
September 26, 2026 0 views