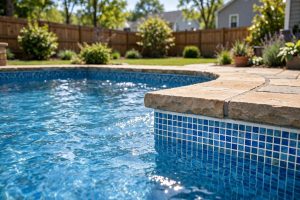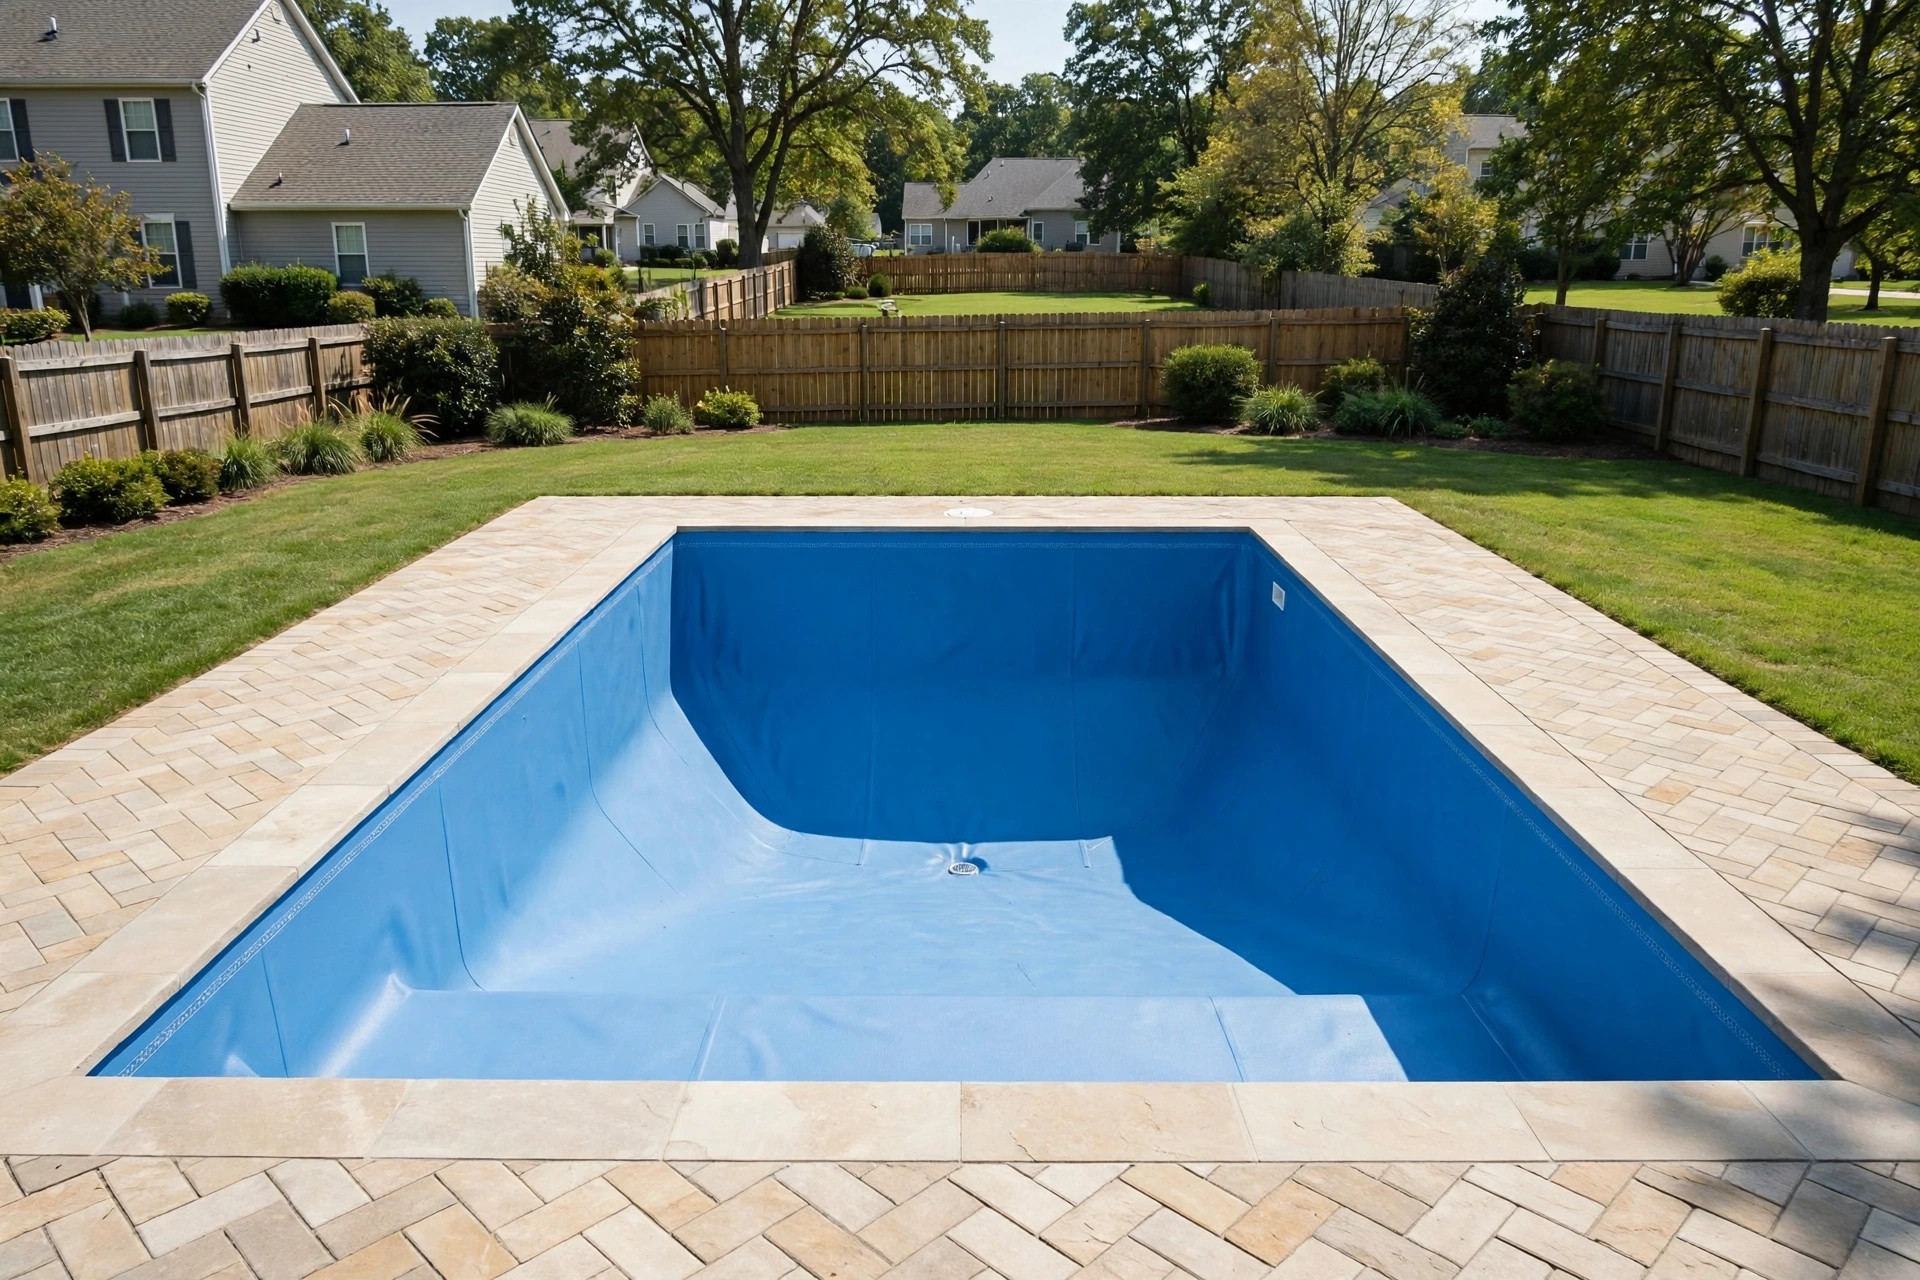

A faded, torn, or leaking liner takes the joy out of pool season. Water bills climb. Chemicals burn away faster. The pool looks tired no matter how hard you scrub. When the liner is past repair, one question rises to the top: how to install pool liner yourself, and can a regular homeowner do it well?
The answer is yes. A careful owner with the right tools can replace a vinyl liner over a weekend. The work is physical and the steps must be done in order. But nothing about it calls for a license or a rare skill. This guide covers the whole job in plain steps, from draining the pool to filling it again.
Why a Good Liner Install Matters
A pool liner does more than make the water blue. It is the waterproof skin of a vinyl pool. It seals the walls and floor so water cannot seep into the ground or the steel panels behind it. A liner that fits well stays smooth, holds chemicals in balance, and lasts seven to twelve years.
A bad install shortens that life. Wrinkles stretch and tear under foot traffic. Loose spots trap dirt and algae. Small gaps behind the liner let water eat away the base. Taking the time to learn how to drain a pool for repairs and how to set a liner flat will pay you back every summer for years.
Doing the job yourself also saves real money. A full pro install often costs thousands of dollars. If you want to see how the numbers compare, read our pool liner replacement cost estimate before you buy materials.
Tools and Materials You Will Need: How to Install Pool Liner Yourself
Gather everything before you start. Once the pool is drained, the clock is ticking. You want no trips to the store in the middle of the job.
For the job itself you will need:
– A new vinyl liner sized for your pool – Coping strips or liner lock (for beaded liners) – A heavy-duty shop vacuum with a hose – Duct tape and liner patch tape – A sharp utility knife with extra blades – Flathead screwdriver and needle-nose pliers – Soft broom and clean towels – Wall foam or floor padding (optional but helpful) – Pool-grade sand or floor repair mix for patches – A garden hose with a strong water supply – A ladder rated for pool wall height
Bring at least one helper, and two is better. Liners are heavy and awkward. Hands on each side keep the vinyl from dragging on rough surfaces. You can find most of these supplies at a pool supply store or a home center like Home Depot.
How to Measure and Choose the Right Liner
A liner that does not match your pool will wrinkle, stretch, or pull loose. Measure twice and order once.
Measure the Pool
For a rectangle pool, measure length and width at several points along the walls. Write down each number. For depth, measure from the top of the wall to the deep end floor and to the shallow end. For free-form pools, note the shape and take the maker’s model number if you can find it on the old liner or the pool papers.
Vinyl stretches a little, so liners are cut slightly small. Order by the maker’s size chart for your pool model. If you are unsure, call the liner maker with your numbers before you buy. Quality liner brands and pool kits are widely listed by pool equipment retailers.
Pick the Liner Type
Three types fit most homes.
Overlap liners fold over the top of an above-ground pool wall. They are the cheapest and the simplest to fit. If you own an above-ground pool, you may also like our guide on how to install an above ground pool kit from the ground up.
Beaded liners snap into a track along the top of the wall. They give a clean edge and are common in in-ground pools.
Unibead liners can hang on a track or overlap the wall. They work for both styles and are a safe pick if you are not sure which track you have.
Pick Thickness and Pattern
Thickness is sold in mils. Standard liners run 20 mil on walls and floors. Heavy liners run 25 to 30 mil. Thicker vinyl resists punctures and lasts longer, but it costs more and is harder to stretch into place.
Patterns run from solid blue to tile borders to stone prints. Light colors show dirt less and make the pool look bigger. Dark blue prints look rich but absorb heat. Choose what you like. The pattern does not change how the liner works.
How to Install a Pool Liner Yourself, Step by Step
Set aside a warm, sunny weekend. Vinyl is stiff when cold and softens in heat. A day between 70 and 90 degrees gives the best stretch. Do not start if storms are in the forecast.
Step 1: Drain the Pool
Pump the water out with a submersible pump. Send the water to a sewer drain or a safe spot on your land, not onto a neighbor’s yard. Never drain an in-ground pool without a plan. Ground water pressure can lift an empty pool out of the ground. Keep at least a foot of water in the shallow end until you are ready to work. Then pump it dry on the morning of the install.
Step 2: Remove the Old Liner
Take off the coping strips or release the bead track. Cut the old liner into strips with the utility knife and pull it out. Roll the pieces and haul them away. Check the wall panels and floor as you go. Look for rust, dents, and soft spots in the floor base. DIY guides stress this check, because a liner hides problems only until they grow.
Step 3: Prep the Floor and Walls
Sweep the floor clean. Fill low spots and cracks with pool-base mix or tamped sand. Tape over bolt heads and seams on the walls with duct tape so no sharp edge can poke the new vinyl. If you bought wall foam, hang it now with spray adhesive. Foam gives a smooth back and adds a small layer of insulation.
Step 4: Position the New Liner
Lay the liner in the sun for an hour to soften it. Carry it to the pool and unfold it across the shallow end. Spread it gently toward the deep end. Do not drag it. Vinyl tears on rough concrete or exposed bolts. For a beaded liner, snap the bead into the track all the way around before you move on.
Leave the liner loose and centered. The corners should sit even. A pool care library reminds owners that small shifts now become big wrinkles later, so take your time with this step.
Step 5: Smooth Wrinkles and Set the Liner
Place the shop vacuum hose behind the liner at the shallow end, with the hose tip in the gap between the liner and the wall. Tape the gap shut around the hose. Turn the vacuum on. Suction will pull the liner tight against the walls and floor.
Walk the pool and push small wrinkles toward the edges with your hands and feet. Work from the center outward. Wear soft-soled shoes or go barefoot so you do not mark the vinyl. When the surface looks smooth, start filling.
Add a few inches of water first. Watch the walls as the water rises. The weight of the water locks the liner in place. Turn off the vacuum only after two or three inches of water cover the floor. If a wrinkle locks in under the water, stop the fill, pull the liner loose at the nearest wall, and reset it. Wrinkles under water almost never move later.
Step 6: Cut Fittings and Refill
Once the water reaches the skimmer and return jets, stop the fill. From inside the pool, find each fitting by feel and cut a neat opening with the utility knife. Work from the center of each fitting outward so the ring sits flat. Reinstall the faceplates, gaskets, and screws. Then finish filling.
Test the pump and filter as the water rises. Check every fitting for drips. When the pool is full, add start-up chemicals and run the filter for a full day before you swim.
What It Costs to Install a Pool Liner Yourself
The liner itself is the big cost. A standard above-ground replacement liner runs a few hundred dollars. An in-ground liner runs from about one thousand to over two thousand dollars, based on size and thickness. Tools add a few hundred more if you own nothing yet. Most homes already have a vacuum, a hose, and basic hand tools.
A pro crew charges for labor what the liner costs, sometimes more. Doing it yourself can cut the total bill in half. For a full price breakdown, see our pool liner replacement cost estimate. Retailers such as Lowe’s list liner and tool prices online so you can build a budget before you order.
Care and Upkeep for Your New Liner
A new liner needs gentle care in its first season. Keep chlorine and pH in their normal ranges. High chlorine fades vinyl fast. Brush the walls each week with a soft brush, never a steel one. Do not drain the pool fully for cleaning in the first year. Sun and ground pressure can shift a fresh liner.
Run the filter for the full hours your maker suggests. Check the water line each week for tears near fittings. Small nicks can be patched underwater with a vinyl patch kit, so keep one on hand. The Spruce home guides offer seasonal checklists that pair well with a new liner schedule.
Many pool owners add a hot tub to the yard once the pool is done. If that project calls to you, browse Bullfrog Spas or Hot Spring to learn how spa care differs from pool care.
Safety Notes for the Whole Job
Water and electricity do not mix. Keep power tools, cords, and pumps away from the pool while people are inside it. Use a ground-fault outlet for the pump and vacuum. Read the pool safety guidance from the Consumer Product Safety Commission before you begin. Keep small children away from the work area while the pool is empty. An empty pool with steep walls is a fall hazard.
Frequently Asked Questions
How long does it take to install a pool liner yourself? Most above-ground liners take one full day with two people. In-ground liners take two days: one for drain, removal, and prep, and one for the set and fill. Weather and pool size move these times up or down.
Can one person install a pool liner alone? It is possible on a small above-ground pool, but it is not wise. Liners are heavy and the set step goes much better with hands on both sides. Ask a friend or neighbor to help for the afternoon.
Do I need to replace the liner track too? Not always. If the track is straight and the bead channel is clean, reuse it. Replace it if you see cracks, bent sections, or missing pieces. A weak track lets the liner pop loose under water weight.
What is the best time of year to replace a pool liner? Late spring or early summer works best. Warm air softens the vinyl and long days give you time to finish. Avoid the cold months. Stiff vinyl wrinkles and tears more easily.
How do I keep wrinkles out of the new liner? Use the shop vacuum method to pull the liner tight. Smooth wrinkles by hand before adding water. Keep two or three inches of water on the floor before you turn the vacuum off. Take your time. Patience at this step decides the final look.
A Short Final Word
Learning how to install pool liner yourself is one of the most useful skills a pool owner can gain. The job takes a weekend, a helper, and care at each step. The reward is a smooth, tight liner and a pool that looks new again, at half the cost of a pro crew. Open the pool, test the water, and enjoy the swim you earned.
References
Bullfrog Spas. (n.d.). Hot tubs and spas. https://www.bullfrogspas.com Family Handyman. (n.d.). DIY home repair and maintenance. https://www.familyhandyman.com Hot Spring Spas. (n.d.). Hot tubs and spas. https://www.hotspring.com Leslie’s Pool Supplies. (n.d.). Pool supplies and equipment. https://www.lesliespool.com Lowe’s. (n.d.). Home improvement products. https://www.lowes.com Pool Warehouse. (n.d.). Pool equipment and supplies. https://www.poolwarehouse.com Swim University. (n.d.). Pool and hot tub care guides. https://www.swimuniversity.com The Home Depot. (n.d.). Home improvement products. https://www.homedepot.com The Spruce. (n.d.). Home and garden advice. https://www.thespruce.com U.S. Consumer Product Safety Commission. (n.d.). Product safety information. https://www.cpsc.gov
Was this guide helpful?

About Robert Taylor
The My Garden US editorial team writes practical, in-depth home and garden guides for American homeowners — tested advice, no fluff.
You May Also Like

Best Hot Tub for Stress Relief: A Plain Guide to Warm Water and Real Calm
September 6, 2026 0 views
How to Raise Pool Alkalinity Levels the Safe Way
September 7, 2026 0 views
How to Patch Pool Liner Underwater: A Simple Guide for Pool Owners
February 3, 2026 0 views