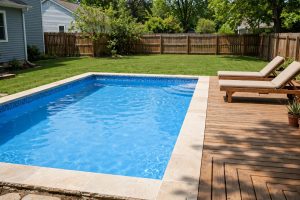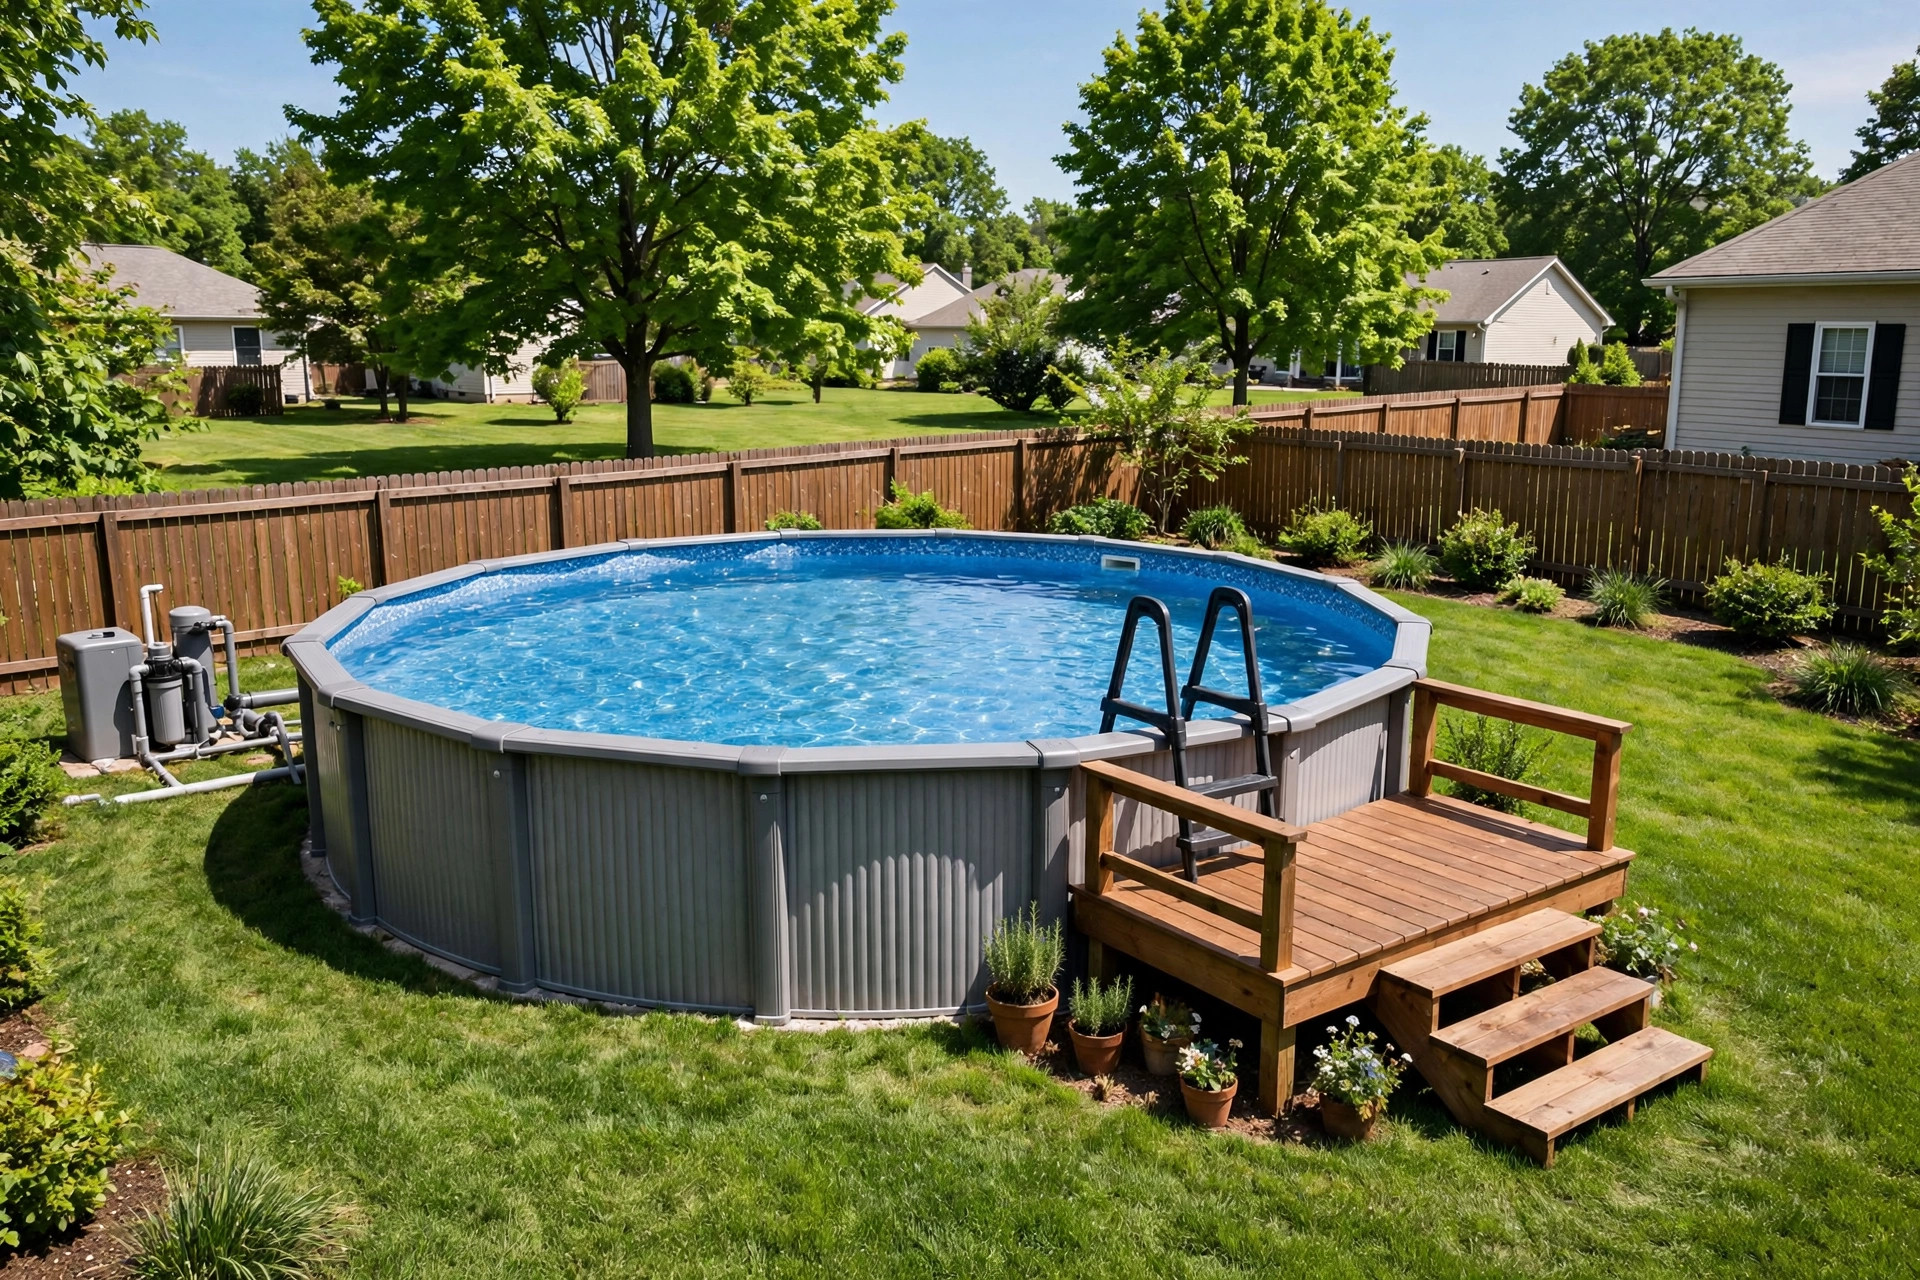

Learning how to install above ground pool systems is a task many homeowners can handle on their own. An above ground pool brings the fun of a backyard swim at a fraction of the cost of an in-ground pool. Most kits are sold complete with walls, a liner, a ladder, and a pump. With care, two adults can finish the job in a weekend. This guide walks through each step, from picking the site to filling the pool, in plain language. It also covers costs, upkeep, and safety rules that every pool owner should know.
Why an Above Ground Pool Is Worth the Effort
A swimming pool turns an ordinary yard into a gathering place. Families swim on hot afternoons. Friends visit on weekends. Children learn water skills close to home. An in-ground pool can cost twenty thousand dollars or more and take weeks to build. An above ground pool gives much of the same pleasure for far less money, and it can be taken down if the family moves.
Above ground pools are also kind to the yard. There is no deep digging. The structure sits on the surface, so tree roots and buried pipes are less of a worry. Many models last ten to fifteen years with a new liner fitted now and then. For renters of large lots or owners of modest budgets, this kind of pool is often the practical choice.
There is another point in its favor. Home improvement retailers carry full kits in common sizes, so parts are easy to find. Pool supply stores stock liners, filters, and chemicals for these models. Help and spares are never far away.
Choosing the Right Pool Kit: How to Install Above Ground Pool
Before you buy, take the measure of your yard. A pool needs flat ground and clear space around it. Most makers print the wall height and the diameter on the box. Round pools are the most common. Oval pools fit long, narrow yards. Depths usually run from 42 to 54 inches at the wall.
Think about how the pool will be used. A family with small children may prefer a 15-foot round model. A household that swims often may want 24 or 27 feet across. Check the ladder or steps that come in the box. Some kits include a simple ladder. Others allow for a deck with safer steps.
Common Types and Sizes
Steel frame pools have metal walls and are the sturdiest of the common types. They stand up to wind and years of use. Resin pools use plastic parts that do not rust, which suits damp climates. Hybrid pools mix steel and resin parts. Soft-sided pools with metal poles are the cheapest and the quickest to set up, but they wear out sooner.
Round sizes start near 12 feet and go up to 33 feet. Oval pools run from about 12 by 24 feet to 18 by 40 feet. A larger pool holds far more water, so the fill time and the chemical cost rise with size. Pick a size your water supply and your budget can support.
Read the kit contents list before you pay. A good kit holds the wall, top rails, posts, base plates, a liner, a skimmer, a pump, a filter, hoses, and a ladder. Buying a kit with the pump included saves a separate shopping trip. Pool kit suppliers list the full contents online, which helps you compare brands.
Tools and Materials You Will Need
Gather your tools before you start. You will save time if everything is at hand. The basic list is short.
You need a long carpenter level or a transit level, a tape measure, stakes and string, a shovel and a rake, a wheelbarrow, sand for the base, patio blocks or pavers for the posts, a screwdriver set, an adjustable wrench, duct tape, and a shop vacuum. A garden hose with a spray nozzle helps for cleaning the liner as you set it.
Buy a ground cloth or pool pad to lay under the liner. It guards against stones and roots. Have the chemical start-up kit ready, too. You will need chlorine or a salt system, test strips, and pH adjusters. DIY guides often note that a second pair of hands matters more than any tool on this job.
Step by Step: How to Install Above Ground Pool
This is the heart of the task. Work in order. Do not rush the ground work, since a level base decides the life of the pool.
1. Pick the Site
Choose a spot that is open and level, at least a few feet from fences, sheds, and trees. Stay clear of power lines overhead. Keep the pool within reach of a garden hose and near an outdoor power outlet for the pump. Local rules may set how far the pool must stand from the property line, so check with the town office first.
Mark the center of the pool with a stake. Tie a string as long as the radius and walk the circle. For oval pools, mark the outline from the manual. Remove all grass, roots, and stones inside the marked area.
2. Prepare the Ground
Leveling ground for above ground pool installation is the most important step. The ground must be level within one inch across the whole circle. Dig down high spots rather than filling low spots. Fill settles over time and can tilt the pool.
Spread two inches of clean masonry sand over the cleared area and rake it smooth. Use the level to check in many directions. Tamp the sand firm. Place a patio block under each post position, set so the tops of the blocks sit level with the sand. This keeps the posts from sinking.
Lay the ground cloth over the sand. Smooth out every wrinkle. Wrinkles under the liner grow into weak spots.
3. Assemble the Frame
Roll out the metal wall and set it in the bottom rails, following the manual. Join the wall ends with the bolts given. Keep the bolt heads on the inside of the pool and cover them with duct tape so they cannot cut the liner. Set the upright posts around the wall and fit the top rails.
Check the circle as you go. The wall must be round and plumb. A friend holding the wall steady makes this step much easier. Home advice sites remind builders to keep the wall out of full sun on very hot days, since hot metal is hard to bend.
4. Set the Liner
Unfold the liner in the center of the pool. On a warm day the vinyl is soft and easy to work. Pull it up over the wall and clip it in place. With an overlap liner, fold the extra vinyl over the wall evenly all around. With a beaded liner, snap the bead into the track.
Step into the pool in soft socks and push the liner toward the walls with your feet, working wrinkles outward from the center. A shop vacuum in the skimmer hole can suck the liner tight against the wall while you work. Fill the pool with one inch of water. This pins the liner down. Smooth the last wrinkles now, because they will not move later.
5. Install the Pump and Filter
Set the pump and filter on level ground near the pool, on a pad or pavers. Connect the hoses from the skimmer to the pump, from the pump to the filter, and from the filter back to the pool return. Tighten the hose clamps snug. Do not plug in the pump until water covers the skimmer opening.
Fill the pump basket with water to prime it. Start the pump and check every joint for drips. A small drip at a clamp is fixed by a quarter turn of the screw. Pool care guides suggest running the pump at least eight hours a day in the swim season.
6. Fill and Start Up
Fill the pool to the middle of the skimmer opening. This takes many hours for a large pool, so plan ahead. While it fills, test the water with strips. Add the start-up chemicals in the order the kit directs. Balance the pH first, then set the chlorine level. Let the pump run a full day before the first swim.
Walk around the pool once more. Look at the wall for bulges and the base for washouts. Fix small problems now. When the water is clear and the chemistry is right, the pool is ready.
Cost and Price
Above ground pool installation cost varies with size and type. A soft-sided kit can cost three hundred to eight hundred dollars. A steel wall kit in a popular size runs one thousand to three thousand dollars. Resin and hybrid models cost more.
Sand, blocks, and a ground pad add one to two hundred dollars. A start-up chemical kit costs fifty to one hundred dollars. If you hire help for the leveling, labor can add three hundred to eight hundred dollars. Most families spend between one thousand and four thousand dollars in total for a mid-size steel pool, chemicals included.
Running costs matter, too. Expect to spend on chlorine or salt, test strips, and a higher water and power bill. A new liner every seven to ten years costs two hundred to five hundred dollars. These sums are still far below the upkeep of an in-ground pool.
Care and Upkeep
A pool stays clear with steady, simple care. Skim leaves off the surface each day. Brush the walls once a week to stop algae from taking hold. Vacuum the floor weekly. Empty the skimmer basket and the pump basket often.
Test the water two or three times a week. Keep chlorine between one and three parts per million and pH between 7.2 and 7.6. Shock the pool after heavy use or a storm. Cover the pool when it is not in use to cut down on leaves and slow the loss of chlorine.
Some owners switch to salt systems for softer water. A salt water pool conversion cost guide can help you weigh the price of a salt cell against the cost of chlorine tablets. Whichever system you pick, steady testing is the secret. Federal water guidance notes that balanced water guards both swimmers and equipment.
Open the pool each spring with a full cleaning and a fresh chemical start. Close it each fall by lowering the water below the skimmer, draining the pump and filter, and fitting a winter cover. Good closing habits add years to the liner.
Safety Rules
Water and children demand constant care. Federal safety guidelines from the Consumer Product Safety Commission stress layers of protection around any pool.
Fence the pool area with a climb-resistant fence at least four feet high. Use a self-closing, self-latching gate. Fit a locking ladder or remove the ladder when the pool is not in use. Keep rescue gear and a phone near the pool. Never leave children alone in or near the water, not even for a moment.
Alarms add one more layer. A pool alarm for child safety sounds when the water is disturbed, which can warn of an unnoticed entry. Teach every family member to swim, and keep the pool covered when the season ends.
Check local codes before you build. Many towns require a permit for pools above a certain depth and an inspection of the fence and gate. A short visit to the town office prevents fines and rework.
Frequently Asked Questions
How long does it take to install an above ground pool? Two adults can install a round steel pool in one to two days, not counting fill time. Filling a 24-foot pool can take 12 to 24 hours with a garden hose. Leveling the ground takes the most labor, so give that step a full day.
Can I install an above ground pool by myself? The ground work can be done alone, but the wall raising and liner setting go far better with a helper. The metal wall is long and springy, and a second person keeps it in the track while you bolt the ends.
Do I need a permit for an above ground pool? Many towns require a permit for pools deeper than 24 inches at the wall. Some also require a fence inspection. Rules differ by town, so call the local building office before you buy the kit.
What is the best base for an above ground pool? Two inches of tamped masonry sand over firm, level soil is the standard base. A ground cloth or foam pad over the sand guards the liner. Patio blocks under each post keep the frame from settling.
How level must the ground be? The ground should be level within one inch from side to side. More slope than that puts stress on the wall and can void the warranty. Always dig down high spots instead of building up low spots.
Can an above ground pool stay up all winter? Yes, if it is closed in the right way. Lower the water below the skimmer, drain the equipment, add winter chemicals, and fit a tight winter cover. In harsh climates, some owners take down soft-sided pools and store them indoors.
A Final Word
An above ground pool is one of the best values in home leisure. The parts are simple, the steps are clear, and the reward is a whole summer of swimming a few steps from the back door. Take your time with the ground work, follow the manual for your kit, and keep up with water care and safety rules.
If a full pool feels like more than your yard can hold, a hot tub for small backyards may suit the space instead. Spa makers and hot tub brands offer compact models that fit patios and decks. Home improvement stores carry both pools and spas, so you can compare in person before you decide. Whichever you choose, plan well, build with care, and enjoy the water.
References
Bullfrog Spas. (n.d.). Hot tubs and spas. https://www.bullfrogspas.com Family Handyman. (n.d.). DIY home repair and maintenance. https://www.familyhandyman.com Hot Spring Spas. (n.d.). Hot tubs and spas. https://www.hotspring.com Leslie’s Pool Supplies. (n.d.). Pool supplies and equipment. https://www.lesliespool.com Lowe’s. (n.d.). Home improvement products. https://www.lowes.com Pool Warehouse. (n.d.). Pool equipment and supplies. https://www.poolwarehouse.com Swim University. (n.d.). Pool and hot tub care guides. https://www.swimuniversity.com The Home Depot. (n.d.). Home improvement products. https://www.homedepot.com The Spruce. (n.d.). Home and garden advice. https://www.thespruce.com U.S. Consumer Product Safety Commission. (n.d.). Product safety information. https://www.cpsc.gov U.S. Environmental Protection Agency. (n.d.). Protecting human health and the environment. https://www.epa.gov
Was this guide helpful?

About Sarah Mitchell
The My Garden US editorial team writes practical, in-depth home and garden guides for American homeowners — tested advice, no fluff.
You May Also Like
Salt Water Pool Cost Per Month: What You Will Really Pay
June 6, 2026 0 views
Pool Heater for Above Ground Pools: A Plain Guide to Warm Water All Season
June 30, 2026 0 views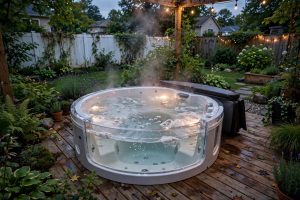
Best Hot Tub for Arthritis Relief: How to Choose the Right Spa for Sore Joints
January 2, 2026 0 views