
Many gardeners dream of picking bright bell peppers and hot chili peppers from their own soil. Learning how to grow peppers from seed is one of the most rewarding ways to begin. It costs little. It takes only basic tools. And it opens the door to hundreds of pepper types that never appear in garden shops. This guide walks through the full process in plain words, from seed packet to harvest day.
Why It Matters: Seeds Beat Store-Bought Starts
A seed packet costs two or three dollars and holds dozens of seeds. A single pepper plant from a garden center can cost four or five dollars. When you start from seed, one packet can fill a whole row in the garden.
Choice is the deeper reason. Shops carry only a handful of popular types. Seed catalogs carry hundreds. Purple bell peppers. Orange sweet peppers. Hot habaneros. Long Italian frying peppers. Mild banana peppers. All of these begin the same way. Once you know how to grow peppers from seed, the full catalog is open to you.
Starting early also gives your plants a longer season. Peppers are heat lovers. They grow slowly at first. By starting seeds indoors in late winter, you hand your plants a six to eight week head start before warm weather arrives.
When to Start: Timing Is Everything: How to Grow Peppers From Seed
Peppers need eight to ten weeks indoors before the last frost date. Count backward from that date. If your last spring frost falls on April 20, you should sow seeds in the last week of February or the first week of March.
Starting too early causes weak, leggy plants. Starting too late leaves peppers ripening in autumn frost. Mark your frost date on a calendar and work backward. It is the single most important step in learning how to grow peppers from seed. Keep a seed packet count too, so you sow enough for your garden beds.
What You Need Before You Begin
You do not need a greenhouse or fancy gear. A small kit of basic tools will do the work:
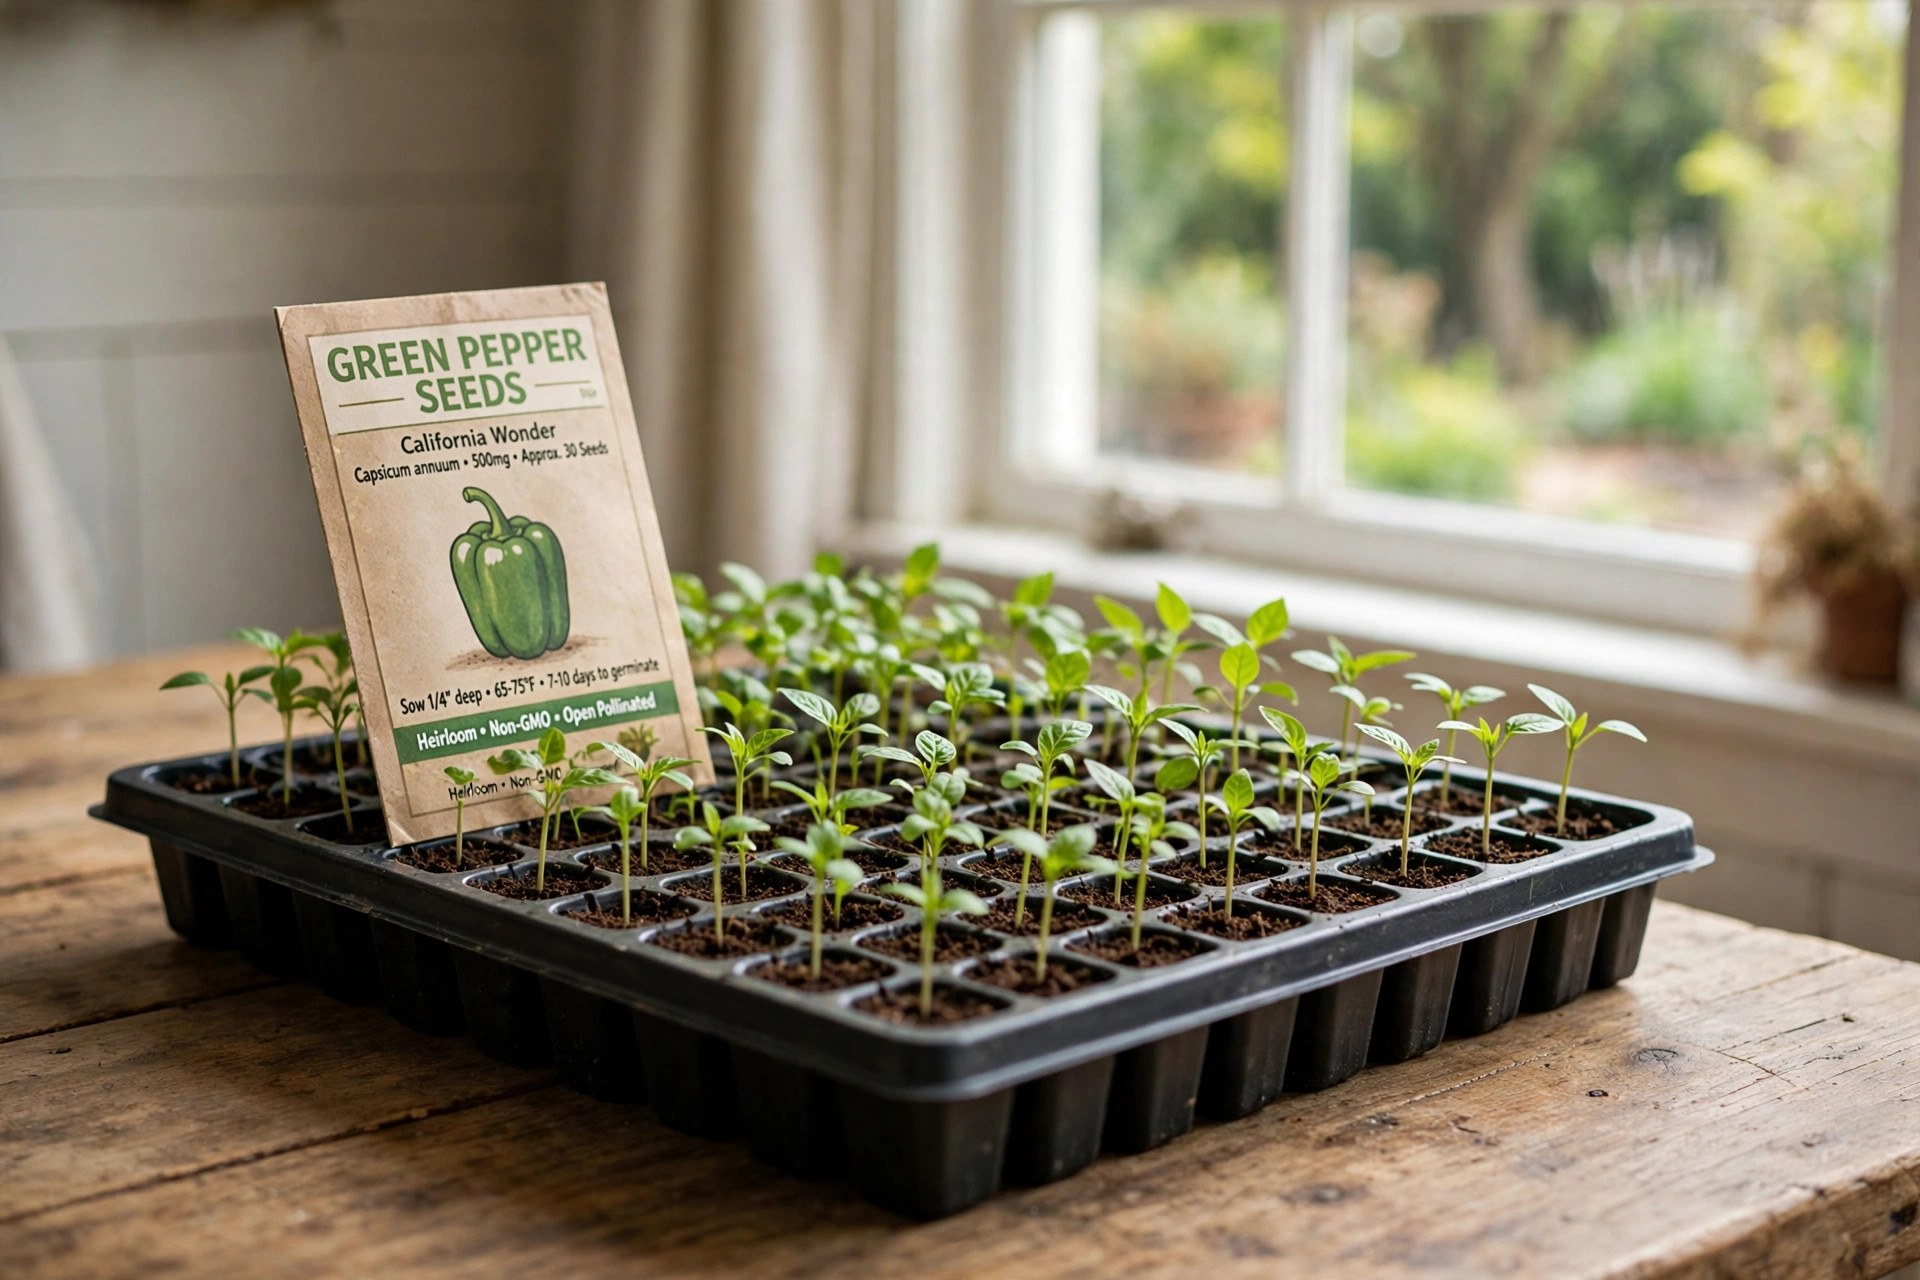
– A seed starting tray with cells, or small pots about three inches wide – A seed starting mix, light and fine – A spray bottle for gentle watering – A clear plastic dome or plain plastic wrap to hold moisture – A warm spot, ideally 75 to 85 degrees – A sunny window or a simple shop light
Seed starting mix matters more than many beginners expect. Ordinary garden soil is too heavy and can carry disease. A fine, clean seed starting mix gives tiny roots an easy path. A good seed starting mix versus regular potting soil comparison shows why the light blend wins for small seeds.
How to Grow Peppers from Seed: Step by Step
Step 1: Prepare the Tray and Mix
Fill each cell with damp seed starting mix. Water the mix first, then press it down lightly. It should feel like a wrung-out sponge, moist but not dripping. Fill the cells to within half an inch of the top.
Step 2: Sow the Seeds
Place two seeds in each cell, on the surface of the mix. Cover them with a quarter inch of mix. Peppers need darkness to sprout, but the cover should be light, not packed. Label each cell with the pepper type and the date. A roll of tape and a marker are enough.
Step 3: Add Warmth and Moisture
Cover the tray with the dome or plastic wrap. This holds in moisture. Place the tray on a warm surface. The top of a refrigerator works. So does a seed heat mat. Peppers sprout best at 80 to 85 degrees. Without warmth, they can take three weeks to appear. With warmth, most sprout in seven to fourteen days.
Check the tray daily. If the surface looks dry, mist it with the spray bottle. Remove the cover as soon as the first green sprouts appear.
Step 4: Give Light
Once sprouts are up, they need light fast. A sunny south window can work, but a simple fluorescent or LED shop light hung two inches above the plants gives steadier results. Run the light fourteen to sixteen hours a day. Raise it as the plants grow.
Plants that lean toward a window are telling you they need more light. A cheap timer on the shop light keeps the schedule steady.
Step 5: Thin the Seedlings
Two seeds per cell means some cells will hold two sprouts. After the first true leaves appear, keep the stronger seedling and snip the weaker one at the soil line. Do not pull it out. Pulling can damage the roots of the one you want to keep.
True leaves look like tiny pepper leaves. The first pair of smooth oval leaves is just the seed leaf pair. The rough-edged leaves that come next are the true leaves.
Step 6: Water and Feed
Keep the mix moist but never soggy. Let the top of the mix dry slightly between waterings. Overwatering kills more seedlings than anything else. A tray with drainage holes is essential.
After the seedlings grow two sets of true leaves, feed them once a week with a weak liquid fertilizer, at half the strength shown on the label. Gentle feeding builds sturdy stems.
Step 7: Harden Off Before Planting
One week before planting day, begin the hardening process. Set the plants outside in shade for two hours the first day. Each day, add an hour and a little more sun. By day seven, they should stay out all day. This slow step toughens the plants against wind, sun, and cool nights. A full guide to starting seeds indoors covers this rhythm in more detail.
Types and Options: Which Peppers to Grow
Sweet Bell Peppers
Bell peppers are the mild giants. They grow best in warm summers. Green bells turn red, orange, or yellow if left on the plant. California Wonder and Keystone are old reliable types.
Hot Chili Peppers
Cayenne, jalapeno, and serrano peppers sprout and grow the same way as sweet types. Super-hot types like habanero grow even slower, so start them one or two weeks earlier.
Frying and Italian Peppers
Long sweet types such as Cubanelle and Jimmy Nardello are thin-walled and great for cooking. They ripen faster than thick bells, which helps in short summers.
Container Peppers
If you have no garden bed, grow peppers in pots. A five-gallon pot holds one pepper plant. Compact types like Thai hot peppers or Lunchbox snack peppers suit pots well.
Cost and Price: What It Takes
Starting peppers from seed is cheap. A tray and dome set costs under ten dollars and lasts for years. A bag of seed starting mix costs a few dollars. A packet of seeds costs two to three dollars. A heat mat is the one luxury item, often under thirty dollars, and it pays for itself by speeding up sprouting.
Compare that to buying twelve plants at five dollars each, and the savings are clear. The best potting soil for container gardens matters more for your final planting beds than for the seed stage, so spend your seed budget on warmth and light instead.
Care and Upkeep Through the Season
Transplanting Day
Wait until night temperatures stay above 55 degrees. Dig a hole the size of the root ball. Set the seedling at the same depth it grew in the tray. Space plants eighteen inches apart in rows two feet apart. Water each plant well after setting it in.
Mulch and Water
A two-inch layer of mulch keeps soil moist and roots cool. Water at the base of the plant, not on the leaves. Peppers like steady moisture, about one inch of water per week.
Stakes and Support
Tall pepper plants fall over in wind. Push a stake beside each plant at transplant time and tie the stem loosely. Doing it early avoids root damage later.
Feeding Your Plants
Peppers are steady feeders. A light feeding every three to four weeks keeps plants green and fruiting. Use a balanced vegetable fertilizer and follow the label rate. Too much nitrogen makes tall leafy plants with little fruit, so do not overfeed. Stop feeding in late summer in cold areas. This lets the plant focus its energy on ripening the peppers that are already set.
Compost helps too. Work a bucket of finished compost into each planting hole at transplant time. Compost feeds the soil life that in turn feeds the plant. A side dressing of compost halfway through the season gives a gentle boost without the risk of chemical burn.
Watch the leaves for signs of hunger. Pale green leaves often mean the plant wants nitrogen. Yellow leaf edges can mean a lack of potassium. Small fixes at the right time keep plants strong. Keep notes each year. A garden notebook that records what you fed and when will make next year’s peppers better still.
Pests and Problems
Pepper seedlings face a few common troubles. Damping off, a fungal rot, strikes wet crowded trays. Good airflow and dry tops prevent it. Aphids may visit indoors. A strong spray of water knocks them off. Flea beetles chew small holes in outdoor leaves. Row covers keep them away.
Peppers are part of the nightshade family, along with tomatoes and eggplants. Do not plant them where those crops grew last year. Rotating beds cuts down soil disease.
Safety: A Few Cautions
Pepper seeds and plants are safe to handle. The one caution concerns hot peppers. The oils that make chili peppers hot can burn skin and eyes. Wear gloves when handling hot pepper seeds, fruit, or juice. Wash hands well after. Keep hot pepper plants and dried pods away from small children who might touch and rub their eyes.
Garden products carry labels for a reason. Read fertilizer labels before mixing. Store seed packets in a cool dry place, away from children and pets.
FAQ
How long do pepper seeds take to sprout?
Most sprout in seven to fourteen days at 80 to 85 degrees. Cool soil can stretch that to three weeks. Do not give up early on a cool tray.
Can I plant pepper seeds straight in the garden?
In warm climates with a long season, yes. In most of the United States, the season is too short. Starting indoors gives peppers the head start they need.
Do pepper seeds need light to sprout?
No. Pepper seeds sprout in darkness. They need light only after the seedlings break the surface. Cover seeds lightly and give them warmth instead.
How deep should I plant pepper seeds?
A quarter inch deep is right. Deeper seeds struggle to push up. Shallower seeds dry out. A light cover of seed starting mix does the job.
Why are my seedlings tall and floppy?
They need more light. Move a grow light closer, to about two inches above the tops. A small fan blowing gently across the tray also builds stronger stems.
Can I save seeds from my peppers?
Yes, with one caution. Sweet and hot peppers cross-pollinate easily. If you grow hot and sweet peppers close together, the saved seeds may grow mixed types. Isolate plants or save seed only from open-pollinated types if you want true results. Dry the seeds fully, then store them cool and dark. They keep for three to five years.
When can I move peppers outside?
After the last frost, when night temperatures stay above 55 degrees. Harden them off over seven days first. Rushing this step can stall growth for weeks.
A Short Final Word
Learning how to grow peppers from seed takes patience, but the steps are simple. Warm soil. Steady moisture. Strong light. A week of hardening. Then a sunny bed and regular water. In a few months, you will pick peppers you grew from a speck of seed. Few things in the garden taste better.
For more background, see Fiskars, The Home Depot, and Lowe’s. For more background, see Corona Tools, Burpee, and The Spruce. See Bob Vila for more detail.
References
Bob Vila. (n.d.). Home improvement advice. https://www.bobvila.com Burpee. (n.d.). Seeds, plants, and gardening supplies. https://www.burpee.com Corona Tools. (n.d.). Garden and landscape tools. https://www.corona-tools.com Fiskars. (n.d.). Garden and cutting tools. https://www.fiskars.com Gardener’s Supply Company. (n.d.). Gardening tools and supplies. https://www.gardeners.com Lowe’s. (n.d.). Home improvement products. https://www.lowes.com The Home Depot. (n.d.). Home improvement products. https://www.homedepot.com The Spruce. (n.d.). Home and garden advice. https://www.thespruce.com
Was this guide helpful?

About Lisa Anderson
The My Garden US editorial team writes practical, in-depth home and garden guides for American homeowners — tested advice, no fluff.
You May Also Like
How to Store Garden Seeds Long Term: A Simple Guide for Home Gardeners
September 30, 2026 0 views
Best Garden Tool Organizer for Garage: A Complete Buyer’s Guide
June 30, 2026 0 views
Best Garden Sprayer Backpack Battery Reviews for Home Gardeners
May 16, 2026 0 views