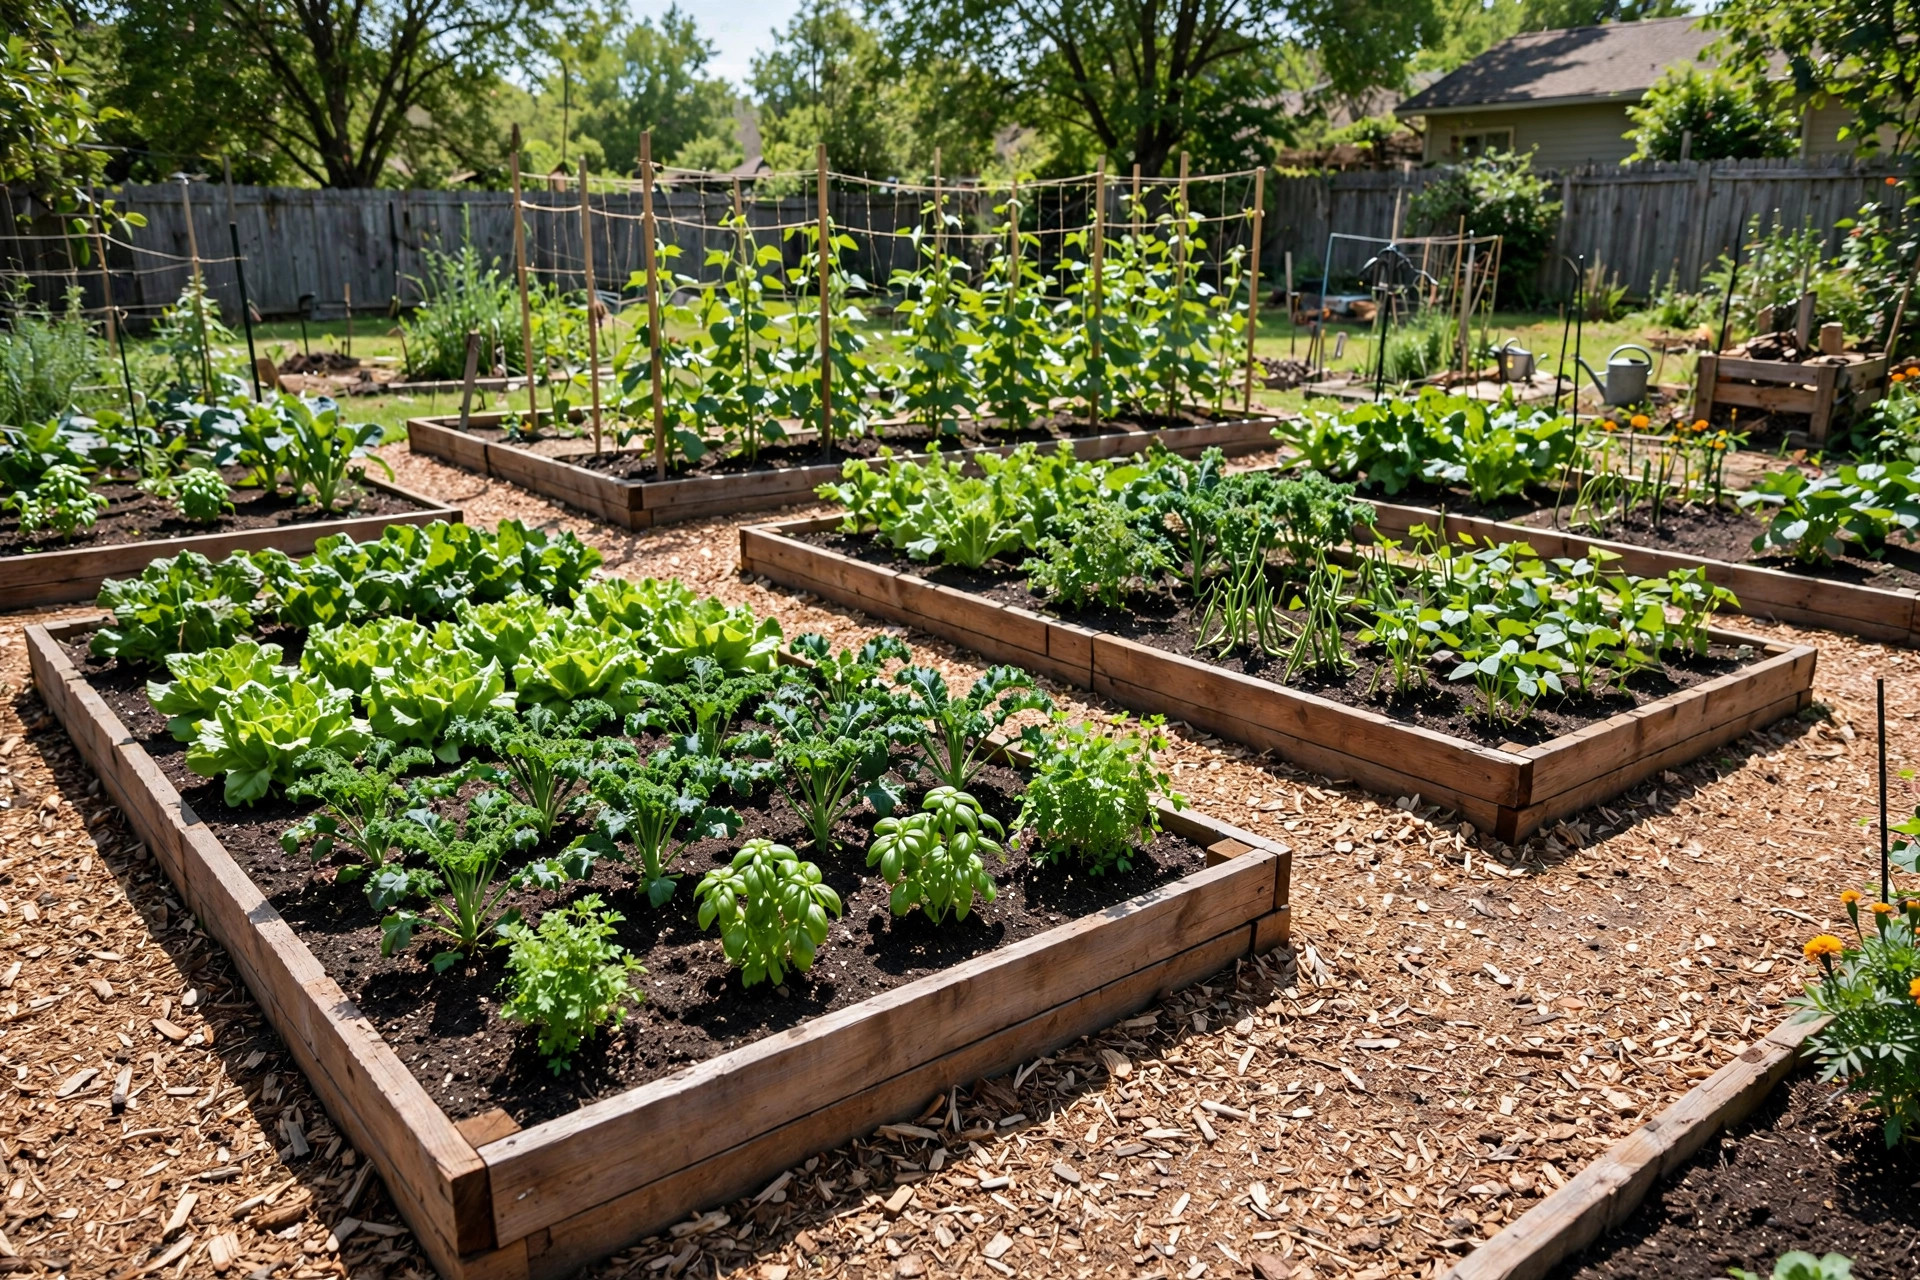

A vegetable garden works best when every bed has a clean edge. The right garden edging ideas for vegetable beds do more than look neat. They hold soil in place after rain. They block grass from creeping in. They give the mower a straight line to follow. They mark where the path ends and the growing begins. This guide walks through the best borders for vegetable beds, how to pick one, what each kind costs, and how to keep it working for years.
Why Edging Matters in a Vegetable Bed
Vegetable beds lose soil every time it rains. Water runs off the top and carries the fine, rich part with it. An edge slows that runoff. It holds the soil inside the bed where the roots need it.
Grass is the other enemy. Lawn grass sends runners under the soil and pops up inside the bed. Once it takes hold, it steals water and food from the plants. A firm edge blocks those runners. A border sunk four to six inches deep stops most grass.
Edging also keeps mulch out of the path and path material out of the bed. When a bed has no border, wood chips and compost drift everywhere. The garden looks tired. Work takes longer because you must rake everything back.
Finally, an edge protects tools and plants. A string trimmer can chew through soft stems in one pass. A raised border marks a clear line. You can mow or trim right up to the edge without fear.
What to Look For When You Choose Edging: Garden Edging Ideas for Vegetable Beds
Start with the soil. Soft, sandy soil needs a deeper edge. Heavy clay holds a shallow border in place. Check how wet the bed stays in spring. Wood rots fast in soil that never dries.
Think about the plants. Tomatoes and squash need deep roots. Their bed should have edging that does not block drainage at the bottom. An open-bottomed border keeps roots free. Shallow crops like lettuce do fine with a simple surface edge.
Match the style of the yard. A formal garden suits brick or stone. A cottage plot suits logs or rough timber. A modern yard suits steel or dark plastic.
Check the budget. Edging costs run from a few cents a foot to twenty dollars a foot. The cheapest options often take the most labor. The dear ones install fast.
Think about how long you want it to last. Pressure-treated timber lasts five to ten years. Cedar lasts eight to fifteen. Brick and stone last decades. Plastic bender board lasts ten years or more.
Types of Edging for Vegetable Beds
Wood Boards and Landscape Timbers
Wood is the most common choice. Cedar and redwood resist rot. Pressure-treated pine costs less. Stack two boards high for a low raised edge. Sink one board four inches deep for a flat border.
Wood is easy to cut and join. A simple saw and screws do the job. Corners take square stakes. Straight runs take ground stakes every three feet.
Wood suits almost any style. It looks natural beside soil and plants. It is light to carry. A sharp hand saw or a set of quality gardening tools makes the cuts clean. One drawback is rot. Even treated wood breaks down in damp soil. Plan to replace it in five to ten years.
Brick and Stone
Brick gives a classic look. Lay bricks flat for a path edge. Set them on edge for a taller border. A shallow trench of sand holds them firm.
Stone comes in many forms. Fieldstone makes a soft, natural line. Cut granite makes a sharp one. Dry-stack walls of two courses work well for raised beds.
Brick and stone last for decades. They do not rot or rust. They keep grass out well when sunk deep. The cost is higher, and the work is heavy. A long stone border is a weekend project, not an hour one.
Metal Edging
Steel and aluminum edging comes in long strips. It bends around curves. Stakes hold it upright. It gives a crisp, thin line that almost disappears.
Metal lasts a long time. Powder-coated steel resists rust. Aluminum never rusts. It cuts cleanly and sits deep, so grass runners cannot pass under it.
The trade-off is the sharp top edge. Wear gloves when you install it. Some gardeners roll the top or choose a rounded bead style. Metal costs more than wood but less than stone.
Plastic Bender Board
Plastic bender board is a flat strip of recycled plastic. It bends to any curve. It comes in black, brown, and green. Stakes pin it in place.
It is cheap and light. One person can install a whole garden in an afternoon. It does not rot. It works well for curved vegetable garden border edging around odd-shaped beds.
Cheap board can heave in winter frost. It can also look plain. Buy thicker board, at least three-sixteenths of an inch, and it will hold its shape for years. Most home improvement retailers stock several widths, so compare them in the aisle before you buy.
Concrete and Cast Borders
Poured concrete curbs make a firm, lasting edge. Molds shaped like stone let you cast your own sections. Once set, concrete does not move.
Concrete suits paths beside vegetable beds. It gives the mower a smooth strip to ride on. It is one of the dearer options if you hire the work. Cast-it-yourself molds cut the cost a lot.
Concrete is heavy and hard to change later. Be sure of the bed shape before you pour.
Living Edges and Low Hedges
Some gardeners plant the edge. Low herbs like chives, thyme, and marigolds form a soft border. They attract good insects. They can be trimmed and eaten.
A living edge needs care. It competes with the vegetables for water. It must be cut back so it does not shade small plants. It suits large beds where space is not tight. If you plan the border herbs first, seed-starting guides help you time chives and thyme so the edge is ready by planting day.
Recycled and Found Materials
Old bricks, broken concrete chunks, and glass bottles set neck-down make free borders. Logs from a fallen tree work too. These options cost nothing but time.
Found materials give the garden a rustic charm. They are a fine choice for a first garden. Check that old materials are safe. Avoid painted wood of unknown age and any material that may hold lead.
Galvanized Stock Tanks and Troughs
Some growers use short metal troughs as beds. The wall of the tank is the edge. These last for decades. They sit above ground, so soil stays warm early in spring.
Troughs cost more up front. They need drainage holes drilled in the bottom. They suit small patios and yards with poor soil.
DIY Garden Edging for Vegetable Gardens
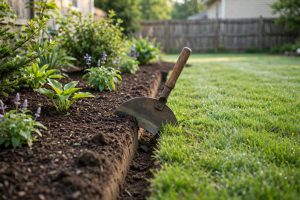
You can build a fine border in one afternoon. Mark the bed shape with string and stakes. Cut the sod along the line with a spade. Dig a trench four to six inches deep and three inches wide.
Set the edging material in the trench. Keep the top one to two inches above the soil for a flat bed, or four to six inches for a raised look. Level each piece as you go. A short level laid across the top helps.
Backfill both sides with soil. Pack it firm with your foot. Water the soil to settle it. Fill the bed with compost-rich soil mix.
For raised bed edging options that hold deep soil, stack boards two or three high. Join the corners with screws or metal brackets. Sink corner stakes a foot into the ground. Guides from raised bed supply specialists show several corner-join methods if you want a picture before you start.
Cost and Price
Prices change by region, but these ranges hold in most American markets.
Plastic bender board costs about one to two dollars a foot. A fifty-foot roll plus stakes runs under fifty dollars. Independent product ratings can help you compare brands on thickness and UV resistance. This is the cheapest way to edge a whole garden.
Wood boards cost three to six dollars a foot for cedar. Pressure-treated pine runs two to four dollars a foot. A four-by-eight-foot bed takes about twenty-four feet of board, so one bed costs fifty to one hundred fifty dollars.
Metal edging costs four to eight dollars a foot. It comes in kits with stakes. A fifty-foot garden border runs two hundred to four hundred dollars.
Brick costs five to ten dollars a foot when laid by the homeowner. Hired work can double that. Reclaimed brick from a salvage yard costs one to two dollars a foot.
Stone runs ten to twenty dollars a foot for natural fieldstone. Cut stone costs more. Concrete curb installed by a pro runs eight to fifteen dollars a foot.
Think in total project cost, not per foot. A small kitchen garden with four beds may need only one hundred feet of edging. A large market plot may need five hundred feet. Measure first, then price the material.
Care and Upkeep
Walk the borders each spring. Frost heaves wood and plastic. Push shifted pieces back down. Replace stakes that broke over winter.
Wood needs the most care. Check for soft spots. Flip boards that rot on one side. Restain or seal cut ends each year. Step-by-step project guides show how to splice a repair piece into a long run without taking the whole border apart. Replace whole boards when they crumble.
Weed the edge line. Grass seeds land on top of any border. Pull small weeds before they root deep. A hand hoe along the edge takes minutes.
Keep mulch inside the bed. After heavy rain, rake drifted mulch back. Add fresh mulch each spring to keep the bed level with the edge.
Metal edges rarely need care. Check that the top is not bent sharp. Hammer bent spots flat. Tighten loose stakes.
Stone borders can shift. Lift and reset any stone that tilts. Add sand under low spots. Brick set in sand may need releveling every few years.
Compost and soil build up over time. Top off beds in spring, but do not let soil rise above the edge. If it does, the border loses its power to hold things in. Garden how-to guides offer a simple seasonal checklist so the spring top-off never gets skipped.
Safety First
Wear gloves when you handle metal edging, rough wood, and broken stone. Sharp edges cut fast. A sturdy pair of professional garden gloves also helps when you set bricks and lift stones.
Wear eye protection when you cut boards or drill drainage holes. A simple pair of safety glasses costs little.
Lift with care. Stone and concrete are heavy. Bend at the knees. Ask for help with long timbers.
Keep borders low near paths. An edge that rises more than six inches beside a path can trip a walker. Mark tall raised beds with a light color or a cap rail. Home safety advice also suggests rounding sharp metal tops in any bed children walk past.
Drill drainage holes in any solid-sided bed. Standing water breeds mosquitoes and rots wood faster. A half-inch hole every foot along the bottom works well.
Wash hands after work. Soil can carry bacteria. Old lumber may hold chemicals. Simple soap and water are enough.
Frequently Asked Questions
How deep should vegetable bed edging go?
Sink the edge four to six inches below the soil line. That depth blocks most grass runners. In sandy soil, go six inches deep. In heavy clay, four inches is enough. The top should sit one to two inches above the soil for flat beds.
What is the cheapest edging for vegetable beds?
Plastic bender board is the cheapest bought material, at about one to two dollars a foot. Found materials cost nothing. Old bricks, logs, and broken concrete chunks make fine free borders. A quick look at how to grow herbs indoors year round can also help you plan small-space growing that needs less edging.
Will wood edging rot in a vegetable bed?
Yes, all wood rots in time. Cedar and redwood last eight to fifteen years. Pressure-treated pine lasts five to ten years. Good drainage helps. Keep the bed from staying soaked, and replace boards as they soften.
Can I use edging with a no-dig garden?
Yes. Lay cardboard on the grass inside the border. Add compost on top. The edge holds the layers in place. Open-bottomed borders work best because worms move up from the soil below.
Does edging keep slugs out?
A smooth, tall edge slows slugs. Copper tape on top of wood or metal stops most of them. No edge stops slugs fully. Check under boards in the morning and move hiding slugs away from the bed.
How do I edge a curved vegetable bed?
Use flexible material. Plastic bender board, metal strip, or small pavers follow a curve well. Mark the curve with a garden hose before you dig. Cut the trench along the hose line for a smooth shape.
A Final Word
The best garden edging ideas for vegetable beds share one trait. They match the garden and the gardener. A small herb patch needs a simple plastic strip. A big family plot deserves brick or cedar. Pick a border you can install in a weekend and keep up with ease. The edge will repay you with cleaner paths, richer soil, and weeds that stay where they belong.
References
Bob Vila. (n.d.). Home improvement advice. https://www.bobvila.com Burpee. (n.d.). Seeds, plants, and gardening supplies. https://www.burpee.com Consumer Reports. (n.d.). Product reviews and ratings. https://www.consumerreports.org Corona Tools. (n.d.). Garden and landscape tools. https://www.corona-tools.com Family Handyman. (n.d.). DIY home repair and maintenance. https://www.familyhandyman.com Fiskars. (n.d.). Garden and cutting tools. https://www.fiskars.com Gardener’s Supply Company. (n.d.). Gardening tools and supplies. https://www.gardeners.com The Home Depot. (n.d.). Home improvement products. https://www.homedepot.com The Spruce. (n.d.). Home and garden advice. https://www.thespruce.com
Was this guide helpful?

About Sarah Mitchell
The My Garden US editorial team writes practical, in-depth home and garden guides for American homeowners — tested advice, no fluff.
You May Also Like
Drip Irrigation Timer With Rain Delay: A Complete Guide
August 23, 2026 0 views
Best Garden Hose Reel Retractable Reviews: What to Buy in 2026
May 7, 2026 0 views
How to Start Seeds Indoors Guide for Strong Spring Plants
February 20, 2026 0 views