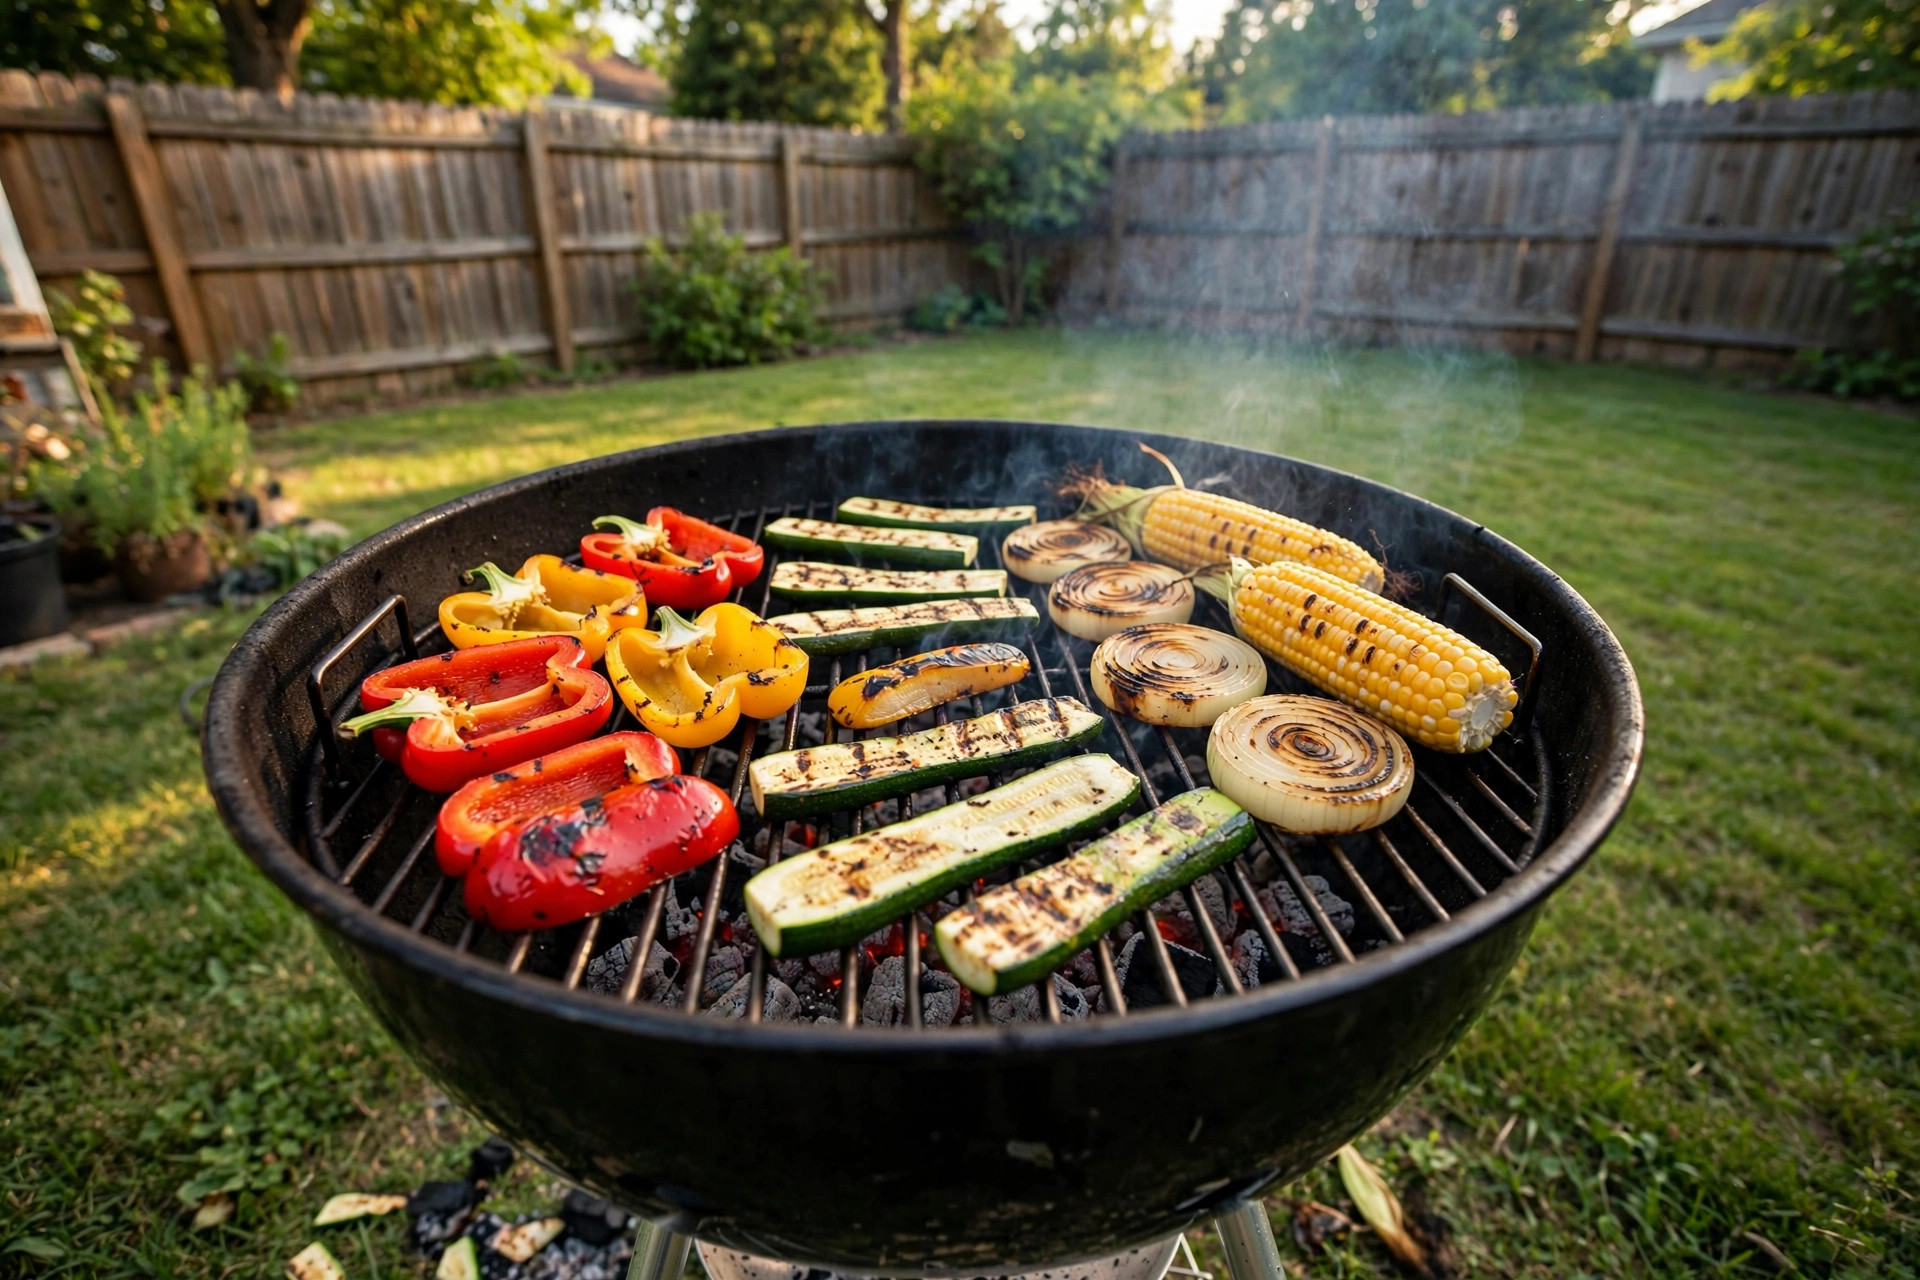
Learning how to grill vegetables on charcoal grill setups is one of the best skills a home cook can learn. Vegetables take on a deep, smoky taste over real charcoal that gas and electric grills cannot match. The edges turn crisp. The centers stay sweet and soft. With a little prep and the right heat, anyone can do it in a backyard on a weeknight.
Why Charcoal Makes Vegetables Taste Better
Charcoal gives off real wood smoke as it burns. That smoke lands on the food and gives it a rich flavor that seasoning alone cannot provide. Vegetables are full of water and sugar. When they hit a hot grill, the sugar turns brown and sweet, a process cooks call caramelization. The result is simple. Plain peppers taste like candy. Plain onions taste soft and sweet.
Charcoal also gets hotter than most gas grills. High heat is what sears the outside of a vegetable while keeping the inside tender. A best charcoal grill for backyard bbq gives you the wide heat zones you need for this kind of cooking. Many cooks also prefer charcoal because the grill is simple. There are no gas lines and no burners to clog. A bag of charcoal, a chimney starter, and a match are all you need to begin.
Setting Up the Grill: Heat Zones Matter: How to Grill Vegetables on Charcoal Grill
The single most important step in learning how to grill vegetables on charcoal grill fires is the two-zone setup. You push the lit coals to one side of the grill. One side gets very hot. The other side gets mild, indirect heat. This gives you control. You can sear on the hot side and finish on the mild side.
How to Light the Coals
Fill a chimney starter with charcoal and light it with newspaper or fire starters. When the top coals show gray ash, pour them out onto one side of the grill grate. Put the lid on and let the grill heat for ten minutes. If you want to skip lighter fluid, a chimney is the cleanest way to learn how to start charcoal grill without lighter fluid and still get even heat.
Direct and Indirect Zones
Keep the hot side around 450 to 500 degrees Fahrenheit. That is hot enough to mark peppers and zucchini in two to three minutes per side. Keep the lid vents half open. The mild side stays near 300 degrees. If a thick vegetable like a potato slice is burning on the outside but still hard in the middle, move it to the mild side, close the lid, and let it finish with gentle heat.
How to Prepare Vegetables for the Grill
Good prep decides the final result more than any recipe. Cut every piece to about the same thickness so it all cooks at the same speed. Large pieces are easier to flip and will not fall through the grate. Onion rounds should be cut thick, about three quarters of an inch. Zucchini and summer squash work best cut the long way into planks. Peppers can be cut into wide, flat strips. Mushrooms and asparagus can go on whole.
Oil, Salt, and Seasoning
Brush each piece lightly with vegetable oil or olive oil. Oil keeps the vegetables from sticking and helps them brown. Do not drown them. A thin coat is enough. Salt the pieces right before they go on the grill. Pepper and garlic powder are fine too. Hold the strong spice blends for after grilling, when you can taste the true flavor first.
One trick that saves time is to toss everything in a big bowl with oil and salt before you walk out to the grill. This coats each piece evenly. Some cooks add a splash of lemon juice or balsamic vinegar after grilling for a bright finish. Keep marinades light if you use them, because sugary marinades burn fast over charcoal.
Step by Step: Grilling Vegetables on Charcoal
1. Clean the grate with a stiff brush while the grill is hot. Clean bars give you clean marks. 2. Oil the grate with a paper towel dipped in oil, held with long tongs. Do this quickly so the paper does not catch fire. 3. Lay the vegetables on the hot side in a single layer. Leave space between pieces so steam can escape. 4. Do not move them for two to three minutes. Let the grate marks form. 5. Flip once with tongs. Grill the second side for two to three minutes more. 6. Check softness with a fork or a knife tip. If the outside is dark but the middle is firm, move the piece to the mild side and close the lid for a few more minutes. 7. Take everything off and rest it on a platter for three minutes before serving.
This method works for grilled vegetable skewers as well, though loose pieces give better sear than crowded skewers. If you use wooden skewers, soak them in water for thirty minutes first so they do not burn. Metal skewers need no soaking and conduct heat into the center of the vegetables, which helps them cook faster.
Cooking Times for Common Vegetables
Timing depends on thickness and heat, so treat this table as a guide and trust your eyes. All times are for direct heat at about 450 degrees.
| Vegetable | Cut | Minutes per side | |—|—|—| | Bell peppers | Wide strips | 2 to 3 | | Zucchini | Long planks | 2 to 3 | | Red onion | Thick rounds | 3 to 4 | | Corn | In the husk | 15 total, turning | | Asparagus | Whole spears | 2 to 3 | | Mushrooms | Whole caps | 3 to 4 | | Eggplant | Half-inch slices | 3 to 4 | | Carrots | Split the long way | 5 to 6, then finish on mild heat | | Broccoli | Large florets with flat side | 2 to 3, then finish on mild heat |
Thick or dense vegetables like carrots and potato slices often need the mild side to finish. Move them over, close the lid, and give them ten extra minutes. Smoky grilled peppers are the easiest win for a beginner. They forgive small mistakes and always taste good.
Tools and Supplies You Will Need
You do not need much. Long tongs are the one tool you cannot skip. A stiff grill brush keeps the grate clean. A grill basket is a great help for small items like green beans, cherry tomatoes, and sliced mushrooms that would fall through the bars. Look for a basket with small holes and a long handle.
A chimney starter replaces lighter fluid and gives you even, ready coals in about fifteen minutes. Lump charcoal burns hotter and lights faster than briquettes, while briquettes burn longer and more evenly. Either one works for vegetables. Guides from Weber and Char-Broil both note that a chimney is the best way to light charcoal without chemical taste.
A grill thermometer takes out the guesswork. Instant-read models let you check that corn is tender inside. For grate care, learn how to season cast iron grill grates if your grill uses cast iron. Seasoned grates release food better and give darker sear marks.
Cost and Price
Learning how to grill vegetables on charcoal grill setups is one of the cheapest cooking hobbies. A basic kettle grill costs around fifty to one hundred dollars. A good pair of tongs costs about fifteen dollars. A chimney starter costs about twenty dollars. A grill basket runs ten to twenty-five dollars.
Charcoal costs about one dollar per cook for a vegetable session, since vegetables need less fuel than a long smoke. Lump charcoal costs a little more than briquettes but lights faster. Buying bags in bulk at the start of summer keeps the price down. Reviews at Consumer Reports and buying guides at The Home Depot can help you compare grill models before you buy.
Care and Upkeep After Grilling
While the coals are still warm, brush the grate hard. This is the best time to remove stuck bits. Once the grill is cool, empty the ash catcher. Ash holds moisture and can rust the bowl over time. Wipe the outside with a damp cloth.
Check the vents each month. They should slide freely. A little cooking oil on the vent blades keeps them moving. If your grill has cast iron grates, brush them with a thin coat of oil after each use to stop rust. Replace grates when the coating flakes or rust pits the metal.
Store the grill under a cover or in a shed. A cover costs about fifteen dollars and doubles the life of a grill. Keep charcoal bags dry. Wet charcoal is hard to light and burns poorly. For more upkeep advice, resources like This Old House, Family Handyman, and Bob Vila run useful home maintenance guides.
Safety Tips
Charcoal grills belong outside only. Never use one in a garage, tent, or closed porch. Charcoal gives off carbon monoxide, which has no smell and can kill. Set the grill at least ten feet from the house and away from dry leaves.
Keep a spray bottle of water near you to tame small flare-ups. Keep children and pets away from the hot grill. Wear heat-safe gloves when you handle the lid or move coals. Let the coals die out on their own, then stir the ash and make sure nothing is warm before you throw it away. The U.S. Consumer Product Safety Commission publishes grill safety rules worth reading once a season.
Frequently Asked Questions
Do I need to peel vegetables before grilling? No. Most vegetables grill best with the skin on. The skin protects the soft flesh and adds flavor. Peppers, zucchini, eggplant, and onions all go on with their skins. Peel carrots if the skin is rough, but it is not required.
Why do my vegetables stick to the grate? Two causes are common. The grate was not hot enough when the food went on, or the grate was not clean and oiled. Heat the grill fully, brush it, and wipe it with oil on a paper towel held with tongs. Give each piece a light coat of oil too.
Can I grill frozen vegetables on a charcoal grill? It is not a good idea. Frozen vegetables release too much water as they thaw and will steam instead of sear. Thaw them in the fridge, pat them dry, and then oil and grill them.
What is the best charcoal for vegetables? Briquettes give steady, even heat and are easy for beginners. Lump charcoal burns hotter and gives more smoke flavor. Either one works well. Avoid self-lighting charcoal, since the chemicals can leave a taste on the food.
How do I keep small vegetables from falling through the grate? Use a grill basket or thread them on skewers. A basket lets you shake and turn small pieces without losing them. For more technique ideas, check cooking guides at The Spruce Eats and the grilling school at AmazingRibs.
Can I grill vegetables and meat at the same time? Yes, with a little planning. Use the two-zone setup. Sear the meat on the hot side first, then move it to the mild side while the vegetables take the hot spot. Wash tongs or use a clean pair when you switch from raw meat to vegetables.
A Final Word
Grilling vegetables on charcoal is simple, cheap, and deeply rewarding. Set up two heat zones, cut your vegetables thick, oil them lightly, and let the coals do the work. After one or two tries, it will feel as natural as cooking in a kitchen pan. The smoky flavor you get from real charcoal is worth every minute you spend at the grill. More backyard cooking ideas are easy to find at Napoleon, and pellet grill fans can compare fuel styles at Traeger.
References
AmazingRibs.com. (n.d.). Barbecue and grilling science. https://www.amazingribs.com Bob Vila. (n.d.). Home improvement advice. https://www.bobvila.com Char-Broil. (n.d.). Gas and charcoal grills. https://www.charbroil.com Consumer Reports. (n.d.). Product reviews and ratings. https://www.consumerreports.org Family Handyman. (n.d.). DIY home repair and maintenance. https://www.familyhandyman.com Napoleon. (n.d.). Fireplaces, grills, and heating products. https://www.napoleon.com The Home Depot. (n.d.). Home improvement products. https://www.homedepot.com The Spruce Eats. (n.d.). Recipes and cooking guides. https://www.thespruceeats.com This Old House. (n.d.). Home renovation guidance. https://www.thisoldhouse.com Traeger. (n.d.). Wood pellet grills. https://www.traeger.com U.S. Consumer Product Safety Commission. (n.d.). Product safety information. https://www.cpsc.gov Weber. (n.d.). Grills and outdoor cooking. https://www.weber.com
Was this guide helpful?

About James Carter
The My Garden US editorial team writes practical, in-depth home and garden guides for American homeowners — tested advice, no fluff.