Cast iron grill grates are prized by backyard cooks for one simple reason. They hold heat like nothing else and put hard, dark sear marks on steaks, chops, and burgers. But bare cast iron has one weakness. It rusts. That is why learning how to season cast iron grill grates is one of the first skills every grill owner should learn. Seasoning is nothing more than baked-on oil. A thin coat of oil, heated past its smoke point, turns into a hard dark layer that shields the iron from air and water. This guide walks through the whole process in plain words, from the first burn-off to long-term care.
Why Seasoning Matters
An unseasoned cast iron grate is a problem waiting to happen. Moisture from food and from the air starts rust within days. Rust is not only ugly. It gives food a metallic taste, and it makes meat stick to the bars instead of sliding free.
A good seasoning layer solves three problems at once. First, it keeps water and air away from the iron, so rust has no place to start. Second, it builds a natural nonstick surface. Food releases with a simple flip of the tongs instead of tearing. Third, it helps the grate heat evenly. Well-seasoned grates stay black and slick for years, and each round of cooking adds a little more protection.
Many new grills ship with grates that are coated at the factory. That coating helps, but it is thin. One hot season of heavy use wears it down. Seasoning your grates yourself, and doing it more than once, gives you control over how thick and even the protection becomes.
What You Need Before You Start: How to Season Cast Iron Grill Grates
You do not need special tools. Gather these items before you begin:
– A stiff grill brush or a ball of crumpled aluminum foil – Dish soap, a bucket, and warm water (only for the first wash) – A vegetable oil with a high smoke point, such as canola, grapeseed, or avocado oil – A spray bottle or an old rag for a thin coat of oil – Paper towels or a clean cotton cloth – Tongs with long handles – A pair of heat-resistant grill gloves
Choose your oil with care. High smoke point oils bond best to hot iron. Cheap vegetable shortening works too. Olive oil is not a good choice here. It smokes at a low temperature and leaves a sticky film instead of a hard coat. Plain canola oil is inexpensive and does the job well.
Step by Step: How to Season Cast Iron Grill Grates
Step 1: Clean the Grates First
Oil will not bond to grease, old food, or rust. Take the grates out of the grill. If they are new, wash them in warm water with a small amount of dish soap. Scrub with a brush, then rinse well. This first wash is the only time soap should touch your cast iron.
If the grates are old and rusty, scrub harder. Use the stiff brush or the foil ball until the loose rust is gone. A few dark spots are fine. You are not aiming for shiny metal. You are aiming for clean, dry metal with no loose flakes.
Step 2: Dry the Grates Completely
Water is the enemy of this whole process. Dry the grates with a towel right after washing. Then set them in a warm grill or a warm oven for ten to fifteen minutes to drive off the last drops. The metal should feel warm and look fully dry before you move on.
Step 3: Apply a Very Thin Coat of Oil
Pour a small amount of oil onto a paper towel or rag. Rub it over every surface of the grate: the top, the bottom, and the sides. Then take a dry paper towel and wipe off as much oil as you can. This sounds wrong, but it is the most important step. The coat should look dry, not wet. A thick coat turns gummy and peels. A thin coat bakes into a smooth, hard shell.
Some cooks like to use a spray bottle of oil for an even mist. Either method works as long as the final film is paper-thin.
Step 4: Heat the Grill Past the Smoke Point
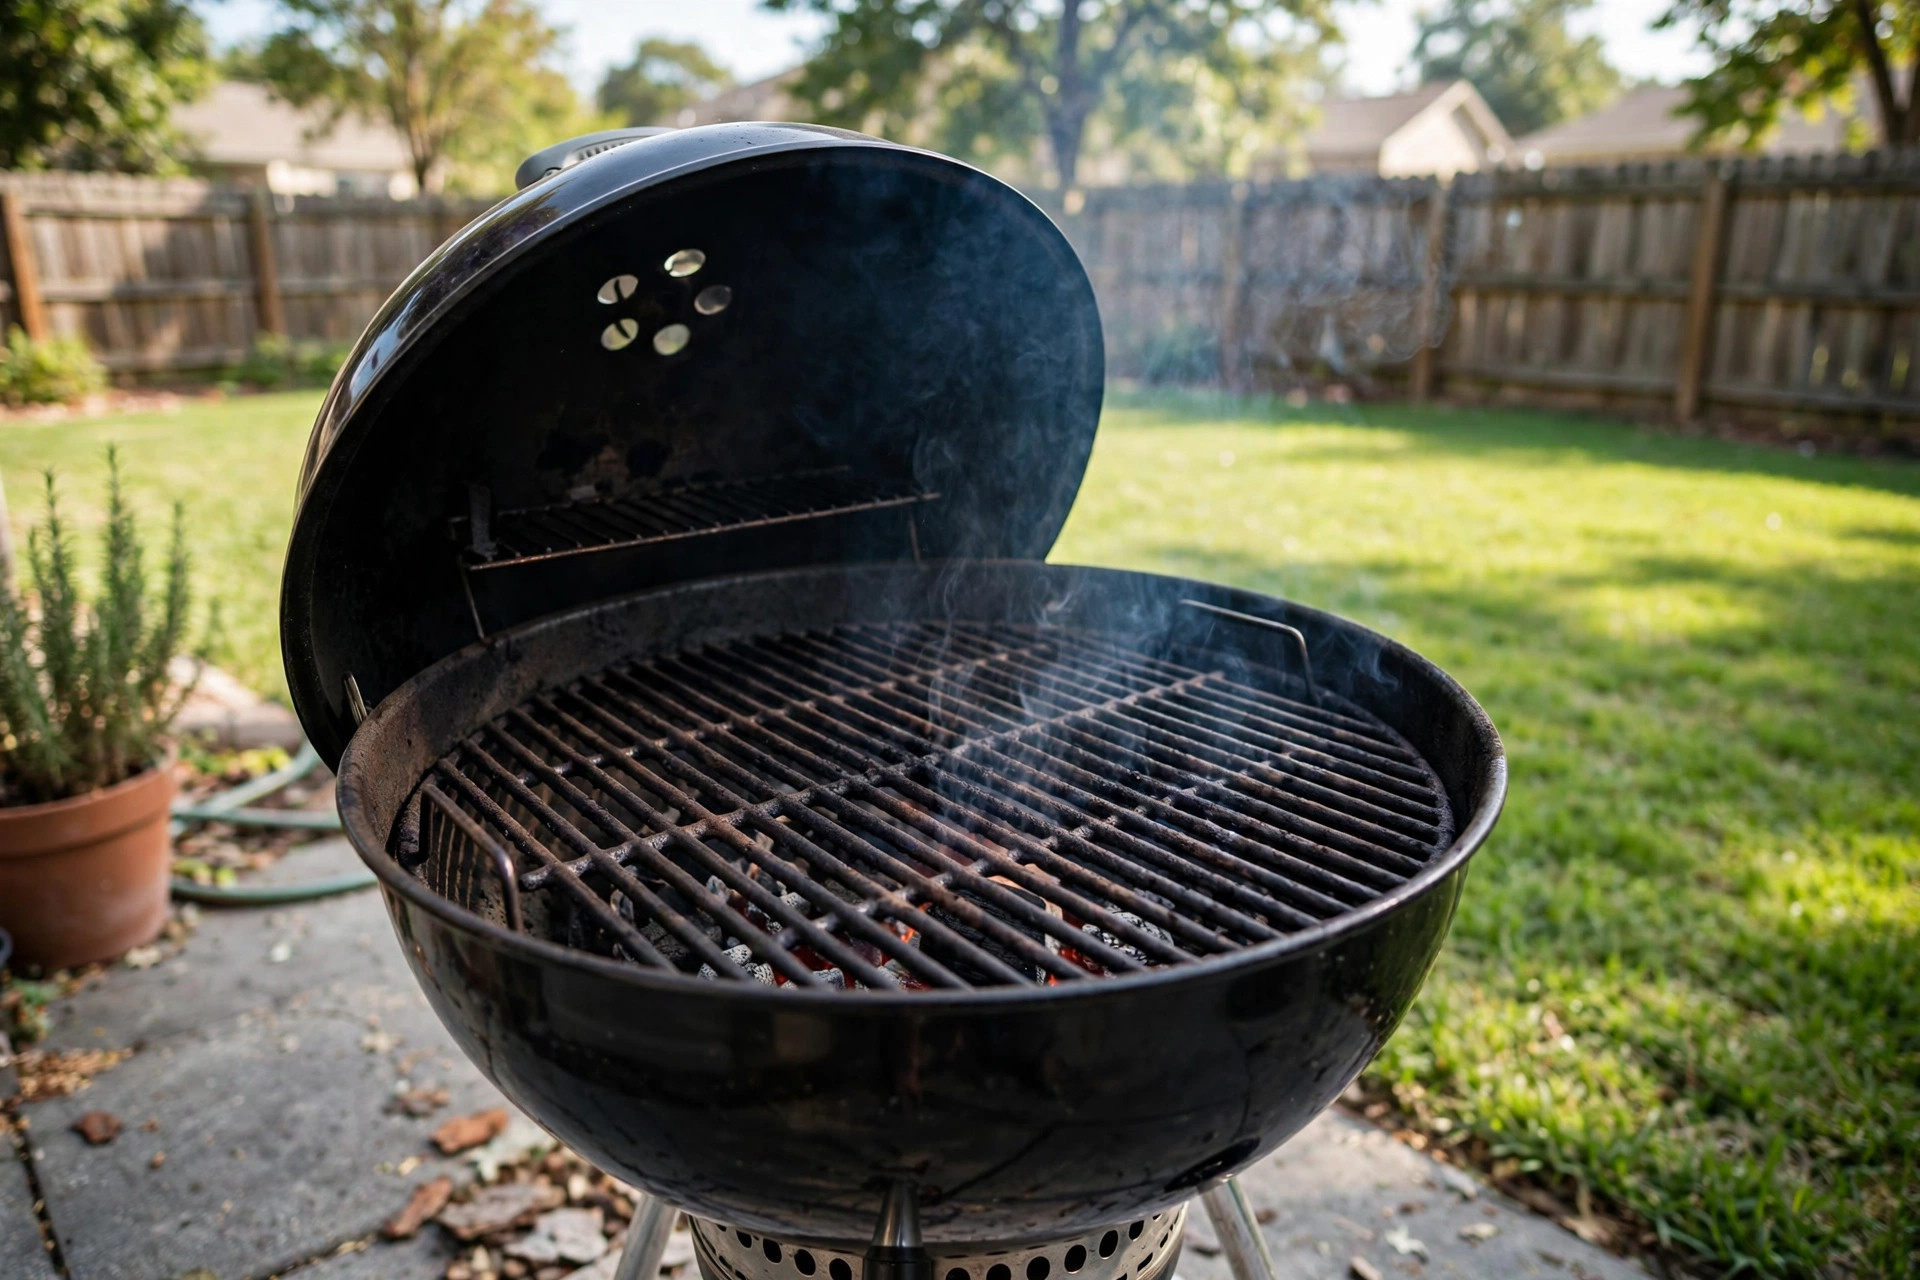
Put the oiled grates back in the grill. Fire up all burners to high on a gas grill, or pile hot coals across the charcoal grate. You want the inside of the grill to reach about 450 to 500 degrees Fahrenheit. Let the grates bake for forty-five to sixty minutes. The oil will smoke, darken, and harden. That smoke is normal. It means the oil is bonding to the iron.
Guides from major grill makers describe the same basic routine. Weber offers a plain cleaning and care walkthrough for cast iron parts, and the method below follows the same tested logic (https://www.weber.com).
Step 5: Cool Down and Repeat
Turn off the grill and let the grates cool on their own. Do not pour water on them to speed things up. Once they are cool enough to touch, look at the color. They should be darker and less dull than before. For brand-new or badly rusted grates, repeat the oil-and-heat cycle two or three more times. Each round deepens the black layer.
After seasoning cast iron grill grates for the first time with three rounds, you are ready to cook.
Which Oils Work Best for Seasoning
Not all oils season equally. Here is a quick rundown of the common choices:
– Canola oil: Cheap, easy to find, and bonds well. The best all-around pick. – Grapeseed oil: Neutral and high heat. Costs a little more but gives a smooth coat. – Avocado oil: Very high smoke point. A fine choice if you already keep it in the kitchen. – Vegetable shortening: Solid at room temperature, easy to rub on evenly. Melts into a thin coat as the grate warms. – Flaxseed oil: Dries into a very hard coat, but it can flake over time and costs much more. Most cooks do not need it.
Avoid butter, olive oil, and bacon fat for the seasoning layer itself. They break down at low heat and turn sticky. Save them for cooking, where their flavor belongs. The food science writers at The Spruce Eats explain why thin oil layers and high heat are the heart of good seasoning (https://www.thespruceeats.com).
Seasoning on Gas, Charcoal, and Pellet Grills
The method is the same on every grill, but the heat source changes the details.
On a gas grill, close the lid and run all burners on high. Most gas grills reach 500 degrees in about fifteen minutes. Keep the lid shut during the whole bake so the heat wraps around both sides of the grate.
On a charcoal grill, spread a full chimney of lit coals across the coal grate. Put the cooking grate in place and shut the lid with the vents open. The hot, smoky air does the work. Add fresh coals if the fire fades before the hour is up.
On a pellet grill, set the temperature to its highest setting. Pellet grills are steady by design, which makes the bake easy to control. Traeger notes that steady high heat helps iron parts hold a season longer between rounds (https://www.traeger.com).
Whatever grill you use, check your manual for the top safe temperature. Most cast iron grates handle far more heat than the grill itself can produce.
Cost and Price of Seasoning Your Grates
Seasoning is one of the cheapest maintenance jobs in all of grilling. A bottle of canola oil costs a few dollars and seasons a grate many times over. Paper towels, a brush, and dish soap are items most homes already own. If you want a purpose-built tool, a good stiff brush from a home center runs a few dollars more.
The only real expense is fuel for the bake. One full round on a gas grill uses a modest amount of propane. On a charcoal grill, one chimney of charcoal is enough. Compare that to the cost of replacement grates, which can run from twenty to over a hundred dollars depending on the grill. Broil King lists cast iron replacement grate sets for its grills, and the prices remind cooks why care is cheaper than replacement (https://www.broilkingbbq.com). A well-seasoned set of grates can last for many years.
Care and Upkeep After Seasoning
Seasoning is not a one-time job. It is a habit. Every cook either builds it up or wears it down. Follow these rules to keep the layer strong.
After each cook, brush the grates while they are still hot. Food comes off easily before it cools and hardens. A quick brush takes less than a minute.
Oil lightly after cleaning. While the grate is still warm, rub on a very thin coat of oil with a rag or a paper towel held in tongs. This tiny step feeds the season and stops flash rust overnight. Napoleon suggests this light oiling as part of routine high-heat grill care (https://www.napoleon.com).
Skip the soap from now on. Once seasoned, clean with heat and a brush. Soap strips the oil layer you worked to build. Hot grates and a stiff brush are enough for almost every mess. If you want a brush suited to the job, see our guide to the best grill brush for cast iron grates.
Know when to re-season. If food starts to stick, if the grates look gray and dry instead of black, or if you see small spots of orange rust, it is time for another round. Most backyard cooks re-season fully once or twice a season. Heavy users may do it monthly.
Store the grill covered and dry. Rain and damp air undo seasoning faster than anything else. A fitted grill cover keeps the grates dry between cooks. Char-Broil reminds owners that dry storage matters as much as the oil itself (https://www.charbroil.com).
Safety Rules to Follow
Seasoning is simple, but hot oil and hot metal demand respect.
– Work in the open air. Seasoning makes smoke. Never run the bake inside a garage with the door closed. – Keep the oil coat thin. Thick oil drips, flares up, and can start a grease fire. – Use long tongs and heat gloves. Grates at 500 degrees burn skin in an instant. – Keep children and pets clear. A closed, roaring grill looks interesting to small hands and paws. – Never use water to cool hot grates. The steam blast can scald, and the shock can crack the iron. – Watch for flare-ups. Have the lid ready to close. Cutting off the air starves a grease fire in seconds.
Big Green Egg publishes care notes for its cast iron cooking parts, and the same safety rules apply to every brand of grate (https://www.biggreenegg.com).
Frequently Asked Questions
How often should I season my cast iron grill grates?
Season new or restored grates three times in a row before the first cook. After that, a light oiling after each cook keeps the layer healthy. Do a full bake-round once or twice a year, or whenever food starts to stick or rust spots appear.
Can I season cast iron grill grates on a gas grill?
Yes. Gas grills are ideal for seasoning because the heat is steady and easy to control. Set all burners to high, close the lid, and hold 450 to 500 degrees for about an hour per round. If your burners run weak, our guide on how to clean gas grill burners properly can help you get full heat back.
Should I use soap on cast iron grates?
Only once, on the very first wash of brand-new grates. After that, clean with heat, a brush, and water only when needed. Soap strips the seasoning layer. If you cook on other grate types too, stainless needs a different routine — see how to clean stainless steel grill grates.
Why did my seasoning turn sticky?
The oil coat was too thick. A sticky layer means oil pooled instead of bonding. Fix it by heating the grate at full temperature for another hour to harden what is there, then scrub smooth and re-season with a thinner coat. Wiping the oil off until the metal looks dry is the fix that prevents this.
Can I use olive oil to season my grates?
You can, but it is a poor choice. Olive oil smokes at a low temperature and leaves a sticky, weak layer. Stick with canola, grapeseed, or avocado oil for a hard, even coat. Save the olive oil for the salad.
Is rust on cast iron grates dangerous?
Light surface rust is not a poison, but it ruins flavor and texture, and it spreads. Scrub rust off, re-season the bare spot, and keep the grates oiled. Deep, pitted rust that flakes into food means the grate should be replaced. Consumer Reports tests grill durability and materials across brands, which helps when choosing a replacement (https://www.consumerreports.org).
A Final Word
Knowing how to season cast iron grill grates turns a good grill into a great one. The process takes a little time and a few dollars in oil, but the payoff lasts for years: rust-free grates, food that releases cleanly, and those deep sear marks that make backyard cooking worth it. Brush hot, oil thin, bake hot, and repeat. The food-science team at AmazingRibs has long argued that thin oil plus high heat is the whole secret, and years of backyard cooks agree (https://www.amazingribs.com). If you need tools or supplies along the way, the grill section at Home Depot covers everything from brushes to covers (https://www.homedepot.com).
References
AmazingRibs.com. (n.d.). Barbecue and grilling science. https://www.amazingribs.com Big Green Egg. (n.d.). Kamado grills and outdoor cooking. https://www.biggreenegg.com Broil King. (n.d.). Gas and charcoal grills. https://www.broilkingbbq.com Consumer Reports. (n.d.). Product reviews and ratings. https://www.consumerreports.org Napoleon. (n.d.). Fireplaces, grills, and heating products. https://www.napoleon.com The Home Depot. (n.d.). Home improvement products. https://www.homedepot.com The Spruce Eats. (n.d.). Recipes and cooking guides. https://www.thespruceeats.com Traeger. (n.d.). Wood pellet grills. https://www.traeger.com
Was this guide helpful?

About Emily Rodriguez
The My Garden US editorial team writes practical, in-depth home and garden guides for American homeowners — tested advice, no fluff.