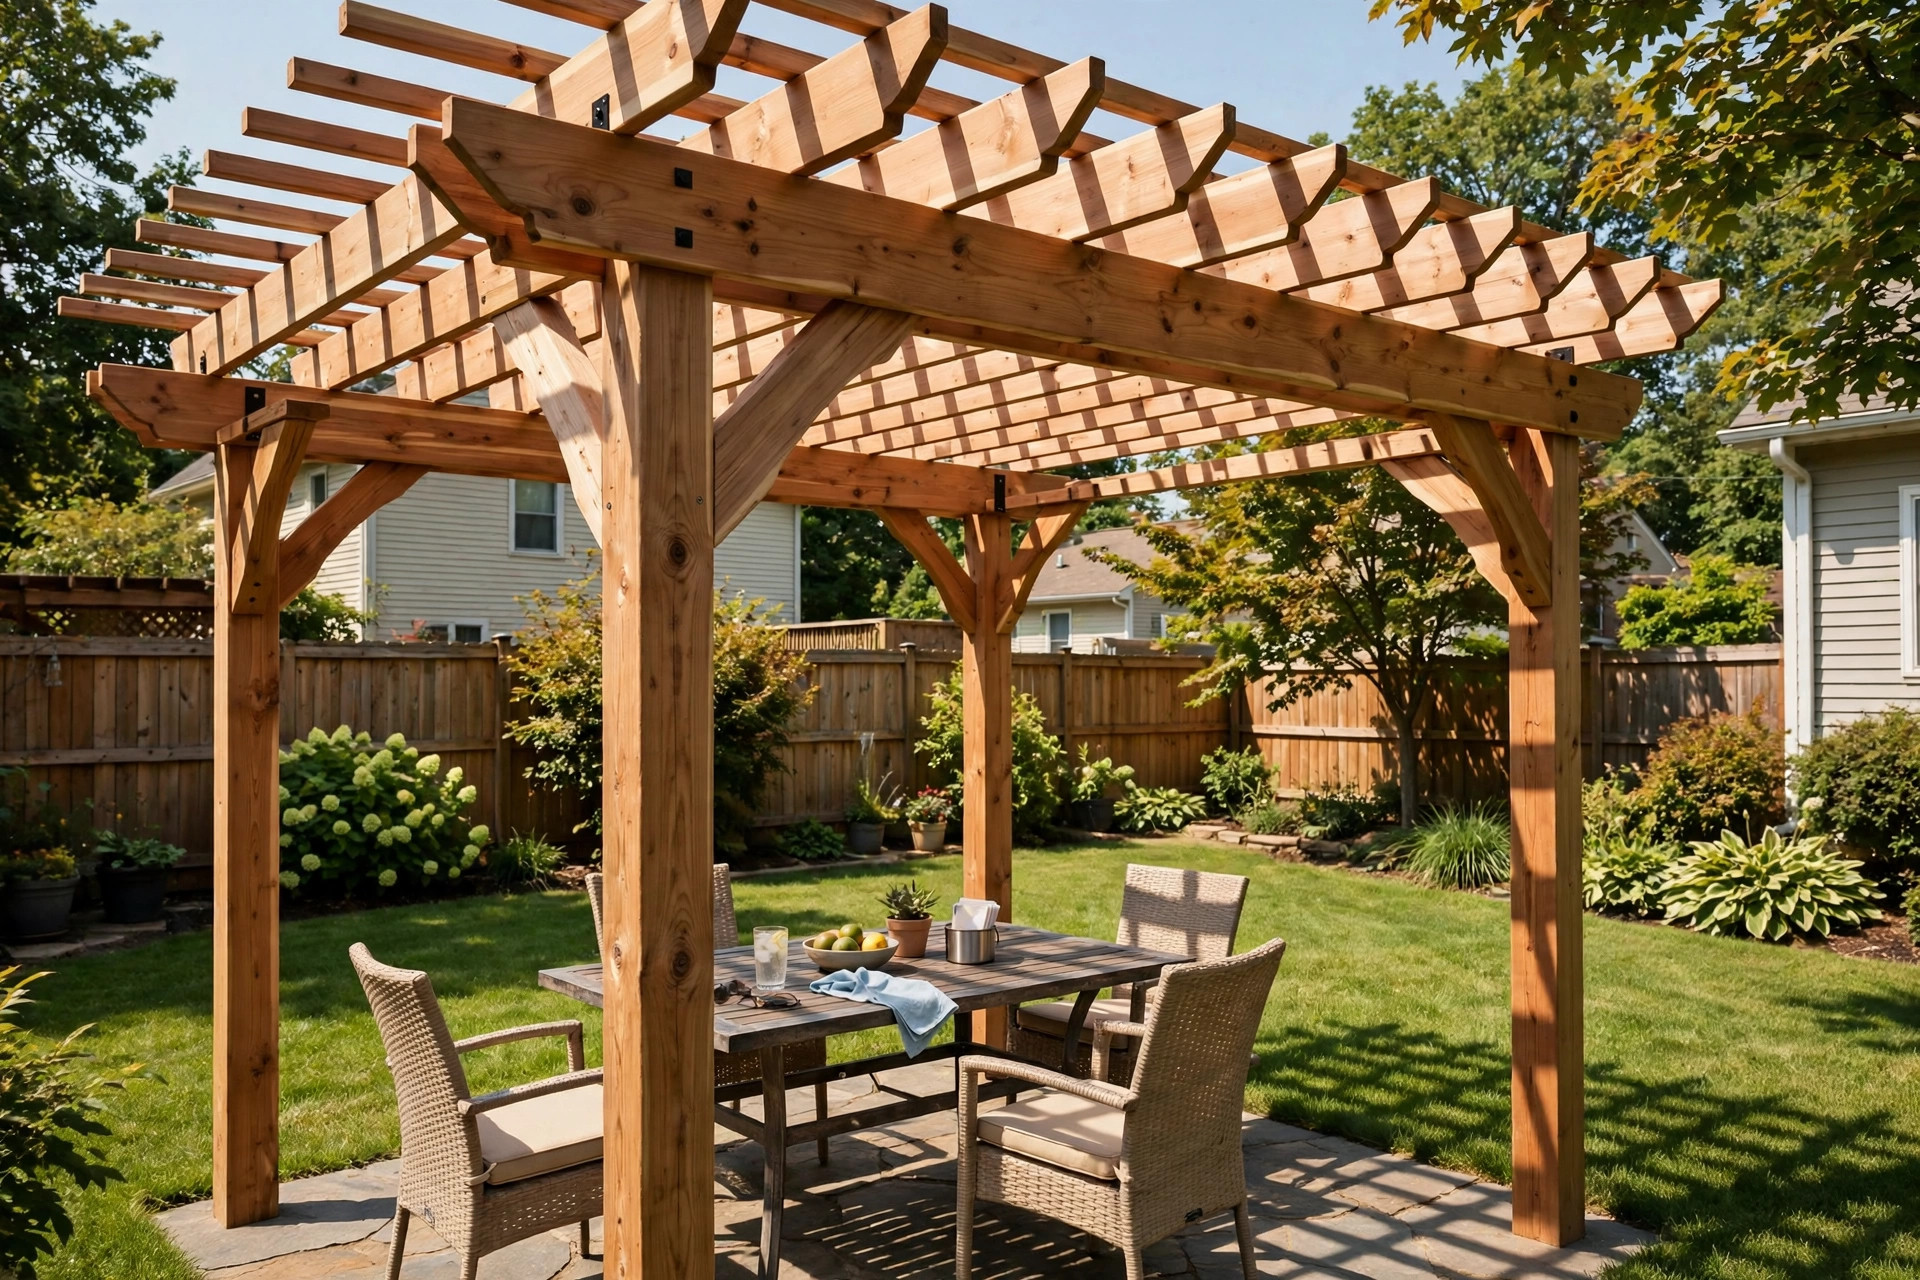

A pergola is a simple open frame of posts, beams, and rafters. It gives shade without a roof. It marks off a sitting area, a grill space, or a walkway. Learning how to build a pergola kit yourself is easier than most people think. A kit arrives with the parts cut, drilled, and numbered. You supply the labor, a few basic tools, and a weekend. This guide walks through the whole job in plain steps.
Why a Pergola Kit Is Worth Your Weekend
A custom-built pergola can cost thousands of dollars in labor alone. A kit cuts that cost in half or better. The hard work of measuring and cutting is already done at the factory. Each part is labeled. The holes are pre-drilled. What is left is assembly, which two adults can finish in one or two days.
A pergola also adds real value to a yard. It turns an empty patio into an outdoor room. It gives climbing plants a frame to cover. It blocks enough sun to make a hot deck usable at noon. And unlike a full roof, it does not block the rain from plants below, which keeps a garden happy.
Many home improvement stores and online sellers now carry kits in many sizes. Sites such as Wayfair list wood, vinyl, and metal kits with customer reviews, so you can compare before you buy. Stores like IKEA also sell smaller garden structures that suit a modest patio. Reading reviews on a trusted site such as Consumer Reports can help you judge build quality before you spend.
What to Look for Before You Buy: How to Build a Pergola Kit Yourself
Not all kits are equal. A little care at the buying stage will save you trouble on build day.
Size and Materials
Measure your site first. Most kits range from eight by eight feet to twelve by sixteen feet. Leave at least two feet of clearance around the outside of the posts. This gives you room to work and room for chairs to slide back from the table.
Check the wood or material. Cedar and redwood resist rot and insects without heavy treatment. Pressure-treated pine costs less but needs regular sealing. Vinyl kits need almost no care but can look less natural. Metal kits are strong and slim, though a metal gazebo is a different structure with a full roof, so compare carefully.
Anchors and Hardware
A pergola must be tied to the ground. Wind can lift a light frame. Read the kit’s anchor method before you buy. Some kits mount on concrete footings. Some use ground stakes or post bases that bolt to an existing patio. If your patio is already poured, look for surface-mount post bases. The skills needed to fasten a light structure to a slab are close to those used in how to anchor a gazebo to a patio, so that guide is worth a look if you plan to work on concrete.
Count the hardware. A good kit includes every bolt, screw, and bracket. Check reviews for complaints about missing parts. Missing hardware on a Saturday morning can cost you a day.
Types of Pergola Kits
Wood Kits
Wood is the classic choice. Cedar kits are light, strong, and smell pleasant. They take stain well and age to a soft gray if left alone. Redwood is even more durable but harder to find and more dear. Pressure-treated pine is the cheapest route and holds up fine if you seal it every few years.
Vinyl Kits
Vinyl kits come in white or tan and will not rot, peel, or need paint. They are heavier than they look and go together much like wood kits. The price is higher up front, but the care is near zero. Vinyl suits homes with white trim and a neat, tidy yard.
Metal Kits
Aluminum and steel kits are slim and strong. They resist rot and insects. They can get hot in direct sun, which matters if you plan to train vines on them. Metal kits often use smaller posts than wood kits, which keeps sight lines open.
Tools and Supplies
Most kits assume you own basic home tools. Gather these before you start:
– Tape measure and level – Power drill and driver bits – Socket wrench set – Ladder, six or eight feet – Shovel or post-hole digger if setting posts in concrete – Bags of quick-set concrete if the kit calls for footings – A helper, since beams are long and heavy – Work gloves and safety glasses
Read the instruction sheet all the way through before you lift a part. Note any special drill bits or wrench sizes called for.
How to Build a Pergola Kit Yourself, Step by Step
Set aside a full weekend. Work in good light and keep the hardware sorted in labeled bins.
Step 1: Prepare the Site
Clear the area. Remove lawn furniture, pots, and debris. Check that the ground is level. A pergola on a slope looks wrong and puts stress on the joints. Call your local utility line number before you dig. This is free in most states and takes a few days, so plan ahead.
Step 2: Lay Out the Posts
Mark the post positions with stakes and string. Measure corner to corner in both directions. The two diagonal lines should be equal. If they are not, your rectangle is crooked. Adjust until the diagonals match.
Step 3: Set the Footings
For ground installation, dig holes to the depth shown in the instructions, often two to three feet deep. Set the posts or post brackets, pour concrete, and check each post with a level. Let the concrete cure overnight before you hang weight on it. For patio installation, bolt the post bases to the concrete with masonry anchors.
Step 4: Attach the Main Beams
Lift the main beams onto the posts with your helper. A ladder on each side keeps the work safe. Run the bolts through the pre-drilled holes but do not tighten them fully yet. You want a little play while you square the frame.
Step 5: Square the Frame
Measure the diagonals again at beam height. Shift the frame gently until they match. Now tighten all the bolts. A square frame is the secret to a pergola that looks right.
Step 6: Set the Rafters
Lay the rafters across the beams at even spacing. Most kits notch the rafters so they sit in place. Screw or bolt them down as the instructions direct. Step back often to check that the spacing looks even from the ground.
Step 7: Add the Cross Slats
The thin cross slats sit on top of the rafters and give the pergola its classic striped shade. Fasten them with the screws provided. Keep them straight by running a string line along the ends.
Step 8: Finish and Treat
If you bought raw wood, stain or seal it now, before vines or furniture go up. A brush and a roller will do. One coat of a good exterior stain protects cedar for years.
Common Mistakes to Avoid
A few errors show up again and again in first-time builds.
Skipping the level is the first. A post that leans one degree looks fine at ground level but obvious once the beams go up. Check every post with a level before the concrete sets.
Tightening bolts too early is the second. Leave the main beam bolts snug but loose until the frame is squared. Once you crank them tight on a crooked frame, fixing it means loosening everything.
Forgetting the call before you dig is the third. Utility lines run through many yards. One call to the marking service saves you from a dangerous strike and an expensive repair.
Buying the wrong stain is the fourth. Interior stain will not survive a season outside. Use a product labeled for exterior wood. Ask the store for one made for decks and fences.
Cost and Price
A small wood pergola kit starts near three hundred dollars. Mid-size cedar kits run from eight hundred to fifteen hundred dollars. Large vinyl kits can pass three thousand dollars. Hardware and concrete add another fifty to one hundred dollars. A good exterior stain adds about forty dollars a gallon, and most kits need two gallons.
Rental costs are small. If you lack a power auger for the post holes, many tool stores rent one for about fifty dollars a day. A power auger cuts the digging time from hours to minutes in soft soil.
Hiring a crew to build the same structure often doubles the total. That is the main reason people learn how to build a pergola kit yourself. Your only cost is the kit, the supplies, and your time.
Care and Upkeep
Wood pergolas need a fresh coat of stain or sealant every two to three years. Check bolts each spring and tighten any that have worked loose. Trim climbing plants so their weight does not pull on the rafters. Vinyl kits need only a wash with soap and water each year. Metal kits should be checked for scratches in the coating, which you can touch up with paint made for metal.
When the frame is up, many owners add string lights for the evening hours. Planning the wiring early is smart, and our guide on how to hang string lights on patio covers safe ways to string lights across an open frame.
Safety
Keep children and pets away from the work area. Concrete bags are heavy and the dust can irritate the lungs. Wear a mask when you pour. Never climb a ladder that is not on firm, level ground. Have your helper hold the ladder when you work above six feet. Check the weather forecast. Wind makes long beams hard to control.
If you plan to attach an electric light or fan to the pergola, hire a licensed electrician for the wiring. Do not run household extension cords overhead as a fixed fixture.
Frequently Asked Questions
How long does it take to build a pergola kit?
Two adults can finish a small kit in one long day. A large kit usually takes a full weekend. Ground footings add a day of waiting for the concrete to cure.
Do I need a permit?
Many towns require a permit for structures above a certain size, often around one hundred square feet. Call your local building office before you buy. A permit is cheap compared to a fine.
Can one person build a pergola kit?
The posts and footings are fine alone. The beams and rafters are long and awkward. You really need a second pair of hands for the lifting steps. Ask a neighbor for an afternoon.
How do I keep the pergola from blowing over?
Follow the kit’s anchor plan exactly. Concrete footings, post bases bolted to a slab, or heavy ground anchors all work. Do not skip the anchors to save time.
Will a pergola shade a hot patio?
A pergola with tight rafters and slats can cut the sun by half or more. Add a fabric shade sail or train vines over the top for deeper shade.
How long will a cedar pergola last?
A cedar pergola that is stained and kept off wet soil can last fifteen to twenty years. Vinyl and aluminum kits often last longer still.
A Short Final Word
Building a pergola kit yourself is honest weekend work. The plan is fixed. The parts are ready. What the job asks of you is care: level ground, square corners, tight bolts. Take it step by step and you will have a shady outdoor room that you built with your own hands. Neighbors will ask who built it. You can tell them you did it yourself in a single weekend. That is a pleasure no contractor can sell you.
References
IKEA. (n.d.). Outdoor furniture and garden structures. https://www.ikea.com Wayfair. (n.d.). Pergolas and outdoor structures. https://www.wayfair.com Consumer Reports. (n.d.). Product ratings and reviews. https://www.consumerreports.org
Was this guide helpful?

About Sarah Mitchell
The My Garden US editorial team writes practical, in-depth home and garden guides for American homeowners — tested advice, no fluff.
You May Also Like

Best Outdoor Clock for Patio Wall: How to Choose the Right One
June 24, 2026 0 views
Outdoor Kitchen Island With Storage Reviews: A Plain Buyer’s Guide
June 7, 2026 0 views
Best Outdoor Chandelier for Gazebo: A Practical Buyer’s Guide
August 3, 2026 0 views