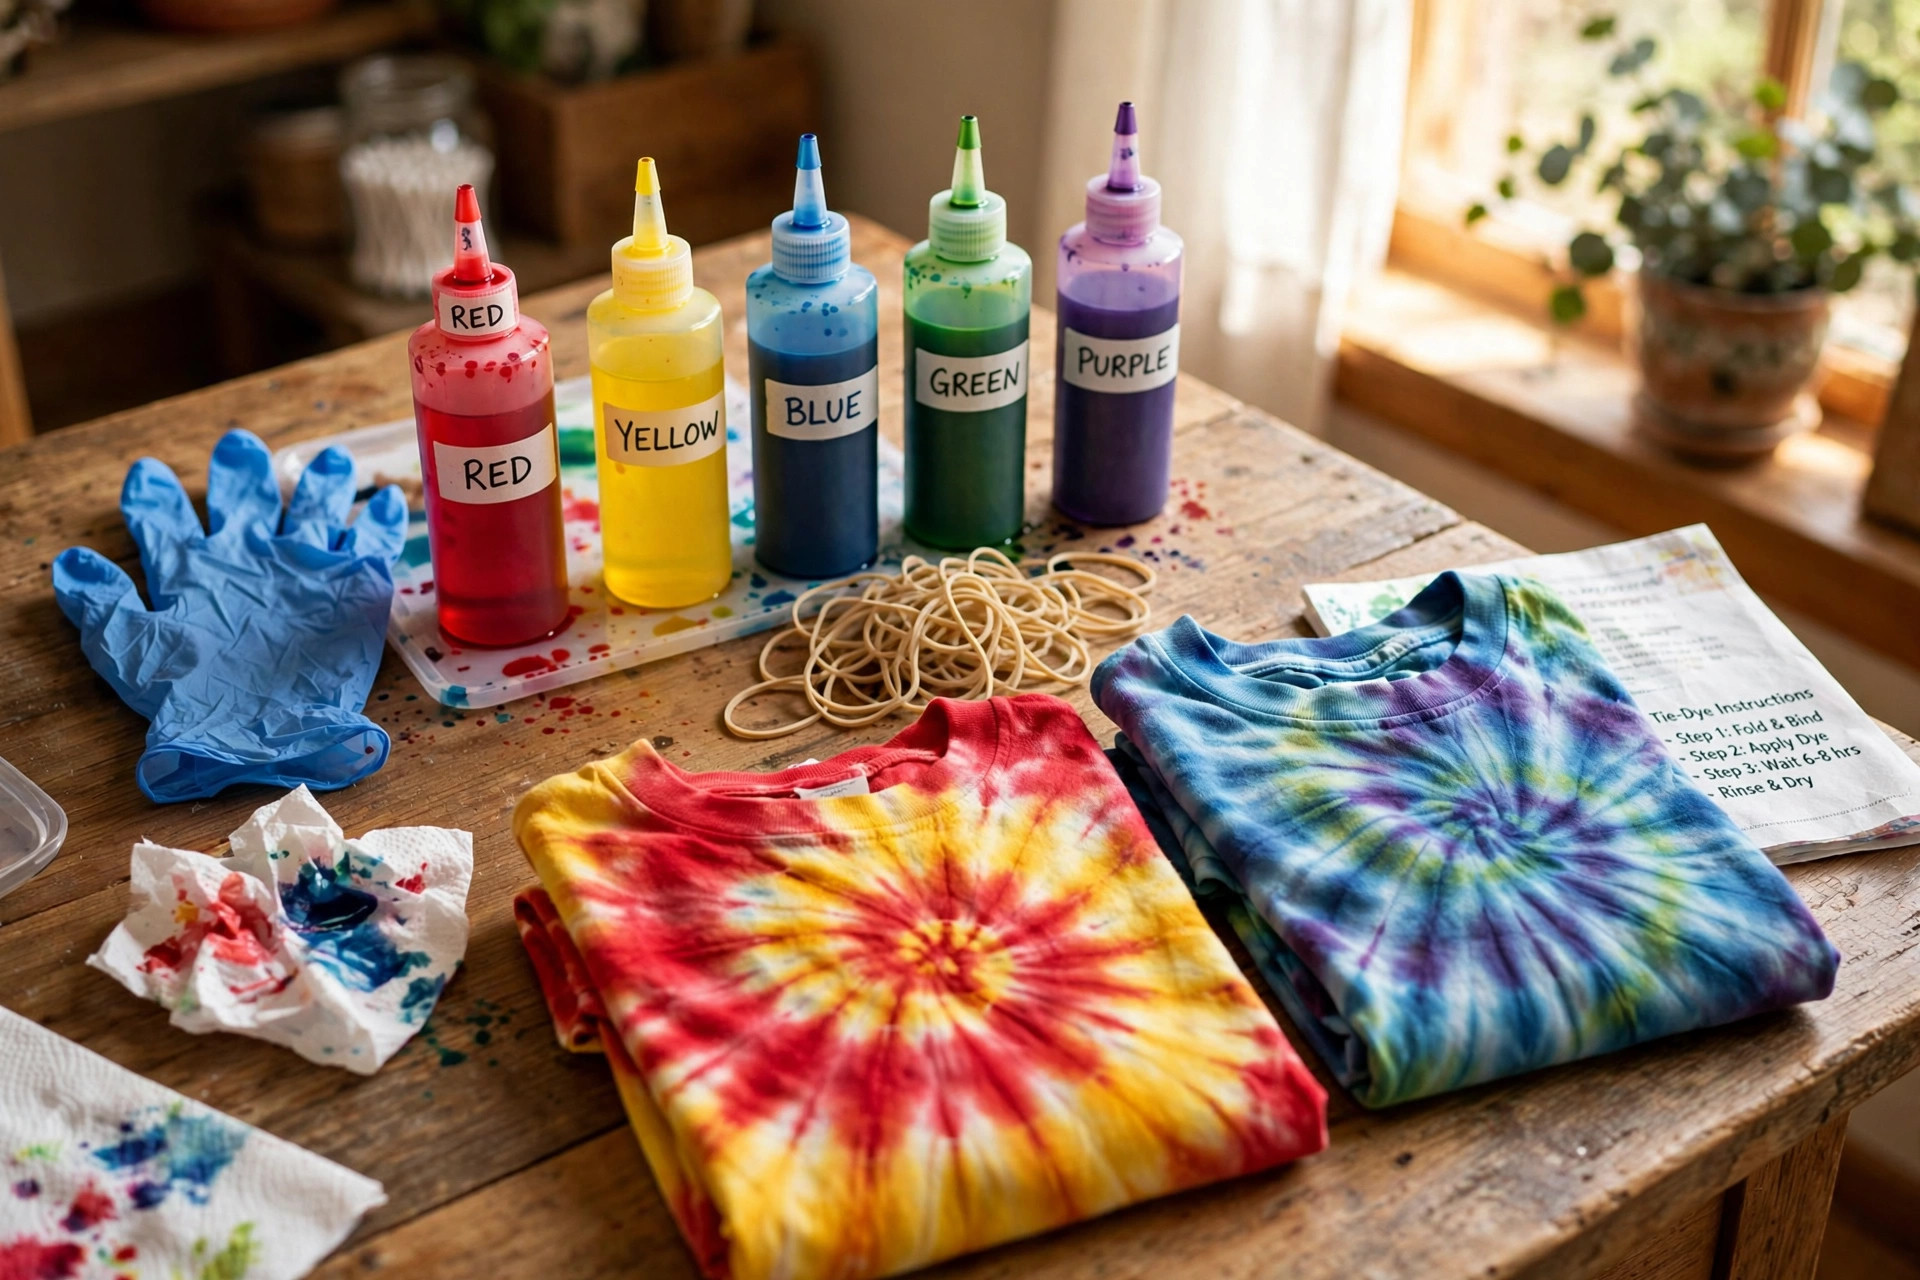
A diy tie dye kit for shirts and crafts is one of the easiest ways to turn plain cotton into something bright and personal. The kit holds everything in one box. You get dye bottles, gloves, rubber bands, and soda ash fixative. You do not need to buy supplies one by one. You do not need skill. You need a white shirt, a table cover, and an afternoon. Families love it. Kids love it. Crafters keep extra kits on hand for birthday parties and summer projects. This guide walks through why a diy tie dye kit for shirts and crafts is worth buying, what to look for, how to use it, and how to keep your colors bright after many washes.
Why a DIY Tie Dye Kit for Shirts and Crafts Matters
Tie dye never really went away. It shows up on runways, in schoolyards, and at county fairs. It fits the old American craft spirit. You make something with your hands. You wear it the same day. That feeling is hard to buy ready-made.
A kit matters because it removes the guesswork. Raw dye powder is strong stuff. It stains skin, sinks, and wood. A kit gives you pre-measured bottles, plastic gloves, and clear steps. Parents trust it because the instructions are short and the mess stays small. Teachers trust it because one kit can cover a whole classroom. A Michaels store or a Joann fabric shop will stock several brands, so you can compare right on the shelf.
It also saves money. A basic shirt from a big box store costs a few dollars. The kit itself costs little. For the price of two printed tees, a family can dye six or eight shirts and still have dye left over. Craft blogs at This Old House often note that small home projects pay for themselves in satisfaction, and tie dye is no different.
What to Look for in a Kit: Diy Tie Dye Kit for Shirts and Crafts
Not every kit is the same. Here is what separates a good one from a weak one.
Number of Bottles and Colors
Most kits hold between four and twelve squeeze bottles. Four bottles is fine for a first try. Twelve gives you room to mix and blend. Look for a full rainbow set: red, yellow, blue, green, purple, orange, pink, black. Black is useful. It makes deep purple and dark navy when mixed with other colors.
Fiber Reactive Dye
The best kits use fiber reactive dye. This type bonds to cotton at room temperature. It stays bright wash after wash. Cheaper kits may use all-purpose dye. That fades faster and bleeds more. Check the box. The words “fiber reactive” should appear on the label.
Soda Ash Fixative
Soda ash is the salt that helps dye grab the fabric. Some kits include a small bag of it. Others ask you to buy it apart. A kit with soda ash included is easier. You soak the shirt first, wring it out, and the dye takes hold. Without soda ash, colors wash out pale.
Gloves and Rubber Bands
Every kit should include gloves. Buy an extra box of disposable gloves if you plan a party. Rubber bands shape your pattern. More bands mean more designs. If the kit only has a few, a craft drawer of spare bands costs next to nothing.
Instructions and Guides
A printed pattern guide is worth more than extra dye. Good kits show the spiral, the crumple, the stripes, and the bullseye. They show where to place the bands and how much dye to add. When instructions are clear, kids can work alone with little help.
Types of Tie Dye Kits
Shoppers will find a few main types on store shelves.
Basic one-step kits. These are the most common. You add water to the powder bottles, shake, and squeeze. They work on cotton and cost the least. Most families start here.
Large party kits. These hold eighteen to twenty-four bottles and enough bands for dozens of shirts. They suit birthday parties, church groups, and school events. A family handyman craft corner can use one across many weekends.
Specialty effect kits. Some kits aim for a special look: neon, pastel, blackout, or ice dye. Ice dye kits use crushed ice on top of powder for a soft watercolor spread. These cost a bit more but give one-of-a-kind results.
Refill kits. Once you own bottles and bands, you can buy dye powder refills alone. Refills are the cheapest way to keep dyeing. Serious crafters often move from full kits to refills after the first summer.
How to Use a DIY Tie Dye Kit for Shirts and Crafts
The process takes about two hours of work and one day of waiting. Here is the plain method.
Step one: protect your space. Cover the table with a plastic sheet or trash bags. Tie dye stains wood and carpet. Put on gloves and an old apron.
Step two: soak in soda ash. Dissolve the soda ash in warm water in a bucket. Soak each shirt for twenty minutes. Wring it out well. The shirt should be damp, not dripping.
Step three: fold and band. Pick a pattern. For a spiral, pinch the center and twist the shirt into a pie shape. Wrap three rubber bands across it. For stripes, fold the shirt in accordion pleats and band it. For a crumple look, just scrunch it and band it tight. Each band blocks dye and makes white lines.
Step four: mix the dye. Fill each bottle with warm water up to the line. Shake hard. Make sure the powder dissolves fully. Grainy powder leaves pale spots.
Step five: apply dye. Lay the banded shirt on a rack or tray. Squeeze dye into each section. Use plenty. The color should soak through the folds. Flip the shirt and dye the back too. Pale spots come from too little dye.
Step six: wrap and wait. Put each shirt in a plastic bag or wrap it in plastic wrap. Keep it warm, around seventy degrees, for six to eight hours. Some dyers wait a full day. Longer wait time gives deeper color.
Step seven: rinse. Unwrap the shirt. Keep it banded and rinse under cold water. Rinse until the water runs mostly clear. Then remove the bands and rinse in warm water.
Step eight: wash alone. Wash the shirt by itself in cold water with a small amount of detergent. Dry it as usual. For the first few washes, keep dyed shirts apart from white laundry.
Related shirt crafts pair well with dyeing. A best vinyl cutter for t shirt business home can add printed designs on top of a dyed base. A best heat press machine for home t shirts lets you press graphics onto shirts you dyed yourself. And if fiber arts pull you further, a macrame cord kit for wall hanging diy is another easy weekend craft with the same homemade charm.
Cost and Price
Tie dye kits are among the cheapest crafts on the market.
– Small beginner kit (4 to 6 bottles): five to twelve dollars. – Standard kit (8 to 12 bottles): twelve to twenty-five dollars. – Party kit (18 or more bottles): twenty-five to forty-five dollars. – Dye refill packs: eight to fifteen dollars.
Shirts add a few dollars each. A pack of plain white cotton tees from Walmart or Dick Blick craft supplies costs little per shirt. Soda ash, gloves, and bags add maybe three dollars total. All in, a family of four can dye a full set of shirts for under thirty dollars.
Watch for store sales. Craft stores run weekly coupons. A forty-percent-off coupon turns a twenty-dollar kit into twelve. Bob Vila project guides often remind crafters that timing a purchase around a sale is half the skill of home crafting.
Care and Upkeep After Dyeing
Bright colors need a little care to stay bright.
Wash cold. Hot water opens the fibers and lets dye escape. Cold water keeps color locked in.
Use mild detergent. Strong bleach or harsh soap strips color fast. A gentle liquid detergent is best.
Dry on low or hang up. High dryer heat fades shirts over time. Line drying in shade works well. Direct sun also fades color, so turn shirts inside out if they hang in bright light.
Do not bleach. Even a splash of bleach will eat a hole in the color. Keep dyed shirts far from any bleach wash load.
Store leftover dye bottles in a cool dark place. Mixed dye lasts about a day or two before it loses strength. Unmixed powder keeps for years if it stays dry. Keep rubber bands and gloves in the box so the next session starts fast.
Safety
Tie dye is safe when you follow a few plain rules.
Wear gloves always. Dye powder and liquid stain skin for days. Gloves solve the problem. A spare pair from the home center works fine.
Keep dye away from the face. Powder can puff into the air. Do not shake a bottle near your face. If powder gets in eyes, rinse with water for fifteen minutes.
Supervise small children. Kids over five can dye with help. Keep the powder mixing to adults. Make sure children keep gloves on the whole time.
Protect pets and food. Work away from the kitchen. Dye is not food safe. Keep cats and dogs out of the room until cleanup is done. Craft safety tips from The Spruce stress the same plain habits for every messy home project.
Dispose of rinse water properly. Rinse water is just colored water with a little dye salt. It can go down the drain. Do not pour mixed dye into a yard or storm drain. It will stain soil and concrete.
FAQ
What fabric works best with a diy tie dye kit for shirts and crafts? One hundred percent cotton works best. Fiber reactive dye bonds tightly to cotton. Cotton blends with at least sixty percent cotton also work well. Pure polyester will not hold the color. Always check the shirt label before you start.
How long should I leave the dye in the shirt? Six to eight hours is the standard time. For the deepest color, leave the wrapped shirt overnight, up to twenty-four hours. Keep it in a warm spot. Cold rooms slow the reaction and give paler results.
Can I tie dye in a small apartment? Yes. You only need a table, a sink, and a trash bag for a drop cloth. The process makes little smell. Most of the waiting time is hands-off. Just keep the wet shirts bagged so nothing drips on floors.
Will the colors run in the wash? A little dye washes out on the first rinse. That is normal. After that, fiber reactive dye stays put. Wash the shirt alone for the first two or three loads. Then it can join the regular laundry.
Can kids use a diy tie dye kit for shirts and crafts safely? Yes, with adult help. Let the adult mix the powder and handle the soda ash soak. Kids can fold, band, and squeeze dye while wearing gloves. Many kits list age five and up on the box.
How many shirts does one kit dye? A standard eight-bottle kit dyes six to ten shirts, depending on size and how heavy you go with the dye. Party kits dye thirty or more. If you run out of dye but still have bottles and bands, a refill pack costs little and keeps the fun going.
A Short Final Word
A diy tie dye kit for shirts and crafts is a small box with a big payoff. It costs little. It asks for no skill. It turns a quiet afternoon into a stack of bright shirts that no store sells. Buy a kit with fiber reactive dye and soda ash included. Follow the folding steps. Give the dye time to work. Wash cold and skip the bleach. Your shirts will stay bright, and your craft table will be ready for the next round.
References
Blick Art Materials. (n.d.). Art and craft supplies. https://www.dickblick.com Bob Vila. (n.d.). Home improvement advice. https://www.bobvila.com Family Handyman. (n.d.). DIY home repair and maintenance. https://www.familyhandyman.com JOANN. (n.d.). Fabric and craft supplies. https://www.joann.com Michaels. (n.d.). Arts and crafts supplies. https://www.michaels.com Target. (n.d.). Retail store. https://www.target.com The Home Depot. (n.d.). Home improvement products. https://www.homedepot.com The Spruce. (n.d.). Home and garden advice. https://www.thespruce.com This Old House. (n.d.). Home renovation guidance. https://www.thisoldhouse.com Walmart. (n.d.). Everyday low prices. https://www.walmart.com
Was this guide helpful?

About Robert Taylor
The My Garden US editorial team writes practical, in-depth home and garden guides for American homeowners — tested advice, no fluff.