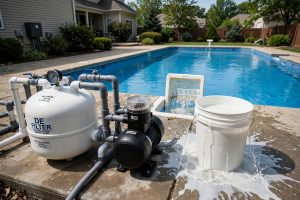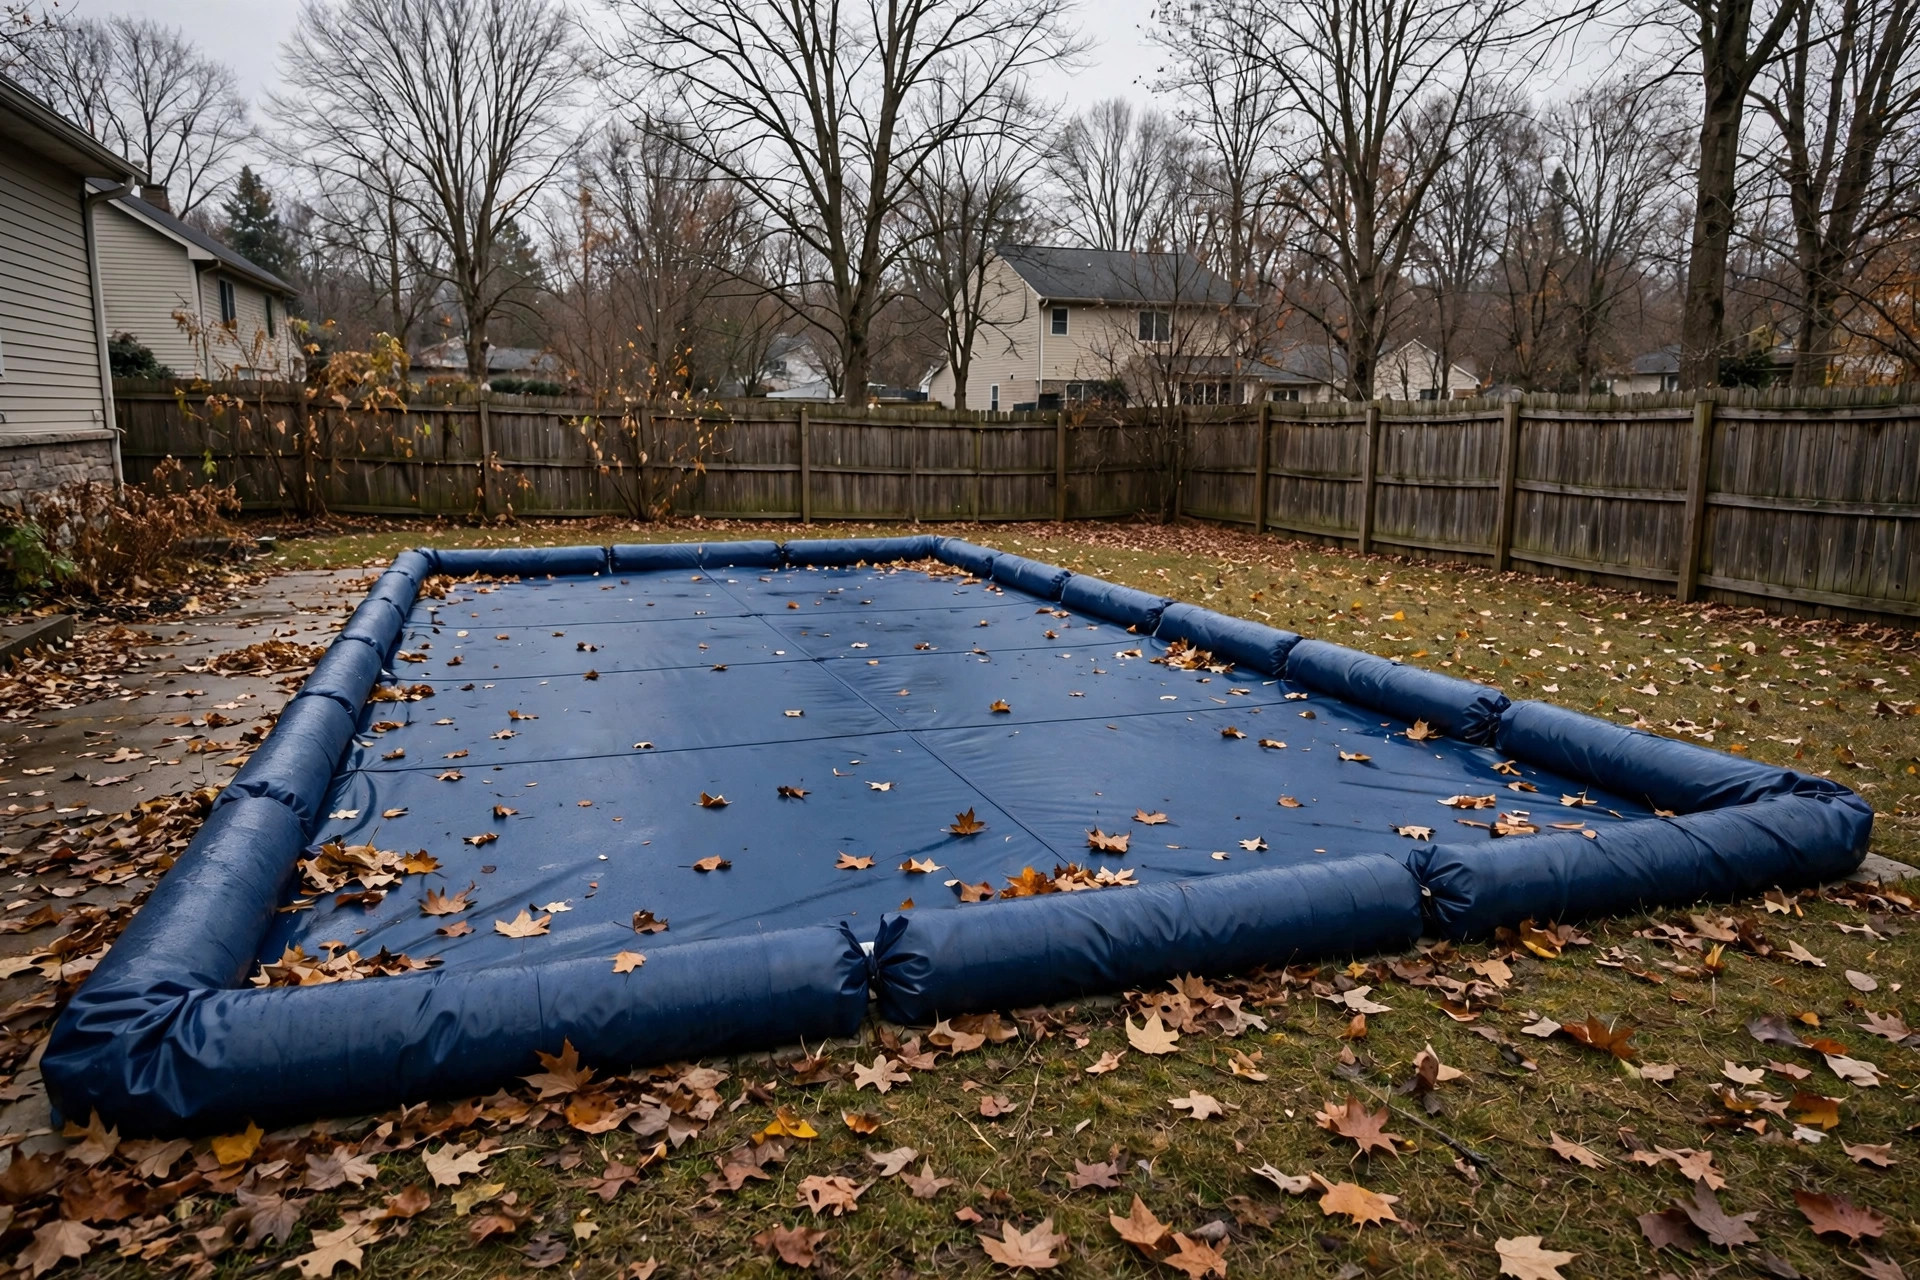

When the leaves start to turn, it is time to think about your pool. A good pool closing checklist for fall season makes the job simple. It keeps your water clean and your equipment safe through the cold months. It also makes opening the pool for summer much easier when spring arrives.
Many pool owners rush this job. They skip steps. They learn the cost of that in spring. Green water, cracked pipes, and torn liners are common results. This guide walks you through each step in plain order.
Why Closing Your Pool in Fall Matters
Water freezes in winter. Frozen water grows. It can crack pipes, filters, and pumps. A proper fall closing removes water from the lines. It protects every part of the system.
Dirt also harms a pool. Leaves fall into open water. They sink and stain. A good cover keeps most of this out. Balanced water also matters. The right chemicals stop algae from growing in the dark months. They keep the liner and plaster in good shape.
Money is another reason. A cracked heater or a burst pipe costs hundreds of dollars to fix. A planned closing costs far less. It takes one afternoon in most cases. The work you do in fall saves real money in spring.
Pool experts at Swim University note that most spring pool problems start with a poor fall closing. Algae, stains, and damaged equipment trace back to skipped steps. Guides from Leslie’s Pool Supplies give the same advice each year. Take the time now. Thank yourself later.
When to Close Your Pool: Pool Closing Checklist for Fall Season
Close your pool when daytime air stays below 65 degrees for several days in a row. This is the common rule. Water below 65 degrees grows little algae. If you close too early, the water is still warm. Algae can grow under the cover.
Do not wait for the first hard freeze. Freezing nights can damage an open pool fast. Watch the weather in your area. Plan your closing for a calm, dry day. You need a full day for most pools. Large pools may take two days.
Some owners close in stages. They stop swimming in early fall. They keep the pump running until closing day. This keeps the water clean while the weather cools. Then they do the full checklist in one visit.
What You Need: Supplies and Tools
Gather your supplies before you start. Common items include a pool test kit, winterizing chemicals, a quality pool vacuum, a cover pump, and antifreeze made for pools. A shop vacuum or blower helps clear the lines. You also need plugs for the return jets and the skimmer.
If you are choosing a pool vacuum for leaves, pick one rated for your pool size. Leaf-heavy yards need a strong model. Stores like The Home Depot and Pool Warehouse carry winter kits that bundle the main chemicals. Kits save time. Check the labels to make sure the kit fits your pool size.
Keep a notebook handy. Write down the settings on your equipment. Note the steps you take. This helps in spring. It also helps if you hire a service some years and do it yourself in others.
The Step-by-Step Fall Pool Closing Checklist
Here is the core of the pool closing checklist for fall season. Do the steps in order. Do not skip the water care. Clean water going in means cleaner water coming out in spring.
Step 1: Clean the Pool Well
Start with a full cleaning. Skim the surface. Brush the walls and floor. Vacuum the bottom. Remove every leaf and bit of dirt you can. Dirty water left over winter will feed algae. It will stain surfaces.
Run the filter for a full day before closing if the water looks cloudy. Backwash the filter or clean the cartridge.
Step 2: Test and Balance the Water
Test the water with a good kit. Check pH, total alkalinity, and calcium hardness. Adjust them to the right ranges. The common targets are pH between 7.2 and 7.6, alkalinity between 80 and 120 parts per million, and calcium hardness between 180 and 220 parts per million.
Balanced water protects the liner and plaster.
Step 3: Shock the Water
Add a shock treatment after the water is balanced. Shock kills germs and breaks down waste in the water. Use a chlorine or non-chlorine shock made for pools. Follow the label for the dose. Run the pump for several hours after shocking.
Let the chlorine level fall back to normal before you close. High chlorine can bleach the liner under the cover. Test the water the next morning if you can. Then move to the next step.
Step 4: Add Winter Chemicals
Winter chemicals are made for the long rest. A winter algaecide stops algae in cold, dark water. A stain and scale product protects metal parts and surfaces. A winter enzyme product can help break down oils and scum.
Add each product as the label directs. Run the pump between additions. Do not mix chemicals together in one dose. Let each one blend with the water before you add the next. This step is short but it pays off for months.
Step 5: Lower the Water Level
Lower the water to the right level for your pool. For most pools, drop it below the skimmer mouth. For pools with tile, keep it below the tile line. Freezing water can push against tile and crack it. Freezing water can also damage the skimmer.
Use a submersible pump or the filter drain setting. Watch the level as it drops. Stop at the right point. Do not drain the pool fully. An empty pool can lift or crack. Water in the deep end keeps the structure pressed down.
Step 6: Drain the Lines and Equipment
This is the most important step for cold climates. Remove the drain plugs from the pump, filter, and heater. Let all water drain out. Store the plugs in the pump basket. You will find them in spring.
Blow out the return lines and skimmer lines with a shop vacuum or a blower. Push air through until only air comes out. Then plug each line. Use rubber freeze plugs or threaded plugs. This keeps water from flowing back into the lines over winter.
Add pool antifreeze to the lines if your winters are very cold. Use only antifreeze made for pools. Car antifreeze is toxic and must never go in a pool. The label on pool antifreeze will show the right dose per line.
Step 7: Care for the Pump, Filter, and Heater
Remove the pump drain plug. Tip the pump to drain all water. Remove the filter drain plug. Drain the filter tank fully. For sand filters, the sand can stay. For cartridge filters, remove the cartridge, clean it, and store it dry.
Turn off the heater. Drain it as the maker directs. Turn off the gas or power to the heater. Cover the equipment with a vented cover if it sits outside. A simple tarp can trap dampness. Dampness can rust parts.
Step 8: Put on the Winter Cover
Place the cover over the pool. Center it well. For solid covers, pump off rain water that pools on top through the season. A cover pump left on the cover makes this easy. For mesh covers, water passes through. The pool level can rise over winter. Plan for this.
Secure the cover with water bags, blocks, or straps as the type requires. Check the fit. A loose cover lets leaves in. A tight cover lasts longer. Walk around the edge once. Fix any weak spots now.
Step 9: Winterize the Hot Tub
If you own a spa, do not forget it. A hot tub left full and heated through winter uses much power. A hot tub left full and unheated can freeze and crack. Most owners either keep it running or drain it.
To drain it, turn off the power at the breaker. Drain the water. Blow out the lines. Add spa antifreeze as the maker directs. Cover the tub with its cover and a waterproof top cover. Maker guides from Hot Spring Spas and Bullfrog Spas give model-specific steps. Follow them for your tub.
Winter Covers: Types and Options
There are three main cover types. Solid covers block all light and dirt. They need pumping after rain. Mesh covers let water through. They block most dirt. They are light and easy to handle. Safety covers are strong covers anchored to the deck. They can hold the weight of a child or pet. They cost the most.
Choose by your needs. Leaf-heavy yards favor mesh. Very dirty areas favor solid. Homes with small children or pets should weigh a safety cover. The Consumer Product Safety Commission urges strong barriers around pools. A cover is one part of that plan.
Measure your pool before you buy. Covers come in many sizes. A cover that is too small will not seal. A cover that is too large will sag and hold water. Keep the receipt and the size note. You will need it when the cover wears out in a few years.
How Much Does Pool Closing Cost
Doing it yourself costs mainly chemicals and supplies. A winter chemical kit runs about 30 to 80 dollars. A new winter cover costs 50 to 300 dollars based on size and type. Plugs, antifreeze, and small tools add another 20 to 50 dollars. Most owners spend 100 to 200 dollars per year on supplies.
Hiring a pool service costs more. A standard closing by a service runs 200 to 400 dollars in most areas. Complex pools with spas or water features cost more. Some services offer a full close-and-open package. Compare prices from two or three local firms.
Weigh the cost against the risk. A single cracked heater can cost 1,000 dollars to replace. A burst pipe can cost several hundred. The closing cost is small next to those repairs. Good guides from The Spruce make the same point each fall.
Caring for Your Pool Cover Through Winter
Check the cover once a month. Pump standing water off solid covers. Brush leaves off the top before they rot into the water below. Look for tears or sagging spots. Fix small tears with a cover patch kit.
Watch the water level under a mesh cover. It can rise with rain and snow melt. Too much rise can flood the deck or push up the cover. Pump down the pool if the level gets too high.
Store your summer solar cover in a dry place. Roll it, do not fold it. Folds can crack the bubbles over time. Keep chemicals in a cool, dry place. Keep them away from children and pets. Return in spring to a clean start.
Safety Reminders
Never walk on a pool cover unless it is rated as a safety cover. Standard covers can trap a person under the water. Keep the pool area fenced all winter. Keep gates locked. Remove ladders and steps if you can. Store them dry.
Keep chemicals locked up. Pool chemicals can burn skin and harm eyes. Read every label before you use a product. Never mix chemicals. Wear gloves and eye cover when you handle them.
If you notice a failing liner, plan the fix before spring. Watch for signs of a failing pool liner such as deep wrinkles, cracks, or water loss. Fixing liner trouble in fall or winter can be cheaper than waiting for the spring rush.
Frequently Asked Questions
Do I have to close my pool if winters are mild?
If your area never drops near freezing, you may keep the pool open with reduced care. You must still test the water and run the pump often. Algae grows fast in warm water. Most owners in warm states cut pump hours but keep the pool running. In areas with any freeze risk, a full closing is the safe choice.
Can I close the pool myself?
Yes. Most owners can do it in one day. You need basic tools and a free afternoon. The steps are plain and forgiving. If your pool has a spa, a heater, or complex water features, you may want a service for the first closing. Watch them work. Do it yourself the next year.
How low should the water be for winter?
Drop it below the skimmer mouth. For tiled pools, keep it below the tile line. Do not drain the whole pool. A full drain can harm the structure. The exact level depends on your pool type and cover type. Check your maker guide if you are unsure.
Should I use antifreeze in the pipes?
In areas with hard freezes, pool antifreeze adds real protection. Blow out the lines first. Add the antifreeze after. Use only products made for pools. Follow the label dose. In mild areas, blowing out the lines and plugging them is enough.
When should I open the pool in spring?
Open when daytime air stays above 65 degrees for several days. Do not wait for hot weather. Early opening gives you time to clear cloudy water. Late opening under a warm cover grows algae fast. Plan your opening for a calm week.
What if my cover tears during winter?
Patch small tears with a cover repair kit. For large tears, replace the cover. A torn cover lets in dirt and light. Both feed algae. A new cover costs far less than a spring algae cleanup. Check the cover after each storm.
A Final Word
A pool is a fine thing in summer. It needs care in fall. This pool closing checklist for fall season gives you the full order of work. Clean the pool. Balance and treat the water. Lower the level. Drain the lines. Cover it well. Check it through winter.
Do these steps each year. Your pool will open cleaner in spring. Your equipment will last longer. Your costs will stay low. One good afternoon in fall buys you an easy spring. That is a fair trade for any pool owner.
References
Bullfrog Spas. (n.d.). Hot tubs and spas. https://www.bullfrogspas.com Hot Spring Spas. (n.d.). Hot tubs and spas. https://www.hotspring.com Leslie’s Pool Supplies. (n.d.). Pool supplies and equipment. https://www.lesliespool.com Pool Warehouse. (n.d.). Pool equipment and supplies. https://www.poolwarehouse.com Swim University. (n.d.). Pool and hot tub care guides. https://www.swimuniversity.com The Home Depot. (n.d.). Home improvement products. https://www.homedepot.com The Spruce. (n.d.). Home and garden advice. https://www.thespruce.com U.S. Consumer Product Safety Commission. (n.d.). Product safety information. https://www.cpsc.gov
Was this guide helpful?

About David Wilson
The My Garden US editorial team writes practical, in-depth home and garden guides for American homeowners — tested advice, no fluff.
You May Also Like
Best Hot Tub Cover Lifter Reviews: A Plain Guide for Spa Owners
February 16, 2026 0 views
How to Balance Hot Tub pH Levels: A Simple Homeowner Guide
July 10, 2026 0 views
The Best Pool Pump for Inground Pools: A Plain Guide for Pool Owners
August 9, 2026 0 views