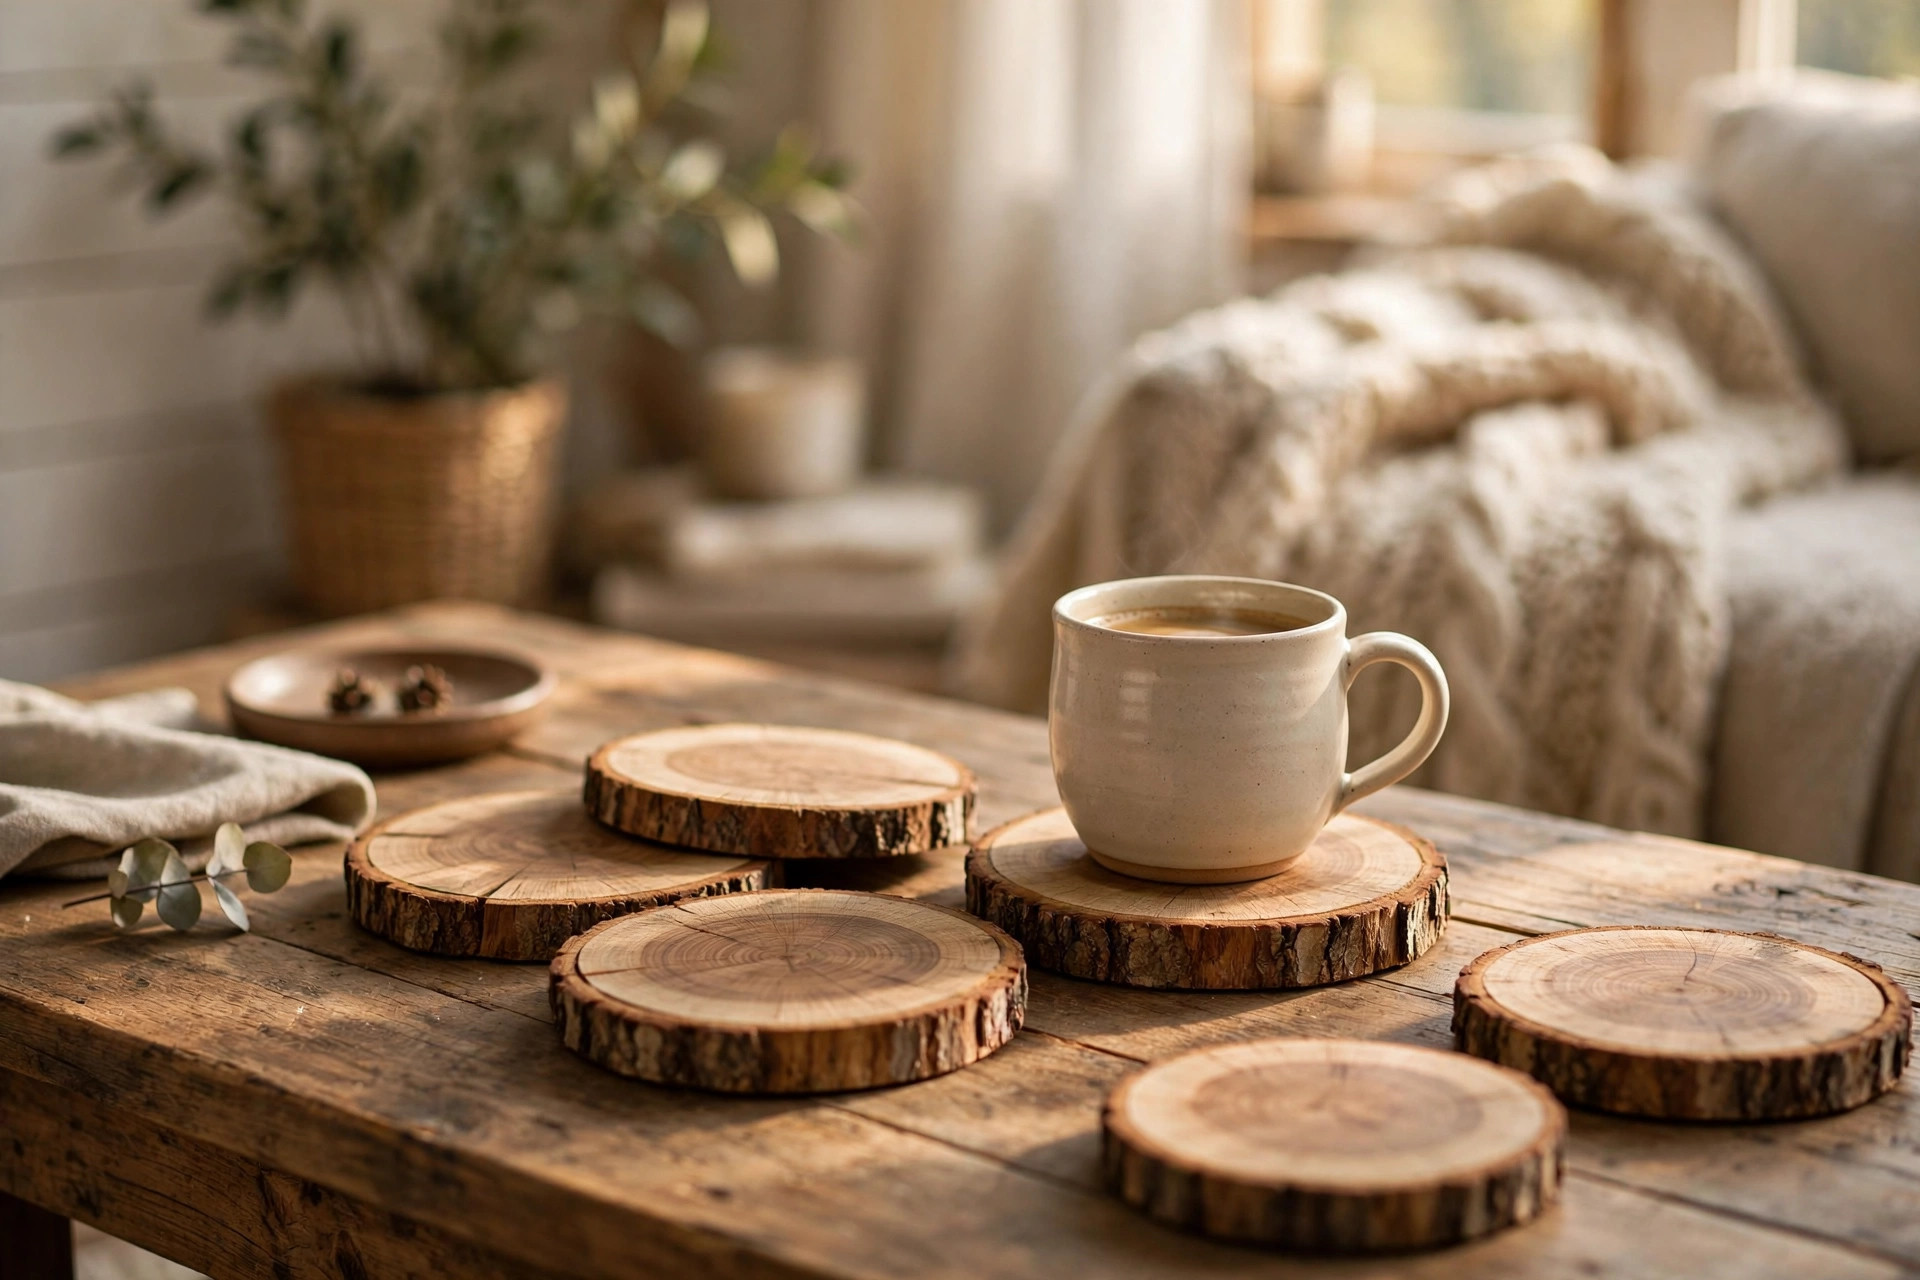

A wood slice coasters kit for diy home decor is one of the simplest craft projects a beginner can finish in a single weekend. The kit comes with pre-cut rounds of real wood, usually with the bark still on the edges. You sand them, decorate them, seal them, and set them out on your coffee table. That is the whole project. There is no power saw. There is no wood shop.
These kits have become popular for a simple reason. They give you a finished home item that looks store-bought, but you made it yourself. The warm grain of the wood fits with almost any room style. It works with farmhouse rooms. It works with modern rooms. It even works with simple apartment living rooms.
Why a Wood Slice Coasters Kit Makes Sense
Many craft kits promise a project but deliver a puzzle. Small parts go missing. The instructions assume skill you do not have. A wood slice coaster kit is different. The main material is a slice of wood, and a slice of wood is hard to ruin. If your paint line wobbles, the coaster still looks charming. If your design is plain, the wood grain carries the piece.
The kits also save time. Cutting wood rounds yourself means finding a log, cutting even slices with a saw, and waiting weeks for the wood to dry. A kit skips all of that. The slices arrive cut and dried. Most kits include sandpaper, a sealing product, paint or markers, and small extras like cork pads or twine. You open the box and begin.
Cost is another reason. A finished set of rustic wood coasters in a shop can cost twenty to thirty dollars. A kit that makes four to six coasters often costs less than that. You also keep the leftover supplies. The paint and sealer go on to other projects, which makes the second kit even cheaper. Shoppers who compare prices at Michaels or Joann often find that one kit costs about the same as a bag of craft paint alone.
There is also the matter of gifts. Handmade gifts carry weight. A set of wood slice coasters with a personal design says more than a gift card. Kits make this easy at holidays. You can make several sets in one weekend and give them to family and friends. Browse the handmade marketplace at Etsy and you will see how many sellers offer finished wood slice coasters, which shows how strong the demand for this look remains.
What to Look for When You Buy a Kit: Wood Slice Coasters Kit for Diy Home Decor
Not all kits are equal. Read the box or the product page before you buy. Start with the wood itself. Good kits use slices cut from real branches or logs, with bark attached and grain visible. The slices should be about four to five inches across. That size fits a mug or a glass with room to spare. Slices thinner than a quarter inch can crack. Slices thicker than half an inch look clunky.
Check how many slices the kit includes. Most kits make four to six coasters. That is one full set. Some larger kits make eight to twelve. Larger kits suit gift makers. Smaller kits suit first-time crafters who want a quick win.
Look at what else is in the box. A complete wood slice coasters kit for diy home decor should include sandpaper in two grits, a sealer or finish, and some way to decorate, such as acrylic paint, paint markers, or stencils. Cork or felt pads for the bottoms are a welcome extra. They keep the coasters from scratching your tables.
Read reviews for cracking. Wood slices can crack as they finish drying, even in a kit. Good sellers dry their wood well before packing. Reviews that mention deep cracks or slices that split in half are a warning sign. A few small surface checks are normal in rustic wood. Deep splits that reach the bark are not.
Types and Options
Basic Paint Kits
The simplest kits give you slices, sandpaper, paint, and sealer. You paint a design on the flat face of each slice and seal it. These kits are best for beginners. The results are colorful and personal. They suit kitchens and family rooms.
Wood-Burning Kits
Some kits add a wood-burning tool, which is also called a pyrography pen. You burn a design into the wood instead of painting it. The burned lines are permanent and give a classic, rustic look. This option needs more care. The pen gets very hot. Adults and older teens can use it with care.
Natural and Stained Kits
Some kits skip paint entirely. They include a wood stain or oil that brings out the grain. The result is elegant and calm. Natural finishes suit formal living rooms and offices. A clear coat over the natural grain is also the most durable option, since there is no paint layer to chip.
Themed and Holiday Kits
Craft stores now sell themed kits with stencils for holidays, seasons, and sayings. These kits make gift giving easy. The team at Hobby Lobby stocks many seasonal versions, and Walmart carries budget kits that work well for group crafts and parties.
Large Bulk Kits
Bulk kits include twenty or more slices. They are made for classrooms, wedding favors, and craft fairs. The price per coaster drops sharply in bulk. If you plan to sell finished coasters, a bulk kit is the smart start.
How to Make the Coasters Step by Step
Start by sanding. Take the coarse sandpaper from the kit and sand the flat faces of each slice. Sand with the grain, not against it. Wipe off the dust with a dry cloth. Then switch to the fine sandpaper and sand again. The surface should feel smooth to the touch. This step takes about ten minutes per slice. Do not rush it. Paint and sealer both sit better on smooth wood. The guides at Family Handyman show why proper sanding matters for every wood project.
Next, decorate. If you are painting, apply thin coats. Two thin coats look better than one thick coat. Let each coat dry fully before you add the next. If you are using paint markers, sketch lightly first with a pencil. If you are wood burning, practice on the back of one slice before you touch the front. Keep your strokes slow and steady.
Then seal. Brush or wipe the sealer over the whole slice, including the bark edge and the bottom. Sealer keeps out moisture from cold drinks. It also deepens the color of the wood. Most kits include a water-based varnish. If your kit does not, the home improvement aisles at Home Depot carry sealers made for craft wood. Apply two thin coats. Let the first coat dry before the second. As the guides at This Old House and Bob Vila note, thin coats beat one heavy coat.
Finally, add pads to the bottom. Stick a cork or felt pad on the underside of each coaster. This stops scratches on your furniture. Let everything cure for a full day before you use the coasters.
Design Ideas That Always Work
Simple designs look best on wood. The grain is already busy, so your decoration should be calm. A single word in the center works well. Words like gather, home, or family suit a living room. A simple border ring around the edge looks clean and takes five minutes with a marker.
Nature designs fit the material. A small leaf, a pine branch, or a simple mountain line suits the rustic feel. Stencils make these easy. If you lack a steady hand, stencils are your friend.
Monograms are popular for gifts. Paint or burn the first letter of a family name in the center of each slice. This turns a simple coaster into a personal item.
Color choices matter. Earth tones, white, and black all sit well on wood. Bright colors can work too, but use them in small amounts. A thin red ring on a natural slice looks better than a fully red slice. Let the wood show. That is the point of the project.
You can also mix this craft with other beginner projects. An acrylic paint set for beginners canvas art uses the same basic painting skills, and a punch needle kit for beginners rug making pairs well with rustic decor themes. For another simple weekend project, try a glass painting kit for beginners suncatchers diy.
Cost and Price Guide
Prices vary by size and brand. A small kit that makes four coasters usually costs between eight and fifteen dollars. A mid-size kit with six to eight slices and better paint runs fifteen to twenty-five dollars. Bulk kits with twenty or more slices range from thirty to sixty dollars. Wood-burning kits cost more because they include the pen, often twenty-five to forty dollars.
Watch for sales. Craft stores run frequent sales on kits, especially before holidays. Buying during a sale can cut the price in half. Online prices are often lower than store prices, but check shipping costs.
Think about cost per coaster. A fifteen-dollar kit that makes six coasters costs two dollars and fifty cents per coaster. A finished rustic coaster in a gift shop costs five to eight dollars. You save money and get the fun of making them.
Do not forget hidden costs. If you already own sandpaper, paint, and sealer, a slices-only pack is cheaper than a full kit. But if you own nothing, the full kit is the better deal. Buying each supply separately almost always costs more than the kit price.
Care and Upkeep
Wood slice coasters need little care, but they are not as tough as stone or ceramic. Wipe them with a damp cloth when they get sticky. Do not soak them in water. Do not put them in the dishwasher. Standing water will find its way under the sealer and cause dark spots.
Keep hot mugs in mind. Most craft sealers handle warm drinks fine. Very hot items, like a pot straight from the stove, can mark the finish. Use a trivet for pots. Coasters are for cups and glasses.
Re-seal once a year if the coasters get daily use. Light sanding with fine sandpaper, followed by one fresh coat of sealer, takes twenty minutes for a full set. Store spare coasters in a dry place. Long damp storage can cause the bark edges to loosen.
If a slice develops a small crack, fill it with a little wood glue, press it closed, and wipe off the extra. Once dry, sand lightly and add a touch of sealer. Small cracks are part of the rustic look. Many crafters leave them alone on purpose.
Safety Notes
Read the labels on every product in the kit. Sealers and varnishes give off fumes while they dry. Work in a room with open windows or work outside. Keep these products away from open flame. Let children use only non-toxic, water-based products.
Wood-burning pens are hot tools. They can burn skin badly. Unplug the pen when you are not using it. Set it on its stand, never on the table. Keep it far from children and pets. Let the pen cool fully before you store it.
Sandpaper dust is mild but worth avoiding. Sand outside or near an open window when you can. A simple dust mask helps if you sand many slices at once.
Check the wood for splinters before you hand finished coasters to children. Sand the bark edges lightly so no sharp bits remain. The bark is part of the charm, but it should not be rough enough to scratch.
Frequently Asked Questions
How long does the whole project take?
A basic set of four to six coasters takes about two to three hours of active work. Sanding takes the most time. Add drying time between coats, usually one to two hours per coat. Most people finish in one weekend with ease.
Do I need any tools beyond what the kit includes?
No. A complete kit includes everything. You may want a few extras for comfort, such as a pencil for sketching and a cup of water for rinsing brushes. None of these are required.
Will the coasters crack over time?
Small surface cracks can appear as wood keeps drying. This is normal for rustic wood slices. Proper sealing slows all cracking. Keep coasters out of long damp spells and out of dishwashers, and most sets last for years.
Are wood slice coasters safe for hot drinks?
Yes, for normal hot drinks like coffee and tea. The sealer protects the wood from heat and moisture. Avoid placing extremely hot items, such as pots from the stove, directly on the coasters. Use a trivet for those.
Can children make these coasters?
Yes, with adult help. Paint-only kits are safe for children old enough to handle craft paint, usually ages six and up with supervision. Wood-burning kits are for teens and adults only. Keep sealers and varnishes in adult hands, and work in a ventilated space.
Where can I buy a good kit?
Craft stores like Michaels, Joann, and Hobby Lobby stock them in the wood craft aisle. Home improvement stores carry sealers and bulk wood slices. Online stores offer the widest choice. Check that the kit includes sandpaper, sealer, and decoration supplies.
A Short Final Word
A wood slice coasters kit for diy home decor is a rare thing: a craft project that is easy, cheap, and genuinely useful. You start with rough slices of wood. You end with coasters you will use every day. Along the way you learn sanding, painting, and sealing, which are the base skills for dozens of other wood crafts.
Pick a kit that includes everything. Sand with patience. Seal with care. Let the wood grain do half the work.
References
Bob Vila. (n.d.). Home improvement advice. https://www.bobvila.com Etsy. (n.d.). Handmade and craft marketplace. https://www.etsy.com Family Handyman. (n.d.). DIY home repair and maintenance. https://www.familyhandyman.com Hobby Lobby. (n.d.). Arts, crafts, and home decor. https://www.hobbylobby.com JOANN. (n.d.). Fabric and craft supplies. https://www.joann.com Michaels. (n.d.). Arts and crafts supplies. https://www.michaels.com The Home Depot. (n.d.). Home improvement products. https://www.homedepot.com This Old House. (n.d.). Home renovation guidance. https://www.thisoldhouse.com Walmart. (n.d.). Everyday low prices. https://www.walmart.com
Was this guide helpful?

About Lisa Anderson
The My Garden US editorial team writes practical, in-depth home and garden guides for American homeowners — tested advice, no fluff.
You May Also Like
Wooden Spoon Carving Kit for Beginners DIY: A Complete Guide
January 20, 2026 0 views
Best Embroidery Machine for Small Business USA: A Plain Guide for New Owners
January 1, 2026 0 views
Best Embroidery Hoop Stand for Lap Stitching
September 14, 2026 0 views