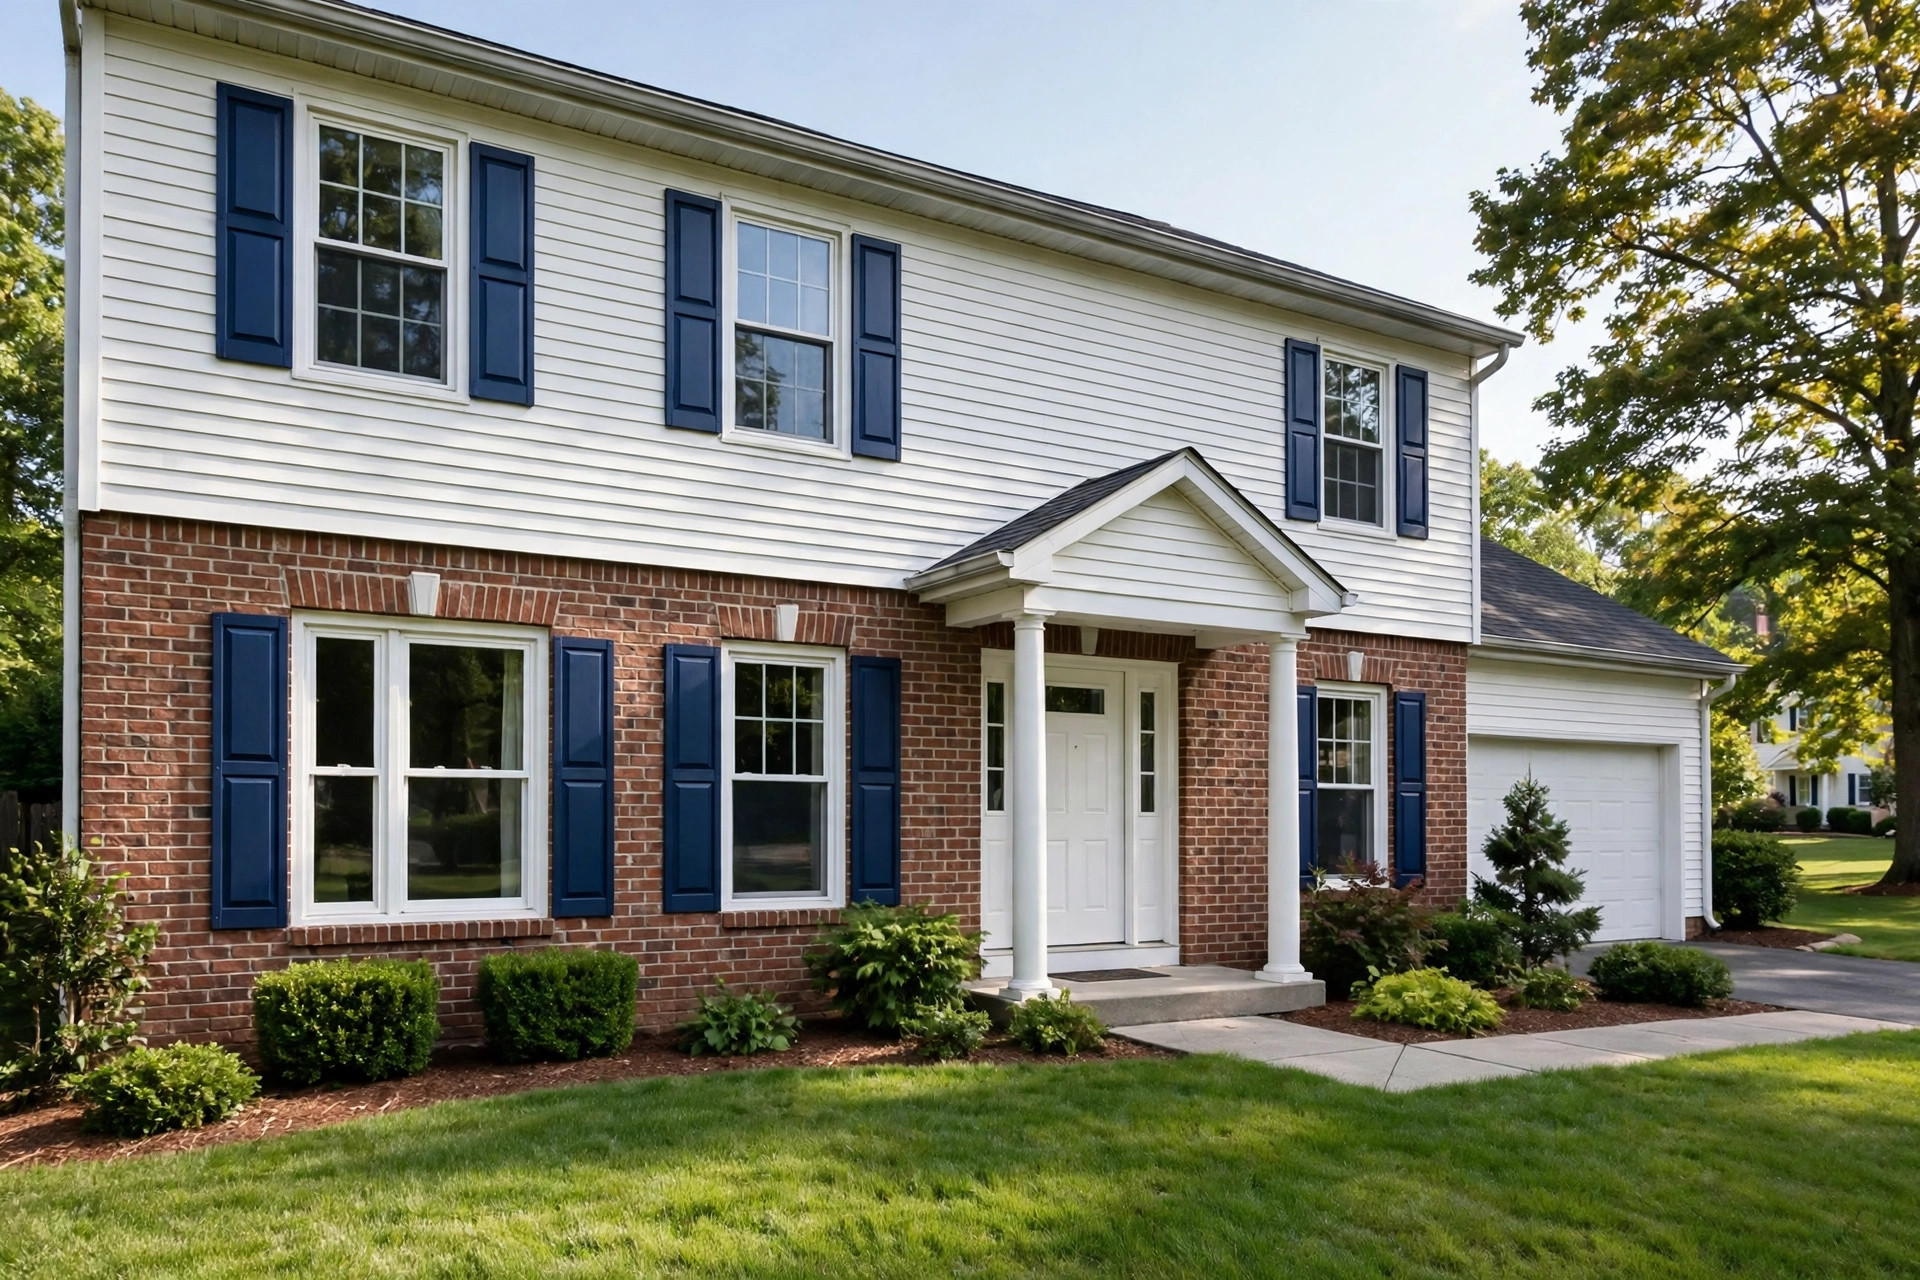

Vinyl shutters are plain by nature. They come in a few factory colors, and the sun soon dulls them. But with the right paint and the right method, old shutters can look new again. These painting vinyl shutters tips and tricks will walk you through the whole job, from the first wash to the last dry coat. The work is simple, the cost is low, and the change is large.
Why It Matters
Shutters frame the windows. When they fade, the whole house looks tired. When they are fresh, the whole house looks cared for. A new set of shutters can cost a great deal. A can of paint costs little. Homeowners have painted vinyl shutters for decades, and the results hold up well when the prep is done right. Paint made for vinyl bonds to the surface and bends with it in heat and cold. That is the key fact. Regular house paint may crack and peel on vinyl. Paint labeled for vinyl siding will not.
Color choice matters too. Light colors stay cooler in the sun. Dark colors soak up heat, and vinyl can warp if it gets too hot. Most makers of vinyl-safe paint warn against dark shades on vinyl. Stick to light or medium tones if your shutters sit in full sun all day. For a guide to pricing larger paint jobs, see our /best-exterior-house-painting-cost-estimator-usa/ article.
What to Look For When Choosing Paint: Painting Vinyl Shutters Tips and Tricks
Not every can will do. Look for these words on the label: acrylic latex, and safe for vinyl siding. Many paint brands now sell lines made for vinyl. These paints hold to the plastic surface and flex with it. An exterior acrylic latex paint with urethane added gives a hard, lasting shell. Avoid oil-based paint. It dries stiff and will crack as the vinyl moves.
Finish is the next choice. Satin is the most common for shutters. It has a soft sheen that sheds dirt and looks clean from the street. Semi-gloss is tougher and wipes clean, but it shows every brush mark. Flat hides flaws but chalks fast in the sun. For most homes, satin is the safe pick.
Primer is a question many people ask. If the shutters are bare vinyl in good shape, a quality vinyl-safe paint often needs no primer. If the shutters are chalky, stained, or were painted before with unknown paint, use a primer made for plastic or vinyl. A clean, sound surface is what matters most. For paint reviews on a related project, our /best-paint-for-kitchen-cabinets-usa-reviews/ roundup explains how to read labels and reviews.
Color rules for vinyl are real. Paint companies publish lists of safe colors for vinyl. As a rule, never paint shutters darker than their original color. A shutter that came white should stay in the light family. Heat is the enemy. Vinyl softens around high heat, and a dark coat in full sun can push it past that point. If you want black shutters, buy them made in black from the factory instead.
Tools and Materials You Will Need
Gather everything before you start. You will need a garden hose or pressure washer on a low setting, a bucket, mild detergent or a house wash, a stiff brush, painter’s tape or just time, drop cloths or cardboard, a paint sprayer or good brushes, and the paint itself. A pair of sawhorses makes the job much easier. Small parts like shutter pins or screws should be saved in a bag.
Many pros use a sprayer for shutters. Louvers have many small faces, and a sprayer coats them all in one pass. If you brush, use a small angled sash brush and work with the slats, not against them. Our /best-paint-sprayer-for-home-use-reviews/ guide can help you pick a sprayer that suits a shutter job.
Types and Options for the Job
There are three main ways to paint vinyl shutters. Each has its place.
Spraying
Spraying is the fastest and gives the smoothest finish. Thin the paint only if the label allows it. Hold the sprayer about a foot away and move in steady passes. Turn the shutter to hit both sides of each louver. Two light coats beat one heavy coat every time. Mask the area well, because spray drifts in wind. Early morning with calm air is the best time.
Brushing
Brushing is slower but simple. Use a quality synthetic brush made for latex paint. Paint the spaces between louvers first with the tip of the brush, then the faces. Work in the shade so the paint does not dry on the brush. Brush marks are less of a worry on textured shutters.
Painting in Place vs. Taking Them Down
You can paint shutters while they hang, but the job is better if you take them down. On sawhorses you can reach both sides, and you will not paint the siding by mistake. Most vinyl shutters are held by small plastic pins. Pop them out with a putty knife from the back. Save every pin. Some are one-use and will snap. Buy spare shutter spikes before you start.
Step by Step: The Work
1. Remove the shutters
Work on a cool, dry day. Slide a putty knife behind each shutter and find the pins. Press or pry them out gently. Lay each shutter flat on sawhorses in the shade. Number the backs with tape so each goes back to its window.
2. Wash them well
This is the step people skip, and it is the step that decides the outcome. Mix warm water with a mild detergent. Scrub every louver with a stiff brush. Rinse with a hose. If you use a pressure washer, keep it on a wide fan and stay well back. High pressure can dent vinyl and force water behind seals. Let the shutters dry fully. Paint on damp vinyl will blister.
3. Scuff lightly if needed
Glossy vinyl takes paint better with a light scuff. Use fine sandpaper or a sanding sponge, just enough to dull the shine. Wipe off all dust with a damp cloth and let dry. Do not sand through the surface. A gentle hand is enough.
4. Lay out your work area
Set drop cloths or large cardboard sheets under the sawhorses. If spraying, shield the lawn and nearby plants. Stake a wind break if the day is breezy. Keep a wet edge by working in order, top to bottom.
5. Paint the first coat
Whether you spray or brush, apply a thin first coat. With a sprayer, pass left to right, then tilt the shutter to catch the louver edges. With a brush, load it light and work the paint into the grooves. Do not flood the louvers. Pooled paint drips and shows. Let the first coat dry the full time the label states. In humid air, wait longer.
6. Paint the second coat
The second coat is what gives full color and cover. Apply it the same thin way. Check from an angle for missed spots between louvers. Two coats are enough for most colors. A third coat is fine if the color still looks thin.
7. Dry and rehang
Let the shutters cure before you handle them hard. Latex paint feels dry in hours but needs days to harden fully. Rehang with new or saved pins. Stand back and look at the house from the street. Small touch-ups are easier now than later.
Cost and Price
This is a cheap project. A gallon of quality exterior acrylic latex paint runs in the range of forty to seventy dollars and covers a full set of shutters with room to spare. A small paint sprayer costs more but serves many projects. Brushes, sandpaper, detergent, and drop cloths add only a small sum. Spare shutter pins cost a few dollars for a bag. All in, most homeowners finish the job for under one hundred dollars if they already own basic tools. A pro painter may charge several hundred for the same work, mostly for the labor of removal and prep.
Care and Upkeep
Painted shutters need little care. Wash them once a year with a garden hose and mild soap. This keeps dirt from grinding into the finish. Do not use harsh cleaners or bleach at full strength. They can dull the paint. Touch up chips as soon as you see them. A small bottle of the leftover paint is worth saving for this. Keep the can in a cool place with the lid tight.
Expect the paint to last five to ten years on vinyl, depending on sun and weather. South-facing shutters fade first. When the color starts to chalk, wash and recoat. The second paint job is easier than the first, since the surface is already prepared and sound.
Safety
Paint fumes need fresh air. Work outside, which this job is anyway. Wear gloves when scrubbing with cleaners. Wear eye protection when using a pressure washer or sprayer. Keep ladders on firm ground if any shutters are high. Read the paint label for dry times and warnings. Keep children and pets away from wet paint and spray drift.
Common Mistakes to Avoid
The biggest mistake is skipping the wash. Paint will not bond to dirty vinyl. The next mistake is painting too thick. Thick coats sag and take days to cure. The third mistake is choosing a color too dark for the sun the shutters face. The fourth is painting in direct hot sun, which dries the paint before it can level. The fifth is putting shutters back up too soon. Soft paint dents under the pins and sticks to the siding.
Frequently Asked Questions
Can you paint vinyl shutters at all? Yes. Vinyl shutters take paint well when they are clean and the paint is made for vinyl. Many homeowners do it with great results.
Do I need to prime vinyl shutters before painting? Often no. A quality exterior acrylic latex paint made for vinyl bonds without primer on clean, sound shutters. Use a primer for plastic if the surface is chalky or was painted before.
What kind of paint works best on vinyl shutters? Exterior acrylic latex paint labeled safe for vinyl siding. Satin finish is the most popular choice. Avoid oil-based paint.
Can I use a sprayer on shutters? Yes, and it is the best method for louvered shutters. Use light coats and work in calm air.
How long will painted vinyl shutters last? Five to ten years is common with good prep and quality paint. South-facing shutters in strong sun fade sooner.
Is it safe to paint shutters a dark color? Only with care. Dark paint holds heat, and hot vinyl can warp. Never paint darker than the original color, and avoid dark shades on shutters in full sun.
A Final Word
Painted shutters are one of the cheapest ways to lift a home’s face. The work takes a weekend. The paint costs little. The result lasts for years. Wash well, choose paint made for vinyl, apply thin coats, and give the paint time to harden. Follow these painting vinyl shutters tips and tricks, and your shutters will look like they came from the factory in a brand new color.
For more background, see Bob Vila, The Spruce, and HGTV. For more background, see Sherwin-Williams, Behr, and Benjamin Moore. Buying guides are also published by The Home Depot and Lowe’s. Related guides on this site include best exterior house painting cost estimator usa, interior house painters near me reviews, and kitchen cabinet refinishing service cost usa.
References
Behr. (n.d.). Paints, primers, and stains. https://www.behr.com Benjamin Moore. (n.d.). Paints and stains. https://www.benjaminmoore.com Bob Vila. (n.d.). Home improvement advice. https://www.bobvila.com HGTV. (n.d.). Home and garden ideas. https://www.hgtv.com Lowe’s. (n.d.). Home improvement products. https://www.lowes.com Sherwin-Williams. (n.d.). Paints and coatings. https://www.sherwin-williams.com The Home Depot. (n.d.). Home improvement products. https://www.homedepot.com The Spruce. (n.d.). Home and garden advice. https://www.thespruce.com
Was this guide helpful?

About Robert Taylor
The My Garden US editorial team writes practical, in-depth home and garden guides for American homeowners — tested advice, no fluff.
You May Also Like

Concrete Floor Paint for Basements: What the Reviews Tell Us
June 10, 2026 0 views
Spray vs Brush Painting Cabinets Guide USA
September 13, 2026 0 views
Paint Color Consultation Service Online USA: A Plain Guide for Homeowners
April 18, 2026 0 views