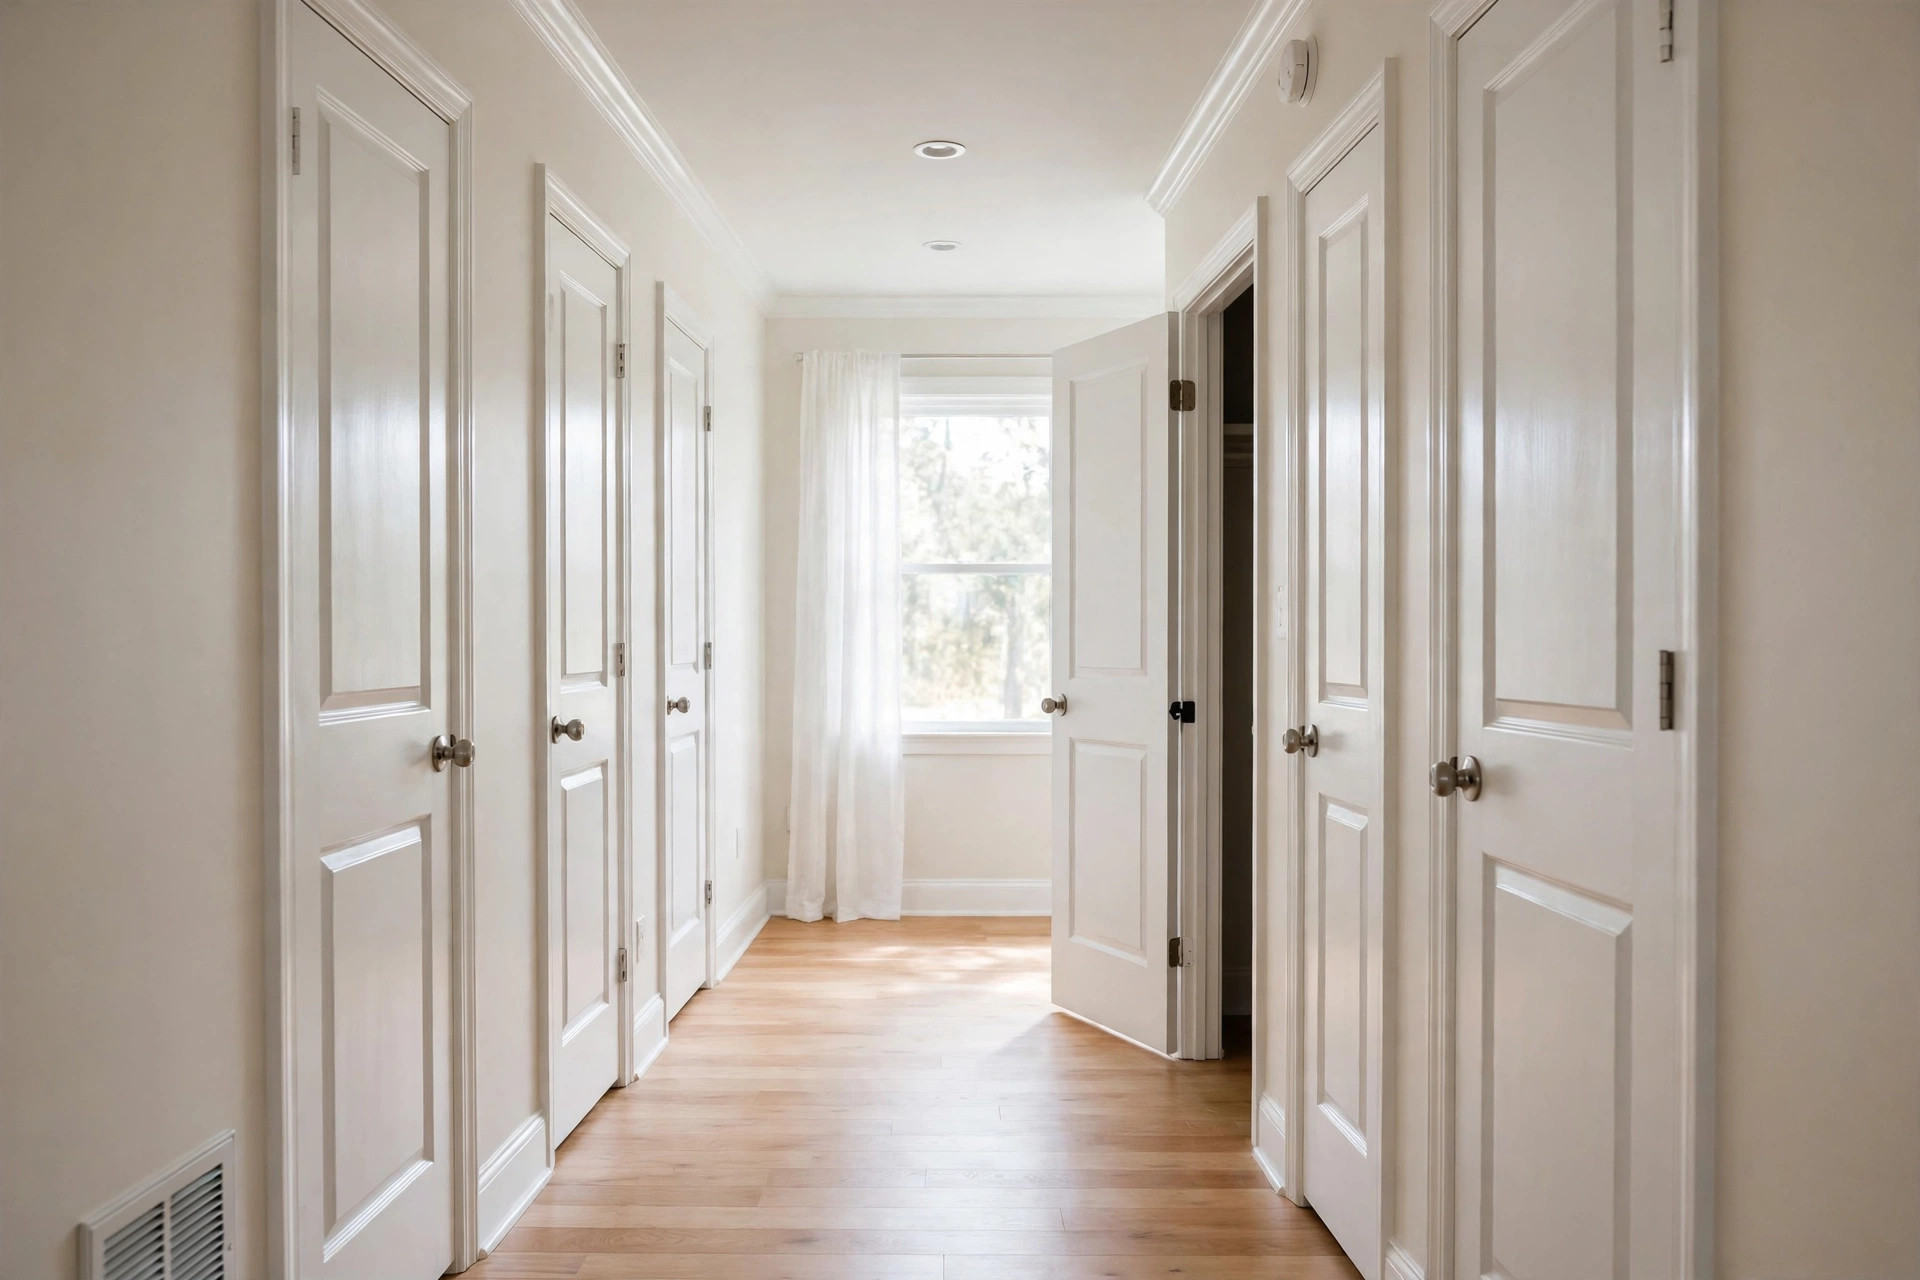

Most homes across America have hollow core doors. They are the light, smooth doors found on bedrooms, closets, and bathrooms in thousands of houses. Many were never painted well, or their old paint has yellowed with age. The good news is that painting hollow core doors is one of the easiest home projects a person can take on. These painting hollow core doors tips for USA homeowners will help you get a smooth, lasting finish without hiring a professional.
Why a Fresh Coat Matters on Hollow Core Doors
Hollow core doors take a lot of daily use. They are opened and closed many times each day. Hands touch them, and dirt builds up near the knobs and along the bottom edge. Old paint can chip, scuff, and dull over time. A fresh coat of paint does more than improve looks. It seals the surface and protects the thin skin of the door from wear.
Painting these doors is also cheap. One gallon of paint can often cover six to eight doors. For a small cost, a whole hallway or upstairs landing can look new again. Many homeowners paint their hollow core doors the same white as their trim. Others choose bold colors to give each room a personal touch. Either way, the work is the same.
What Hollow Core Doors Are Made Of: Painting Hollow Core Doors Tips Usa
A hollow core door has a thin face of hardboard, wood veneer, or molded fiberboard on each side. Between the faces sits a light honeycomb of cardboard or a thin wooden frame. The whole door weighs much less than a solid wood door. That light weight makes them easy to remove and easy to handle while painting.
The thin face is both a strength and a weakness. It takes paint well when it is clean and smooth. But it can swell if it soaks up too much water, and it can dent if struck hard. Knowing this helps you choose the right paint and the right method.
What to Look For When Choosing Paint
Paint Type
For most hollow core doors, a quality acrylic latex paint is the best choice. Latex dries fast, cleans up with water, and keeps its color for years. It also stays flexible, which helps it resist cracking at the edges of the door. Oil-based paint gives a hard, glassy finish, but it yellows over time and needs solvents for cleanup. Most painters today use latex for interior doors.
If you want a deeper color, look at the best paint for front door reviews for ideas on tough, rich finishes, though front doors face weather that interior doors never see.
Sheen
Sheen matters more than many people think. Flat paint hides small flaws but marks easily and is hard to wash. Semi-gloss is the classic choice for doors. It wipes clean, resists fingerprints, and stands up to daily use. Satin is a middle ground: softer than semi-gloss but still washable. If you cannot decide, read a satin versus semi gloss guide for trim before you buy.
For bold looks, black paint for interior doors has become popular in recent years. Dark colors need good coverage and often a gray-tinted primer to reach full depth in two coats.
Primer
Do not skip primer. Hollow core doors often have a slick factory finish that paint struggles to grip. A bonding primer made for slick surfaces gives the topcoat something to hold. If the door has stains, crayon marks, or old oil paint, use a stain-blocking primer. One coat of primer is usually enough.
Tools and Supplies You Will Need
Good tools make the job easier and the finish smoother. You will need:
– A quality acrylic latex paint, semi-gloss or satin – A bonding or stain-blocking primer – A 2-inch angled brush for edges and panels – A small foam roller or a short-nap mini roller for flat areas – A paint tray and liners – Painter’s tape for hinges and glass – Fine sandpaper, 120 and 220 grit – A tack cloth or damp rag – A screwdriver to remove knobs and hinges – Drop cloths – Wood filler for dents and holes
Guides from This Old House note that a foam roller leaves fewer marks than a brush on flat door faces, which is exactly what hollow core doors have.
Preparing the Door
Preparation is the most important part of the job. Paint will only look as good as the surface under it. Follow these steps.
First, remove the door from its hinges if you can. A door laid flat on sawhorses paints easier than one hanging upright. Paint flows less on a flat surface, so drips are rare. If you cannot remove the door, you can still paint it in place. It just takes more care.
Next, take off the knob, the strike plate, and the hinges. Put the screws in a small bag so none get lost. Tape over any glass or louvers with painter’s tape. Press the tape edges down hard so paint cannot creep under them.
Clean the door with a mild soap and water mix or a household degreaser. Kitchen and bathroom doors often hold a film of grease and hair spray. Rinse and let the door dry fully. The Spruce recommends this cleaning step before any interior paint project, and hollow core doors are no exception.
Sand the whole face lightly with 220-grit sandpaper. You are not removing the old finish. You are only roughing it up so the primer can grip. Wipe away all dust with a tack cloth. Fill dents, dings, and old nail holes with wood filler. Let the filler dry, then sand it smooth.
Step-by-Step Painting Tips
Now comes the main work. These tips follow the order most professionals use.
1. Apply the primer. Roll a thin coat of primer over the whole face of the door. Use the brush first on any molded panel edges or details, then roll the flat areas. Keep the coat thin. Thick primer can fill in details and dry rough.
2. Sand the primer. After the primer dries, sand lightly with 220-grit paper. This knocks down tiny bumps and gives the topcoat a smooth base. Wipe off the dust.
3. Paint the edges first. Stand the door or work around it and paint the top and side edges. The bottom edge can be left for last or painted to seal the door against moisture.
4. Brush the details. Use the angled brush on any raised panels, grooves, or molded lines. Work the paint into the corners, then smooth it out. Do not leave pools of paint in the grooves.
5. Roll the flat areas. Roll the large flat faces with the foam roller. Use long, even strokes from top to bottom. Overlap each pass slightly. A foam roller gives a finish close to a sprayed look.
6. Apply a second coat. Let the first coat dry as the can directs, usually four hours for latex. Sand very lightly between coats if you see dust specks. Apply the second coat the same way. Two thin coats always look better than one thick coat.
7. Let it cure. The door will feel dry to the touch in an hour or two, but full hardness takes days. Rehang the door carefully after 24 hours. Avoid slamming it for at least a week. Behr and other paint makers print cure times on every can, and it pays to follow them.
Painting in the right weather helps too. Aim for a room between 50 and 85 degrees with low humidity. Paint dries poorly in damp, cold air.
Spraying Versus Brushing and Rolling
Some homeowners spray their hollow core doors with a paint sprayer. Spraying gives the smoothest finish of all. It is the method used in many new homes. But spraying needs masking, ventilation, and practice. Overspray can land on walls and floors if you are not careful.
For most people, a brush and foam roller give a fine result. The finish may show a slight texture, but it looks clean and professional. Bob Vila has long advised beginners to master brushing and rolling before renting a sprayer.
Cost and Price
Painting hollow core doors is one of the cheapest upgrades in a home. A gallon of quality interior latex paint costs about 35 to 60 dollars in most American stores. A quart of primer runs 10 to 20 dollars. A brush, a foam roller, tape, and sandpaper add another 20 to 30 dollars if you own nothing.
One gallon covers about 350 square feet. A standard interior door is about 21 square feet per side. With two sides and two coats, one gallon paints roughly four to six doors. Hiring a painter costs far more. Most painters charge 75 to 150 dollars per door, including materials. Doing it yourself saves most of that.
Watch for sales at large retailers. Both Home Depot and Lowe’s run paint promotions several times a year, often in spring and fall.
Care and Upkeep
Once painted, hollow core doors need little care. Wipe them down with a damp cloth when they look dusty or marked. For scuffs near the bottom, a mild cleaner on a soft sponge works well. Avoid harsh scrub pads, which can dull semi-gloss paint.
Touch up chips as soon as you see them. Keep a small jar of the leftover paint for this purpose. Label it with the color name, the sheen, and the room. Touch-ups blend best when the paint is less than a year old.
Check the edges once a year. The thin face of a hollow core door can separate from the frame if moisture gets in. A small bead of caulk or a dab of glue can fix a loose edge before it grows worse.
Safety
Paint fumes are mild with latex paint, but ventilation still matters. Open windows and run a fan while you paint. If you sand old paint in a home built before 1978, test for lead first. Lead dust is a serious health hazard, especially for children and pregnant women. Test kits are sold at most hardware stores. If lead is present, follow federal rules for safe handling or call a certified contractor.
Wear a dust mask while sanding. Wear safety glasses when you work overhead. Keep paint and solvents away from open flames and out of reach of children and pets. HGTV and other home sites remind readers that even simple paint jobs deserve basic safety gear.
Frequently Asked Questions
Can I paint a hollow core door without removing it? Yes. Many people paint doors in place. Tape the hinges and the frame, protect the floor with a drop cloth, and use thin coats to avoid drips. Removing the door gives a better result, but it is not required.
Do I really need primer on a hollow core door? Yes, in almost every case. The smooth factory finish on most hollow core doors resists paint. Primer bonds to that slick surface and gives the topcoat a firm base. Skipping primer often leads to peeling within a year.
What is the best paint sheen for hollow core doors? Semi-gloss is the most popular choice. It is tough, washable, and looks crisp against most walls. Satin is a good second choice for a softer look. Avoid flat paint on doors, since it marks easily and is hard to clean.
How many coats of paint does a hollow core door need? One coat of primer plus two coats of paint is the standard. Going from a dark color to a light color may need a third coat or a tinted primer. Thin, even coats always beat one heavy coat.
Can I paint over the fake wood grain on a hollow core door? Yes. Many hollow core doors have a printed or molded wood grain. Light sanding and a good bonding primer will cover it. Two coats of paint will hide the pattern fully. Benjamin Moore and Sherwin-Williams both make primers designed for slick, hard-to-coat surfaces like these.
How long should I wait before rehanging the door? Wait at least 24 hours before rehanging. The paint will feel dry sooner, but it needs time to harden. Give it a full week of gentle use before treating it like a finished surface.
A Final Word
Painting hollow core doors is simple work with a big payoff. Clean the surface, sand it lightly, prime it well, and apply two thin coats. Take your time with the details and let each coat dry fully. The result will be doors that look fresh for years. For a weekend of work and a modest cost, few projects change a home as much.
References
Behr. (n.d.). Paints, primers, and stains. https://www.behr.com Benjamin Moore. (n.d.). Paints and stains. https://www.benjaminmoore.com Bob Vila. (n.d.). Home improvement advice. https://www.bobvila.com HGTV. (n.d.). Home and garden ideas. https://www.hgtv.com Lowe’s. (n.d.). Home improvement products. https://www.lowes.com Sherwin-Williams. (n.d.). Paints and coatings. https://www.sherwin-williams.com The Home Depot. (n.d.). Home improvement products. https://www.homedepot.com The Spruce. (n.d.). Home and garden advice. https://www.thespruce.com This Old House. (n.d.). Home renovation guidance. https://www.thisoldhouse.com
Was this guide helpful?

About James Carter
The My Garden US editorial team writes practical, in-depth home and garden guides for American homeowners — tested advice, no fluff.
You May Also Like

Exterior Brick Painting Service Near Me Cost: What Homeowners Should Know
March 11, 2026 0 views
Beadboard Wallpaper vs Real Beadboard: Which One Belongs in Your Home?
March 6, 2026 0 views
Mildew Resistant Bathroom Paint Reviews USA
May 27, 2026 0 views