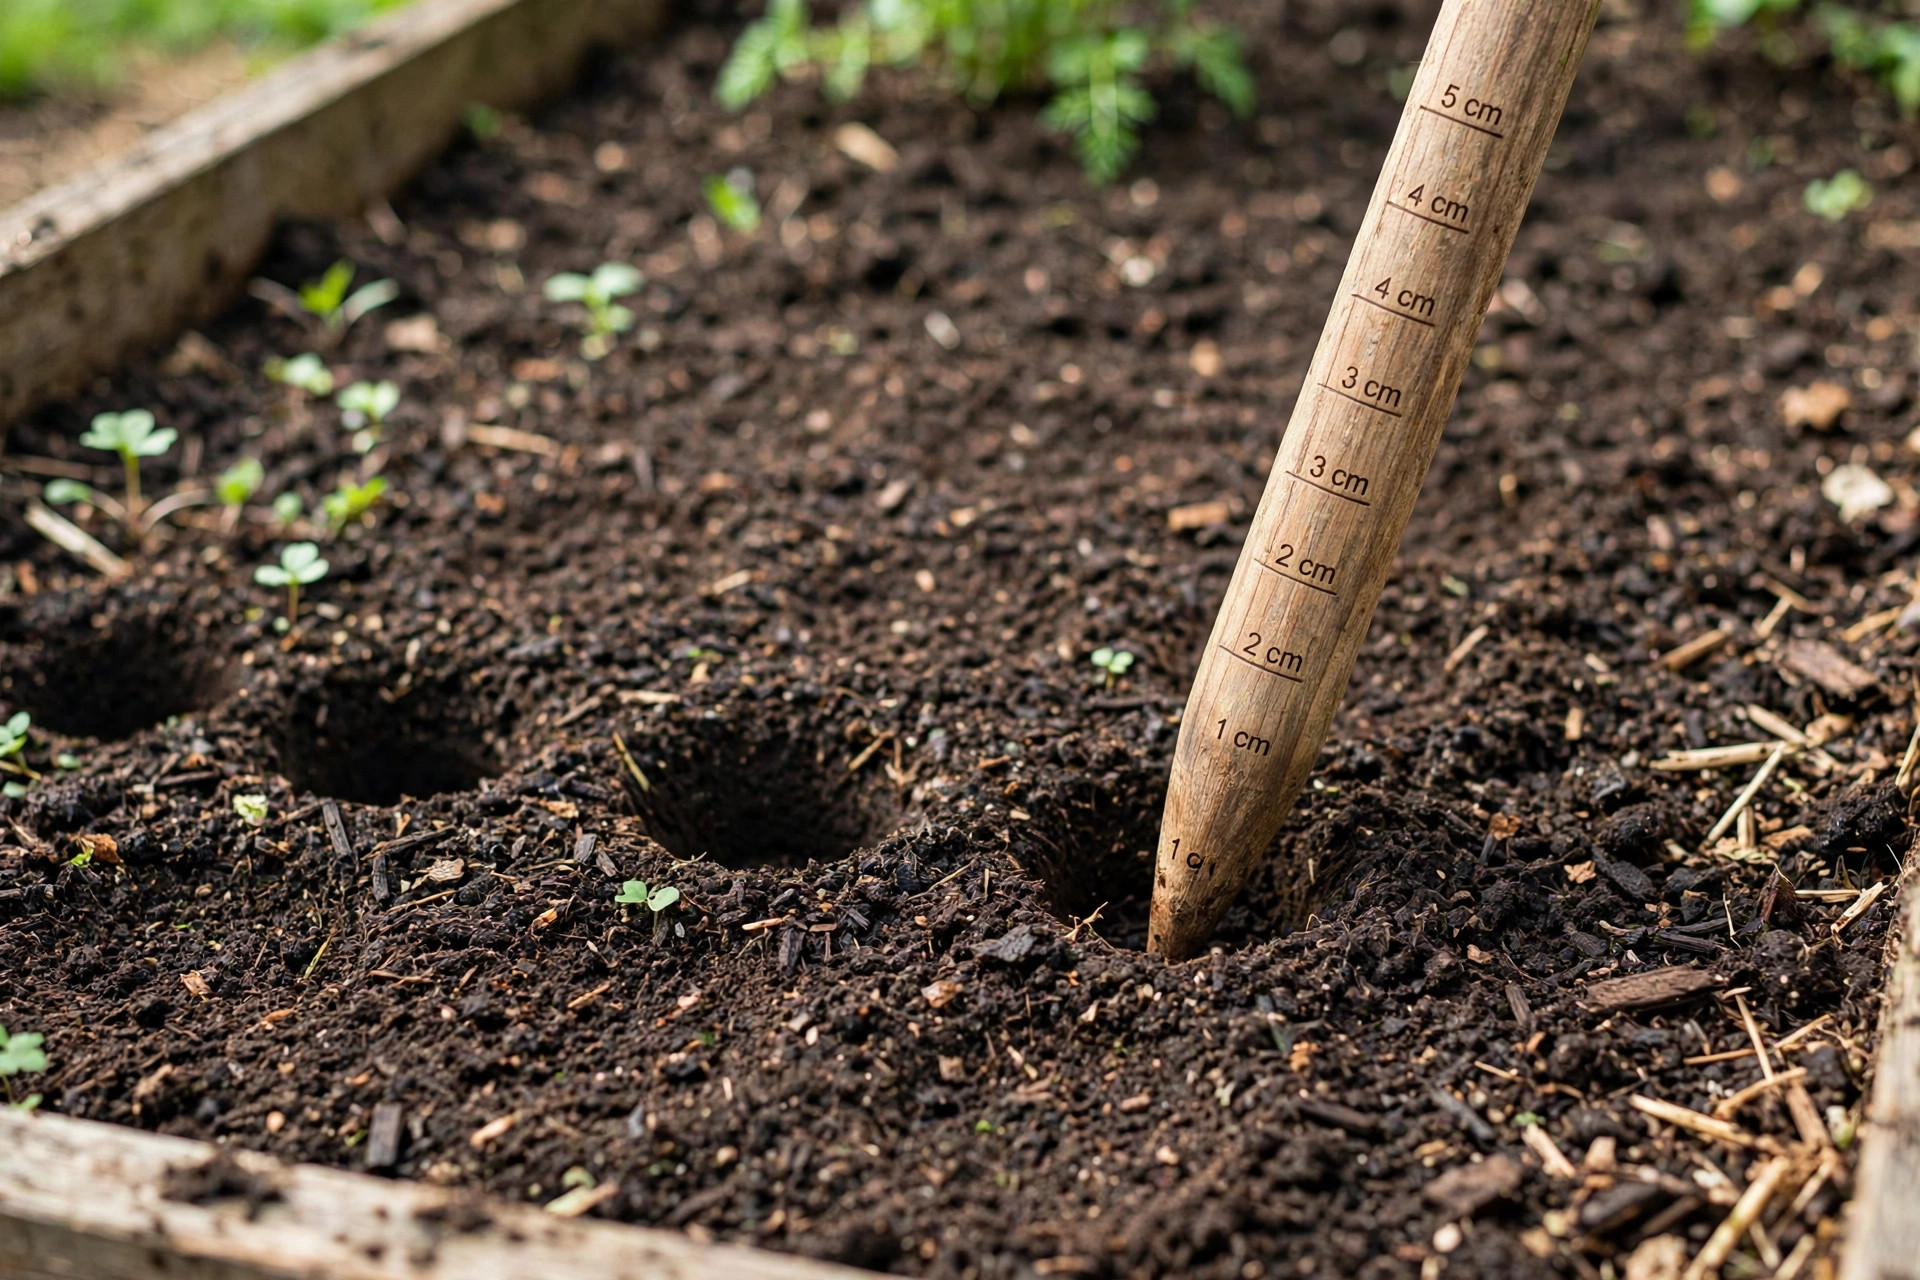
The best garden dibber for seed planting is a small, plain tool that saves a gardener more work than its size would suggest. A dibber is a pointed rod, often of wood, that presses a clean hole into soft soil at the right depth for a seed. With one tool a gardener can make hundreds of even holes in a few minutes, each at the same depth, each spaced with care. This article explains what a dibber does, how to pick one, and how to use it well through the season.
Why a Dibber Matters in the Garden
Seeds are small, and they ask for care at the start. A seed that sits too deep may not reach the light. A seed that sits too near the surface may dry out or wash away. The rule of thumb that most seed packets print is simple: plant the seed about twice as deep as the seed is wide. A dibber with depth markings takes the guesswork out of this rule.
Fingers can do the work, and many gardeners start that way. But fingers pack soil unevenly, they tire quickly, and they leave holes of uneven depth. In a long row of lettuce or a bed of carrots, uneven depth means uneven growth. Some plants rise early and shade the slow ones. A dibber keeps every hole the same.
The tool also protects the soil. Pushing a smooth, round point into the bed is gentler than digging with a trowel. It does not bring weed seeds up from below. It does not break up the fine crumb that small roots need. For gardeners who follow no-dig or low-till methods, this matters a great deal. Tool guides at Family Handyman often note that small hand tools repay their small cost many times over, and the dibber is a good example of that claim.
What to Look for in a Good Dibber: Best Garden Dibber for Seed Planting
A dibber looks like a simple stick, but the details separate a good one from a poor one. Here are the points that matter when shopping.
Comfortable Grip
The handle or top of the dibber should fit the hand without sharp edges. Some dibbers are shaped like a plain pencil, which is fine for light soil. Others have a rounded knob or a T-handle, which lets the gardener press down with the palm. For gardeners with sore joints, a larger grip makes a real difference. Product reviews from testing groups such as Consumer Reports remind buyers that comfort in hand tools is not a luxury; it is what keeps a gardener working without pain.
Clear Depth Markings
The best garden dibber for seed planting usually carries markings at quarter-inch or half-inch steps along its length. These rings or lines let the gardener press to the right mark for each type of seed. Tiny seeds such as carrots go shallow. Larger seeds such as peas go deep. Without markings, the gardener must guess. A wooden dibber marked with a pen by the owner works just as well as a factory-marked one, but factory markings are easier to read and do not wash off.
Strong, Smooth Material
Hardwood dibbers, often beech or oak, are the classic choice. They are smooth, kind to soil, and they last for years. Metal dibbers, sometimes brass or steel, are heavier and suit hard or packed soil. Plastic dibbers are light and cheap, but they can bend or snap in firm ground. The retailer listings at Home Depot show the full range, from simple wooden models to heavier steel versions for tough beds.
The Right Length
Most dibbers run six to eight inches long. That is enough for seed planting, and the short length keeps the tool easy to control. Longer dibbers exist for transplanting work. A short, sturdy dibber is best for the seed bed. Guides at Bob Vila’s site echo this plain advice: the simplest version of a good garden tool is usually the best one to buy.
Types of Dibbers and What Each Does Best
Though the tool is simple, several forms are sold. Each suits a different job.
The plain pointed dibber. This is the classic form: a smooth tapered rod, sometimes with a rounded top to rest the palm on. It makes clean holes for direct sowing. It is the tool most gardeners mean when they talk about a dibber. Garden centers and guides like those at The Spruce describe it as one of the basic tools every seed-starting gardener should own.
The dibber with depth rings. This version carries marked steps along its side, so the gardener can see at a glance how deep the hole is. It is the best choice for gardeners who sow many kinds of seeds in one session. Each seed type has its own depth, and the rings make switching easy.
The combination dibber and widger. Some tools carry a pointed dibber on one end and a flat, spoon-like widger on the other. The widger end lifts seedlings from their trays without tearing roots. This is a fine pick for gardeners who start seeds indoors and move them out later. If you plan to learn how to start seeds indoors, a combination tool covers both jobs at the bench.
The long transplanting dibber. A longer, slimmer tool made for setting seedlings or onion sets into the ground. It is not the best garden dibber for seed planting in the strict sense, but many gardeners use one tool for both seeds and transplants. It is worth knowing the difference so the wrong tool does not end up doing the wrong job.
Homemade dibbers. A broken broom handle, a thick dowel rod, or a smooth stick can serve as a dibber. Many old-time gardeners made their own and marked depths with a pen. Store-bought models are cheap, but a homemade tool costs nothing and works well.
How to Choose the Right One for Your Garden
Start with the soil. In soft, rich loam, almost any dibber works, and a light wooden model is a joy to use. In clay or packed ground, a sturdier tool is needed. A steel dibber or a thick hardwood model will not snap under pressure. If the bed is very hard, loosen it with a fork first; no dibber should be forced into ground like a nail.
Next, think about what you plant. Vegetable gardeners who sow rows of small seeds gain the most from depth markings. Flower gardeners who plant larger seeds in groups may care more about a comfortable grip. Herb gardeners working in pots may prefer a short, slim model that fits a small container.
Consider the season too. In spring, when the soil is damp, holes made by a dibber hold their shape. In dry summer soil, holes can crumble, so water the row before planting and after. Guides at Gardener’s Supply suggest preparing the bed a day ahead of sowing, which gives the soil time to settle into a fine, even surface for the dibber.
Finally, read a few honest reviews before buying. Short reviews on retailer sites such as Lowe’s tell how a tool holds up in real gardens, not just in a catalog picture. Look for comments about the markings wearing off, the handle splitting, or the point chipping. These are the faults that show up only with use.
How to Use a Dibber Step by Step
Using a dibber is easy, but a little method gives better results. The steps below follow what experienced gardeners practice.
First, prepare the bed. Rake the surface fine and level. Pull any weeds. If the soil is dry, water it and let it drain for an hour. Testing the soil before planting is a habit worth forming; a garden soil test kit tells whether the bed needs lime or feed before seeds go in.
Second, mark the row. A line of string or a shallow groove keeps the row straight. Place the string where the row should run, and work along it.
Third, press the holes. Hold the dibber straight and push it into the soil to the depth mark you need. Give it a slight twist as you pull it out; the twist leaves a clean, round hole that does not collapse. Space the holes as the seed packet directs.
Fourth, drop the seeds. Place one or two seeds in each hole. Thin later if two sprout. Cover the holes lightly with fine soil or compost, pressing gently with the flat of the hand.
Fifth, water with a soft touch. A hard jet of water washes seeds out of their holes. Use a watering can with a fine rose, or let a gentle sprinkler do the work.
Cost and Price: What a Dibber Should Cost
A dibber is one of the cheapest tools in the garden shed, and that is part of its charm. Plain wooden dibbers often sell for a few dollars. Models with turned handles or clear depth markings cost a little more. Brass or steel dibbers, and combination tools with a widger, sit at the top of the range but are still far cheaper than a spade or a fork.
Price is not a strong guide to quality here. A five-dollar wooden dibber from a maker like Fiskars or Corona Tools can outlast a fancy model if the wood is sound and the finish is smooth. What matters is the feel in the hand and the clarity of the markings, not the price tag. Seed houses such as Burpee, which sell seed-starting supplies, carry simple models that suit most home gardens.
Care and Upkeep
A dibber asks for almost no care, but a few small habits will make it last for years. Clean it after use. Knock off the soil and wipe it down; caked mud left on wood can hold moisture and start rot. Let it dry before putting it away.
Oil wooden dibbers once a season. A rub of linseed oil or plain mineral oil keeps the wood from drying and cracking. The oil also keeps the surface smooth, so soil does not cling to it.
Store the tool in a dry place. A damp shed floor will rot a wooden handle in time. Hang the dibber on a hook or stand it in a tool caddy with the point up.
Check the depth markings each spring. Painted or burned-in marks fade with use. Refresh them with a permanent marker and seal the mark with a dab of clear varnish so it lasts the season. A few minutes of care keeps the measurements honest.
Metal dibbers need even less care. Wipe them dry after use and rub a light coat of oil on them before winter storage to stop rust.
Safety in the Garden
A dibber is not a dangerous tool, but a pointed rod still deserves respect. Keep the point away from the face and eyes, especially when working with children. Teach young gardeners to press straight down and to keep their other hand clear of the spot.
Watch where you step. A dibber left point-up in the soil is a small hazard for bare feet. Get in the habit of laying it flat on the bed edge when you pause.
If you garden with a hoe for weeding nearby, keep tools in their own spots so nobody grabs the wrong one by surprise. A quick look at reviews for a garden hoe for weeding shows how often gardeners buy hand tools as a set, and sets deserve a set place to rest.
Wash your hands after gardening, and wash the dibber too. Soil can carry bacteria, and clean habits protect both the gardener and the seedlings.
Frequently Asked Questions
What is the best garden dibber for seed planting in heavy clay soil? A short, thick hardwood dibber or a steel model works best in clay. Light plastic models can snap. Loosen the bed with a fork first, and press the holes when the soil is moist but not wet. Working clay when it is soaking wet packs it harder.
Can one dibber handle all seed sizes? Yes, if it has depth markings. Small seeds need shallow holes and large seeds need deep ones, and the markings let one tool serve both. Very large seeds, such as broad beans, may still be easier to push in with a finger or a trowel handle.
How deep should I press the dibber for most vegetable seeds? Follow the seed packet. As a rough guide, most vegetable seeds go about twice as deep as the seed is wide. Fine seeds sit very shallow; peas and beans go an inch or more.
Is a wooden or metal dibber better? Wood is lighter, cheaper, and kind to the soil. Metal is stronger and suits hard ground. For most home gardens with decent soil, a wooden dibber is the best pick. For new beds or clay, metal earns its place.
How do I keep my seed rows straight when using a dibber? Stretch a string between two stakes along the row, or lay a straight board on the bed and work along its edge. Press the holes in a steady rhythm. Straight rows make weeding and thinning much easier later.
Should I water before or after using the dibber? Both. Water the bed before planting so the holes hold their shape, then water gently after covering the seeds. Seeds need steady moisture to sprout, but a flood will wash them out of place.
A Final Word
The best garden dibber for seed planting is the one that fits your hand, marks its depths honestly, and suits your soil. It is not an expensive tool and not a complicated one. That is its virtue. Season after season it does the same small job with the same quiet accuracy, and the garden shows the result in even rows of strong seedlings. Buy a simple one, keep it clean, and it will serve you for many springs to come.
References
Bob Vila. (n.d.). Home improvement advice. https://www.bobvila.com Burpee. (n.d.). Seeds, plants, and gardening supplies. https://www.burpee.com Consumer Reports. (n.d.). Product reviews and ratings. https://www.consumerreports.org Corona Tools. (n.d.). Garden and landscape tools. https://www.corona-tools.com Family Handyman. (n.d.). DIY home repair and maintenance. https://www.familyhandyman.com Fiskars. (n.d.). Garden and cutting tools. https://www.fiskars.com Gardener’s Supply Company. (n.d.). Gardening tools and supplies. https://www.gardeners.com Lowe’s. (n.d.). Home improvement products. https://www.lowes.com The Home Depot. (n.d.). Home improvement products. https://www.homedepot.com The Spruce. (n.d.). Home and garden advice. https://www.thespruce.com
Was this guide helpful?

About James Carter
The My Garden US editorial team writes practical, in-depth home and garden guides for American homeowners — tested advice, no fluff.