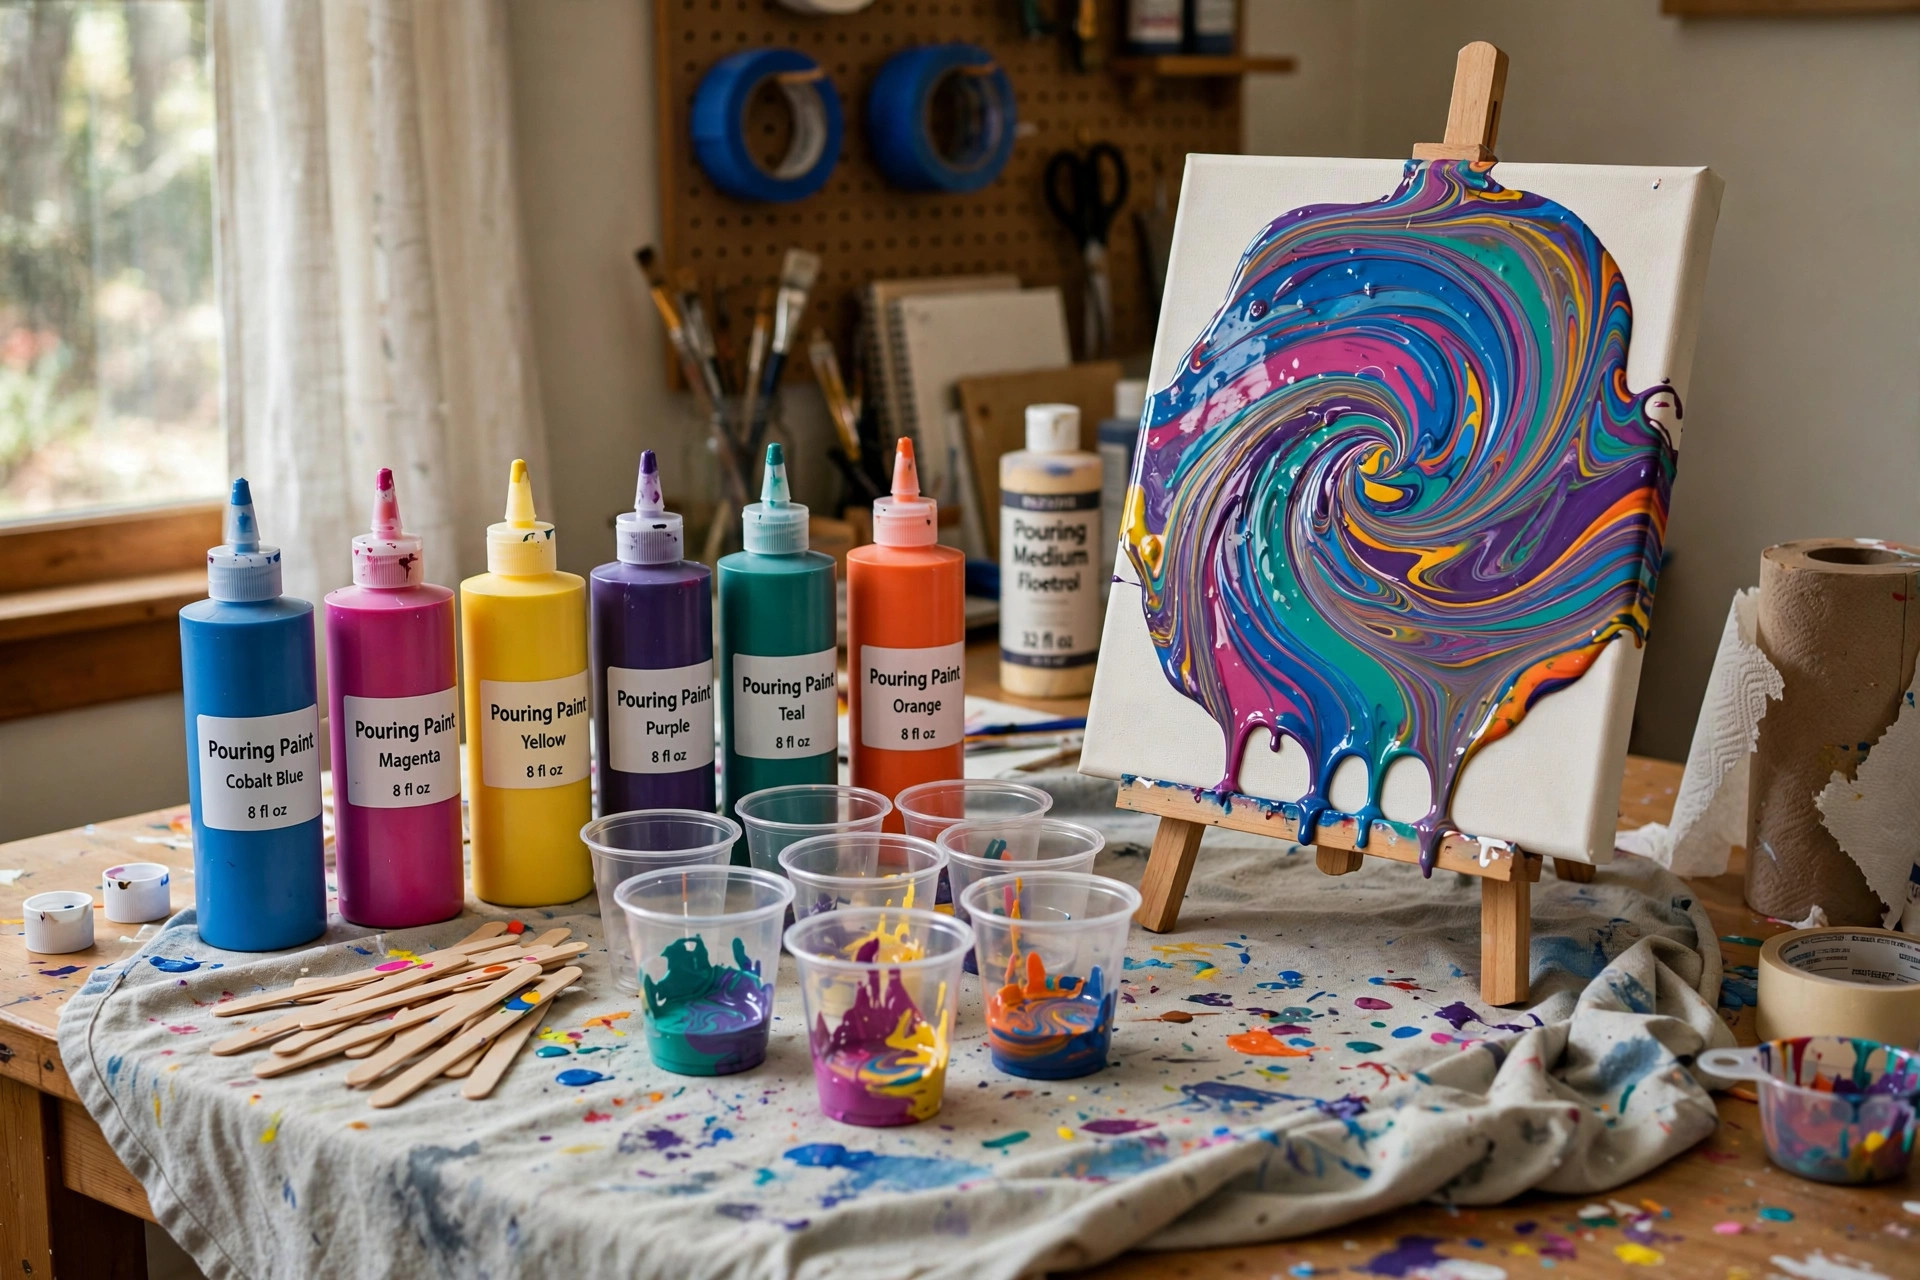
Acrylic pouring has become one of the most popular home crafts in the United States. The process is simple. Paint is thinned until it flows like cream. It is poured onto a canvas. Colors move and mix on their own. The result looks like marble or stone or waves. Finding the best acrylic pouring kit for fluid art home use matters because a good kit removes the guesswork. It gives you the right paints, the right medium, and the right tools in one box. You do not need years of art training. You need a flat surface, a little space, and a free afternoon.
Why a Pouring Kit Matters
Fluid art looks easy, and it is. But getting good results with random supplies is hard. Acrylic paint straight from the tube is too thick. It will not flow. It will not form cells. If you thin it with water alone, it may crack or fade. A purpose-built kit solves these problems. The paint arrives pre-mixed or paired with pouring medium. The colors are chosen to work together. The cups, sticks, and canvas are the right size.
A kit also saves time. Shopping for each item separately takes hours. You must compare brands and read labels. A kit does that work for you. For beginners, this matters more than anything. You can focus on the fun part. You can learn how paint moves. You can try different pour styles. You will not waste money on the wrong supplies.
Fluid art is also a low-stress craft. There is no drawing skill needed. There are no lines to keep straight. The paint does the work. Many people find the process calming. Watching colors blend feels almost like meditation. That is why kits are popular gifts. They are also popular for family art nights and small group projects.
What to Look for in a Kit: Best Acrylic Pouring Kit for Fluid Art Home
Not all kits are equal. Some are made for children. Some are made for serious artists. Here is what to check before you buy.
Paint quality. Look for kits with real acrylic paint, not washable school paint. Real acrylics give rich color and good flow. Check the volume too. Small bottles run out fast. A kit with two ounces per color is a good start.
Pouring medium included. Pouring medium thins the paint without breaking it down. It keeps colors bright. It helps form cells, those round patterns that make fluid art striking. The best craft supply stores sell medium on its own, but a kit that includes it is better value for a beginner.
Canvas and surfaces. A kit should include at least one canvas or board. Stretched canvas is the most common. Wood panels also work well. Some kits include tiles or coasters for practice. Practice pieces let you test colors before you pour on a big canvas.
Mixing tools. You need cups, stir sticks, and gloves. Some kits add a torch for popping bubbles. A small butane torch creates cleaner results, but it is optional for beginners. Most home crafters start without one.
Instructions. Clear written or video instructions make a big difference. Look for a kit that explains the pour process step by step. This is where established craft retailers and specialty art suppliers often do well, since they include tested guides.
Types of Acrylic Pouring Kits
Kits fall into a few groups. Each suits a different kind of home artist.
Starter kits. These are the most common. They include basic paint colors, pouring medium, cups, sticks, gloves, and a small canvas or two. They cost the least. They are the right choice if you have never poured before.
Deluxe kits. Deluxe kits add more colors, larger canvases, and extras like silicone oil or a torch. Silicone oil creates cells with less effort. A deluxe kit suits someone who has tried pouring once and wants to go further.
Kids kits. These use non-toxic, washable formulas. Colors are bright and simple. They include fewer steps. A kids kit is a safe way to let children try fluid art. Adults should still supervise, since paint can stain clothes and tables.
Theme kits. Some kits follow a color theme, such as ocean blues or sunset tones. The colors are chosen to look good together. Theme kits take the worry out of color choice. They are a nice pick if you want a finished piece for a specific room.
Canvas-only refill kits. If you already own paint and medium, a refill kit adds fresh canvases and cups. This is a smart buy for repeat pourers. You keep costs down and keep creating.
If you are new to paint in general, you may also like a standard acrylic paint set for beginners canvas art before you move to pouring. It teaches basic color mixing that helps in fluid art too.
How to Choose Colors and Supplies
Color choice changes the whole painting. Warm colors like red, orange, and gold feel bold. Cool colors like blue, teal, and white feel calm. A kit with a mix of warm and cool colors gives you the most options.
Check whether the kit includes white. White is the backbone of many pours. It separates colors and creates contrast. A kit without white limits what you can do.
Think about where you will work. Acrylic pouring needs a flat, level surface. The paint flows downhill. An uneven table will send paint to one edge. Cover everything with a drop cloth or plastic sheet. Paint will drip over the canvas edges. That is normal, but it makes a mess. A large craft mat or old shower curtain works well.
For a full craft setup, pair your kit with good craft paint brushes set for acrylics for touch-ups and edge work. Even fluid artists need a brush now and then.
Many home crafters buy extra supplies at large home improvement retailers and general stores. Drop cloths, gloves, and storage bins are cheaper there than at art shops. You can also find basic organizers at major online retailers and big box stores if you need to keep supplies tidy.
Cost and Price
Most starter kits cost between twenty and fifty dollars. At this price, expect small canvases and a limited color set. For a first try, this is enough. You will make several small pieces and learn the basics.
Mid-range kits run from fifty to one hundred dollars. These add more colors, larger canvases, and better pouring medium. The paint quality is usually higher. Colors stay bright as they dry. This is the sweet spot for most home artists.
Premium kits cost over one hundred dollars. They may include professional-grade paint, many surfaces, and extras like silicone oil and a torch. Serious hobbyists and gift buyers choose these. You do not need one to start, but you may want one later.
To keep costs down, reuse what you can. Plastic cups can be rinsed and used again. Stir sticks can be wiped clean. Leftover mixed paint can be poured into a jar and used for a dirty pour later. Little habits like these stretch a kit a long way.
If you enjoy resin crafts too, a resin art kit for beginners jewelry making is a natural next step. Resin and pouring share many of the same skills.
Care and Upkeep of Your Supplies
Acrylic paint dries fast. Keep bottle caps tight when you are not using them. If a bottle dries out, the paint is ruined. Store kits in a cool, dry place. Heat and freezing both damage paint.
Clean cups and sticks right after a pour. Dried acrylic does not wash out. Soak tools in warm water if you cannot clean them at once. Gloves should be thrown away after use. Reused gloves may leave lint on wet paint.
Finished paintings need care too. Let them dry flat for at least two days. Some large pours take a week to cure fully. Do not stack wet canvases. Once dry, you can add a clear varnish for shine and protection. Varnish keeps dust off and makes colors pop.
Keep a small notebook of your pours. Write down the colors you used and the ratio of paint to medium. When a pour turns out well, you will want to repeat it. Notes make that possible.
Home maintenance guides at established home sites and DIY how-to sites offer good advice on setting up a lasting craft space with proper ventilation and storage. A well-planned corner of a room beats a cluttered table every time.
Safety Tips
Acrylic pouring is safe for most homes, but a few rules keep it worry-free.
Work in a ventilated room. Open a window or run a fan. Paint and medium have mild fumes. Good air flow matters, especially if you use a torch.
Wear gloves. Acrylic paint stains skin and is hard to wash off. Nitrile gloves are cheap and work well. An old apron or shirt protects your clothes.
Keep supplies away from small children and pets unless the kit is made for kids. Even non-toxic paint can upset a stomach. Store kits on a high shelf or in a locked cabinet.
If you use a small torch, treat it with respect. Keep it away from paper, curtains, and hair. Never point it at your face. Pass the flame over the paint quickly. A few seconds is enough. Let the torch cool before you store it.
Wipe spills right away. Wet acrylic cleans up with soap and water. Dried acrylic is much harder to remove. Protect floors with plastic, since drips are part of the process.
Trusted craft advice sites like well-known DIY publications remind crafters to read every label before starting. Labels list safety steps that apply to your exact product.
Frequently Asked Questions
How long does it take to make one pouring painting?
The pour itself takes about fifteen to thirty minutes. Setup and cleanup add another thirty minutes. Drying takes two to seven days depending on paint thickness and room humidity.
Do I need to mix paint with anything before pouring?
It depends on the kit. Some kits use pre-mixed pouring paint that is ready to use. Others include regular acrylics plus pouring medium that you mix yourself. Follow the kit instructions for the right ratio.
What causes cells to form in fluid art?
Cells form when paint of different densities separates. Silicone oil helps this happen. So does pouring layers of paint and then tilting the canvas. Some artists use a torch to encourage cells. Practice is the best teacher.
Can I pour on something other than canvas?
Yes. Wood panels, tiles, and thick paper all work. Many crafters pour on coasters, trays, and small boxes. The surface must be rigid and able to take wet paint. Thin paper will warp.
Why did my painting crack as it dried?
Cracking usually comes from too much water in the mix. Water weakens the paint film. Use pouring medium instead of water when you can. Thick paint layers also crack more than thin ones.
How do I store leftover mixed paint?
Pour it into a small jar with a tight lid. Label the jar with the color name and date. Stored mixed paint lasts a few weeks. Stir it well before you use it again.
A Short Final Word
Choosing the best acrylic pouring kit for fluid art home projects comes down to fit. A beginner needs clear instructions and pre-mixed paint. A repeat pourer needs more colors and larger surfaces. Match the kit to your skill level and your budget. Set up a protected space, follow the safety steps, and give the paint room to move. Your first pour may surprise you. The tenth will amaze you. Fluid art rewards practice, and a good kit is the simplest way to begin.
References
Amazon. (n.d.). Online shopping. https://www.amazon.com Blick Art Materials. (n.d.). Art and craft supplies. https://www.dickblick.com Bob Vila. (n.d.). Home improvement advice. https://www.bobvila.com Family Handyman. (n.d.). DIY home repair and maintenance. https://www.familyhandyman.com JOANN. (n.d.). Fabric and craft supplies. https://www.joann.com Michaels. (n.d.). Arts and crafts supplies. https://www.michaels.com Target. (n.d.). Retail store. https://www.target.com The Home Depot. (n.d.). Home improvement products. https://www.homedepot.com This Old House. (n.d.). Home renovation guidance. https://www.thisoldhouse.com Walmart. (n.d.). Everyday low prices. https://www.walmart.com
Was this guide helpful?

About Robert Taylor
The My Garden US editorial team writes practical, in-depth home and garden guides for American homeowners — tested advice, no fluff.