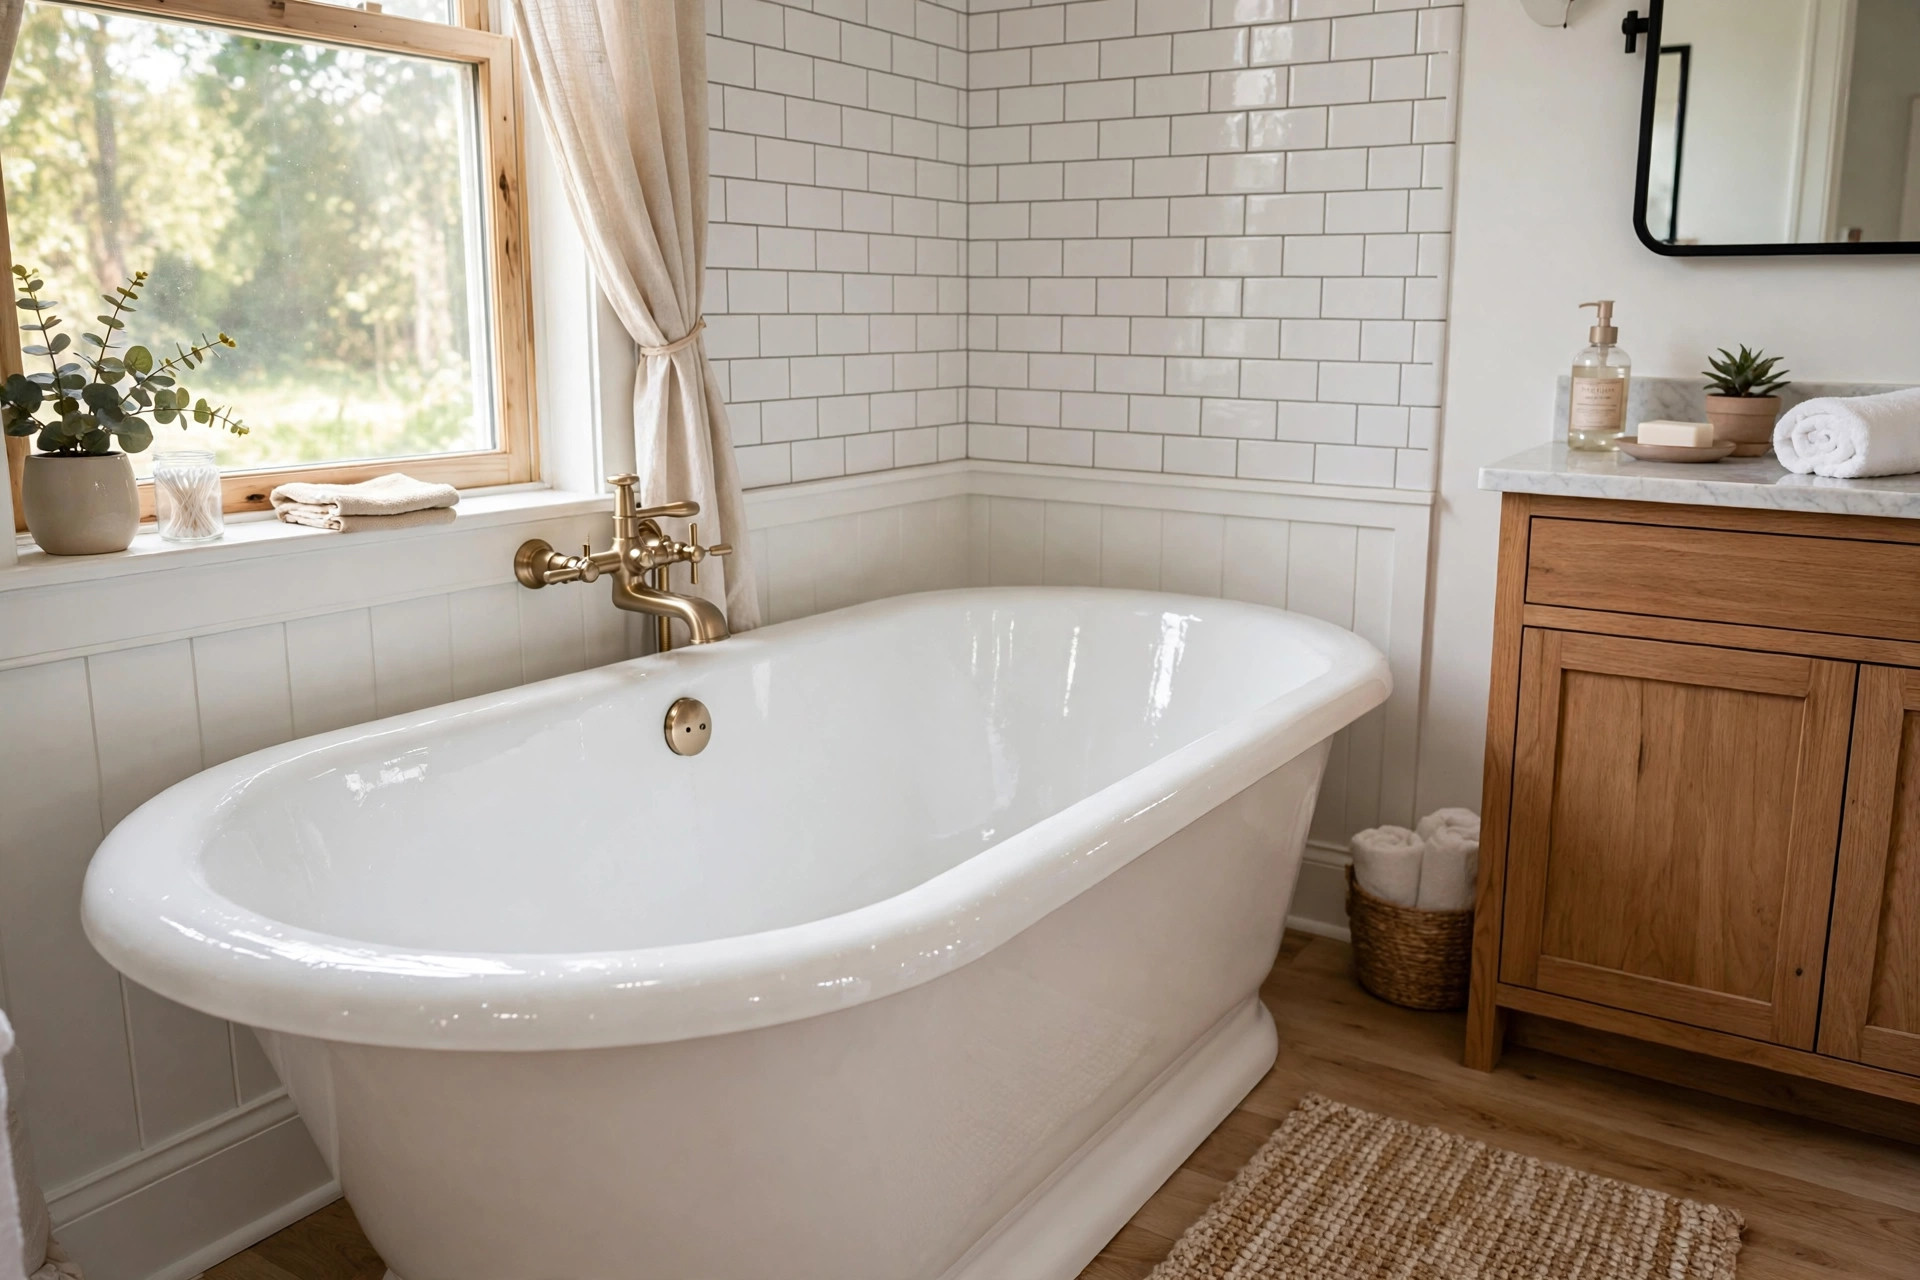

Introduction
An old bathtub can make a whole bathroom look tired. The glaze wears thin. Stains settle into the surface. Small chips and cracks appear around the drain. This bathtub refinishing kits buying guide usa is written for homeowners who want to fix that problem without tearing the tub out. A refinishing kit is a box of cleaners, bonding agents, and coatings that lets you recoat the tub surface at home. When the work is done well, the tub looks glossy and clean again. It costs far less than a full replacement. It also takes a weekend instead of weeks of plumbing work.
Refinishing is sometimes called reglazing or resurfacing. All three words mean the same thing. You clean the old surface, repair the damage, and apply a new hard coating on top. The kit gives you the materials. The quality of the result depends on your patience and on how well you follow the steps. This guide explains what these kits contain, which type fits which tub, what they cost, and how to stay safe while you work. It also covers care after the job so the new finish lasts.
Why Refinishing Matters: Bathtub Refinishing Kits Buying Guide Usa
A bathtub is a large fixture. Removing one is heavy work. It often means opening walls, moving pipes, and hiring a plumber. The cost of a full replacement can run into thousands of dollars. Refinishing avoids all of that. The tub stays in place. You only renew the surface. Most kits cost between fifty and two hundred dollars. The savings are real.
There is another reason to refinish. Many older tubs are made of cast iron or steel with a porcelain enamel coat. These tubs are strong. They hold heat well. New tubs in the same style are hard to find. If your tub is solid but ugly, refinishing keeps a good fixture and throws nothing away. For a landlord, it turns a worn rental bathroom into a presentable one between tenants. For a homeowner on a budget, it buys years of use before a full remodel.
What to Look for in a Kit
What Is Inside the Box
Most kits hold the same basic parts. There is a cleaner or etching agent that prepares the old surface. There is a bonding agent that helps the new coat grip. There is the topcoat itself, usually in two parts that you mix. There is sandpaper or a scouring pad for smoothing. Gloves, a brush or roller, and printed instructions round out the box. Check the parts list before you buy. Some kits skip the repair filler for chips. If your tub has chips, you need that filler.
Match the Coating to Your Tub
Tubs come in different materials. The common ones are cast iron with porcelain enamel, steel with enamel, fiberglass, and acrylic. The kit label should state which surfaces it suits. Epoxy-based coatings work on most hard surfaces. Some coatings are made for fiberglass and acrylic only. If you use the wrong coating, it may peel within months. When in doubt, choose a kit that lists your tub material on the front.
Coverage and Coats
Read the coverage area on the label. A standard five-foot tub needs about one quart of mixed coating for two full coats. Some kits include enough for a tub plus the tile surround. Others cover only the tub. If you plan to coat the walls too, buy a larger kit or a second box. Two thin coats last longer than one thick coat. A kit that supports three coats is a good sign.
Drying Time
Drying time matters because you cannot use the bathroom while the finish cures. Some kits feel dry to the touch in a few hours. Full cure often takes three to seven days. Do not rush this step. Using the tub too early softens the finish and causes marks that never go away. Pick a week when you can leave the tub alone.
Color Choices
White is the standard color and matches most bathrooms. Some kits offer almond, bisque, or gray. A light color shows stains sooner but looks cleaner at first. A dark color hides grime but shows water spots. Pick a color that fits your tile and fixtures. It is hard to change the color later without stripping the coat.
Types of Bathtub Refinishing Kits
Two-Part Epoxy Kits
Epoxy kits are the most common. You mix a resin and a hardener, then brush or roll the mix onto the tub. The chemical reaction makes a hard, glossy shell. These kits bond well to porcelain enamel and steel. They are also the least expensive. The working time is short. Once mixed, you must apply the coat within an hour or so. Read the instructions twice before you mix.
Acrylic Urethane Kits
Acrylic urethane kits cost more. They form a finish that stays flexible and resists cracking. Many people find them easier to apply because the mix flows smoothly. They also smell less than epoxy. These kits suit fiberglass and acrylic tubs well. If your tub flexes a little when you step in, an acrylic urethane coating is often the safer pick.
Spray Kits
Spray kits give the smoothest finish. The coating lands in a fine mist and levels itself. No brush marks remain. The trade-off is preparation. You must mask the whole bathroom. Overspray settles on tile, glass, and fixtures. You also need good ventilation and a respirator. Spray kits suit confident do-it-yourself workers. For a first attempt, a brush or roller kit is more forgiving.
Brush and Roller Kits
These are the simplest kits. You apply the coating with the tools in the box. Small ridges from the brush may show if you look closely. Most people do not notice them in daily use. Brush kits are the best choice for beginners. They are also fine for rental units where speed matters more than a showroom finish.
Professional-Only Systems
Some coatings are sold only to trained refinishers. These use stronger chemicals and heat lamps to cure fast. A homeowner cannot buy them at a store. They are mentioned here only so you know the option exists. If your tub is very damaged, hiring a professional with these materials can make sense. For most surface wear, a store-bought kit is enough.
Cost and Price
A basic brush-on kit costs about fifty to eighty dollars. A mid-range two-part epoxy kit with filler and better tools runs eighty to one hundred fifty dollars. A spray kit or premium acrylic urethane kit can reach one hundred fifty to two hundred dollars. Add masking tape, plastic sheeting, and a respirator if the box lacks them. Your total rarely passes two hundred fifty dollars.
Compare that to the alternatives. A hired refinishing service charges three hundred to six hundred dollars for one tub. A full tub replacement with labor can cost two thousand dollars or more. The kit saves money but costs time. Expect six to ten hours of work spread over two days, plus the cure wait. If you want to see current prices, home improvement stores such as Home Depot and Lowe’s list many bathtub refinishing kits for sale with prices and buyer ratings.
How the Work Is Done
The steps below describe a typical kit job. Your kit instructions come first. Follow them even when they differ from this summary.
First, clean the tub. Remove soap film, rust stains, and oils with the cleaner in the kit. A greasy surface will make the new coat peel. Rinse well and let it dry.
Second, repair damage. Fill chips and deep scratches with the filler. Sand the filler smooth after it hardens. Sand the whole tub lightly with the paper in the kit. The goal is a surface the new coat can grip. Wipe away all dust with a damp cloth.
Third, mask the area. Cover the drain, the overflow plate, and the faucet. Lay plastic sheeting over the floor and walls. Tape paper around the tub rim. This step takes longer than people expect. Do not skip it.
Fourth, apply the bonding agent if the kit has one. Brush it on thin and even. Let it reach the tacky stage the instructions describe.
Fifth, mix and apply the topcoat. Mix only as much as you can use in the working time. Roll or brush it on in thin, even passes. Work from the far end toward the drain. Let the first coat set. Apply a second coat. Some kits call for a third.
Sixth, clean up and wait. Remove the masking while the last coat is still slightly soft, or it may tear the edge. Then leave the tub alone for the full cure time on the label. Detailed project guides from This Old House and Bob Vila walk through the same steps with photos, which helps first-timers.
Care and Upkeep After Refinishing
The new finish is tough but not as hard as the original porcelain. Treat it with care. Use liquid cleaners, not scouring powder. Avoid bleach and strong acids. A soft sponge and mild soap handle daily grime. Rinse the tub after each use to stop soap film from building up.
Do not set sharp objects in the tub. Do not use a suction-cup bath mat. The cups pull on the coating and can lift it. A non-slip mat without suction cups is safer. Fix dripping faucets quickly. Water that sits in one spot will dull the finish over time. You can polish the tub with a gentle cleaner once a month to keep the gloss.
With good care, a kit finish lasts three to five years. Heavy daily use shortens that. Light use in a guest bath can stretch it longer. When the finish finally wears, you can strip it and recoat. Many people get two or three cycles from the same tub.
Safety
Refinishing chemicals have strong fumes. Work with the bathroom fan running and a window open if one exists. Wear the gloves in the kit. Wear a respirator rated for organic vapors, not just a dust mask. The label names the right type. Keep children and pets out of the room until the coating cures.
Never mix products from different kits. The chemistry may clash and fail to harden. Store leftover chemicals away from heat and out of reach of children. Dispose of rags and empty cans as the label directs. Many towns treat hardened coating waste as household trash but liquid chemicals as hazardous waste. Check local rules. Guidance on safe home chemical use from The Spruce and project safety notes on HGTV cover the same points in more depth.
When to Call a Professional
A kit handles worn glaze, stains, and small chips. It does not fix a tub that flexes, a cracked fiberglass shell, or rust that has eaten through the metal. If you see a soft spot or a hole, the tub needs repair beyond paint. A professional refinisher can assess it. So can a plumber. Also consider a pro if the bathroom has no ventilation. Spray work in a closed room is risky.
If you decide the tub is beyond saving, replacing it opens a bigger project. Our guide to freestanding soaking tubs explains how to choose a new tub. And if the rest of the room needs work, small upgrades such as mirrored medicine cabinets refresh the space for little money.
Frequently Asked Questions
How long does a refinished tub last?
Three to five years is typical for a kit job with normal use. Good surface preparation and gentle cleaners push it toward the high end. Poor preparation can cut it to one year.
Can I refinish a fiberglass tub?
Yes, if the kit lists fiberglass on the label. Fiberglass flexes, so an acrylic urethane coating often works better than rigid epoxy. Sand lightly and fill any cracks first. A large crack means the shell is weak and should be repaired by a professional.
Is refinishing better than a tub liner?
Both have a place. A liner is a plastic shell that fits over the old tub. It costs more than a kit but lasts longer. Refinishing costs less and keeps the tub shape you have. A liner changes the tub depth slightly and needs a fitter to install. Choose by budget and how long you plan to stay in the home.
Do the fumes go away?
Yes. The strong smell fades as the coating cures. Ventilation speeds it up. Most people notice no smell after the full cure time. Do not rush back into a closed bathroom during the first day.
Can I change my tub color with a kit?
You can. Many kits come in white, almond, bisque, and gray. Pick the color before you start. Changing color later means stripping the coat and starting over.
Will the new finish chip?
It can chip if hit hard. The coating is thinner than factory porcelain. Use care with heavy shampoo bottles and cleaning tools. Small chips are easy to touch up with leftover coating.
A Final Word
A bathtub refinishing kit is one of the best bargains in home repair. For the price of a dinner out, you can give an old tub a clean, glossy surface. The work takes a weekend and some patience. The result makes the whole bathroom feel newer. Choose a kit that fits your tub material. Prepare the surface well. Respect the cure time. Care for the finish with gentle cleaners. If you do these things, your refinished tub will serve you well for years. Fixture makers such as Kohler, Moen, and Delta Faucet remind buyers that a tub is a long-term fixture worth keeping, and a good refinish is often the cheapest way to keep it.
References
Bob Vila. (n.d.). Home improvement advice. https://www.bobvila.com Delta Faucet. (n.d.). Kitchen and bathroom faucets. https://www.deltafaucet.com HGTV. (n.d.). Home and garden ideas. https://www.hgtv.com Kohler. (n.d.). Bathroom and kitchen fixtures. https://www.kohler.com Lowe’s. (n.d.). Home improvement products. https://www.lowes.com Moen. (n.d.). Faucets and plumbing fixtures. https://www.moen.com The Home Depot. (n.d.). Home improvement products. https://www.homedepot.com The Spruce. (n.d.). Home and garden advice. https://www.thespruce.com This Old House. (n.d.). Home renovation guidance. https://www.thisoldhouse.com
Was this guide helpful?

About Robert Taylor
The My Garden US editorial team writes practical, in-depth home and garden guides for American homeowners — tested advice, no fluff.
You May Also Like
Brushed Nickel Faucets Deals Near Me: How to Find Real Savings
February 26, 2026 0 views
Quiet Exhaust Fans Deals Near Me: A Practical Guide to Buying Smart
March 1, 2026 0 views
LED Bathroom Mirrors Reviews Buying Guide USA
August 11, 2026 0 views