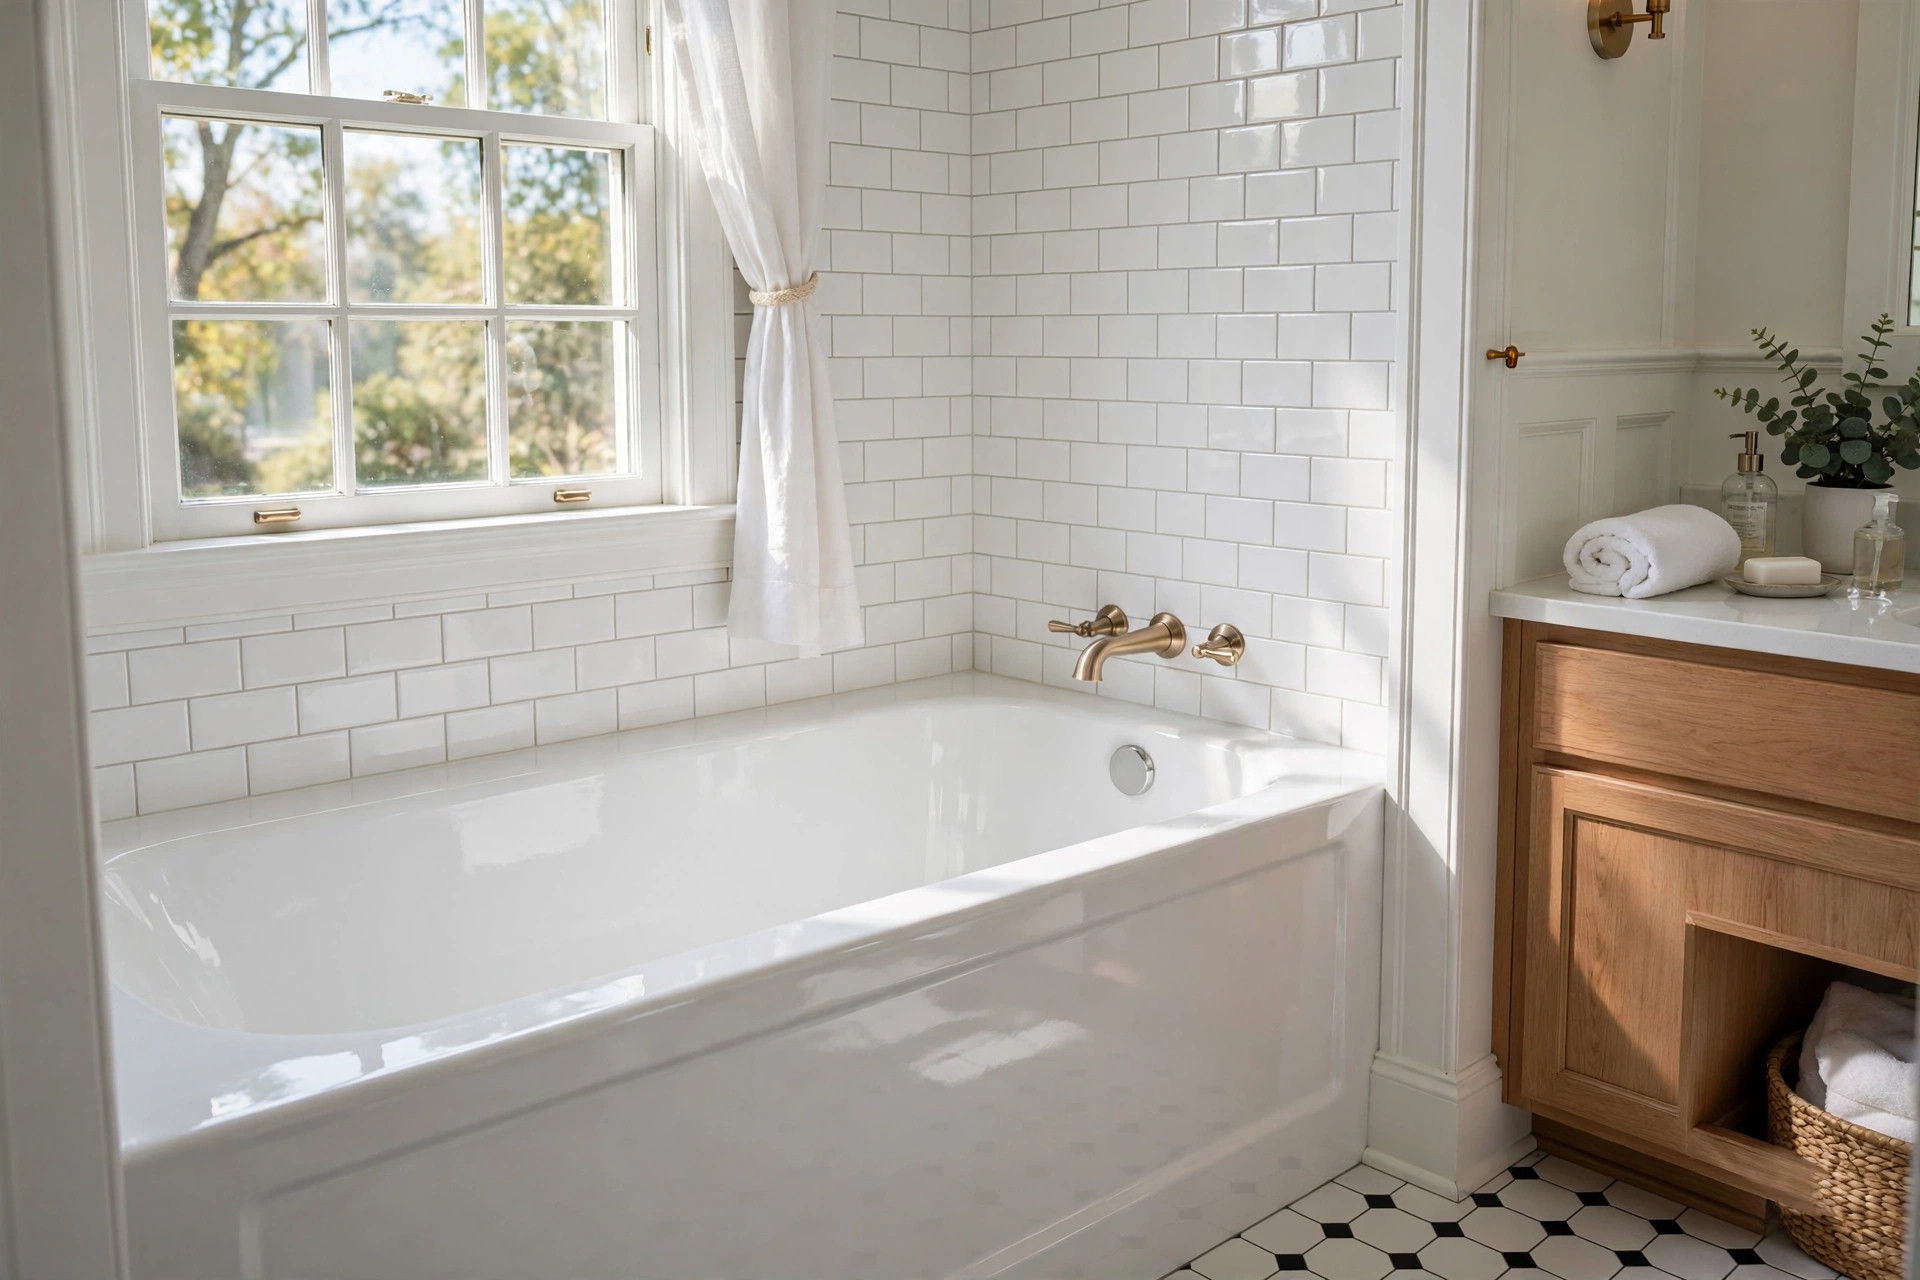
A stained or chipped bathtub can make a whole bathroom look tired. Replacing the tub costs a great deal of money and time. A full replacement can run into the thousands of dollars, and the work may tear up tile and walls. Many owners look for a simpler path. Bathtub refinishing kits for sale in the USA offer that path. These kits let you repair and recoat an old tub in a single weekend. The result is a smooth, bright finish that looks new. This guide will walk you through everything you need to know before you buy.
Why Refinishing Beats Replacing
A bathtub is heavy. Removing one means breaking tile, hauling cast iron, and hiring a plumber. The cost of a full bath tear-out can reach five or six thousand dollars in many parts of the country. A refinishing kit, by contrast, often costs under one hundred dollars. The work takes one weekend. The tub stays in place.
Refinishing also keeps waste out of the landfill. A cast-iron or steel tub is hard to recycle in full. A fresh coating adds years of life to the tub you already own. For rental homes and older houses, this matters. Owners want a clean look without a big bill. Tenants want a tub that feels fresh.
There is one more reason. Old tubs often fit their spaces in ways new tubs do not. A 1950s ranch house may have a tub size that stores no longer carry. Refinishing keeps the original fit. The bathroom keeps its shape. The owner keeps his money.
How Bathtub Refinishing Kits Work: Bathtub Refinishing Kits for Sale Usa
A kit holds everything needed to strip, bond, and recoat a tub. Most kits follow the same steps. First you clean the tub with a strong cleaner to cut soap scum and oil. Then you etch or sand the old surface so the new coat can grip. Next you patch chips and cracks with a filler. Then you roll or spray the new finish. Many kits use a two-part epoxy or urethane formula. You mix the parts, and the chemical reaction hardens the coating.
The finish cures for two to three days. During that time the bathroom must stay dry and well vented. After curing, the tub is ready for normal use. A good job can last three to five years with normal care. A poor job may peel in months. The difference is almost always in the prep work.
Types of Bathtub Refinishing Kits for Sale in the USA
Kits fall into three main types. Each has strengths and limits. Knowing the types helps you pick with confidence.
Epoxy Two-Part Kits
These are the most common kits on store shelves. They pair a resin with a hardener. You mix them just before use. The coating dries hard and glossy. It resists water and most cleaners. Epoxy kits cost between thirty and seventy dollars. They suit porcelain, steel, and cast-iron tubs.
The trade-off is odor. Epoxy fumes are strong. You must open windows and run a fan. A mask is a must. The working time is short too. Once mixed, you have perhaps an hour before the resin starts to set. Plan your steps ahead of time.
Acrylic and Urethane Kits
These kits use an acrylic or urethane topcoat. The smell is lighter than epoxy. The finish is a bit more flexible, which helps on fiberglass tubs that move a little. Many of these kits are brush-on, not spray-on. That makes them friendlier for first-time users. Prices run from forty to ninety dollars.
The finish may not be quite as hard as epoxy. Still, with care it holds up well. Some brands sell these kits as low-odor or water-based. They are a fair choice for homes with children or for owners who fear strong fumes.
Spray-On Professional Grade Kits
A few brands sell spray kits that mimic the gear used by pros. They include an aerosol or a small sprayer. The coat goes on thin and even. The look is closer to a factory finish. These kits cost eighty dollars or more. They need a steady hand and good ventilation.
Spray kits suit owners who want the best look and do not mind the learning curve. Practice on cardboard first. Light coats beat heavy coats. Heavy coats run and sag.
What to Look for When You Choose
Not all kits are equal. A few checks will steer you to a good buy.
Surface match. Read the label. Some kits are made only for porcelain or cast iron. Others work on fiberglass and acrylic. Using the wrong kit on the wrong surface leads to peeling. Match the kit to your tub.
Size of the tub. Most kits cover one standard tub. A large garden tub or a tub with a surround may need two kits. Check the coverage line on the box. Buying a second kit up front beats a mid-job store run.
Color. White is the standard. Some kits come in almond, bone, or biscuit. A few sell tints. Pick a shade that matches your sink and toilet. A mismatched tub draws the eye.
Cure time. Most kits ask for forty-eight to seventy-two hours of cure time before use. If you have only one bathroom, this matters. Plan around it. A faster cure is nice, but it rarely means a harder finish.
Included tools. A good kit includes cleaner, etch or sandpaper, patch filler, rollers, and gloves. Some include a cheap brush you will want to replace. Add a quality foam roller and a real respirator mask to your cart. These small buys raise the result a great deal.
Safety data. Every kit should list its chemicals and warnings on the label or on the maker site. Look for clear instructions and a customer service number. A brand that stands behind its product answers questions.
Where to Buy Bathtub Refinishing Kits in the USA
Kits are easy to find. Home improvement stores stock them in the paint aisle. The Home Depot carries several national brands and store lines, both online and in store. Lowe’s offers a similar range, with reviews you can read before you buy.
Online stores widen the choice. Sites that focus on home repair guides and home improvement how-to advice often review and compare kits, which can help you sort brands. For deep product ratings, Consumer Reports tests home products with lab methods. The fixture brands’ own sites are worth a read too. Moen, Delta Faucet, Kohler, and American Standard publish care and maintenance pages for the tubs their finishes sit on, which is worth a read before you recoat.
For inspiration on the rest of the bath, HGTV and The Spruce run bath remodel photo galleries and buying guides. A fresh tub pairs well with new shower grab bars, a tidy shower niche insert, and brushed-metal towel holders.
Prices vary little between stores. Expect thirty to one hundred dollars for the kit itself. Shipping is free at many online stores over a set order size. In-store pickup saves the wait.
Cost and Price: Kit Versus Pro Versus New Tub
Let us put numbers side by side.
| Option | Typical Cost in the USA | Time | |—|—|—| | Do-it-yourself kit | $30 to $100 | One weekend plus cure time | | Hired refinishing pro | $300 to $600 | One day of work | | New tub, installed | $1,500 to $6,000 | Days to weeks |
The kit wins on price by a wide margin. The pro wins on finish quality and speed of cure. A new tub wins on lifespan but costs the most and disrupts the home. For a rental unit, a guest bath, or a home you plan to sell in a few years, the kit is hard to beat. For a master bath you plan to keep for twenty years, weigh the pro or a new tub.
Add ten to thirty dollars for supplies: sandpaper, a respirator mask, tape, and drop cloths. These are one-time buys. Keep them for the next project.
Step-by-Step: How to Use a Refinishing Kit
Work in order. Do not skip steps.
1. Clear and clean. Remove the drain cover and overflow plate. Scrub the tub with the kit cleaner or a strong non-abrasive cleanser. Rinse well. Let it dry. 2. Protect the room. Tape off tile, walls, and fixtures with painter’s tape. Lay drop cloths. Open windows and set a fan to blow out. 3. Etch or sand. Follow the kit’s directions. Some kits use an etching powder. Others ask for wet sanding with fine paper. The goal is a dull, even surface with no shine. 4. Patch damage. Fill chips and cracks with the included filler. Let it harden. Sand smooth. Wipe dust away with a damp cloth. 5. Mix the coating. Put on gloves and a respirator. Mix the two parts exactly as directed. Stir well but do not whip air in. 6. Apply the first coat. Roll or spray in thin, even passes. Keep a wet edge. Do not overwork the coating. 7. Apply the second coat. Wait the stated time between coats, often one to two hours. Apply the second coat the same way. 8. Cure. Leave the tub alone for the full cure time. No water, no touching. Keep the room vented. 9. Reassemble. Replace the drain cover and caulk. Run water and check for soft spots.
If a run or sag appears, leave it. Fix it only after full cure with light sanding and a touch-up coat.
Care and Upkeep After Refinishing
A refinished tub needs gentle care. Harsh cleaners will dull or lift the coating. Use liquid, non-abrasive cleaners. Avoid bleach in strong form and avoid scouring pads. A soft sponge is enough.
Fix leaks fast. A dripping faucet wears one spot on the new finish. That spot will wear through first. A new washer costs pennies and saves the job.
Do not use bath mats with suction cups on a refinished tub. The cups pull at the coating and can peel it. Use a mat without cups or skip the mat.
With this care, the finish should hold for years. When it dulls, many owners simply redo the kit. The second job goes faster because the prep is lighter.
Safety First
Refinishing chemicals are strong. Read every warning on the box. Wear a respirator rated for organic vapors, not just a dust mask. Wear gloves and eye cover. Keep children and pets out of the room. Keep the room vented the whole time and for hours after.
Some kits carry warnings about use around pregnant women. Take those warnings at face value. If anyone in the home has breathing trouble, hire the job out or pick a low-odor kit and still vent well.
Dispose of leftover chemicals per your town rules. Do not pour solvents down the drain. Many towns take paint and solvents at a drop-off site.
FAQ
How long does a bathtub refinishing kit last?
With good prep and gentle care, three to five years is common. Hard use, harsh cleaners, or poor prep shorten that span.
Can I refinish a fiberglass tub with a kit?
Yes, if the kit lists fiberglass on the label. Fiberglass moves a little, so an acrylic or urethane kit often bonds better than hard epoxy. Follow the kit’s surface list.
Do I need to remove the old caulk first?
Yes. Old caulk blocks the new coating at the tub edge. Cut it out, clean the seam, and re-caulk after the finish cures.
Will the finish match my sink and toilet?
White kits are close to most American fixture whites. Older tubs may have yellowed, so the new white can look brighter. If that bothers you, plan to refresh the whole room over time.
Can I use the tub the next day?
No. Most kits need forty-eight to seventy-two hours to cure. Using the tub early can soften or mark the finish. Plan for a second bath or a short wait.
Is refinishing safe for a septic system?
Normal rinse water is fine. Do not wash leftover paint or solvent down the drain. Wipe tools with rags and dispose of them per local rules.
A Short Final Word
Bathtub refinishing kits for sale in the USA give owners a fair deal: a new-looking tub for the price of a dinner out, earned with one weekend of honest work. Pick a kit that matches your tub’s surface. Spend your real effort on cleaning and prep. Vent the room well and give the finish its full cure. The tub will reward you with years of clean, bright baths. And when the day comes that the finish tires, you will know the job well enough to do it again in half the time.
References
American Standard. (n.d.). Bathroom and kitchen products. https://www.americanstandard.com Bob Vila. (n.d.). Home improvement advice. https://www.bobvila.com Consumer Reports. (n.d.). Product reviews and ratings. https://www.consumerreports.org Delta Faucet. (n.d.). Kitchen and bathroom faucets. https://www.deltafaucet.com HGTV. (n.d.). Home and garden ideas. https://www.hgtv.com Kohler. (n.d.). Bathroom and kitchen fixtures. https://www.kohler.com Lowe’s. (n.d.). Home improvement products. https://www.lowes.com Moen. (n.d.). Faucets and plumbing fixtures. https://www.moen.com The Home Depot. (n.d.). Home improvement products. https://www.homedepot.com The Spruce. (n.d.). Home and garden advice. https://www.thespruce.com This Old House. (n.d.). Home renovation guidance. https://www.thisoldhouse.com
Was this guide helpful?

About Sarah Mitchell
The My Garden US editorial team writes practical, in-depth home and garden guides for American homeowners — tested advice, no fluff.