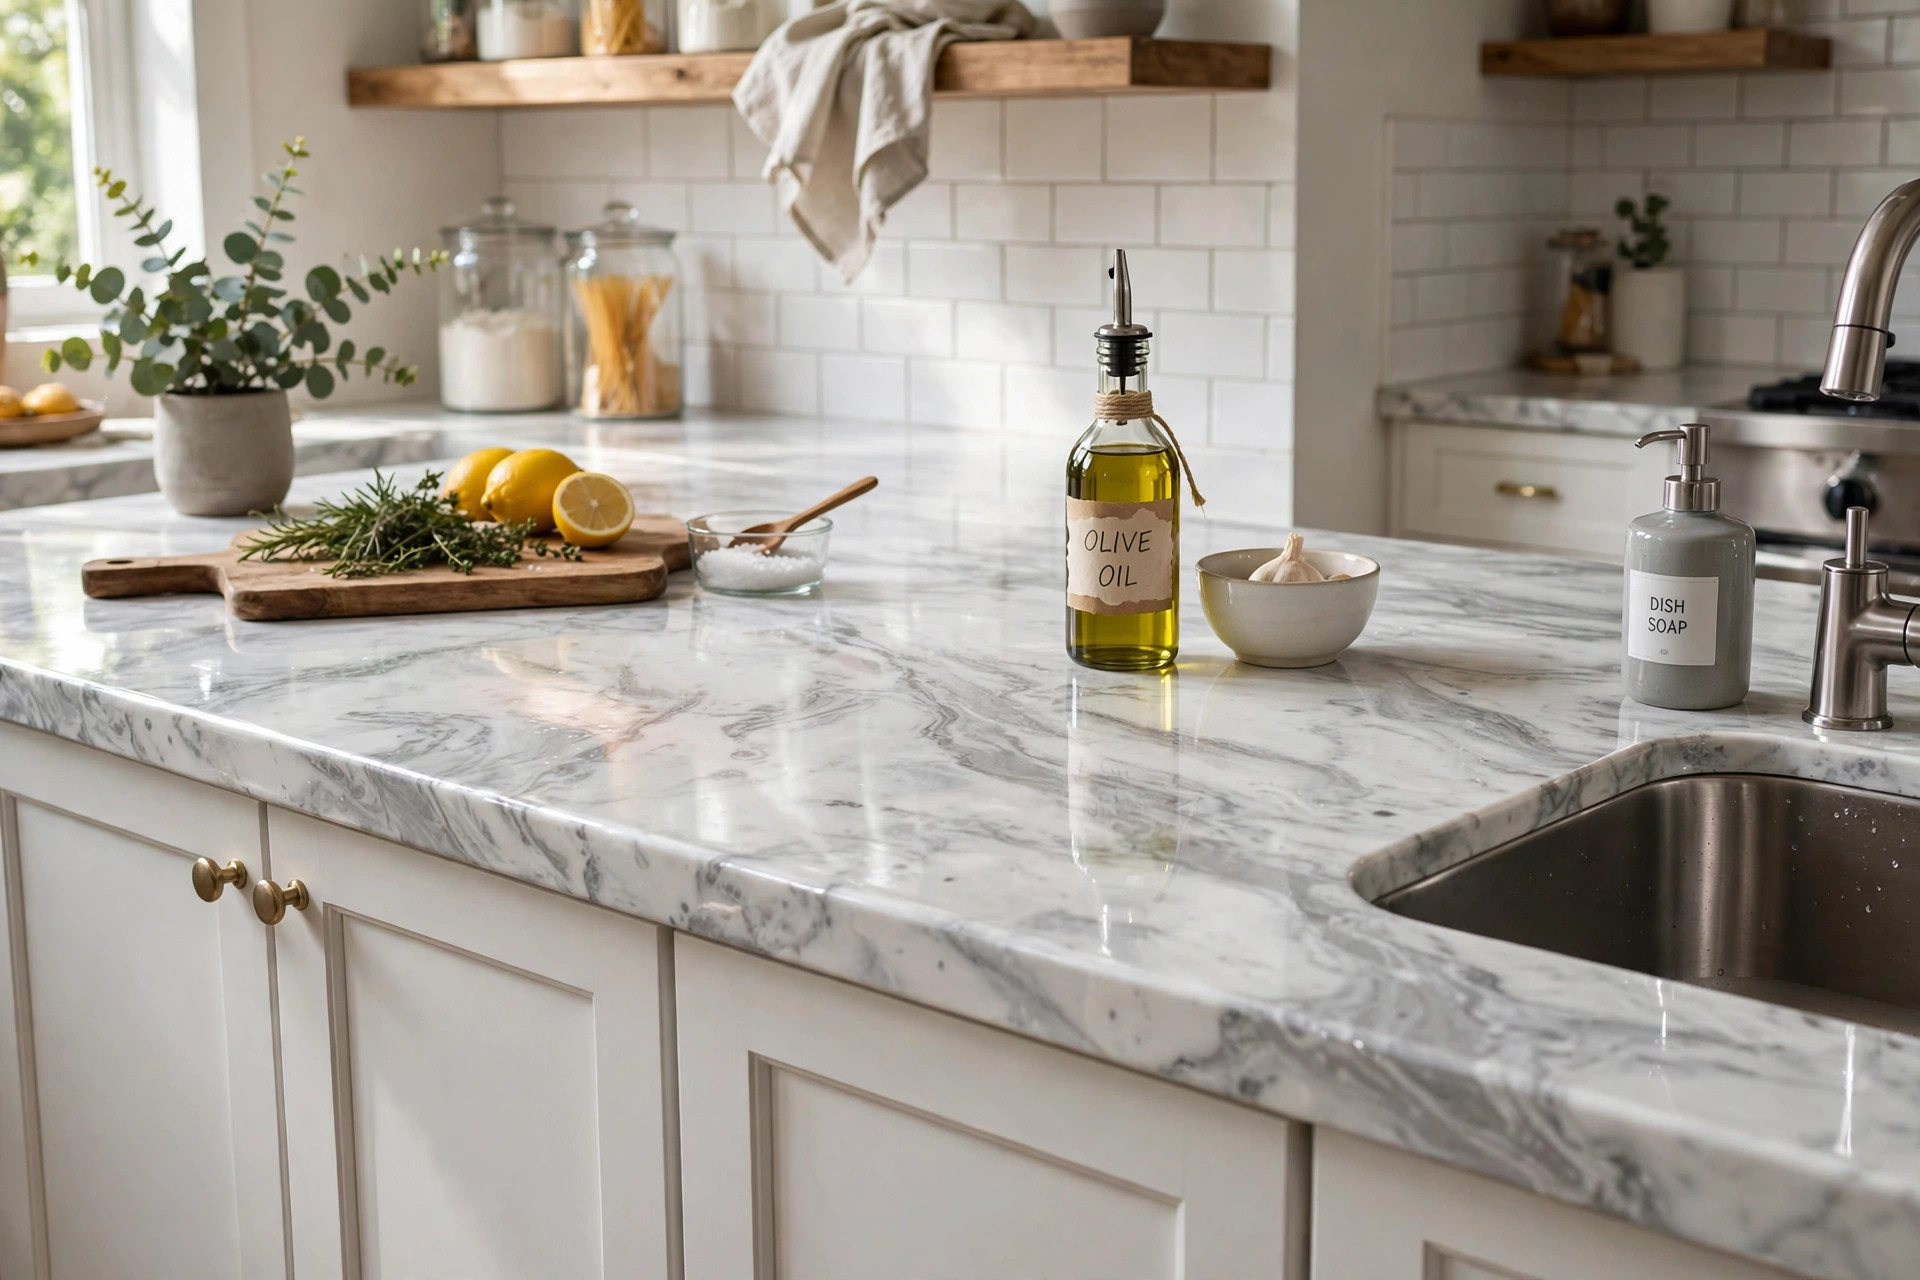
If you want new-looking kitchen counters without paying for new counters, epoxy countertop kit reviews for kitchens are worth reading first. A kit is a box of two-part resin that you mix and pour over your old countertops. When it cures, it forms a hard, glossy skin that looks like stone or marble. It costs far less than new stone. But it also demands careful work, good ventilation, and honest expectations. This guide walks you through the reviews, the types, the costs, and the safety facts, so you can decide if a kit fits your kitchen.
Why Epoxy Countertop Kits Matter in a Kitchen
A kitchen counter takes heavy use every day. It holds hot pots, cutting boards, and spills of coffee and wine. Over time it stains, scratches, and looks tired. A new stone countertop can cost thousands of dollars installed. An epoxy kit can cost one-tenth of that. That is why so many people read epoxy countertop kit reviews for kitchens before a weekend project.
Reviews matter because the kits are not all equal. Some cover more area per box. Some cure in one day, others need three. Some have a strong chemical smell while you work. Others stay food-safe only if you seal them well. Honest reviews from real users point out these differences. They show photos of the finished counters after six months or a year. That is the kind of evidence a store listing never gives you.
If you also plan to refresh the rest of the room, look at best paint for kitchen cabinets usa reviews for matching colors. New paint and new epoxy counters can change a whole kitchen for little money. For larger jobs, some readers compare prices at kitchen cabinet refinishing service cost usa to decide what to do themselves and what to hire out.
What to Look for in Epoxy Countertop Kit Reviews for Kitchens
Not every review is useful. A short note that says “looks great” tells you little. The best reviews answer clear questions. Use this checklist when you read.
Coverage area
Each kit covers a set number of square feet at a given thickness. Measure your countertop first. Count every section, including the back edge and the sides. Buy enough for one thick pour. Thin pours look patchy and wear faster. Reviewers often say whether the stated coverage held true.
Working time and cure time
Two-part epoxy has a working time, the minutes you have after mixing before it thickens. Warm rooms shorten it. After the pour, most kits need 24 to 72 hours to harden fully. Many reviewers warn against rushing this step. If you set objects on the counter too soon, you will leave marks that never come out.
Food safety and heat resistance
Most cured epoxy is listed as food-safe once fully cured, but it still has limits. It can handle everyday spills, yet it does not like direct heat from a hot pan. Look for reviews that mention trivets and cutting boards as daily habits. A counter that gets used hard every day should be treated with care.
Color and finish options
Kits come in white marble looks, dark granite looks, solid colors, and metallic swirls. Some include glitter or metallic powder packets. The finish depends on how you spread and blend the colors. Reviewers who post close-up photos help you judge whether a kit gives a real stone look or a painted look.
Types of Epoxy Countertop Kits
Reviews group most kits into a few types. Knowing the types helps you pick one that matches your taste.
Stone-look kits
These kits try to copy marble or granite. They include a base color plus veining colors you drag with a stick or brush. They are the most popular for kitchens because they hide dirt and age well. Guides on trusted home sites explain how color layering changes the final look, and painting project guides from The Spruce offer steady advice on working with layered finishes.
Solid-color kits
A solid-color kit gives one flat color with a glossy top coat. White, gray, and black are common. These kits are simpler to apply because there is no veining to manage. They show crumbs and dust more than stone looks, so they suit people who wipe counters often. Home improvement pages like Bob Vila’s kitchen advice often discuss how solid colors pair with painted cabinets.
Metallic kits
Metallic kits add shimmer powder that swirls in the resin. They can look bold and modern. But they are harder to control. Reviewers note that metallic designs can come out uneven if you move the resin too much after pouring. These kits suit people who want a statement counter and accept some risk.
Cost and Price
A single kit usually costs between 100 and 250 dollars, depending on coverage and brand. A full kitchen often needs two or three kits. Add primer, top coat, mixing buckets, gloves, and tape, and a whole project may run 300 to 700 dollars. That is still far below the 3,000 to 6,000 dollars a new stone counter can cost.
Reviews that break down costs are gold. They list what they spent on extras and what they would skip next time. Watch for hidden costs. Some kits need a special primer sold apart. Others need a heat gun to pop bubbles, which many people borrow or buy once. Price comparisons on big retailer sites, such as paint and countertop supplies at Home Depot, help you budget the extras in one trip. Similar price checks at Lowe’s project guides let you compare store brands against name brands.
Labor is the other hidden cost to weigh. Doing it yourself saves money but takes a full weekend plus cure time. Hiring a pro who specializes in epoxy counters can cost 1,500 to 4,000 dollars for a full kitchen. Reviews of professional jobs often praise the finish but note the smell lingers for days even with good ventilation.
How to Apply an Epoxy Countertop Kit
No review replaces the maker’s instructions, but most users follow the same broad steps. Sand and clean the old counter. Tape off the sink, walls, and edges. Mix the two parts fully. Pour, spread with a squeegee, and blend colors. Pop bubbles with a heat gun. Let it cure without touching it.
The hard parts are timing and dust. Work when the house is quiet. Turn off the furnace fan so dust does not land in the wet resin. Many reviewers say the first hour is the key hour. After that, you watch and wait. Project walkthroughs on This Old House stress the same point about prep work mattering more than the pour itself.
If epoxy work feels like too much for a whole kitchen, start small. Coat a bathroom vanity or a laundry shelf first. That test run teaches you the timing without risking your main counters.
Many reviewers also say a second thin top coat is worth the extra kit. It adds depth and gives the surface a harder shell against daily wear. Plan that coat within the maker’s recoat window, usually within a few days of the first pour. After the window closes, you must sand between coats. This detail is the kind of useful note that shows up in long-term reviews but not on the box.
Care and Upkeep
A cured epoxy counter is strong, but it is not stone. Daily care keeps it looking new.
Use cutting boards for all knife work. Epoxy can scratch. Put hot pots on trivets, never straight on the surface. Wipe spills soon, especially coffee, wine, and cooking oils. Clean with a soft cloth and mild soap. Avoid harsh cleaners with bleach or grit, since they dull the gloss over time.
Small chips can be fixed. Many brands sell a repair kit or a small touch-up batch. Light sanding and a thin new coat can blend a repair well. Reviewers who show repair photos after a year give the most honest picture of long-term upkeep. Style pages like HGTV’s kitchen ideas remind readers that upkeep is part of any kitchen surface, not just epoxy.
Paint-style upkeep also applies to nearby surfaces. If you are already refreshing counters, you may want fresh wall paint too. Sherwin-Williams offers color tools that pair wall colors with gray or white counters, and Sherwin-Williams is a common stop for kitchen palettes. Behr and Benjamin Moore both carry kitchen-friendly paints that stand up to grease and steam. For a full-room review of what works, many readers trust independent tests such as those at Consumer Reports.
Safety
Epoxy resin needs respect. While you mix and pour, the fumes can irritate eyes, nose, and throat. Work with open windows and a fan pulling air out. Wear gloves and a respirator rated for chemical vapors. Keep children and pets out of the room until the pour is fully cured and the air is clear.
Read the safety sheet in the kit. It lists first aid and what to do if resin touches skin. Once the counter is fully cured, most kits are listed as safe for kitchen contact, but keep hot items and sharp tools off the surface. If you have doubts about chemicals in the home, the standard safety advice from EPA is a good base, and many product reviews cross-check claims against independent testing.
For related floor projects, some readers check garage floor epoxy coating kit reviews usa to compare how the same brands perform on floors. Floors take harder wear than counters, so those reviews set a high bar.
Frequently Asked Questions
How long do epoxy countertops last in a kitchen?
Most honest reviews say three to seven years of daily kitchen use before visible wear. Light use and careful habits stretch that longer. Heavy heat and knife use shorten it. The top coat matters more than the color coat for life span.
Are epoxy countertop kits safe for food contact?
Once fully cured, most kits are listed as food-safe by their makers. Still, treat the surface as a work area, not a cutting board. Do not place raw meat or hot food directly on the resin. Use boards and mats as a habit.
Can I pour epoxy over tile countertops?
Yes, if you fill the grout lines first and sand the tile lightly for grip. Many reviews describe this step in detail. The grout lines are the weak point, so take time on them. A smooth, clean base is the secret to a smooth pour.
How hard is it to apply an epoxy countertop kit?
It is a medium-hard weekend project. The mixing and pouring are simple. The timing, dust control, and color blending take care. Most first-timers get good results if they read reviews, watch a full demo, and practice on a small piece first.
Will the epoxy yellow over time?
Some epoxies yellow slightly with age and sun. White and light colors show it most. Reviewers suggest picking a kit with UV resistance and keeping strong sunlight off the counters. A good top coat slows the change.
Can I remove epoxy if I do not like it?
Removal is hard. Cured epoxy bonds tight. You can sand it down or recoat it, but stripping it fully is heavy work. That is why reviews and a small test pour matter more here than with paint.
A Final Word
Epoxy countertop kit reviews for kitchens are not about finding a magic box. They are about matching a kit to your skills, your budget, and your daily habits. Measure twice, read reviews with photos, buy enough for one thick pour, and give the cure time its due. Do that, and an old kitchen can look new by Monday morning.
References
Behr. (n.d.). Paints, primers, and stains. https://www.behr.com Benjamin Moore. (n.d.). Paints and stains. https://www.benjaminmoore.com Bob Vila. (n.d.). Home improvement advice. https://www.bobvila.com Consumer Reports. (n.d.). Product reviews and ratings. https://www.consumerreports.org HGTV. (n.d.). Home and garden ideas. https://www.hgtv.com Lowe’s. (n.d.). Home improvement products. https://www.lowes.com Sherwin-Williams. (n.d.). Paints and coatings. https://www.sherwin-williams.com The Home Depot. (n.d.). Home improvement products. https://www.homedepot.com The Spruce. (n.d.). Home and garden advice. https://www.thespruce.com This Old House. (n.d.). Home renovation guidance. https://www.thisoldhouse.com U.S. Environmental Protection Agency. (n.d.). Protecting human health and the environment. https://www.epa.gov
Was this guide helpful?

About David Wilson
The My Garden US editorial team writes practical, in-depth home and garden guides for American homeowners — tested advice, no fluff.