
Learning how to divide perennials in fall is one of the most useful skills a home gardener can own. It costs little. It takes a single afternoon. And it turns one crowded plant into three, four, or even more healthy new ones. Fall is the season many old garden books call the best time for this work. The heat of summer has passed. The soil is still warm. Roots have time to settle before the ground freezes. This guide walks through the whole job in plain steps: why it matters, which plants qualify, what tools to gather, how to lift and split a clump, and how to care for the new divisions until winter closes in.
Why It Matters
Perennials are plants that return year after year from the same roots. Hostas, daylilies, black-eyed Susans, coneflowers, and ornamental grasses all belong to this group. As the years pass, the clumps grow wider and the centers often weaken. Blooms get smaller. Stems flop. The middle of a clump may die out and leave a bare ring.
Division solves all of this at once. When you lift a crowded clump and cut it into smaller pieces, each piece gets room, air, and fresh soil. The plant responds with new roots and stronger growth in spring. Dividing in fall gives roots weeks of cool weather to grow before dormancy. The gardener gets free plants to fill bare spots, share with neighbors, or start a new bed. No seed packets. No nursery bills.
Fall division also suits the gardener’s calendar. Spring is busy with planting and sowing. In fall the garden slows down. Cooler air makes the labor easier. The weeds are dying back. A garden spade may sit idle at other times, but in autumn it is the most important tool in the shed. One afternoon of dividing can reshape a whole border for the next year.
What to Look For: Choosing the Right Plants and Timing: How to Divide Perennials in Fall
Not every perennial wants to be divided in fall. Some are best split in spring. The fall group is large, however, and includes most summer-blooming plants that have finished flowering.
Plants That Divide Well in Fall
Spring-blooming perennials, such as iris, peony, bleeding heart, and primrose, divide best in fall after their foliage starts to yellow. Summer bloomers like daylily, hosta, coneflower, black-eyed Susan, phlox, aster, and Shasta daisy also divide well in fall once flowers fade. Many ornamental grasses can be split in late summer or early fall. A rule from the old gardening manuals still holds: divide spring bloomers in fall, and fall bloomers in spring. Asters and mums bloom in autumn, so they are better divided in spring.
Reading the Signs
A clump tells you when it needs help. Fewer flowers than in past years is the first sign. A dead or thin center is the second. A third sign is simple age: most perennials benefit from division every three to five years. If you cannot remember the last time a bed was touched, it is likely due.
Timing the Job
Work when the days are cool but the soil is still workable. In most American gardens this means September through October, about four to six weeks before the ground normally freezes. Water the plants deeply a day or two before you begin. Moist soil holds together around the roots and makes the lifting gentler. Avoid working in mud after heavy rain, and avoid the first hard frost. If a hard freeze arrives before you finish, wait for a mild day and work quickly, or postpone the rest until spring.
Tools to Gather
You do not need much for this job, but the right tools make it cleaner and safer for the plants. Sharp edges matter. A dull blade tears roots; a sharp blade cuts them clean, and clean cuts heal faster.
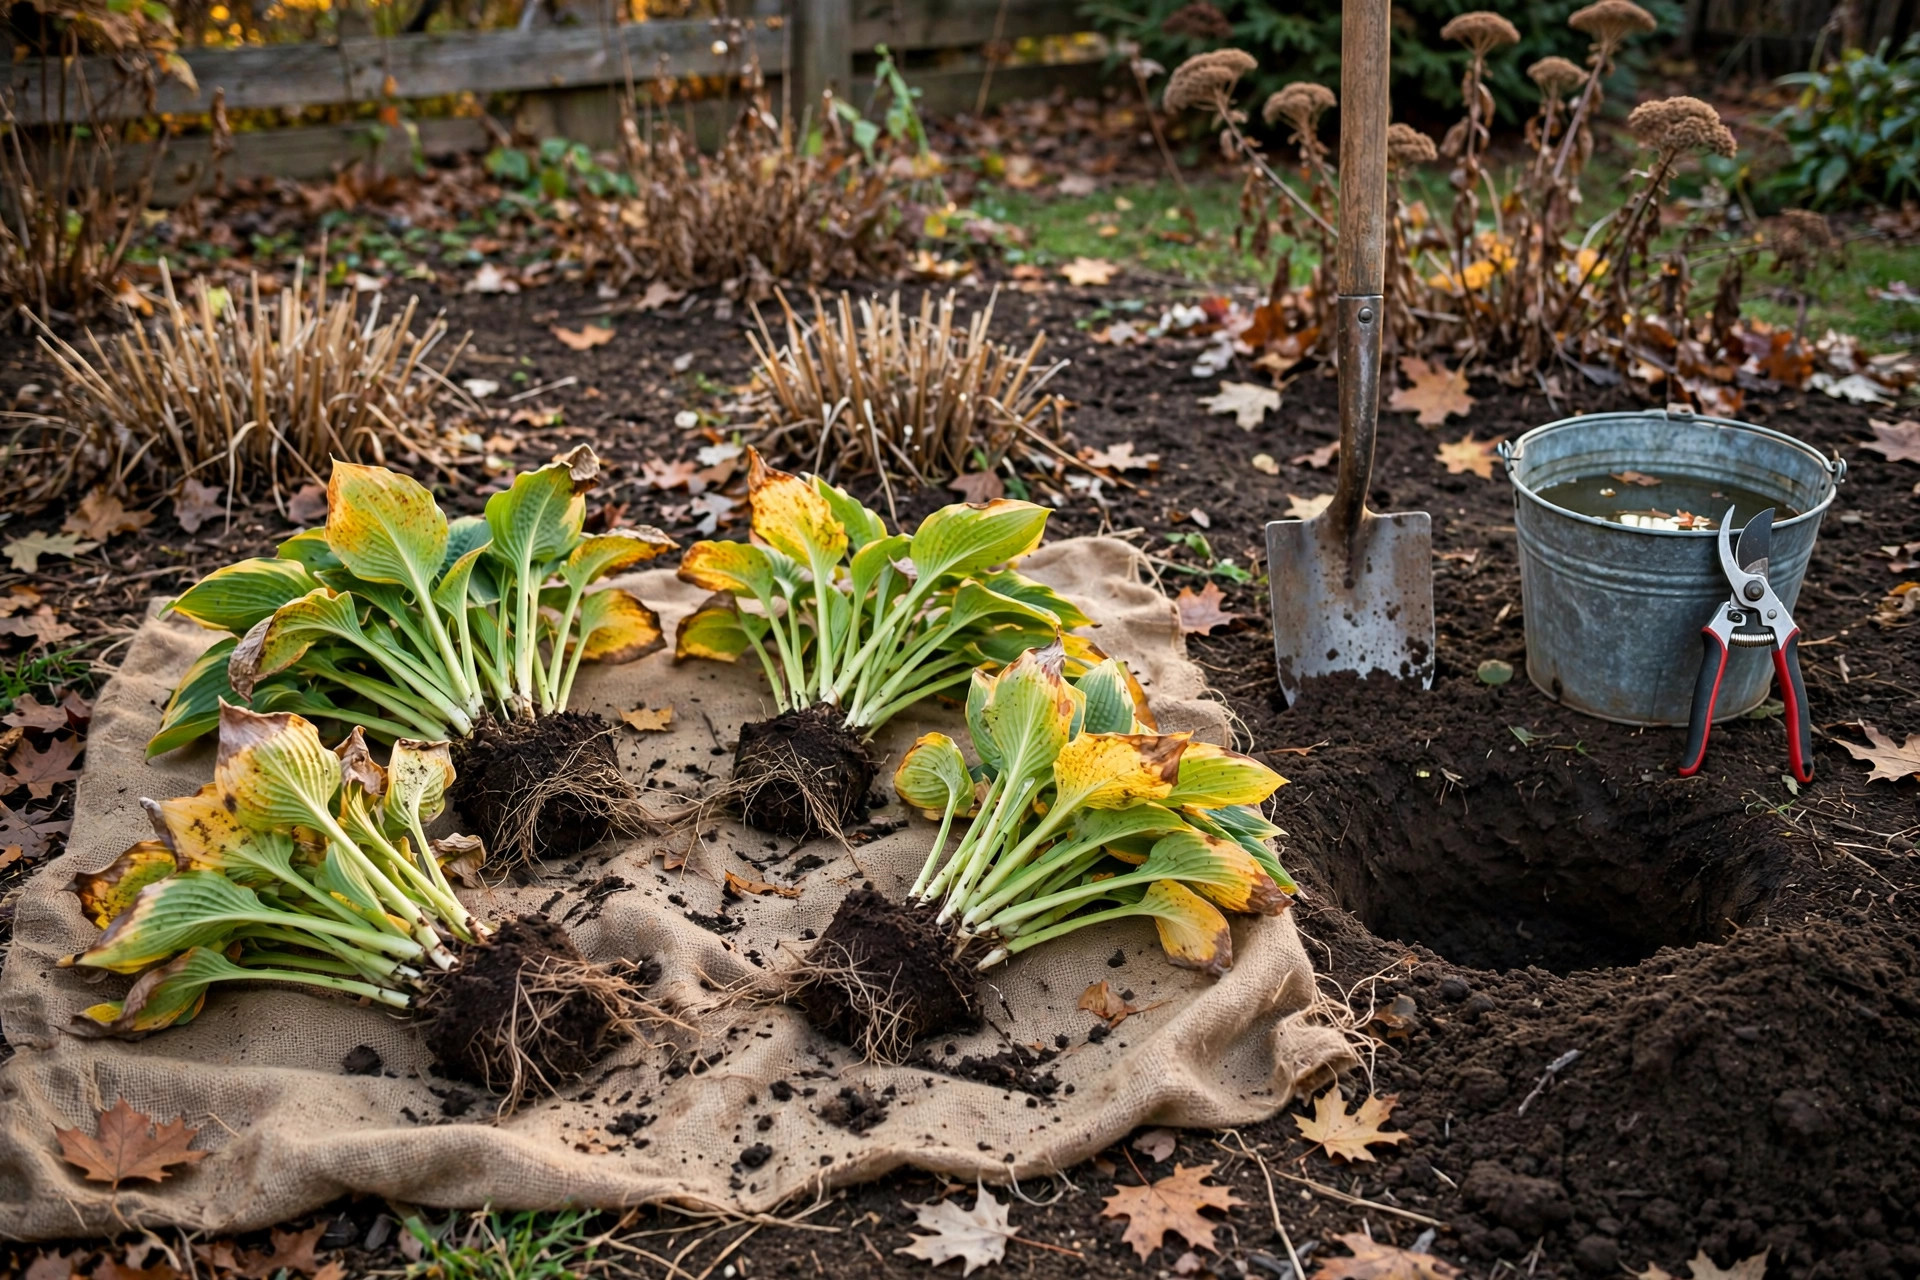
– A flat garden spade. The main tool for lifting and cutting. A sharp, flat blade slices through roots better than a rounded digging shovel. Guidance on choosing sturdy garden hand tools appears at Fiskars. – Two garden forks. For big clumps, drive two forks back to back into the center and pry them apart. This method tears less and suits plants with tough, fibrous roots. – Pruning shears or a garden knife. For cutting smaller crowns and trimming damaged roots. A sharp pair of shears from a tool maker like Corona Tools handles thick stems well. – A bucket of water. Keep roots damp while you work. Never let bare roots sit in sun and wind. – A tarp or old sheet. Lay divisions on it to keep roots clean and moist. – Compost and mulch. Mix a shovelful of compost into each new hole. Top with mulch after planting. – A hose or watering can. New divisions need a long, deep drink right away. – Garden boots. Waterproof garden boots keep feet dry and steady on damp fall soil.
Check blades before you start. Wipe them clean, and sharpen if needed. A quick survey of tool choices and prices is available at Home Depot and Lowe’s. For small garden supplies and planting stock, Gardener’s Supply and Burpee are long-standing mail-order names.
How to Divide Perennials in Fall: Step by Step
Step One: Cut Back the Tops
Trim the foliage of the clump to about six inches. Remove any dead or diseased leaves and put them in the trash, not the compost, if disease is present. A light trim of the tops also balances the plant with the roots it is about to lose.
Step Two: Lift the Clump
Drive the spade in a circle around the plant, about six to eight inches out from the stems, and cut straight down to loosen the root ball. Then lever the whole clump out of the ground. For large clumps, work the spade around the full circle before prying upward. Shake or brush off loose soil so you can see the crown and roots. Keep the root ball as intact as you can during the lift.
Step Three: Split the Crown
Set the clump on the tarp. For fibrous-rooted plants like daylilies and grasses, drive two garden forks into the center back to back and lever them apart. Repeat until the pieces are the size you want. For thick, woody crowns, set the spade blade across the center and press down with your foot for a clean cut. A garden knife or sharp shears can separate smaller plants and tight spots. Each division should have three to five healthy shoots, or fans, plus a good share of roots. Throw away the weak center of an old clump and keep the vigorous outer pieces.
Step Four: Replant at Once
Work fast. Roots dry out quickly in open air. Dig each new hole a little wider than the division and deep enough that the crown sits at the same level it grew before. Peonies are the exception: their eyes, the pink buds, should sit only one or two inches below the surface. Spread the roots, backfill with a mix of native soil and compost, and firm the soil gently with your hands. Water each plant deeply right away.
Step Five: Mulch and Label
Spread two to three inches of mulch around the new plants, but keep it a few inches back from the stems. Mulch holds moisture and softens the freeze-thaw cycles of late fall. Label each plant with a garden marker or a stake. In fall you will remember where everything is. In March you will not. Practical how-to articles with photos can be found at The Spruce, Bob Vila, and Family Handyman. For garden netting to protect new plantings from hungry wildlife, fall is a good time to set it up.
Types of Root Systems and How Each Divides
Perennials do not all grow the same underground, and the dividing method should match the root type.
– Fibrous roots. Daylilies, hostas, grasses, and coneflowers form dense masses of fine roots. Lift the clump and pull or pry it apart with forks. These plants are forgiving and divide quickly. – Fleshy crowns and taproots. Peonies, iris rhizomes, and bleeding hearts have thick storage roots. Cut them with a sharp knife or spade. Each piece needs at least one eye or growing bud. Let cut surfaces dry for an hour or two before planting to reduce rot. – Running roots. Mint, bee balm, and some asters spread by runners. Simply dig up the outer runners with roots attached and replant. These spreaders often need dividing every two years to stay in bounds. – Woody crowns. Older lavender or Russian sage form woody bases. These are harder to divide and often better replaced. If you try, use a saw or sharp spade and keep divisions large.
Cost and Price
Division is close to free. The tools are ordinary garden tools most gardeners already own. A decent flat spade costs about twenty to forty dollars and lasts for years. Hand pruners run fifteen to thirty dollars. A bag of compost is a few dollars. Mulch by the bag is three to five dollars, or free if your town gives away leaf mulch in fall.
Compare this with buying new plants. A one-gallon perennial at a garden center costs eight to fifteen dollars. One mature clump of daylilies can yield six to ten divisions. Reviews of tool value and durability appear at Consumer Reports, which tests garden tools for strength and comfort.
Care and Upkeep After Dividing
The job is not done at planting. New divisions need steady care for the first month.
Water. Keep the soil evenly moist, not soggy, until the ground freezes. Fall rains help, but do not rely on them. A deep watering once a week is a good rule.
Mulch. After the first hard freeze, add extra mulch around the new plants. This winter blanket keeps the soil temperature steady and stops the freeze-thaw heaving that can push young roots out of the ground.
Watch for pests. Slugs love tender new growth. Check the beds on damp evenings. Garden netting or a simple fence keeps rabbits and deer off new plantings while roots establish.
Leave the tops. Do not cut the trimmed foliage to the ground in late fall. Leave a few inches standing. The stubble marks the plant, catches leaves for natural mulch, and gives shelter to helpful insects through winter. Cut it back in early spring when new shoots appear.
No fertilizer now. Feeding in fall pushes soft new growth that winter will kill. Wait until spring, when the plants show fresh green, to feed lightly.
Safety
Garden work is safe work, but a few simple habits prevent trouble.
– Clean tools. Wash soil off blades after each plant, especially if you saw signs of disease. A wipe with rubbing alcohol between plants stops problems from spreading. Dipping shears between cuts is a habit the old manuals all recommend. – Gloves. Wear sturdy gloves. Some perennial stems are sharp, and soil can hide thorns, splinters, or old wire. – Back care. Lift with your legs, not your back. Wet soil is heavy. Ask for help with very large clumps, or split them in place with the spade before lifting the halves. – Eye protection. When cutting tough roots with a spade, soil and chips can fly. Simple safety glasses cost little. – Know your plants. A few perennials, like some euphorbias, have sap that irritates skin. Gloves and long sleeves handle the risk.
Frequently Asked Questions
Can I divide perennials in fall if a frost has already come? A light frost is fine as long as the soil is still workable. The plants are going dormant anyway. A hard, deep freeze is different. If the ground is frozen or nearly frozen, wait for a mild spell or hold the work until spring.
How small can I make the divisions? Each piece should have three to five shoots and a healthy bunch of roots. Smaller pieces can survive, but they take an extra year to fill in. When in doubt, keep divisions generous.
Do I need to water if it rains often? Check the soil with your finger. If the top two inches are dry, water deeply. Fall rains are irregular, and new roots cannot reach far for moisture yet.
Should I divide plants that are blooming in fall? No. Asters, mums, and other fall bloomers are putting all their energy into flowers. Dividing them now weakens them before winter. Divide fall bloomers in spring instead.
Can I divide perennials in containers? Yes. Container perennials get root-bound fast. Tip the pot on its side, slide the plant out, and split the root ball with a knife or small saw. Replant in fresh potting mix and water well.
What if I miss the fall window entirely? Most fall-divided perennials can also be divided in early spring, as soon as new growth is a few inches tall. You lose the head start of fall root growth, but the plants recover. Do not divide in the heat of summer unless the plant is failing and has no other choice.
A Final Word
How to divide perennials in fall comes down to simple habits: choose the right plants, work on a cool day, keep the roots moist, cut cleanly, replant at the right depth, and mulch for winter. The method has not changed much since the garden books of the last century, because the plants have not changed. Do the work this fall, and next spring you will walk out to a garden full of free plants, each one stronger than the crowded clump it came from.
References
Bob Vila. (n.d.). Home improvement advice. https://www.bobvila.com Burpee. (n.d.). Seeds, plants, and gardening supplies. https://www.burpee.com Consumer Reports. (n.d.). Product reviews and ratings. https://www.consumerreports.org Corona Tools. (n.d.). Garden and landscape tools. https://www.corona-tools.com Family Handyman. (n.d.). DIY home repair and maintenance. https://www.familyhandyman.com Fiskars. (n.d.). Garden and cutting tools. https://www.fiskars.com Gardener’s Supply Company. (n.d.). Gardening tools and supplies. https://www.gardeners.com Lowe’s. (n.d.). Home improvement products. https://www.lowes.com The Home Depot. (n.d.). Home improvement products. https://www.homedepot.com The Spruce. (n.d.). Home and garden advice. https://www.thespruce.com
Was this guide helpful?

About Lisa Anderson
The My Garden US editorial team writes practical, in-depth home and garden guides for American homeowners — tested advice, no fluff.
You May Also Like
How to Build a Compost Bin Cheap: A Simple Guide for Any Yard
May 8, 2026 0 views
Vermicomposting Bin for Beginners Guide: How to Start a Worm Bin at Home
January 19, 2026 0 views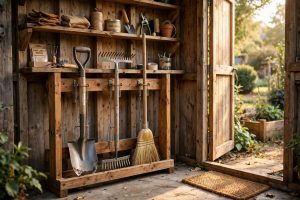
Best Garden Tool Storage Rack Reviews: What Buyers Say
March 10, 2026 0 views