Introduction
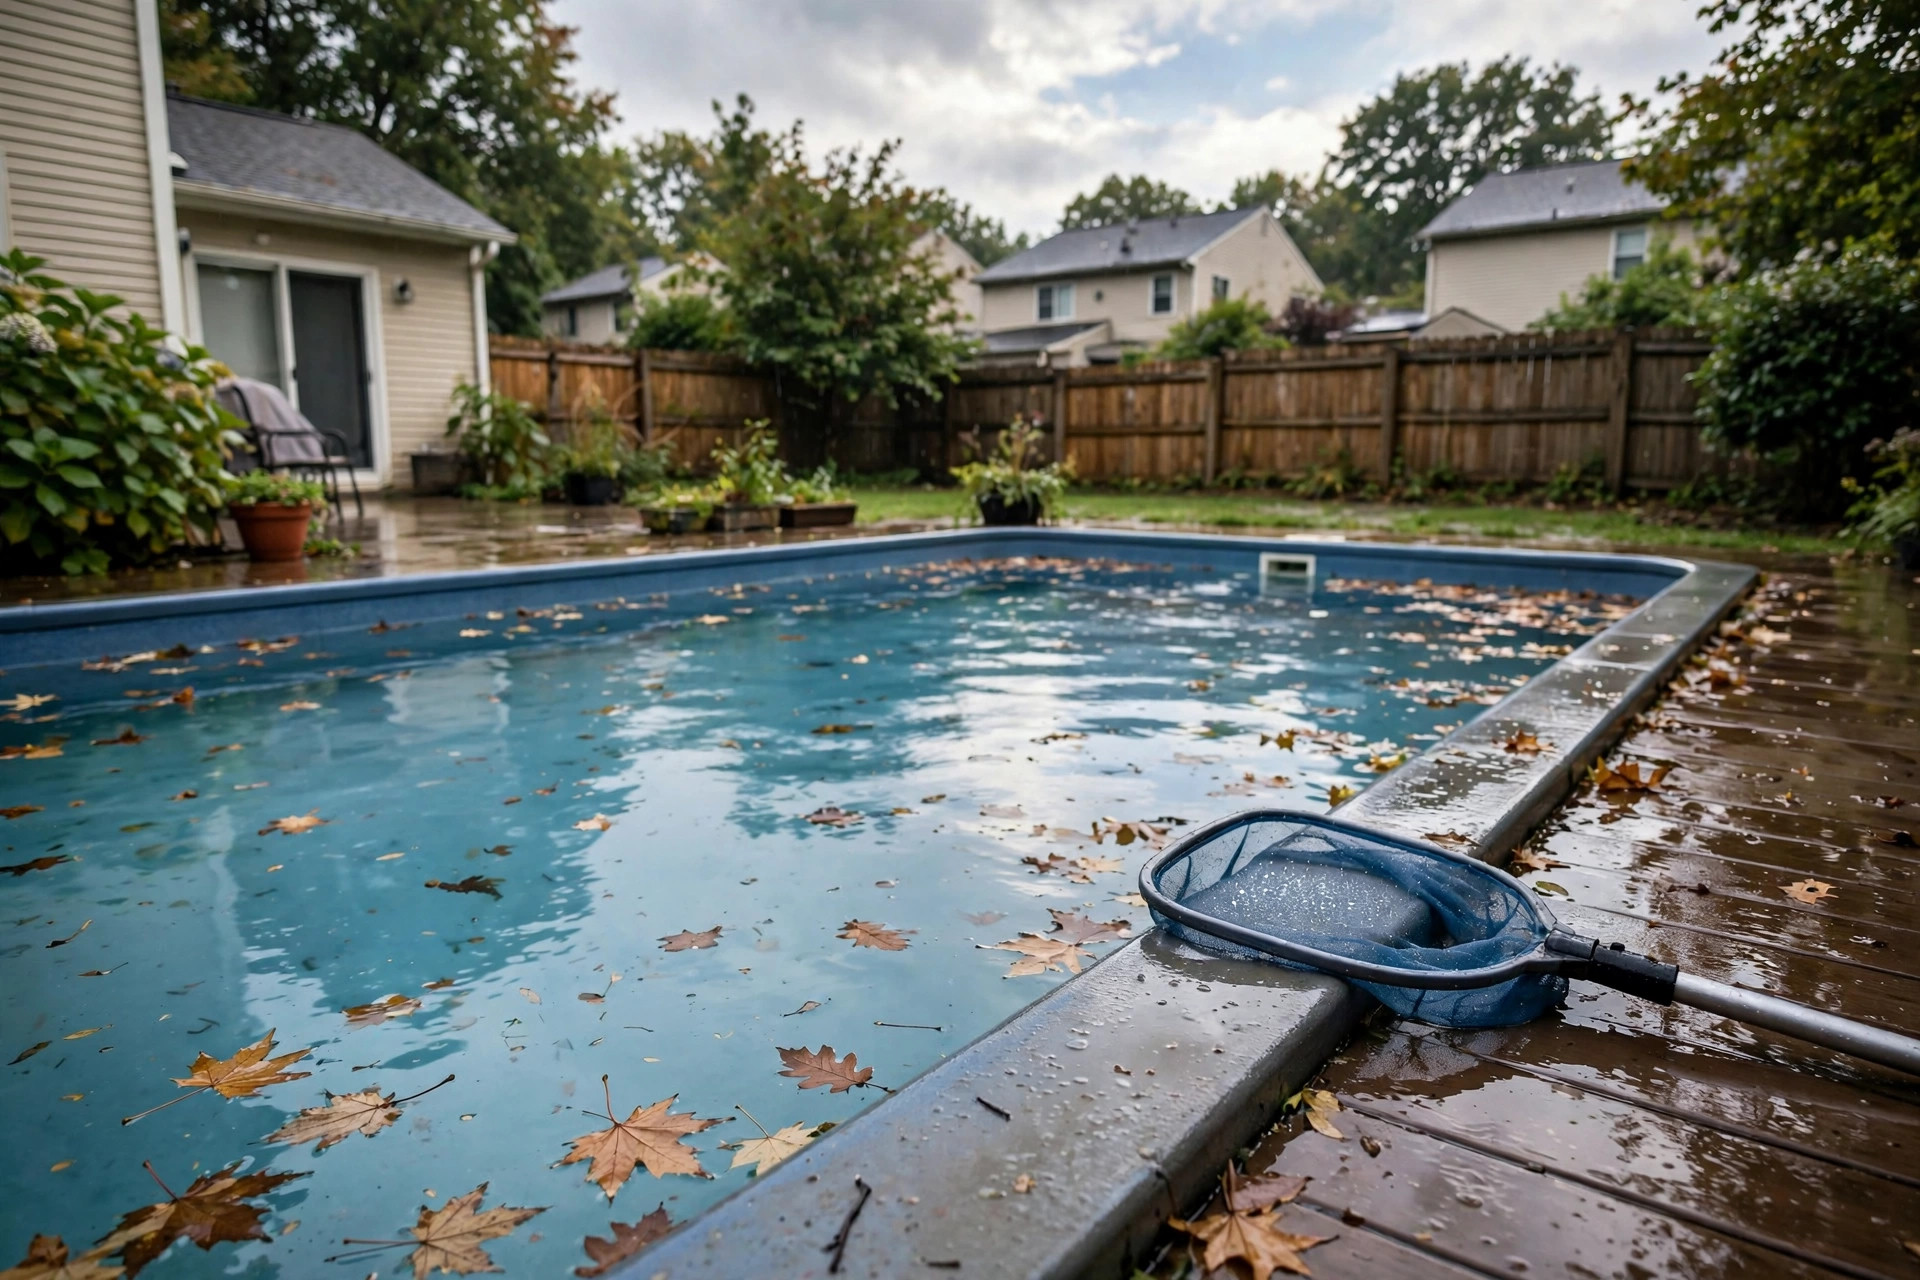
A heavy rainstorm can turn a clear pool into a cloudy one in a single night. Learning how to shock pool after rainstorm keeps your water safe for your family and your guests. Rain carries dirt, leaves, and tiny germs into the water. It also washes out the chlorine that keeps the pool clean. When the chlorine drops, algae and bacteria grow fast.
Shocking means adding a strong dose of sanitizer to the water. This burns off the waste that rain leaves behind. It is not hard work. It takes some simple steps and a little patience. This guide explains the whole process in plain terms. You will learn why rain harms pool water, what supplies you need, and how to do the job right.
Why Rain Changes Your Pool Water: How to Shock Pool After Rainstorm
Rain may look clean, but it is not. As drops fall, they gather dust and pollen from the air. They run off your roof, deck, and lawn on the way to the pool. All of this adds waste to the water.
Rain is also acidic. It lowers the pH and the alkalinity of your pool. Low pH makes chlorine work poorly. So even if some chlorine is left, it cannot do its job well. One storm can cut your chlorine level to almost nothing.
Warm summer rain makes the problem worse. Heat speeds up the growth of algae and germs. Many pool owners wake up the day after a storm to find green or milky water. A fast response saves time and money. The longer you wait, the harder the cleanup becomes.
Rain also washes pollen, fertilizer, and lawn chemicals off nearby grass. These feed algae and throw your water balance off further. Even a pool with a strong chlorine level before the storm can test near zero the next morning. That is why a quick test after every heavy rain is a smart habit.
What You Need Before You Start
Gather your supplies before you begin. You will need a pool test kit or test strips, a pool shock product, a skimmer net, a pool brush, and a bucket of pool water for mixing. Keep a garden hose nearby in case you need to add fresh water.
Test the water first. A good test kit shows chlorine, pH, and alkalinity levels. The result tells you how much shock to use. If you do not test, you may add too little or too much. Pool supply stores such as Leslie’s and Pool Warehouse carry reliable test kits for home use.
Check the weather forecast too. Do not shock right before another storm. The new rain would waste your work. Wait for a clear evening with no rain for at least eight hours.
Types of Pool Shock
There are several kinds of shock. Each has its place.
Calcium hypochlorite (cal-hypo) is the most common. It is a strong chlorine shock that comes as granules. It kills germs fast. It can raise calcium levels over time, so it suits pools with low calcium.
Sodium dichlor is another chlorine shock. It dissolves quickly and is gentle on equipment. It adds some stabilizer to the water, which helps chlorine last longer in the sun. Do not overuse it, or stabilizer levels will climb too high.
Liquid chlorine works well for shocking too. It adds no extra stabilizer or calcium. Many pool owners like it for regular use. It is easy to pour and measure.
Non-chlorine shock (MPS) uses potassium monopersulfate. It burns off waste without raising chlorine. It lets people swim again sooner. But it does not kill germs the way chlorine does. It is best for mild cleanup, not for a pool that has turned green.
For a pool that suffered a real storm, a chlorine shock is the safer pick. Guides at Swim University explain the differences between these products in clear detail.
How to Shock Your Pool After a Rainstorm: Step by Step
Follow these steps in order.
Step 1: Clear the debris. Use your skimmer net to pull out leaves, twigs, and trash. Empty the skimmer and pump baskets. A clean pool lets the shock work on germs instead of on leaves.
Step 2: Brush the walls and floor. Algae clings to pool surfaces. A firm brush loosens it so the shock can reach it. Pay close attention to corners, steps, and ladders.
Step 3: Check the water level. Heavy rain can raise the level above the skimmer. If so, drain a little water with your pump or a hose. The skimmer works best when the water sits at its midpoint.
Step 4: Test the water. Write down the chlorine, pH, and alkalinity readings. If the pH is far from normal, adjust it first. Shock works best when pH is between 7.2 and 7.6.
Step 5: Measure the shock. Read the package label. It tells you how much to use for your pool size. For storm cleanup, most labels call for one pound of granular shock per ten thousand gallons of water. Do not guess.
Step 6: Add the shock at dusk. Sunlight burns off chlorine fast. Evening is the best time. With the pump running, spread the shock across the deep end. For cal-hypo, dissolve it in a bucket of pool water first. This protects the pool liner and plaster.
Step 7: Run the pump overnight. Let the filter run for at least eight hours. This moves the shock through every part of the pool. A steady flow also traps dead algae in the filter.
Step 8: Test again in the morning. The chlorine should read between one and three parts per million before anyone swims. If the water is still cloudy, run the pump longer and test again. The Spruce offers simple charts that show what each reading means.
If green color remains after a full day, shock a second time. Some storms leave heavy algae behind. A second round is normal and safe.
How to Choose the Right Shock Product
Match the product to your pool and your problem.
For light cloudiness after a short storm, sodium dichlor or liquid chlorine does the job. They act fast and leave little behind.
For green water or a strong smell, use calcium hypochlorite. It is the strongest common choice. It cuts through heavy algae and waste.
For saltwater pools, check the manual first. Some makers limit which shock you may use. Liquid chlorine is often the safe pick for these systems.
Read the label every time. Labels give dose amounts, wait times, and safety notes. Stores like The Home Depot stock several brands, so compare labels before you buy.
Related reading in this series may help too. Our guide to fixing cloudy pool water covers cloudiness that stays after shocking. For algae that will not quit, see how to clean green pool water fast. And if your pH is off after the rain, read how to lower pool pH levels safely.
Cost and Price of Pool Shock
Shocking a pool is cheap compared to hiring a service. A one-pound bag of cal-hypo shock costs about four to seven dollars at most stores. A typical home pool needs one to three bags for storm cleanup. Total cost runs about five to twenty dollars per treatment.
Liquid chlorine costs less per dose but needs careful storage. Non-chlorine shock costs more, about six to nine dollars a bag. Buying in bulk lowers the price per bag. A fifty-pound bucket suits owners who shock often.
Test kits cost ten to thirty dollars and last a full season. A good brush and skimmer net cost under thirty dollars together. These one-time buys pay for themselves many times over.
After the Shock: Care and Upkeep
The day after shocking, keep the pump running until the water turns clear. This may take one or two days. Clean the filter when pressure rises. A dirty filter slows the cleanup.
Test the water again. Bring chlorine, pH, and alkalinity back to their normal ranges. Add stabilizer if the sun keeps eating your chlorine.
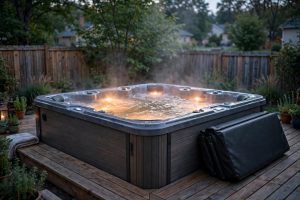
Look at the pool cover too. If you own a cover, put it on before the next storm. A cover blocks most of the dirt and debris that rain carries in. Owners of spas can find care tips from Hot Spring and Bullfrog Spas, which cover water care for heated pools and hot tubs as well.
Keep a small stock of shock on hand during storm season. When the next rain hits, you can act the same evening. Fast action keeps small problems from turning into green pools.
Safety Rules to Follow
Pool chemicals are safe when handled with care. Wear gloves and eye protection when you open a shock bag. Never mix different shock products together. Mixed chemicals can release harmful gas.
Store shock in a cool, dry place away from children and pets. Keep it away from other cleaners and fuels. Read the full label before first use.
Keep swimmers out until chlorine drops to a safe level. The label gives the wait time. Rushing back into the water can sting eyes and skin.
Pool safety goes beyond chemicals. The U.S. Consumer Product Safety Commission publishes clear rules for fences, covers, and alarms that protect children around pools. Every pool owner should know these rules.
Frequently Asked Questions
How soon can we swim after shocking the pool? Wait until the chlorine level falls between one and three parts per million. This usually takes eight to twelve hours. Always test before letting anyone in.
Do I need to shock after every rainstorm? Not every storm. Light rain on a well-kept pool may need no action. Shock after heavy rain, long storms, or when tests show low chlorine. When in doubt, test the water and decide.
Can I shock during the day? You can, but it works less well. Sunlight breaks down chlorine fast. Evening shocking gives the chemical hours of darkness to work at full strength.
What if the water is still cloudy after shocking? First, run the pump longer and clean the filter. Test pH and alkalinity, since bad balance blocks chlorine. If cloudiness stays after two days, shock once more or ask a pool store for a water test. Home repair guides such as Family Handyman also cover filter and pump fixes that help with stubborn cloudiness.
Does rain add too much water to the pool? Often yes. Drain excess water so the skimmer works right. Very low water after a hot dry spell needs a hose refill before shocking.
Is non-chlorine shock enough after a big storm? Usually no. Non-chlorine shock removes waste but does not kill germs well. After heavy rain, a chlorine shock is the safer choice.
A Short Final Word
Storms will come, and your pool will survive them. Test the water, clear the debris, add the right shock at dusk, and let the pump run. Most pools bounce back in a day or two. Keep supplies on hand, and the next rainstorm will be a small chore instead of a big problem. A steady routine of testing and quick action is the real secret behind every clear blue pool. Your family will thank you with a summer full of safe, sparkling swims.
References
Bullfrog Spas. (n.d.). Hot tubs and spas. https://www.bullfrogspas.com Family Handyman. (n.d.). DIY home repair and maintenance. https://www.familyhandyman.com Hot Spring Spas. (n.d.). Hot tubs and spas. https://www.hotspring.com Leslie’s Pool Supplies. (n.d.). Pool supplies and equipment. https://www.lesliespool.com Pool Warehouse. (n.d.). Pool equipment and supplies. https://www.poolwarehouse.com Swim University. (n.d.). Pool and hot tub care guides. https://www.swimuniversity.com The Home Depot. (n.d.). Home improvement products. https://www.homedepot.com The Spruce. (n.d.). Home and garden advice. https://www.thespruce.com U.S. Consumer Product Safety Commission. (n.d.). Product safety information. https://www.cpsc.gov
Was this guide helpful?

About Emily Rodriguez
The My Garden US editorial team writes practical, in-depth home and garden guides for American homeowners — tested advice, no fluff.