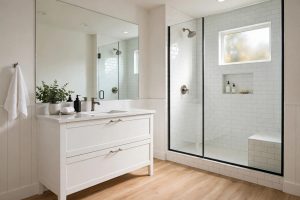

This waterproofing shower before tile guide usa covers the most important step in any shower tile job. Tile itself is not waterproof. Water passes through grout joints and thin layers behind them. Without a real waterproof layer behind the tile, water reaches the wood and drywall. Damage grows slow and quiet. By the time it shows, repair costs are high.
Many homeowners across the United States learn this too late. They finish a fine looking tile shower. Two or three years pass. Paint peels on the next room wall. Floor boards feel soft. A plumber opens the wall and finds mold on studs. The tile was good. The waterproofing was missing or done wrong.
This guide shows how to waterproof a shower before tile. It fits walk-in showers, tub surrounds, and small stall showers. Read it fully before you start work. The steps are simple. The order matters.
Why Waterproofing Matters Before Tile
Shower tile faces water every day. Soap and shampoo add to the load. Grout joints are porous. Even epoxy grout lets some moisture pass. Cement backer board is water resistant, not waterproof. Drywall in wet zones is the wrong base. A true shower needs a continuous waterproof barrier behind or under every tiled surface. Walls, floor, curb, seat, and niche all need it.
The goal is simple. Water that passes the tile must hit a sealed layer and drain to the shower pan. It must never reach wood, drywall, or open framing. One gap in the barrier can feed months of hidden damage.
Good waterproofing also protects the investment. Tile labor is costly. A shower that leaks behind the tile may need full tear-out. The tile you paid to set gets smashed off. A sound membrane costs little next to that risk.
Choosing Your Waterproofing Method: Waterproofing Shower Before Tile Guide Usa
Four main systems are in common use in the United States. Pick one and follow its rules from start to finish. Mixing systems can void warranties.
Liquid Applied Membranes
These are thick paints that cure into a rubber skin. You roll or trowel them onto cement backer board. Two coats are standard. The cured film should reach the thickness the maker states, often around 30 to 40 mils wet. Corner tape and pipe collars from the same maker seal the weak points. Liquid membranes suit do it yourself work. They cover odd shapes well. They take time to cure between coats. Rushing the cure is a common failure.
Sheet Membranes
These are rolls of fleece-backed plastic sheet. You bond them to walls with thinset mortar, like laying tile on the walls. Seams overlap and get sealed. Sheets give an even, measured thickness. There is no worry about thin paint spots. The work is harder on ceilings and odd corners. Sheets are a top choice of many tile setters.
Foam Backer Boards
These are waterproof panels that serve as both backer and barrier. Joints get sealed with the maker’s tape and sealant. Screws go through washers with sealing rings. This system is light and fast. It costs more in materials. It suits shower seats and benches where cutting is easy.
Cement Board With Vapor Barrier
The older method puts plastic sheeting behind cement backer board. Water passes the tile and grout, runs down behind the board on the plastic, and exits into the pan liner. The board itself stays damp. This system works when done right, but it has more wet mass and more risk than modern surface membranes. Many tile setters now favor direct-applied surface membranes.
Step by Step: Waterproof a Shower Before Tile
Follow these steps in order. They fit a standard alcove shower with cement backer board and a liquid membrane. Adjust details to match the system you chose.
Step 1: Check Framing and Plumbing
Open walls show all. Check studs for rot and mold. Replace bad wood. Sister weak studs. Confirm the plumbing is set at the right depth. The valve body should sit so trim fits the finished wall. Fix the drain height. Slope the shower floor toward the drain at one quarter inch per foot. Frame a solid base for any seat or curb.
Step 2: Set the Shower Pan
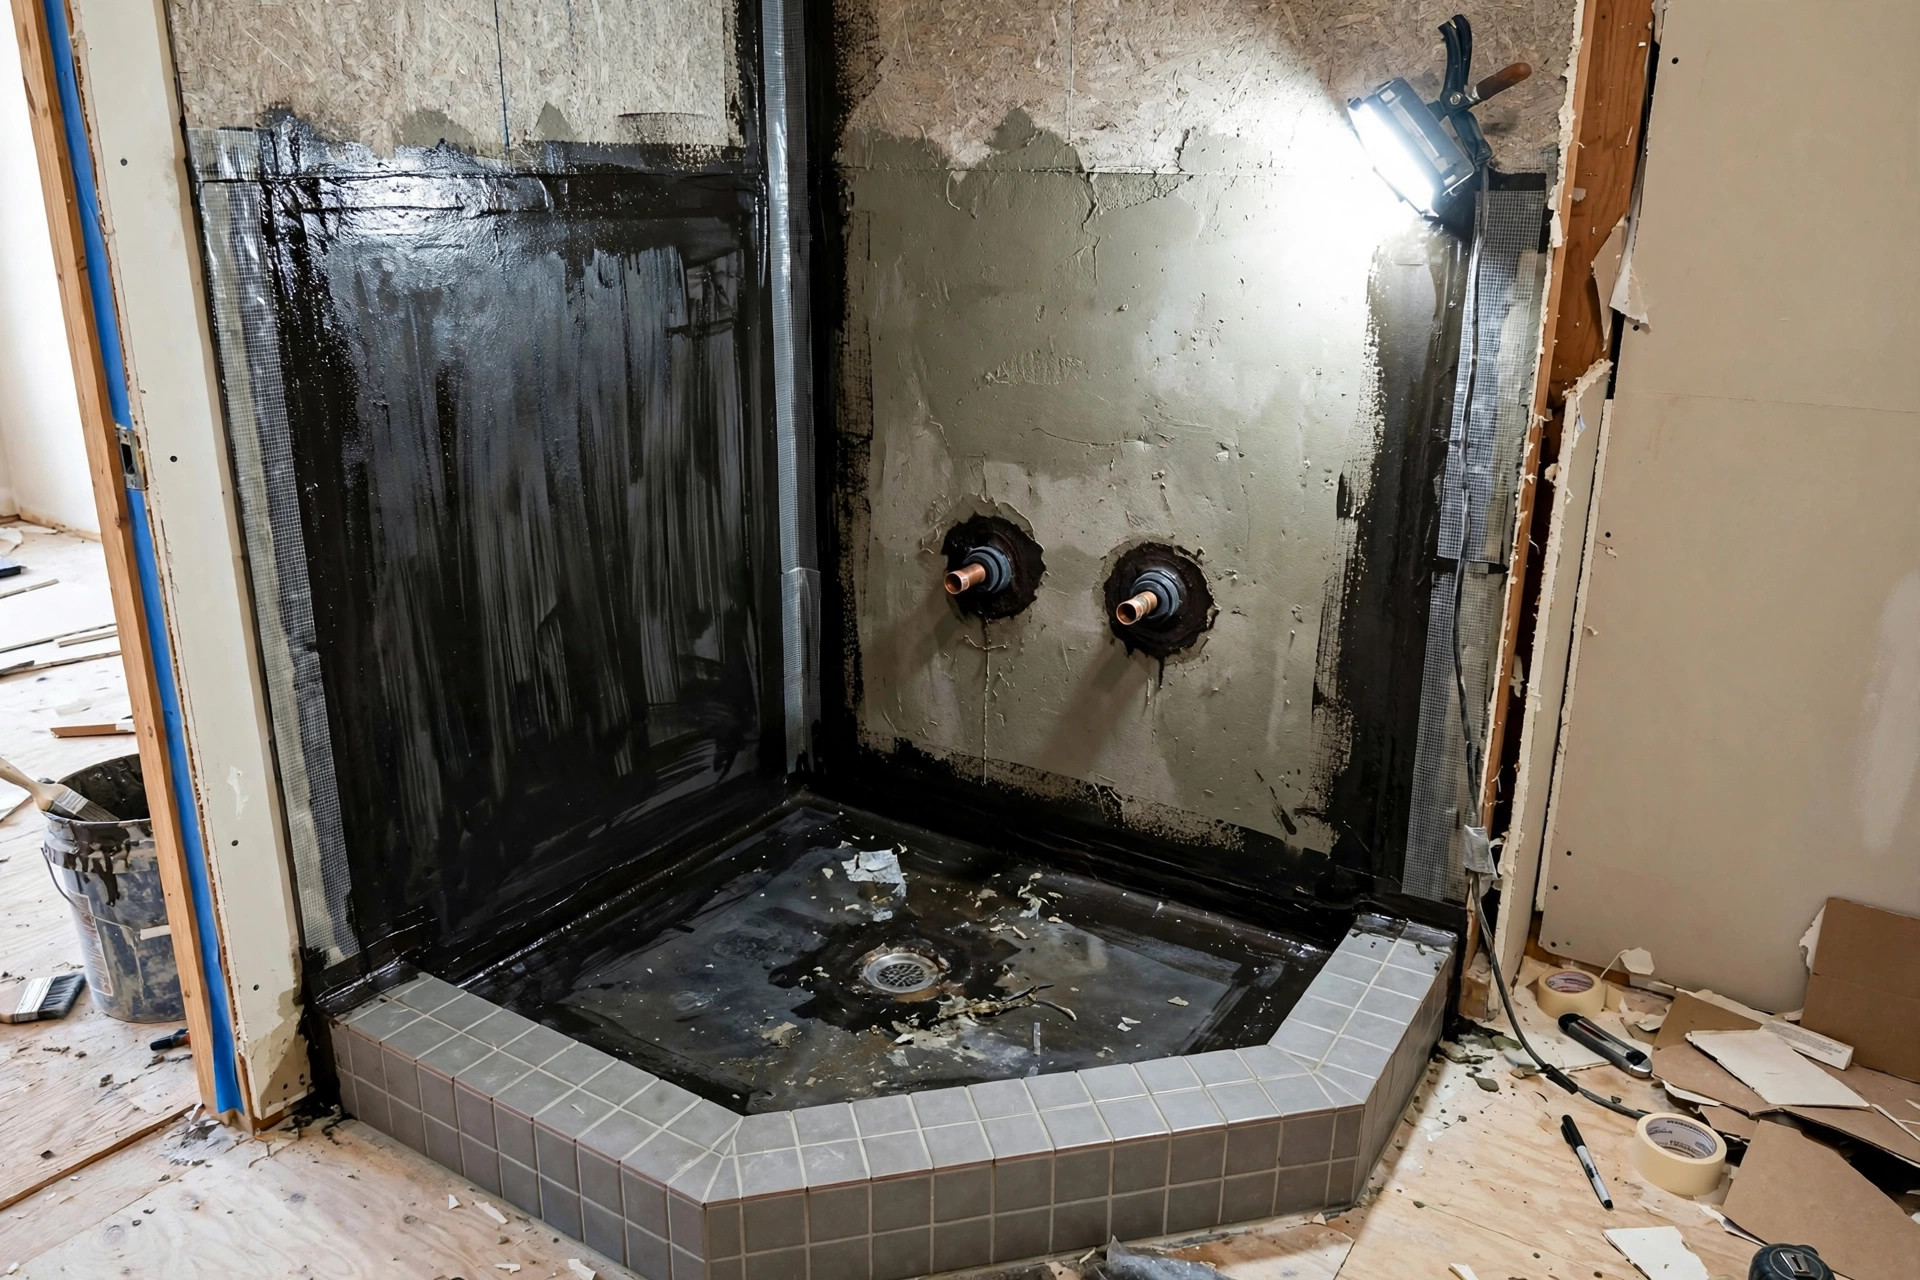
The floor is the first waterproof layer. A traditional pan liner is a thick sheet of PVC or CPE. It folds up the walls at least three inches above the curb. Corners fold, never cut. The liner clamps to the drain with the weep holes open. Test the pan before you go on. Plug the drain, fill with two inches of water, and watch for 24 hours. No loss means a sound pan. Mark any leak and fix it.
Some systems use a bonded membrane on a sloped mortar bed instead. Both work. Do not skip the flood test.
Step 3: Hang Backer Board
Use cement backer board on walls, not drywall. Leave small gaps between sheets. Tape the seams with alkali resistant mesh tape set in thinset. Seal screw heads with thinset or the maker’s sealant. Keep the bottom edge of the board slightly above the pan liner so water can drain past. The board gives the membrane a firm, even base.
Step 4: Seal Corners, Pipes, and Fasteners
Waterproofing fails at details first. Bed corner tape into the first coat of liquid membrane along every inside corner. Use pipe collars at the shower arm, valve, and any body sprays. Seal the tub flange where the backer meets the tub. These small parts stop the most common leaks.
Step 5: Apply the Membrane
Roll the first coat of liquid membrane on all walls and the ceiling if tiled. Work it into the corner tape. Keep coats even. Let the first coat dry to the touch. Roll the second coat at right angles to the first. Watch the film thickness. Thin spots are weak spots. Some makers tint the coats different colors so you can see coverage. Cover the curb top and sides fully. Do a last check with a bright light.
Tools and Materials Checklist
Gather all supplies before you start. A mid-job store run wastes a workday. You need cement backer board, alkali resistant mesh tape, thinset mortar, and corrosion resistant screws or roofing nails for the board. For the membrane, buy the liquid product, inside corner tape, pipe collars, and a paint roller with a half inch nap plus a brush for edges.
Tools are simple. A utility knife and straight edge cut backer board. A drill with a driver bit sets screws. A four foot level checks plumb walls. A bucket and margin trowel mix thinset. Keep a wet rag handy. Membrane on skin washes off easy when wet. Once it cures, it stays.
Buy ten percent more membrane than the label says the job needs. Walls soak up more than flat math shows. A thin third coat on the curb and floor line is cheap insurance.
Step 6: Water Test Again
Some setters flood test the whole shower before tile. This takes extra work to hold water on walls, so at minimum re-check the pan and inspect every seam. A dry run of the shower head with a helper watching from below can catch gross errors.
Cost and Price in the USA
For a standard three wall shower, liquid membrane materials run about 150 to 350 dollars. That includes the membrane, corner tape, pipe collars, and backer board supplies. Sheet membrane systems cost more, often 300 to 600 dollars in materials. Foam boards run higher still, 500 to 900 dollars for a full shower kit.
Hired labor adds 800 to 2,000 dollars for waterproofing and prep alone, depending on region and shower size. Tile setting is a separate cost. Prices run higher in cities on both coasts and lower in the Midwest and South. A full shower rebuild with tile often lands between 5,000 and 15,000 dollars when a pro does all of it.
Do it yourself saves labor cost but not material cost. Buy the full system from one maker. Cheap mixing of brands is where home jobs fail.
Care and Upkeep After Tile
Waterproofing needs no direct care once tile covers it. Protect it through care of the tile surface. Re-seal cement grout every one to two years in heavy use showers. Keep caulk joints at corners and tub lines fresh. Replace cracked caulk right away. Corners move slightly with the house. Caulk takes that movement. Grout does not.
Watch for signs of trouble. Stains on the ceiling below, musty smell, or loose tiles all call for quick action. Small grout cracks can be raked out and refilled. Never caulk over old failing caulk. Strip it fully first. If grout stays dark for days after a shower, moisture may be trapped behind the tile. Call a pro before the damage spreads.
Ventilation helps the whole system last. Run the bath fan during showers and for twenty minutes after. Less steam means less moisture pushed into grout and edges.
Safety Notes
Wear a respirator when cutting cement board. The dust harms lungs. Wear gloves with liquid membranes. Some products irritate skin. Keep the room aired while coats cure. Read every product label before you start.
Plumbing and electrical work must meet local code. Many United States towns require a permit for shower rebuilds. Some require an inspection before tile covers the membrane. Check with your city office first. A failed inspection costs less than a hidden leak.
If you find mold on framing, treat it with care. Small areas can be cleaned by the homeowner. Large areas may need a pro. Do not seal mold behind new walls.
Frequently Asked Questions
Can I tile a shower without waterproofing?
You should not. Tile and grout are not a waterproof system. Water will reach the wall behind them. The cost of failure is far higher than the cost of a membrane.
Is cement backer board enough by itself?
No. Cement backer board resists water damage better than drywall, but it still absorbs water. It needs a waterproof layer over it or a pan liner system behind it.
How long does liquid membrane take to dry?
Most need two to four hours between coats in normal indoor air. Cool or damp rooms take longer. Check the label. Tile should not start until the final coat is fully cured, often 24 hours.
Do I need to waterproof the shower ceiling?
If the ceiling gets direct spray, yes. In tall showers with high heads, waterproof at least the lower half of the ceiling or the full ceiling if tile goes there.
Can I waterproof over old tile?
Bonded overlays exist, but they are risky. Old tile may hide damage. For a lasting shower, remove old tile, check the framing, and build the waterproof layer fresh.
What is the most common waterproofing mistake?
Thin or missed spots at corners, pipe openings, and the curb. Water finds every gap. Slow down at the details. Use the maker’s tape and collars.
A Short Final Word
Waterproofing a shower before tile is quiet work. No one sees it when the job is done. But it decides how long the shower lasts. Pick one system. Follow its steps. Test before you tile. The extra day of work protects years of use.
For more project ideas, see how terrazzo tile flooring cost per square foot compares across options, how best transition strips for uneven floors usa finish doorways cleanly, and black grout bathroom floor ideas usa for bold bathroom style. For product and how-to research, start with Home Depot and Lowe’s for membranes and backer board, compare sheet goods at LL Flooring, read brand guides at Shaw Floors and Mohawk Flooring, browse tile systems at Daltile, study step photos at This Old House and The Spruce, and check test ratings at Consumer Reports.
References
Consumer Reports. (n.d.). Product reviews and ratings. https://www.consumerreports.org Daltile. (n.d.). Ceramic and porcelain tile. https://www.daltile.com LL Flooring. (n.d.). Hardwood, vinyl, and tile flooring. https://www.llflooring.com Lowe’s. (n.d.). Home improvement products. https://www.lowes.com Mohawk Flooring. (n.d.). Flooring products. https://www.mohawkflooring.com Shaw Floors. (n.d.). Flooring products. https://www.shawfloors.com The Home Depot. (n.d.). Home improvement products. https://www.homedepot.com The Spruce. (n.d.). Home and garden advice. https://www.thespruce.com This Old House. (n.d.). Home renovation guidance. https://www.thisoldhouse.com
Was this guide helpful?

About Emily Rodriguez
The My Garden US editorial team writes practical, in-depth home and garden guides for American homeowners — tested advice, no fluff.
You May Also Like
Bathroom Floor Tile Trends 2026 USA: What American Homeowners Are Choosing
October 3, 2026 0 views
Hand Painted Tile Backsplash for Sale in the USA: A Simple Buying Guide
September 7, 2026 0 views
Coir Doormat vs Rubber Doormat: Which Wins in the USA?
July 1, 2026 0 views