A smooth wall is safe. A textured wall has life. It catches light and shadow. It hides small flaws. It gives a room depth and warmth that flat paint alone cannot give. But texture is a craft. A bad job looks worse than no texture at all. That is why so many people search for textured wall finish contractors near me before they start such a project.
This guide walks you through the whole job. You will learn what textured finishes are, why they matter, how to pick a contractor, what the work should cost, and how to care for the result. Everything is written in plain terms.
Why a Textured Wall Finish Matters
Walls are the largest surface in most rooms. They set the tone for everything else. A textured finish changes how a room feels the moment you walk in.
Texture adds depth. Light hits the small ridges and dips and makes patterns. A flat wall looks flat under any light. A textured wall looks different in the morning and in the evening. This play of light makes rooms feel richer and more finished.
Texture also hides flaws. Older homes have walls that are not perfect. Seams show. Old patch work shows. Small dents and nail pops show. A textured finish breaks up the surface so the eye does not catch these flaws. Many interior house painters suggest texture for this reason alone.
Durability is another benefit. Textured surfaces stand up to wear better than smooth paint. Small scuffs blend in. Fingerprints show less. In busy rooms, hallways, and family spaces, this matters a great deal.
Finally, texture adds value and style. Certain finishes, like knockdown or Venetian plaster, give a home a custom look. Buyers notice. A well done texture can make a plain room feel like a designed room. Design programs on HGTV often use textured walls to give a space character without much cost.
Types of Textured Wall Finishes: Textured Wall Finish Contractors near Me
Contractors offer many texture styles. Each has a different look, a different feel, and a different method of application. Know the main types before you hire.
Orange Peel
Orange peel is the most common texture in American homes. It looks like the skin of an orange. Fine bumps cover the wall. It is subtle and works with almost any style. A spray gun applies a thin mix of drywall compound and water. It dries fast and takes paint well.
Knockdown
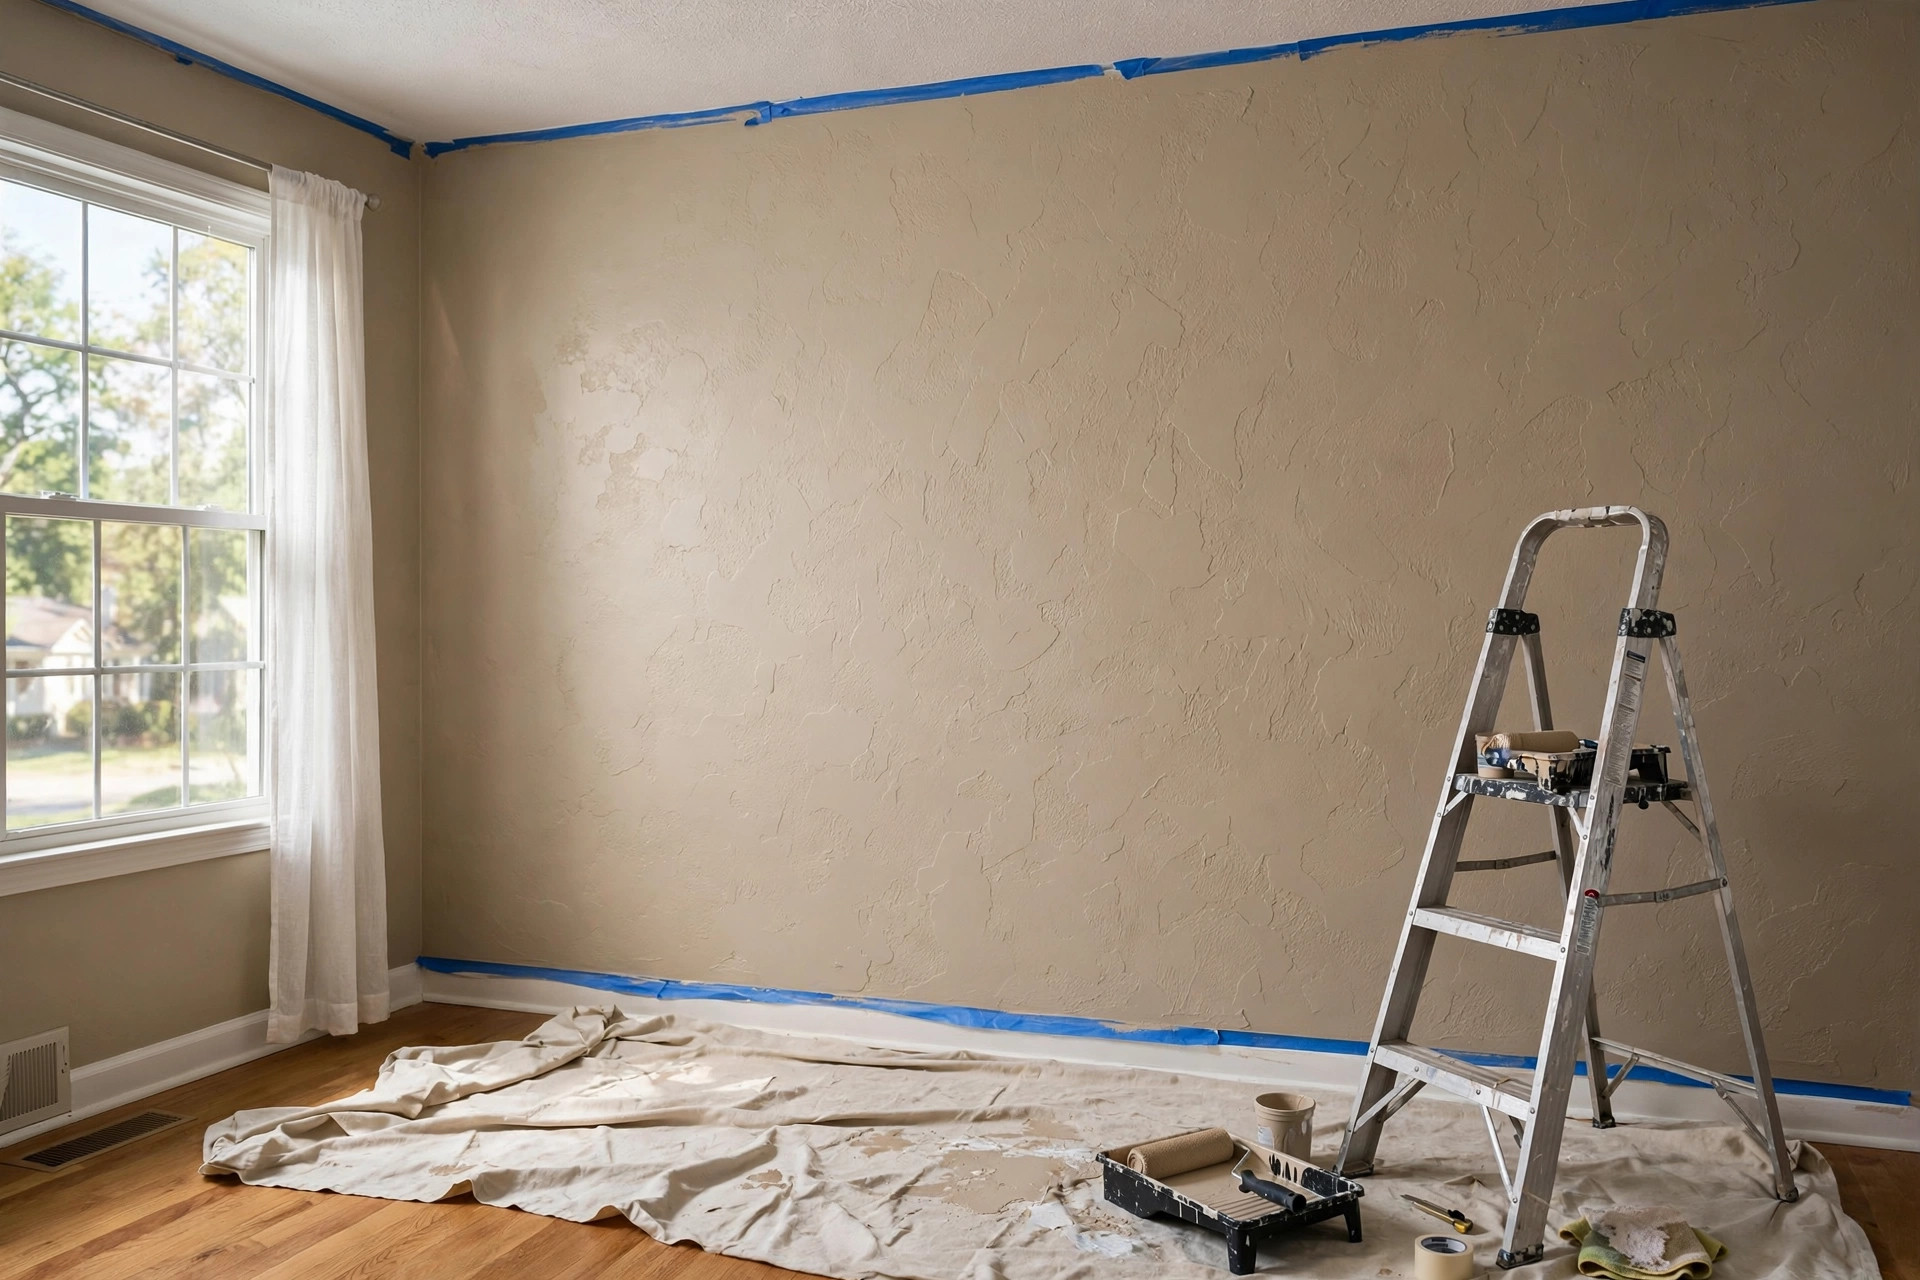
Knockdown starts like orange peel. After the spray, the contractor knocks the wet bumps flat with a wide knife. The result is a rustic, mottled look. It is very popular in the South and West. It hides flaws well and looks warm and casual.
Slap Brush and Stipple
Slap brush texture comes from a brush slapped against wet compound. It makes round, flower-like patterns. Stipple is similar but finer. Both are older styles. They suit traditional homes and cottages.
Swirl
Swirl texture uses a brush or trowel to make half circles in wet compound. Rows of arcs cover the wall. It looks handcrafted and old world. It works well in dining rooms and entry halls.
Sand Texture
Sand texture mixes fine sand into paint or compound. It feels rough to the touch. It is simple and cheap. It suits garages, basements, and utility rooms more than living spaces.
Venetian Plaster
Venetian plaster is a premium finish. Thin layers of plaster are troweled on and burnished smooth. The result looks like polished stone or marble. It has depth and sheen. It costs much more than spray textures. It suits formal rooms and accent walls.
Limewash
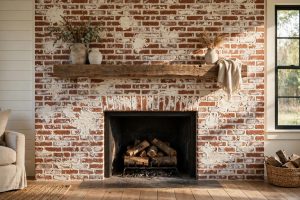
Limewash is a paint made from crushed limestone. It gives a soft, cloudy, old world look. It works on brick, stone, and drywall. Many homeowners now ask for limewash on accent walls in living rooms. It is more about color movement than heavy texture.
Trowel and Hawk Finishes
Some contractors make freehand patterns with a trowel. Santa Fe, skip trowel, and hawk-and-trowel are names for these. Each job is unique because the hand of the worker shapes it. These finishes suit adobe, Mediterranean, and rustic homes.
Ask your contractor to show you sample boards. A good contractor keeps boards of each texture. Touch them. See them under your own light. Photos can mislead. Real samples do not.
What to Look for in a Contractor
Hiring the right worker matters more than picking the right texture. A skilled hand makes a simple texture look great. A poor hand ruins an expensive finish. Here is how to choose well.
First, look for real experience with texture. Not every painter does texture work. Some painters only roll and brush. Ask how many texture jobs the contractor has done in the past year. Ask which textures they do most. A specialist is safer than a generalist for this work.
Second, check the basics. The contractor should hold a license where your state requires one. They should carry liability insurance and workers compensation. Ask to see proof. This protects you if something goes wrong. Guidance from This Old House and Bob Vila stresses these checks for any home trade work.
Third, look at past work. Ask for photos of recent texture jobs. Better yet, ask for addresses of finished jobs you can drive past, or clients you can call. A proud contractor will share these gladly. A contractor who hides past work is a warning sign.
Fourth, get the estimate in writing. The paper should list the rooms, the texture type, the prep work, the number of coats, the paint or primer, the price, and the schedule. Vague quotes lead to fights later. A detailed quote shows a professional worker.
Fifth, ask about prep. Good texture starts with good prep. Walls must be cleaned, repaired, and primed. Ask how the contractor will mask floors, trim, and outlets. Ask how they handle dust. Spray texture makes a fine mist that settles everywhere. A careful worker seals the room.
Sixth, trust your read of the person. Do they answer questions in plain words? Do they show up on time? Do they listen? You will live with their work for years. Hire someone you respect.
How to Choose the Right Texture for Your Home
The best texture fits your home, your rooms, and your life. A few plain rules help.
Match the style of your house. A rustic knockdown suits a farmhouse. A fine orange peel suits a modern tract home. Venetian plaster suits a formal dining room. When in doubt, pick the texture that is already common in your area. It will look natural and it will help resale.
Think about the room. Heavy texture in a small dark room can feel busy. Light texture opens a space up. Bathrooms and kitchens need finishes that can take moisture and wiping. Ask the contractor which textures clean best.
Think about repair. Some textures are easy to patch. Orange peel and knockdown can be touched up with a spray can. Hand troweled finishes are hard to match. If the wall may get dents from kids or pets, pick a forgiving texture.
Think about paint. Most textures take paint well. But deep textures need more paint. Rough finishes may need a thick nap roller. Sherwin-Williams and Behr both sell paints made for textured surfaces, and Benjamin Moore offers lines that hide well on uneven walls. Your contractor can advise on the right product.
Finally, test before you commit. Have the contractor do a test patch in a closet or behind a door. Live with it for a day. Look at it in daylight and at night. This small step prevents big regret.
Cost and Price: What the Work Should Cost
Prices vary by region, room size, and texture type. Still, some ranges hold true across the country.
Simple spray textures like orange peel cost the least. Expect roughly two to four dollars per square foot of wall for texture and paint in most markets. Knockdown costs a bit more because of the extra labor of the knockdown pass.
Hand applied textures cost more. Swirl, slap brush, and trowel finishes run higher because they take time and skill. Venetian plaster is the top of the range. It can run eight to twenty dollars per square foot or more, since it takes many thin coats and a master hand.
Prep work adds cost. Walls in bad shape need repair first. Old wallpaper must come off. Grease in kitchens must be cleaned. Ask if the quote includes drywall repair costs or if that is extra. Surprises in the middle of a job are the most common cause of budget fights.
Get at least three written quotes. Make sure each quotes the same scope. The cheapest bid is not always the best. A bid far below the others often means skipped prep or thin work. A bid far above the rest needs a clear reason, such as a premium finish or extra prep.
Ask about payment terms. A small deposit is normal. Paying the full price up front is not. Hold the final payment until you have walked the rooms and approved the work. Put this in the contract.
Home centers like Lowe’s and The Home Depot sell texture spray cans and small kits for minor repairs. These are fine for patching a small spot. They are not a substitute for a full room done by a pro.
The Work Step by Step
It helps to know what a proper job looks like. Here is the normal order of work.
The crew masks the room. Floors get drop cloths or paper. Trim, windows, and outlets get tape and plastic. Furniture moves out or to the center under covers.
The crew preps the walls. Holes get filled. Seams get checked. Old loose texture gets scraped. The wall gets a coat of primer so the texture bonds well.
The crew mixes and tests the texture. They spray or trowel a test area. They check the pattern with you. Only then do they start the room.
The crew applies the texture. Spray work goes fast. Hand work goes slow. The crew works in sections so the pattern stays even. For knockdown, they wait for the right moment to flatten the spray. Timing matters. Too soon and it smears. Too late and it will not flatten.
The texture dries. This takes a day or more. The crew should not rush it.
The crew paints. Most jobs get a primer coat and one or two top coats. Deep textures may need back rolling to push paint into the low spots.
The crew cleans up and walks the job with you. Look at the walls in raking light. A lamp held close to the wall shows flaws. Point out any thin spots or heavy spots. A good contractor fixes them on the spot.
Care and Upkeep of Textured Walls
Textured walls are tough, but they need some care. A little routine work keeps them looking fresh for years.
Dust them often. Texture traps dust. Use a soft brush, a microfiber duster, or a vacuum with a brush head. Work from top to bottom. In kitchens, grease can stick to texture near the stove. Wipe those areas with a damp cloth and mild soap.
Wash gently when needed. Use a sponge and mild detergent. Do not soak the wall. Do not scrub hard. Heavy scrubbing can burnish the texture and make shiny spots. Rinse with a clean damp sponge.
Touch up paint as needed. Keep some leftover paint from the job. Small scuffs can be dabbed with a brush. For spray textures, small cans of matching texture from a home center can fix a dent before you paint over it. Home guides at The Spruce offer step by step patch methods for common textures.
Repaint on schedule. Interior walls need fresh paint every five to ten years, sooner in busy rooms. Texture holds paint well, but sun and wear still fade it. A fresh coat brings the texture back to life.
Watch for cracks. Hairline cracks in texture are common as a house settles. Small ones can be filled and touched up. Wide or growing cracks may point to a deeper issue. Call a pro if cracks spread or if sections of texture come loose.
Safety During the Job
Texture work is messy and dusty. Take simple steps to stay safe.
Keep kids and pets out of the work area. Wet compound is not a toy. Spray mist can irritate eyes and lungs.
Ventilate the room. Open windows or run a fan that vents outside. Dust masks are a must for the crew. If you must enter the room, wear a mask too.
Check for old hazards. In homes built before 1978, old paint may contain lead. Old texture may contain asbestos in rare cases. A responsible contractor tests before disturbing old material. This is not a corner to cut.
Make sure ladders and scaffolds are steady. Texture work often covers ceilings and high walls. Falls are the most common injury in painting trades.
Store leftover paint and compound safely. Keep them out of reach of children. Dispose of waste per local rules. Many towns have drop off days for paint.
Frequently Asked Questions
How long does a textured wall finish take?
Most rooms take two to four days. Day one is prep and mask. Day two is texture. Then comes dry time. Then paint. Large homes or hand troweled finishes take longer. Weather matters too. Humid air slows drying. Ask your contractor for a written schedule.
Can texture go over existing paint?
Yes, in most cases. The old paint must be clean, sound, and dull. Glossy paint needs sanding or a bonding primer. Loose or peeling paint must come off first. A good contractor tests adhesion before starting.
Will texture hide my bad walls?
It hides a lot. Small dents, seams, and patch work fade into the pattern. But texture is not magic. Large waves, big cracks, and loose drywall still need repair first. Be honest with your contractor about the state of your walls.
What is the most popular texture right now?
Orange peel and knockdown remain the most popular across the country. They are affordable, they suit many styles, and they are easy to repair. Limewash and Venetian plaster are growing in demand for accent walls. Regional taste varies, so look at what is common in your area.
Can I do the texture myself?
Small repairs, yes. A full room, maybe not. Spray texture takes practice to keep even. Hand textures take a trained eye. Many homeowners try a closet first and then call a pro for the visible rooms. There is no shame in that. The cost of fixing a bad do it yourself job often exceeds the cost of hiring right the first time.
How do I find textured wall finish contractors near me?
Start with three sources. Ask friends and neighbors for names. Check reviews on trusted local directories. Call two or three paint stores and ask who they recommend for texture work. Then interview at least three contractors, check their past work, and get written quotes. The search phrase textured wall finish contractors near me will show local listings, but the interview is what tells you who is good.
A Short Final Word
A textured wall finish is one of the simplest ways to give a home character. It hides flaws, adds depth, and stands up to daily life. The texture you pick matters, but the hands that apply it matter more. Take time to find the right contractor. Check their work. Get the details in writing. Test the pattern before the full job. Do these plain steps, and your walls will reward you every day for years to come.
References
Behr. (n.d.). Paints, primers, and stains. https://www.behr.com Benjamin Moore. (n.d.). Paints and stains. https://www.benjaminmoore.com Bob Vila. (n.d.). Home improvement advice. https://www.bobvila.com HGTV. (n.d.). Home and garden ideas. https://www.hgtv.com Lowe’s. (n.d.). Home improvement products. https://www.lowes.com Sherwin-Williams. (n.d.). Paints and coatings. https://www.sherwin-williams.com The Home Depot. (n.d.). Home improvement products. https://www.homedepot.com The Spruce. (n.d.). Home and garden advice. https://www.thespruce.com This Old House. (n.d.). Home renovation guidance. https://www.thisoldhouse.com
Was this guide helpful?

About Emily Rodriguez
The My Garden US editorial team writes practical, in-depth home and garden guides for American homeowners — tested advice, no fluff.