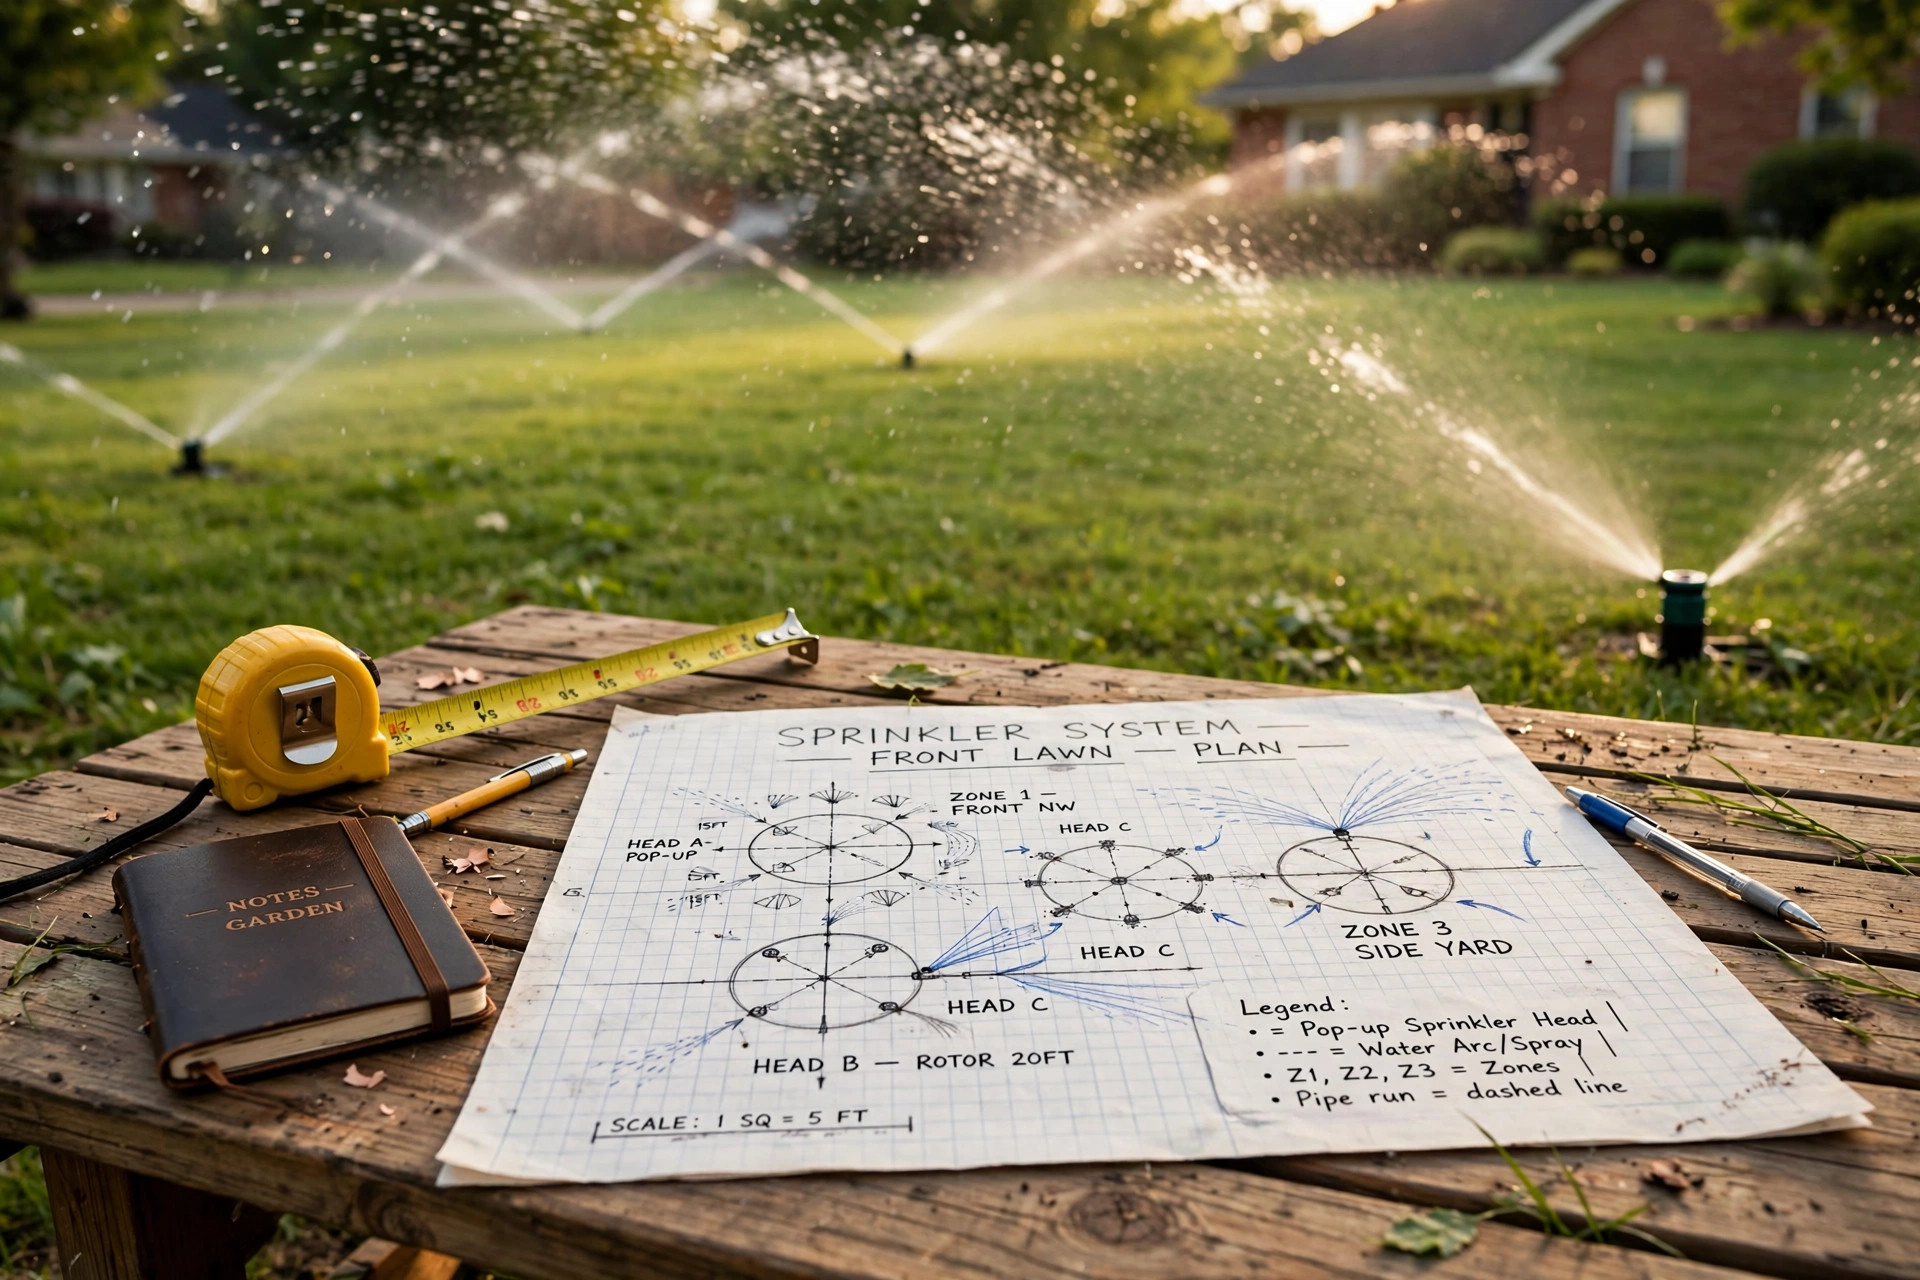

A sprinkler system design layout guide is the paper plan behind every green lawn that waters itself. Before you buy pipe or dig a trench, you draw a map showing where each sprinkler head goes, how the yard splits into watering zones, and how the pipes run back to the valves and the controller. A good plan takes a few hours with a pencil and a tape measure. It saves money, water, and weeks of rework.
Why a Good Layout Matters
A sprinkler system lives underground for years. Once the trenches are closed, changes are costly. A weak layout shows up fast: dry brown patches next to soggy puddles, one corner drowning while the strip by the sidewalk stays thirsty.
Most of these problems start with head placement, not with the equipment. Heads spaced too far apart leave gaps. Heads spaced too close waste water. A careful layout gives every square foot of grass the same amount of water. That is the entire goal. Even coverage means green grass with less water and lower bills.
Measure and Map Your Yard: Sprinkler System Design Layout Guide
Start with a clean drawing. Use graph paper with a scale of one inch to ten feet. Draw the house, garage, and shed. Mark trees, fences, sidewalks, driveways, patios, and garden beds. Note which areas are grass and which are not. You do not water the driveway.
Measure with a tape measure or a measuring wheel. Walk the edges of the lawn and write down each length. For odd shapes, break the yard into rectangles and triangles and measure each one. Do not guess.
Mark sun and shade on the drawing. South and west slopes dry out fast, while shaded areas under trees need less water. Note slopes and low spots too. Water runs downhill, so a head at the top of a slope covers more ground than one at the bottom. Note your soil type as well: sandy soil drains fast, and clay soil holds water but takes it in slowly.
Find where the water enters the house, usually near the meter or the main shutoff valve, and mark it on the drawing. The main line will start there. You also need a spot for the controller, usually in the garage near an outlet. Many homeowners check a cost guide before deciding whether to hire the work out or do it themselves; an affordable lawn sprinkler installation cost estimate helps you compare DIY work with a pro job.
Know Your Water Pressure and Flow
Pressure and flow are the two numbers that shape your whole design. Pressure is measured in pounds per square inch, or PSI. Flow is measured in gallons per minute, or GPM. Most homes have between 40 and 80 PSI at the hose bib. Most sprinkler heads work best between 30 and 50 PSI.
Buy a simple water pressure gauge at a hardware store and screw it onto an outside faucet. Turn off all water in the house, open the faucet fully, and read the gauge. That is your static pressure. Then measure flow: time how long it takes to fill a five-gallon bucket. If it fills in thirty seconds, you have ten gallons per minute.
Design with about 75 percent of your measured flow and keep the rest as a safety margin. Household pressure drops when someone showers or runs the washer. Write your working PSI and GPM at the top of your drawing. Every zone must stay under these numbers.
Check local rules while you are at it. Many cities require a backflow prevention device, which keeps lawn water from flowing back into the drinking water supply. Some areas limit watering days or hours. A quick call to the water utility will tell you what your town requires.
Types of Sprinkler Heads
There are three main types of heads for home lawns.
Pop-up spray heads sit at ground level and rise a few inches when the water turns on. They throw water four to fifteen feet in a fixed pattern: quarter circle, half circle, or full circle. They suit small lawns and narrow strips. If you want to save on labor, learning how to install pop up sprinklers yourself is a smart first step before planning the full system.
Rotor heads throw water in a slow rotating stream and reach twenty to fifty feet. They suit large, open lawns, and because one rotor covers so much ground, you need fewer heads and fewer zones. Rotors apply water slowly, so they run longer than spray heads.
Drip lines are thin tubes that release water drop by drop at the root zone. They are for garden beds, shrubs, and tree rings, not for lawns. Beds and lawns need different amounts of water, so give them separate zones.
Match the head type to the shape of the area. Corners get quarter-circle heads, edges get half-circle heads, and the middle gets full-circle heads. Never mix spray heads and rotor heads in the same zone: they apply water at very different rates, so one area would get too much while another got too little. Lawn equipment companies such as Deere also sell complete kits where the heads, valves, and controller are matched to work together.
Check the specification sheet for each head before you draw. Equipment makers such as Toro publish the exact throw distance and flow rate for every nozzle, and those numbers are what your spacing math rests on.
How to Divide the Yard Into Zones
A zone is a group of heads that run at the same time, fed by one valve. You split the yard into zones for three reasons. Your water supply can only feed so many heads at once. Different areas need different amounts of water. Smaller zones give you finer control over the schedule.
Group areas with similar water needs. Put full-sun grass together and shaded grass in another zone. Put garden beds on a drip zone. Keep front and back yards separate when you can, since they often get different sun.
Now count heads. Add up the GPM of every head in a planned zone. The total must stay under your working flow number. If your home safely gives eight GPM, a zone might hold six spray heads at 1.2 GPM each, which totals 7.2 GPM. If the total runs over, split the zone in two. One more zone beats weak pressure across the whole yard.
Most homes end up with four to eight zones. Each zone gets its own valve, and all the valves wire back to the controller. A smart sprinkler controller for usa homes can run each zone on its own schedule and skip watering when rain is coming.
Drawing the Layout: Head-to-Head Coverage
This is called head-to-head coverage. If a spray head throws twelve feet, the next head should sit twelve feet away. The spray circles overlap, and the overlap evens out the water. Without overlap, the grass halfway between two heads gets half as much water as the grass near a head.
Start at the corners. Place a quarter-circle head in each corner of a rectangular lawn, fill the edges with half-circle heads spaced by their throw distance, and fill the middle with full-circle heads. On paper, draw a circle around each head to show its throw. The circles should touch or slightly overlap. Gaps mean dry spots.
For rotors, the same rule holds at a larger scale. A rotor that throws thirty feet should sit about thirty feet from its neighbor. On odd-shaped lawns, place the heads first and let the circles guide you. Pull a head slightly inward from a tight corner rather than overspraying onto the sidewalk.
Do not water non-grass areas. Use part-circle heads along edges and set the arc so the spray stays on the grass. Note each setting on your drawing, then set it for real during testing.
Draw the pipe runs next. The main line runs from the water source to the valve manifold, the box where all the zone valves sit. From each valve, a lateral line runs out to the heads in that zone. Keep pipe runs short and straight, since sharp bends waste pressure. The main line is usually one inch. Laterals can be one inch or three-quarter inch depending on flow.
Valves, Wires, and the Controller
The valves sit together in one or two valve boxes buried at grade. Place the valve boxes near the middle of the yard when you can, which keeps pipe runs short in both directions.
The controller sends a low-voltage signal through buried wire to each valve. Run one common wire to all valves plus one hot wire per valve. Use direct-burial rated wire made for sprinkler systems, and bury it in the same trench as the pipe when possible. That saves digging.
Choose a controller with more stations than you have zones. If you have five zones, buy an eight-station controller. Mount it in the garage or a weatherproof box, near an outlet and within reach of the valve wires.
Cost and Price
A homeowner-built sprinkler system for an average yard often costs between a few hundred and two thousand dollars in parts. The range depends on yard size, number of zones, and head type. Rotor systems for large lawns cost more per head but need fewer zones. Spray systems for small lawns cost less per head but need more of them.
The big cost items are heads, valves, controller, pipe, and fittings. Trenching tools add to the bill if you rent them. Many homeowners split the work: they draw the layout and dig the trenches themselves, then hire a plumber for the backflow device and the tie-in to the house water line.
Hiring the full job to a contractor usually costs several thousand dollars. Get two or three written quotes and ask each bidder to show you a layout drawing. A contractor who will not draw the design is one to avoid.
Care and Upkeep
In spring, walk the system before hot weather arrives. Turn on each zone and watch every head. Look for heads that do not pop up, heads that spray the wrong way, and heads buried under soil or mulch. Adjust arcs and replace broken nozzles.
In fall, winterize the system if you live where the ground freezes. Blowing out the lines with compressed air keeps water from freezing and cracking the pipes. Many homeowners hire this one service each year because it takes the right equipment and a light touch. Power equipment makers such as Briggs & Stratton supply the small engines that drive many of these compressors and pumps.
Once a month during the watering season, do a quick visual check. Mowers and foot traffic knock heads out of line. Straighten tilted heads and keep grass trimmed around them so the spray clears the blades.
Safety
Call your local utility locator service before you dig. Buried power, gas, phone, and cable lines run through many yards. The locator service is free in most states and marks the lines with paint or flags. Dig by hand near any marked line.
When you tie into the house water line, know where the main shutoff is before you cut anything. If you are unsure about the plumbing, hire a licensed plumber for the tie-in and the backflow device.
Frequently Asked Questions
How many sprinkler heads do I need for my yard? It depends on yard size and head type. A small lawn of two thousand square feet might need twelve to sixteen spray heads. A half acre of open lawn might need twenty to thirty rotor heads. Count the heads on your paper layout, then add ten percent for spares.
Can I put spray heads and rotors on the same zone? No. They apply water at very different rates. On one zone the spray area would get too much water while the rotor area got too little. Keep them on separate zones with separate run times.
How far apart should sprinkler heads be? Place each head as far from its neighbor as its throw distance. A twelve-foot spray head sits twelve feet from the next head.
Do I need a permit to install a sprinkler system? Many cities require a permit for the backflow device and the water tie-in. Rules vary by town, so call the building department before you start.
What pipe size should I use? One-inch pipe is the standard main line for most home systems. Lateral lines can be one inch or three-quarter inch. When in doubt, use one inch. The cost difference is small and the larger pipe loses less pressure.
How long should each zone run? Spray zones often run ten to fifteen minutes. Rotor zones often run twenty to forty minutes. Water until moisture reaches six inches deep, then let it dry before watering again. Deep, less frequent watering builds stronger roots.
A Final Word
A sprinkler system is only as good as its layout. The drawing you make at the kitchen table decides how green the lawn will be for the next twenty years. Take your time with the measurements, respect your water limits, space every head to reach its neighbor, and divide the yard into honest zones that match sun, shade, and soil. Do the thinking first, and the system will water itself for years with very little fuss.
References
Toro. (n.d.). Lawn care and irrigation equipment. https://www.toro.com Deere. (n.d.). Lawn and garden equipment. https://www.deere.com Briggs & Stratton. (n.d.). Engines and outdoor power equipment. https://www.briggsandstratton.com
Was this guide helpful?

About Robert Taylor
The My Garden US editorial team writes practical, in-depth home and garden guides for American homeowners — tested advice, no fluff.
You May Also Like

River Rock Landscaping Ideas for the Front Yard
May 26, 2026 0 views
Crabgrass Killer for Lawns Reviews: A Homeowner’s Guide
January 30, 2026 0 views
How to Pick the Best Drought Tolerant Grass Seed California Lawns Need
September 13, 2026 0 views