Every spring, gardeners fill trays with soil and plant tiny seeds with high hopes. Then the seedlings stretch, wilt, or die, and the garden plan falls apart. This seed starting mistakes to avoid guide exists to keep that from happening. Most seed starting failures come from a small set of errors. A little too much water. A tray set too far from the window. A seed planted too deep. Each mistake is easy to make and easy to fix once you know what to look for.
Why Seed Starting Mistakes Matter
A seed holds everything a plant needs to begin. It carries a small store of food and a set of plans. But the first two weeks of life are the most fragile. A seedling cannot fight off mold. It cannot reach light that is three feet away.
When mistakes happen at this stage, they cost more than a tray of dead plants. They cost time. Seeds started six weeks early must be replaced in April, and the growing season gets shorter. A late restart means a thin harvest in August.
Mistakes also cost money. Seed packets, starting mix, trays, and heat mats add up. Throwing away a failed tray and starting over doubles the cost.
Seedlings raised well are stronger in every way. They transplant with less shock. They resist pests better. They grow into plants that produce more food and more flowers.
Mistake One: Starting Seeds at the Wrong Time: Seed Starting Mistakes to Avoid Guide
The most common error is starting too early. A gardener gets excited in February and plants tomatoes in January. The seedlings sit indoors for ten weeks. They grow tall and thin. They run out of room. By transplant time they are weak and root-bound.
Starting too late is also a problem. Some seeds need eight to ten weeks indoors. Peppers, onions, and rosemary fall in this group. If they go into the soil in May, they may not mature before frost.
The fix is simple. Read the seed packet. It tells you how many weeks before the last frost date to start. Count back from your area’s last frost. Mark the date on a calendar. For a full week-by-week plan, read our how to start seeds indoors guide.
Keep in mind that seed packets give ranges, not rules. Choose the middle of the range. Write down what you did each year. Your own notes beat any packet after a few seasons.
Mistake Two: Using Poor Light
Light is the number one cause of weak seedlings. A sunny windowsill sounds good. It is not good enough. Window light is dim compared to the sun. A seedling on a windowsill will lean toward the glass and stretch.
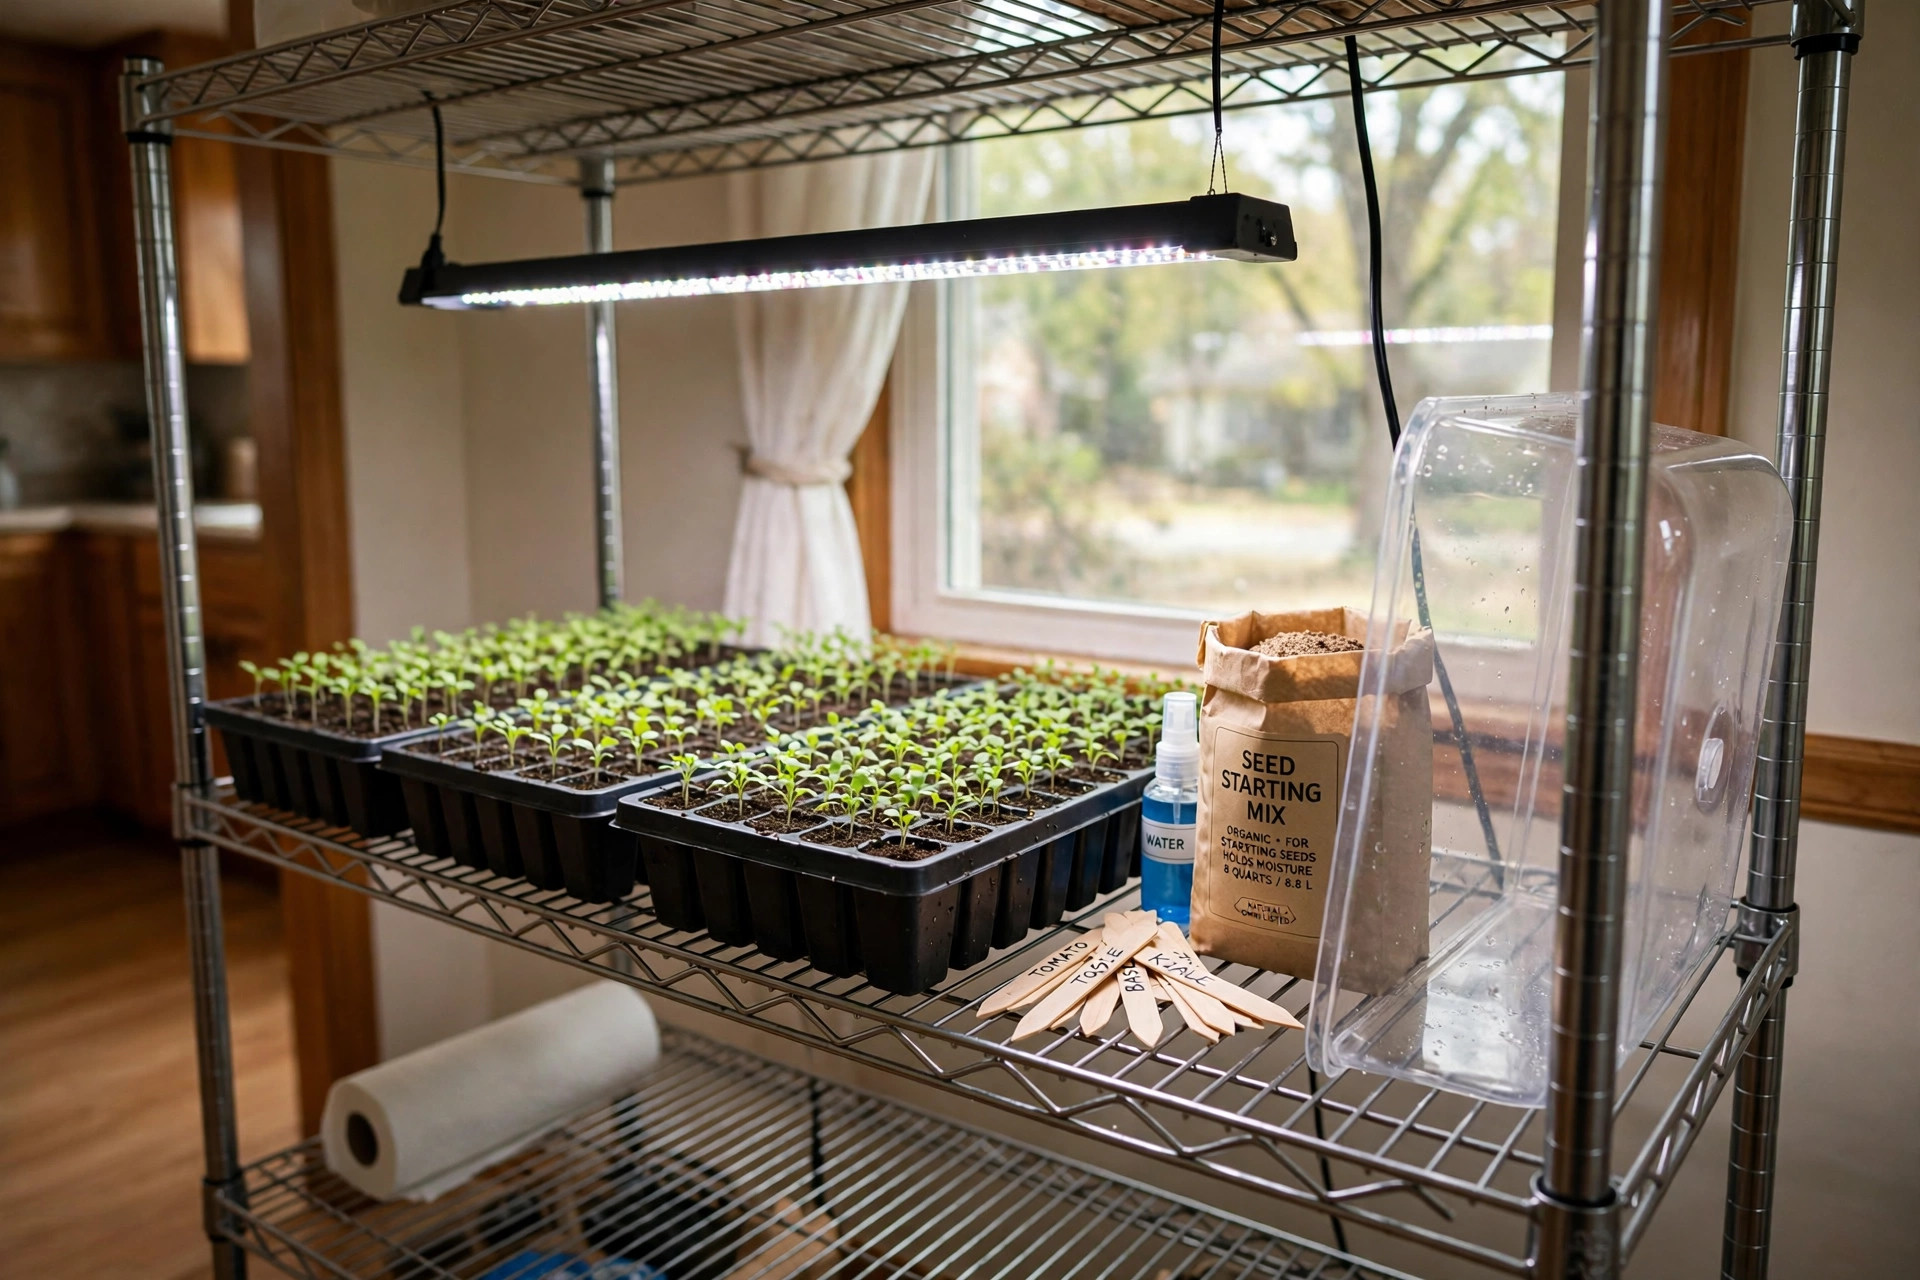
The fix is a simple shop light or a grow light. Hang the light two to three inches above the tops of the seedlings. Raise the light as the plants grow. Keep the light on for fourteen to sixteen hours a day. A cheap timer makes this easy.
Do not leave lights on all day and night. Plants need a dark period to rest. Sixteen hours of light and eight hours of dark works well for most crops.
Mistake Three: Watering the Wrong Way
Water is tricky. Too little and seeds never wake up. Too much and they rot. The most common error is watering from above with a heavy stream. This pushes seeds out of place and packs the soil down.
The better method is bottom watering. Set the tray in a shallow pan of water for ten to twenty minutes. The soil pulls water up from below. When the top of the soil feels damp, lift the tray out. Let it drain fully.
Check the soil before watering again. Press a finger into the top half inch. If it feels damp, wait. If it feels dry, water. Seedlings need even moisture, not constant soaking.
Mistake Four: Planting Seeds Too Deep
Every seed has a right depth. The general rule is to plant a seed twice as deep as the seed is wide. Tiny seeds such as lettuce and petunias need light to sprout. They should sit on the surface or get only a dusting of soil.
Planting too deep is a quiet killer. The seed uses all its stored food pushing up through the soil. It never reaches the surface. Nothing comes up, and the gardener blames the seed.
The seed packet lists the right depth. Follow it. If the packet is silent, use the twice-the-width rule. Cover fine seeds with a thin layer of vermiculite instead of heavy soil.
Mistake Five: Using the Wrong Soil
Garden soil does not belong in seed trays. It is too heavy. It packs down and holds too much water. It may carry weed seeds and disease. Potting soil from a bag is better, but it is still too coarse for tiny seeds.
Use a seed starting mix. It is fine, light, and sterile. It holds water without staying soggy. It gives roots room to spread. For a side-by-side look at your options, see our seed starting mix vs potting soil comparison before you buy.
Some gardeners mix their own. A common recipe is equal parts peat moss or coconut coir, vermiculite, and perlite. Whatever you use, moisten it before you fill the trays. Dry mix repels water at first. Wet it, squeeze out the extra, and then fill the cells. Gardener’s Supply sells pre-moistened mixes and self-watering trays that take some of the guesswork out of this step.
Mistake Six: Skipping Air Circulation
Still indoor air invites a disease called damping off. It strikes at the soil line. The stem turns thin and brown. The seedling falls over and dies. It can wipe out a whole tray overnight. A small fan set on low near the trays keeps air moving and makes stems stronger.
Do not crowd the trays. Thin seedlings to one per cell when they have their first true leaves. Crowding traps humidity and blocks air.
Clean trays also help. Wash old trays with a mix of one part bleach to nine parts water. Rinse well. Disease from last year can live on plastic.
Mistake Seven: Ignoring Temperature
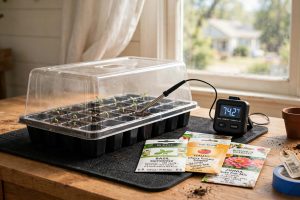
Seeds need warmth to sprout. Most vegetables germinate best between 70 and 80 degrees. A cold windowsill in March may sit at 60 degrees. Seeds planted there sprout slowly or not at all. A heat mat under the tray raises the soil temperature by ten to twenty degrees. Remove the mat once most seeds have sprouted, since seedlings prefer cooler air.
Mistake Eight: Skipping the Hardening Off Step
Hardening off means getting indoor seedlings used to outdoor life. Indoor plants have soft leaves and weak stems. The sun, wind, and cool nights of the garden will shock them. Seedlings set out without hardening wilt, sunburn, and stall for weeks.
The process takes seven to ten days. Start with one or two hours of shade outside. Bring the plants in. Add an hour or two each day. By the end, they stay out all day and all night, unless frost threatens.
Never skip this step, even for tough plants. Our full how to harden off seedlings before planting guide walks through the day-by-day plan for sun, wind, and night temperatures.
Mistake Nine: Fertilizing Too Soon or Too Much
Seed starting mix has almost no food in it. That is by design. But once seedlings grow their first true leaves, they need feeding. The mistake is waiting too long, or feeding too much at once.
Start with a weak liquid fertilizer. Mix it at one quarter of the label strength. Feed once a week. The first true leaves are the sign. True leaves look like tiny versions of the adult leaves.
Too much fertilizer burns tender roots. The leaf edges turn brown. Growth stops. If this happens, flush the tray with plain water and skip the next feeding.
Mistake Ten: Reusing Old Seed Without Testing
Seeds do not last forever. Onion seed lasts one year. Parsley lasts two. Tomato seed can last five or more in cool, dry storage. Old seed sprouts poorly. A tray planted with dead seed wastes two weeks.
Test old seed before planting season. Wet a paper towel. Place ten seeds on it. Fold it over. Put it in a plastic bag in a warm spot. Check after the days the packet lists for germination. Count how many sprouted. If seven of ten sprouted, the packet is fine. If only three sprouted, buy fresh seed.
Store seed in a cool, dry, dark place. A sealed jar in the refrigerator works well. Let the jar warm to room temperature before opening it, so moisture does not form on the cold seeds. Corona Tools sells seed storage tins that keep packets dry through the season.
What to Look For in Seed Starting Supplies
Good supplies make the job easier. You do not need much. A basic kit has trays with cells, a solid tray to hold them, a clear dome, a heat mat, a light, and a timer. Buy the light first. It matters more than anything else. Burpee and Fiskars both sell starter kits with trays, domes, and lights sized for home use.
Look for trays with drainage holes and domes with vents. Keep the dome on until seeds sprout, then remove it. Leaving it on too long invites mold.
Types of Seed Starting Setups
The simplest setup is a windowsill tray with a dome. It works for a few herbs. It fails for most vegetables because of poor light.
The standard setup is a wire shelf with shop lights. Each shelf holds two trays. This setup grows hundreds of seedlings and costs little. The Spruce keeps photo guides of common shelf and light arrangements for small homes.
The deluxe setup adds heat mats, a fan, and self-watering trays. It suits gardeners who start hundreds of plants or grow in a cold basement. Start small. You can add shelves next year.
Cost and Price
A basic start costs less than most gardeners expect. A bag of seed starting mix runs about ten dollars. A ten pack of cell trays costs about fifteen dollars. A heat mat costs about twenty to twenty five dollars. A two pack of four foot LED shop lights costs about forty dollars. All told, a solid setup runs about one hundred dollars.
That setup lasts for years. Trays can be washed and reused. Lights last many seasons. The yearly cost drops to seed and mix, often under thirty dollars. Growing your own pays for itself in the first year.
Seeds themselves are cheap. Most packets cost three to five dollars and hold far more seed than one garden needs. Home Depot stocks starter kits that bundle trays, domes, and mix for first time growers.
Care and Upkeep Through the Season
Check the trays once a day. Look at the moisture. Look at the light height. Look for mold on the soil surface. A white fuzzy layer means too much water and too little air. Scrape it off, cut back on water, and run the fan.
Label everything. A tray of unlabeled seedlings is a mystery in April. Write the variety and the date on plastic tags. Family Handyman publishes seasonal task lists that fit seed starting into the wider spring garden routine.
Keep a simple log. Note the planting date, the sprout date, and any problems. Next year the log tells you what to change. Bob Vila’s garden section offers season checklists that help you track what you planted and when.
Safety
Wash your hands after handling soil mix. Peat and coir dust can irritate lungs, so wear a dust mask when you pour dry mix. Wet the mix before you work with it to keep dust down.
Keep fertilizers and seed treatments away from children and pets. Store them on a high shelf. Unplug heat mats and lights when you leave for long trips. Water and electricity share the same shelf, so keep cords dry.
Frequently Asked Questions
Why did my seeds not sprout at all?
Three causes cover most cases. The seed was too old. The soil was too cold. Or the seed was planted too deep. Test old seed with the paper towel method. Use a heat mat for warmth. Check the packet for depth.
Why are my seedlings tall and floppy?
The light is too far away or too weak. Move the light to two or three inches above the plants. Keep it on fourteen to sixteen hours a day. A fan also helps by making stems grow thicker.
When should I remove the humidity dome?
Remove the dome as soon as most seeds have sprouted. After sprouting, the dome holds too much humidity and invites mold.
Can I use regular potting soil for seeds?
You can, but seed starting mix works better. Potting soil has large chunks that leave gaps around tiny seeds. If potting soil is all you have, sift it through a coarse screen and mix in extra perlite.
How often should I water seedlings?
Water when the top half inch of soil feels dry. For most indoor setups, this means every two to three days. Bottom watering is best. Never let trays sit in standing water overnight.
Do seedlings need fertilizer before transplanting?
Yes, once they have true leaves. Use liquid fertilizer at one quarter strength once a week. Seed starting mix has no food. Without feeding, seedlings turn pale and stop growing.
A Final Word
Seed starting rewards care and punishes hurry. It is tempting to plant early. It is tempting to trust the windowsill. It is tempting to water on a schedule instead of checking the soil. Each shortcut costs more time than it saves.
Fix the light. Water from below. Harden off every tray. You will see the difference in a week. Strong seedlings make a strong garden, and a strong garden starts on a shelf in your home, weeks before the last frost.
References
Bob Vila. (n.d.). Home improvement advice. https://www.bobvila.com Burpee. (n.d.). Seeds, plants, and gardening supplies. https://www.burpee.com Corona Tools. (n.d.). Garden and landscape tools. https://www.corona-tools.com Family Handyman. (n.d.). DIY home repair and maintenance. https://www.familyhandyman.com Fiskars. (n.d.). Garden and cutting tools. https://www.fiskars.com Gardener’s Supply Company. (n.d.). Gardening tools and supplies. https://www.gardeners.com The Home Depot. (n.d.). Home improvement products. https://www.homedepot.com The Spruce. (n.d.). Home and garden advice. https://www.thespruce.com
Was this guide helpful?

About Robert Taylor
The My Garden US editorial team writes practical, in-depth home and garden guides for American homeowners — tested advice, no fluff.