
Introduction
Every winter, cold snaps turn water inside home pipes into solid ice. This guide on how to thaw frozen pipes safely explains what to do when that happens in an American home. It walks through each step in plain order, from finding the frozen section to applying gentle heat.
Frozen pipes are more than a nuisance. When water freezes, it expands. That pressure can split a pipe and flood a home when the ice melts. A burst pipe can release hundreds of gallons of water in a single day.
The good news is that a frozen pipe found early can often be thawed by the homeowner. The key word is gently. Quick heat from a torch or an open flame can crack the pipe or start a fire.
Why Frozen Pipes Are a Serious Problem: How to Thaw Frozen Pipes Safely Usa Guide
Water expands by about nine percent when it freezes. Inside a closed pipe, that expansion has nowhere to go. Pressure builds between the ice blockage and a closed faucet. Most home pipes are not built to hold that force.
The burst usually happens where the ice is not, not where it is. The ice pushes water ahead of it, and the pipe fails at a weak joint or thin spot. When the ice finally melts, water pours out of the break.
The Environmental Protection Agency notes that household leaks waste large amounts of water each year. A burst pipe is one of the fastest ways a home can waste water and suffer damage at the same time. Acting early on a frozen pipe protects both the home and the water supply.
Pipes in unheated spaces freeze first. Crawl spaces, attics, garages, and exterior walls are the danger zones. A cold snap that drops below 20 degrees Fahrenheit puts these pipes at real risk, especially if the heat is turned down or the home is empty.
How to Tell Which Pipe Is Frozen
Before any heat is applied, the frozen section must be found. Start at the faucet that has no water or only a trickle. If one faucet is dry but others work, the freeze is in the line feeding that faucet. If no faucet in the house works, the main supply line may be frozen.
Turn on the affected faucet and leave it open a small amount. This gives melting water and steam a place to escape. It also tells you the moment the ice clears, because water will start to flow.
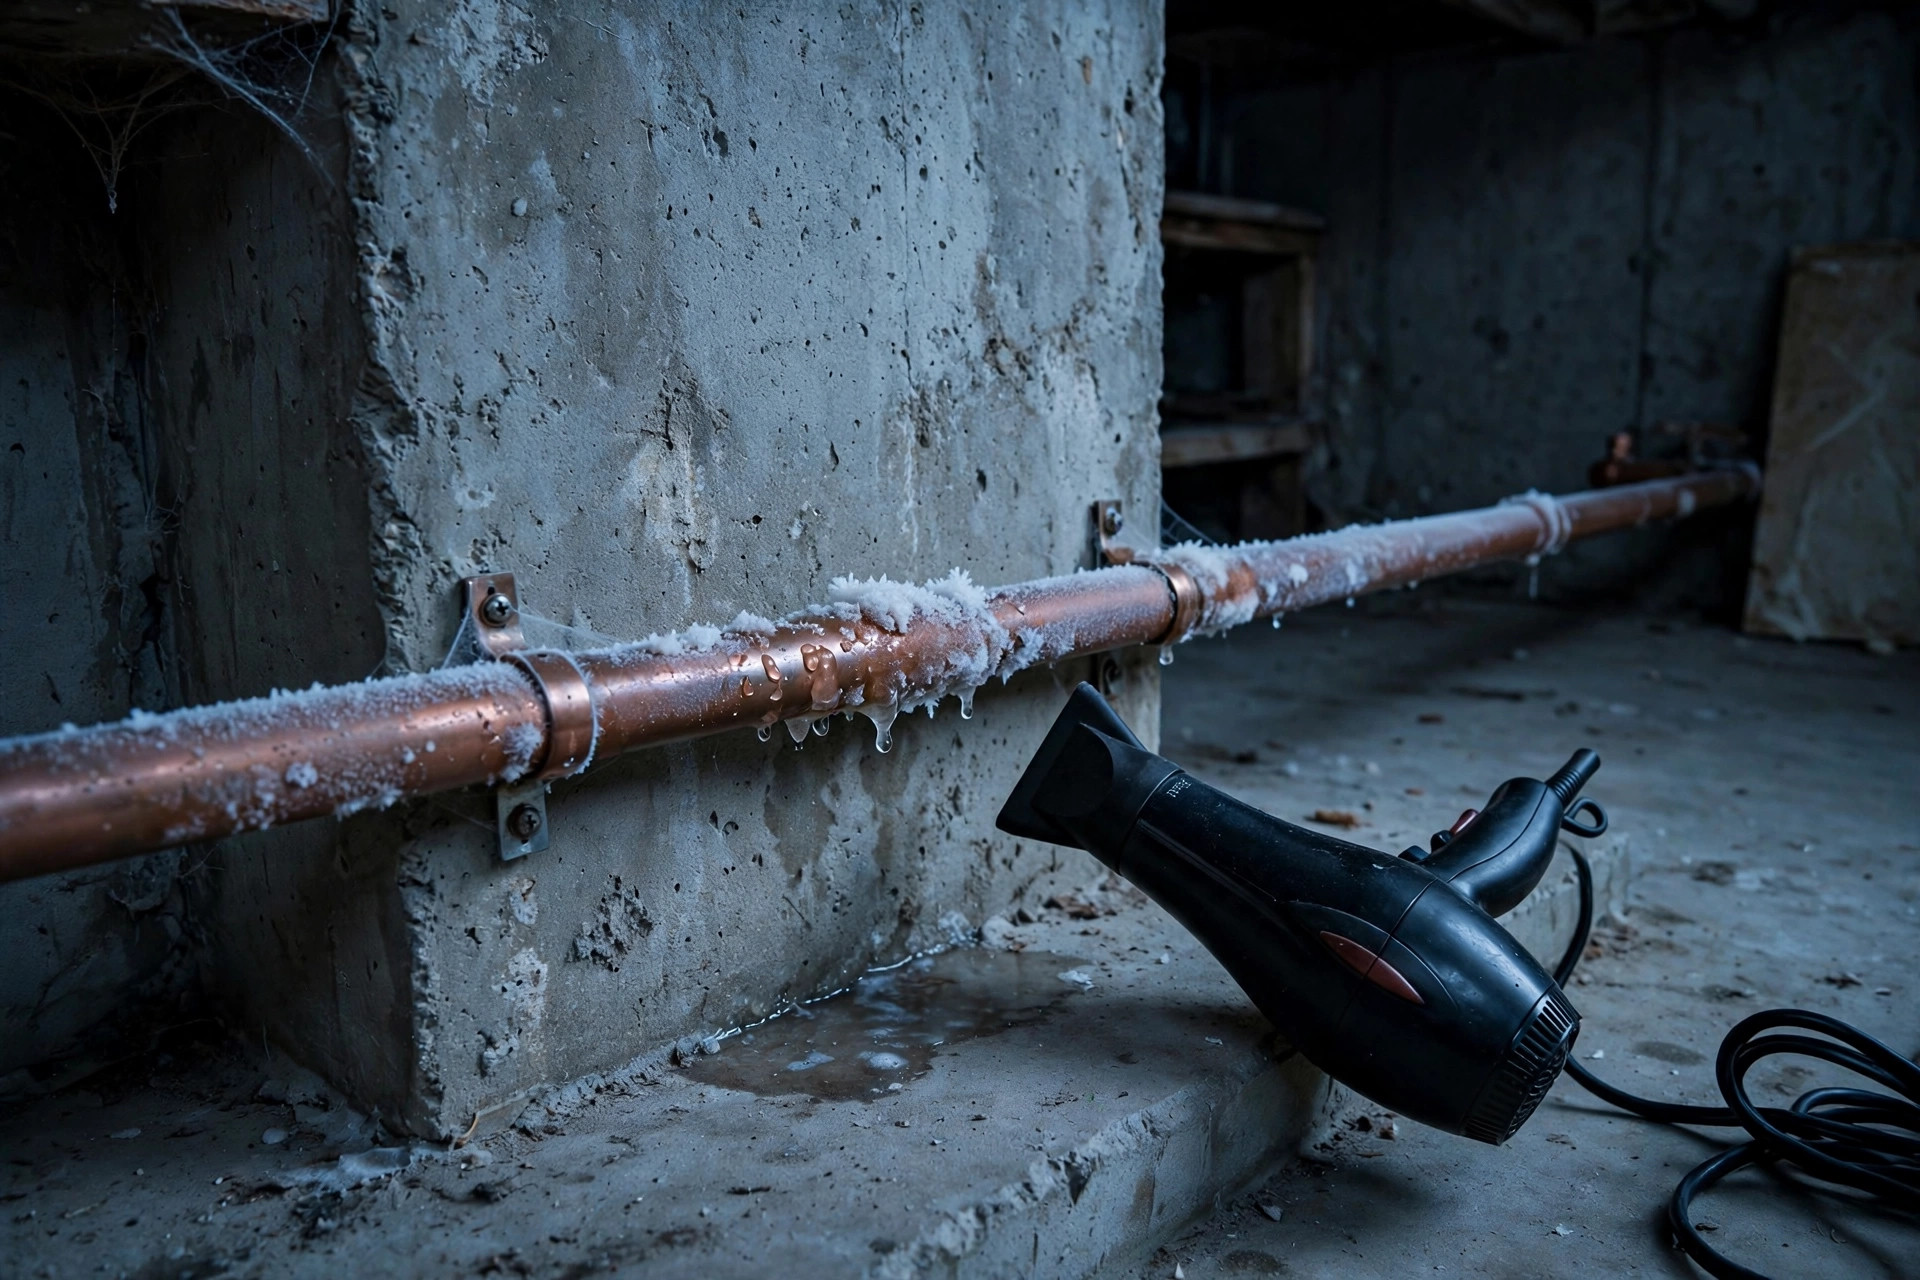
Follow the pipe from the dry faucet back toward the main shutoff. Feel the pipe with the back of the hand. The frozen section often feels much colder than the rest. Frost on the outside of the pipe is a clear sign.
Tap the pipe gently with a screwdriver handle. A frozen section gives a dull, solid sound. A section with liquid water sounds hollow. Mark the dull spot with tape so the thawing work stays in the right place.
If the frozen pipe is inside a wall and cannot be reached, do not cut the wall open at once. First try warming the wall from the room side with a space heater kept at a safe distance. The Family Handyman site offers diagrams that show where pipes commonly freeze inside walls.
How to Thaw Frozen Pipes Safely
Thawing is done from the faucet end toward the frozen blockage. Heat applied at the faucet side lets melting water run out through the open tap. Heat applied at the far side can trap steam and pressure behind the ice. That trapped pressure can burst the pipe.
Step 1: Open the Faucet
Turn on the faucet served by the frozen pipe. Open both the hot and cold handles if the line feeds both. A slow trickle is enough. The moving water helps melt the ice and gives pressure a safe path out.
Step 2: Shut Off Water if the Pipe Is Damaged
Look along the pipe for cracks, splits, or bulging joints. If any damage is visible, close the main water shutoff valve before thawing. Every adult in the home should know where this valve is. It is usually near the water meter or where the main line enters the house.
If no damage is visible, the main valve can stay open during thawing. Keep watching for leaks as the ice melts.
Step 3: Apply Gentle Heat
The safest tools are a hair dryer, a heat lamp, or an electric heating pad wrapped around the pipe. A hair dryer on a medium setting is the classic choice. Move it back and forth along the frozen section, starting near the faucet and working toward the blockage.
Hot towels are another gentle method. Soak towels in hot water, wring them out, and wrap them around the pipe. Replace them as they cool. This method is slow but very safe for plastic pipe.
Never use a propane torch, a kerosene heater, a charcoal stove, or any open flame. The fire risk is real, and sudden heat can split the pipe.
Step 4: Warm the Room Around the Pipe
Raise the temperature in the area if possible. A portable space heater pointed at the general area, kept several feet from anything flammable, helps the whole line warm evenly. Open cabinet doors under sinks so warm room air reaches pipes in exterior walls.
Do not leave a space heater running unattended. Check cords for damage before use. Guidance from retailers such as The Home Depot covers safe spacing for portable heaters during winter emergencies.
Step 5: Check for Leaks as the Ice Melts
Keep the faucet open and watch the pipe as water begins to flow. Look and listen for drips at joints and fittings. If water appears where it should not, close the main shutoff valve at once and call a plumber. A small leak can often be caught with a bucket while waiting for repair.
Run the water for several minutes after full flow returns. This clears any remaining ice chips.
What Never to Do
Some methods look fast but cause real harm. Never use an open flame on a pipe. Torches and heat guns on high settings can overheat one spot and weaken soldered joints. They can also ignite wood framing, insulation, or dust inside walls.
Never pour boiling water directly on a frozen pipe. The shock of extreme heat on ice-cold metal or plastic can crack it. Warm water on towels is fine. A kettle of boiling water poured on the pipe is not.
Never thaw a pipe with the faucet closed. Pressure needs an escape path. Never use antifreeze or chemical de-icers inside drinking water pipes.
Do not bang on the pipe with a hammer or wrench. A sharp blow can crack a brittle, ice-filled pipe.
If the home has a fire sprinkler system, do not try to thaw those lines. Call the installer or the fire department for advice.
Types of Pipes and Thawing Tips
Different pipe materials react to heat in different ways. Knowing the material helps choose the right method.
Copper Pipes
Copper carries heat well, which is both a help and a risk. A hair dryer works well on copper because the warmth spreads along the line. Keep the dryer moving so one spot does not get too hot.
PEX Pipes
PEX is a flexible plastic that can expand a little when water freezes inside it. It bursts less often than copper. Use only gentle heat on PEX, and keep a hair dryer on low or medium. High heat can soften the plastic.
PVC and CPVC Pipes
Rigid plastic pipe needs the gentlest treatment of all. Hot towels and warm room air are the best choices. Keep any electric heat source on its lowest setting. Never use a heat gun on plastic pipe.
Product guides from makers such as Moen and Delta Faucet explain which pipe materials connect to modern fixtures, which helps homeowners identify what runs through their walls.
Cost and Price
Thawing a pipe yourself costs little. A hair dryer is already in most homes. Electric heat tape costs about 15 to 40 dollars for a common length. A portable space heater runs 30 to 80 dollars. Hot towels cost nothing but time.
Calling a plumber costs more. A simple thawing visit often runs 150 to 350 dollars, depending on the region and the time of day. Emergency calls at night or on weekends can cost double. If the pipe has burst, fixing one section may cost 200 to 500 dollars. Water damage restoration can run into the thousands.
Prevention is the cheapest option. Pipe insulation sleeves cost a few dollars each. A faucet cover for an outdoor spigot costs under 10 dollars. Letting a faucet drip during a hard freeze adds only pennies to the water bill.
Homes on private wells face extra risk because well equipment often sits in unheated pump houses. Owners may want to review well pressure tank reviews and plan for well water testing after any freeze that affects the system. Keeping the pump house warm protects the whole supply.
A burst that damages a water heater is another costly surprise. Households thinking about an upgrade can compare heat pump water heater installation costs while planning repairs, since efficient models lower energy bills for years.
Care and Upkeep: Preventing Frozen Pipes
The best time to deal with frozen pipes is before winter arrives. A short checklist each fall prevents most freeze-ups.
Insulate pipes in cold areas. Foam sleeves slide over pipes in crawl spaces, attics, and garages. Pay special attention to pipes near exterior walls and in unheated basements. Seal air leaks around the pipes with caulk or foam so cold wind cannot reach them.
Disconnect garden hoses before the first freeze. Shut off the indoor valve feeding each outdoor spigot, then open the outdoor spigot to drain it. Frost-free spigots still need the hose removed.
Keep the heat on. Set the thermostat no lower than 55 degrees Fahrenheit, even when away. Open cabinet doors under sinks on exterior walls during cold snaps so warm air circulates. Let faucets drip slightly when temperatures drop below 20 degrees.
Know the main shutoff location and test it once a year. A valve that has not moved in a decade may stick when it is needed most.
Consider a temperature alarm for vacation homes. These small devices call or text the owner when indoor temperature drops near freezing. Lowe’s and similar retailers stock both insulation and alarms in their plumbing aisles.
Safety
Safety comes first in every step. Keep all electrical devices away from standing water. Do not stand in a puddle while using a hair dryer or heat lamp. If the area around the pipe is wet, dry it or call a professional.
Watch for the signs of a gas leak if working near a furnace or water heater. If a rotten-egg smell is present, leave the house and call the gas company from outside. Do not use any electrical device in that situation.
Carbon monoxide is a silent danger in winter. Never use a grill, generator, or fuel-burning heater indoors to warm pipes. Use only electric heat sources inside the home, and keep smoke and carbon monoxide alarms working.
If the pipe is behind a wall that smells scorched or shows scorch marks from a past thawing attempt, stop and call a plumber. The Kohler and Aquasana resource pages remind homeowners that water systems connect to the whole house, so one damaged section can affect water quality everywhere.
Wear gloves when handling hot towels and heated pipe. Metal pipe holds heat and can burn skin. Keep children and pets away from the work area until the job is done.
FAQ
How long does it take to thaw a frozen pipe?
It depends on the length of the frozen section and the method used. A short section under a sink may clear in 30 to 45 minutes with a hair dryer. A long run in a crawl space can take several hours. Patience gives the best result.
Can I use a heat gun to thaw a pipe?
A heat gun is not recommended for most homeowners. Even on low, it can heat one spot past the safe limit for soldered joints and plastic pipe. A hair dryer is slower but far safer. If a heat gun is the only tool available, keep it on the lowest setting and keep it moving at all times.
Should I call a plumber or do it myself?
An accessible pipe with no visible damage is a fair do-it-yourself job. Call a plumber when the pipe is inside a wall, when damage is visible, or when the main line is frozen. How-to articles from This Old House describe the same rule: access and condition decide the call.
Will my pipes burst if they freeze?
Not every frozen pipe bursts, but the risk is real. PEX pipe resists bursting better than copper or rigid plastic. The danger grows the longer the freeze lasts and the colder it gets. Any frozen pipe should be treated as a burst waiting to happen until it is thawed and checked.
What should I do if the pipe has already burst?
Close the main water shutoff valve right away. Turn off the water heater to protect it from running dry. Move valuables out of the water’s path. Call a plumber for the repair and call the insurance company to start a claim. Take photos of the damage for the claim file.
How cold does it have to be for pipes to freeze?
Pipes can freeze when the air around them drops below 32 degrees Fahrenheit. The risk rises sharply below 20 degrees. Wind, poor insulation, and drafts make freezing likely even when the thermostat reads normal. Pipes on exterior walls can freeze while the room feels warm.
A Short Final Word
A frozen pipe is a winter emergency that rewards calm, steady work. Find the frozen section. Open the faucet. Apply gentle heat from the faucet side. Watch for leaks as the ice melts. Never use an open flame, and never seal the pressure inside.
References
Aquasana. (n.d.). Water filtration systems. https://www.aquasana.com Delta Faucet. (n.d.). Kitchen and bathroom faucets. https://www.deltafaucet.com Family Handyman. (n.d.). DIY home repair and maintenance. https://www.familyhandyman.com Kohler. (n.d.). Bathroom and kitchen fixtures. https://www.kohler.com Lowe’s. (n.d.). Home improvement products. https://www.lowes.com Moen. (n.d.). Faucets and plumbing fixtures. https://www.moen.com The Home Depot. (n.d.). Home improvement products. https://www.homedepot.com This Old House. (n.d.). Home renovation guidance. https://www.thisoldhouse.com U.S. Environmental Protection Agency. (n.d.). Protecting human health and the environment. https://www.epa.gov
Was this guide helpful?

About Sarah Mitchell
The My Garden US editorial team writes practical, in-depth home and garden guides for American homeowners — tested advice, no fluff.
You May Also Like
UV Water Purifier for Well Water Reviews: What Rural Homeowners Should Know
September 6, 2026 0 views
Submersible Well Pump Reviews for Deep Wells
September 27, 2026 0 views
Sulfur Smell in Well Water Filter Solution: A Complete Guide
March 14, 2026 0 views