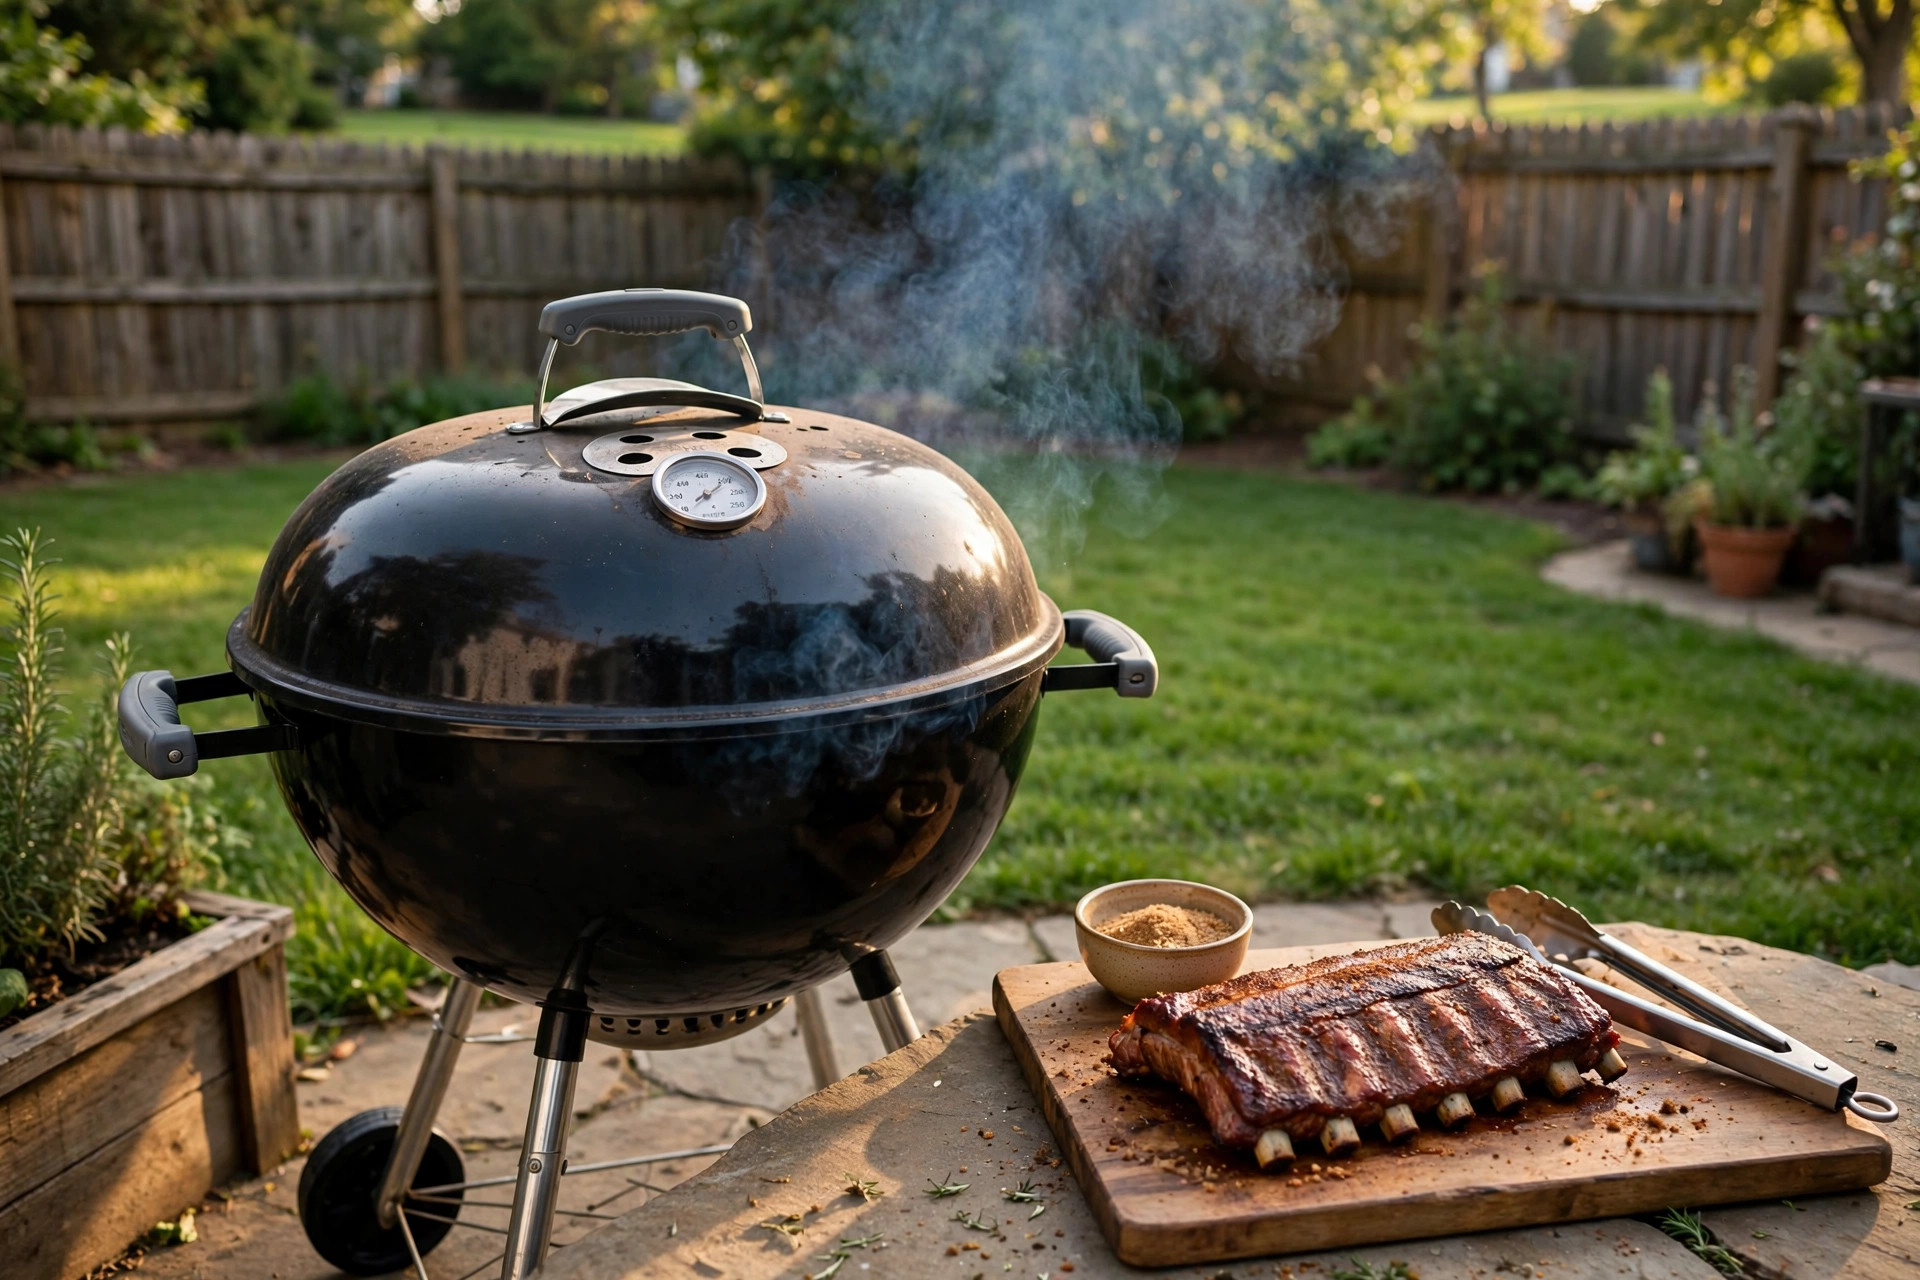

Learning how to smoke ribs on charcoal grill changed the way many families eat on weekends. A charcoal grill can make ribs that are tender, smoky, and full of flavor. It costs less than a dedicated smoker, and most backyards already have one. The process takes time and patience. The reward is a rack of ribs that pulls clean from the bone.
This guide walks through the whole job from start to finish. It covers the right cut of meat, how to set up the coals, how long to cook, and what to avoid. The steps are written for a home cook with a basic kettle grill. No fancy tools are required. Follow them once, and the second rack will be even better.
Why Smoking Ribs on Charcoal Is Worth the Effort
Restaurants charge a high price for smoked ribs. A good rack can cost as much as a full bag of charcoal and a cheap cut of meat. When you smoke ribs at home, the cost per rack drops fast. One load of charcoal and one rack of ribs can feed four people for the price of a single restaurant plate.
Charcoal gives a flavor that gas cannot copy. The burning coals make a dry, clean heat. Wood chunks placed on the coals add real smoke. Together they build a pink smoke ring and a deep bark on the meat. A best charcoal grill for backyard bbq already does most of the work. It only needs a few adjustments to become a fine smoker.
The process also teaches the basics of fire control. Anyone who learns to hold a grill at 225 to 250 degrees learns a skill that applies to brisket, pork shoulder, and whole chicken. It is a slow afternoon hobby as much as it is cooking.
What to Look for When Buying Ribs: How to Smoke Ribs on Charcoal Grill
The meat matters as much as the fire. Two main types of ribs are sold in most stores.
Spare Ribs
Spare ribs come from the belly side of the pig. They are large and flat. They have more fat and more bone. They take longer to cook, about five to six hours. They are the classic choice for low and slow smoking, and they often cost less per pound.
Baby Back Ribs
Baby backs come from the upper part of the rib cage, near the loin. They are smaller and leaner. They cook faster, in about four to five hours. They are a good pick for a first attempt because they are easier to handle and harder to overcook into dryness.
Look for racks with even thickness from end to end. Thin spots dry out before thick spots finish. The meat should look pink and fresh, not gray. Avoid racks with a lot of loose, hanging flaps of meat, which burn before the ribs are done. If the rack still has the thin silver membrane on the bone side, plan to remove it before seasoning.
Setting Up the Charcoal Grill for Smoking
Smoking is not grilling. Grilling uses hot, direct heat. Smoking uses low, indirect heat over many hours. The ribs must sit away from the coals, not over them.
The Two-Zone Fire
Pile lit charcoal on one side of the grill. Leave the other side empty. The ribs go on the empty side, away from the direct heat. The lid stays closed the whole time. This is called a two-zone setup, and it is the heart of the method.
A full chimney of briquettes is a good starting amount. If you are unsure of the step, read a guide on how to start charcoal grill without lighter before you begin. Briquettes burn longer and more evenly than lump charcoal, which helps on long cooks.
Adding Wood for Smoke
Place two or three chunks of hardwood on the hot coals. Hickory and oak are the standard choices for pork. Apple and cherry give a milder, sweeter smoke. Soak the wood is a common tip, but most pitmasters skip soaking. Dry chunks give a cleaner smoke with less bitterness.
Controlling the Temperature
Aim for 225 to 250 degrees inside the grill. Use the bottom vent to control the heat. Open it a quarter of the way at the start. Adjust in small moves. The top vent should stay mostly open so smoke can flow. A clip-on thermometer at the grate level gives a true reading. The lid thermometer sits too high and reads hotter than the meat zone.
Resist the urge to open the lid. Every peek costs heat and adds fifteen minutes to the cook. Check the ribs once an hour at most.
Preparing the Ribs Before They Go on the Grill
Good ribs start with good prep. Plan to prep them an hour before the grill is hot, or the night before.
1. Remove the membrane. Slide a butter knife under the thin silver skin on the bone side of the rack. Grab the loosened corner with a paper towel and pull it off in one sheet. It comes away with a steady pull. This step lets the smoke and rub reach the meat.
2. Trim loose bits. Cut off any large flaps of fat or thin meat strips. They will burn long before the ribs finish.
3. Apply the rub. Coat both sides of the rack with a thin layer of yellow mustard or oil. Then shake on a dry rub in an even layer. A best bbq rub for ribs homemade blend of salt, pepper, paprika, and brown sugar works well. Let the rubbed ribs rest at room temperature for thirty to forty-five minutes while the grill comes up to heat.
4. Bring ribs to room temperature. Cold meat on a hot grill drops the temperature and steams instead of smokes. Thirty minutes on the counter is enough.
The Cooking Process, Step by Step
The full cook takes four to six hours. Plan your day around it. Once the ribs are on, the work is small but the wait is long.
Hour One and Two
Lay the rack bone-side down on the cool side of the grate. Close the lid with the top vent over the ribs, so smoke draws across them. Do not touch them for two hours. Thin blue smoke should curl from the vent. Thick white smoke means the fire is too hot or the wood is smothering. Adjust the bottom vent down a little.
Hour Three
Check the ribs. The surface should look dark and set, like bark on a tree. If the rub still looks wet and loose, give it another thirty minutes. If it is set, wrap the rack in heavy-duty foil with a splash of apple juice or beer. This is called the Texas crutch. It pushes the ribs through the stall, the period when the meat sweats and the temperature stops rising.
Hour Four and Five
Leave the wrapped ribs on the grill for one to two hours. Then unwrap them. The meat should have pulled back from the ends of the bones by about a quarter inch. That is the classic sign of doneness. Put the unwrapped rack back on the grate to firm the bark back up.
The Sauce Step
Brush on a thin coat of sauce in the last thirty minutes, if you like sauce. Many cooks serve ribs dry, with sauce on the side. If you sauce them, keep the coat thin. Thick sauce burns in the heat and turns bitter. Let the sauce set for fifteen minutes before taking the ribs off.
Resting
Rest the ribs for fifteen to twenty minutes under loose foil. The juices settle back into the meat. Cut between the bones and serve.
Types and Options for Smokers and Setups
A standard kettle grill is the most common tool for this job. Its round shape and tight lid hold smoke well. Weber makes the best-known kettle, and Weber publishes free setup guides for two-zone cooking.
For cooks who want more smoke time per load of coal, a kamado-style grill holds heat longer. Big Green Egg and Napoleon both sell ceramic cookers that can smoke for eight hours on one load. They cost more but save fuel on long cooks.
Pellet grills are another path. Traeger and Char-Broil sell grills that feed wood pellets by machine and hold the temperature for you. They are easier but cost more, and the smoke flavor is lighter than charcoal.
Some cooks add a hinged cooking grate or a slow-and-sear insert to a kettle grill. Broil King also sells gas and charcoal units with good heat control. For deep reading on smoke science, AmazingRibs is a well-known free source. Consumer Reports tests grills and smokers each year. Home Depot carries the coals, wood chunks, thermometers, and foil used in this guide.
Cost and Price: What the Job Really Costs
Smoking ribs at home is a cheap hobby as it goes. A basic 22-inch kettle grill costs little and lasts for years. A full chimney of briquettes costs a few dollars. A rack of spare ribs from the grocery store is the main cost, and it still beats restaurant prices by a wide margin.
Wood chunks are cheap. One bag lasts for many cooks. A dry rub made from pantry spices costs almost nothing per rack. The only real cost is time. Four to six hours of your afternoon goes into one rack. Most cooks enjoy that time with family and friends, so it hardly feels like a cost at all.
If you cook ribs often, the savings add up fast. Ten racks at home cost less than ten racks at a barbecue joint. The grill pays for itself in one summer.
Care and Upkeep of Your Grill
A clean grill smokes better and lasts longer. After each cook, close all vents and let the coals die out. Do not douse a hot grill with water. It warps the metal and cracks ceramic parts.
Once the grill is cool, brush the grate with a stiff wire brush. Empty the ash catcher. Built-up ash blocks airflow and makes temperature control hard. Old ash also holds moisture and rusts the bowl.
Wipe the inside of the lid now and then. Grease builds up into a black, flaky layer. It will not hurt the food, but thick layers can drop flakes onto the meat. Check the legs and wheels once a season. Tighten any loose bolts.
Cover the grill between cooks. A dry grill resists rust. With basic care, a kettle grill can serve a family for a decade or more.
Safety on a Long Cook
A charcoal fire burns for hours with little attention. Treat it with care.
– Place the grill on a flat, stable surface, away from wooden decks, fences, and overhangs. Ten feet of clear space is a safe rule. – Never use a charcoal grill indoors or in a garage. The fumes can kill. Even an open garage door is not safe enough. – Keep children and pets away from the grill. The outside of the grill stays hot for a long time. – Wear long grill gloves when you lift the lid or move the grate. Tongs with long handles keep your hands clear of the heat. – Keep a spray bottle of water nearby for small flare-ups. For a real fire, close the lid and both vents. Cutting off the air kills the fire. – Let the coals cool fully before you dump the ash. Ash can stay hot for a full day. Store used ash in a metal can with a lid.
Food safety matters too. Raw pork must stay cold until it goes on the grill. Do not let the rubbed rack sit out for more than an hour. Wash your hands and tools after touching raw meat.
Frequently Asked Questions
How long does it take to smoke ribs on a charcoal grill?
Baby back ribs take about four to five hours. Spare ribs take five to six hours. These are rough numbers. The real test is how the meat feels. When a toothpick slides into the meat with little resistance, the ribs are done.
What temperature should the grill hold?
Hold 225 to 250 degrees at the cooking grate. This range cooks the meat slowly and renders the fat. Hotter than 275 and the ribs dry out on the outside before the inside is tender.
Should I wrap my ribs in foil?
Wrapping is a choice, not a rule. Foil speeds up the cook and keeps the ribs moist. It softens the bark a little. Many cooks wrap for one to two hours in the middle of the cook, then unwrap to firm the crust. Try it both ways and pick the one you like.
How much charcoal do I need for ribs?
One full chimney of briquettes starts the cook. Have a second chimney ready to add lit coals through the cook. Adding six to eight lit coals per hour keeps the fire steady without big temperature swings.
What wood is best for smoking ribs?
Hickory is the classic pork wood. It gives a strong, hearty smoke. Oak is milder and burns clean. Apple and cherry add a sweet note and a nice color. Mix hickory with a fruit wood for balance. Avoid softwoods like pine. They give off a harsh taste.
How do I know when ribs are done?
Three signs tell the story. The meat pulls back from the bone ends. The rack bends easily when lifted with tongs. A toothpick or probe slides through the meat with little push. Do not rely on time alone. Every rack and every fire is a little different.
A Short Final Word
How to smoke ribs on charcoal grill is a skill anyone can learn in one afternoon. The rules are simple. Low heat, indirect fire, clean smoke, and patience. The first rack may not be perfect. The second will be better. By the third, your family will ask for ribs every weekend. Fire up the grill, pour a cold drink, and enjoy the slow hours. The smoke will do the rest.
References
AmazingRibs.com. (n.d.). Barbecue and grilling science. https://www.amazingribs.com Big Green Egg. (n.d.). Kamado grills and outdoor cooking. https://www.biggreenegg.com Broil King. (n.d.). Gas and charcoal grills. https://www.broilkingbbq.com Char-Broil. (n.d.). Gas and charcoal grills. https://www.charbroil.com Consumer Reports. (n.d.). Product reviews and ratings. https://www.consumerreports.org Napoleon. (n.d.). Fireplaces, grills, and heating products. https://www.napoleon.com The Home Depot. (n.d.). Home improvement products. https://www.homedepot.com Traeger. (n.d.). Wood pellet grills. https://www.traeger.com Weber. (n.d.). Grills and outdoor cooking. https://www.weber.com
Was this guide helpful?

About David Wilson
The My Garden US editorial team writes practical, in-depth home and garden guides for American homeowners — tested advice, no fluff.
You May Also Like
How to Grill Steak on Gas Grill: A Plain Guide to Juicy Steaks
January 9, 2026 0 views
Pellet Grill Sale Near Me Deals: A Smart Buyer Guide
January 11, 2026 0 views
Best BBQ for Beginners Under 200: A Plain Guide to Your First Grill
September 27, 2026 0 views