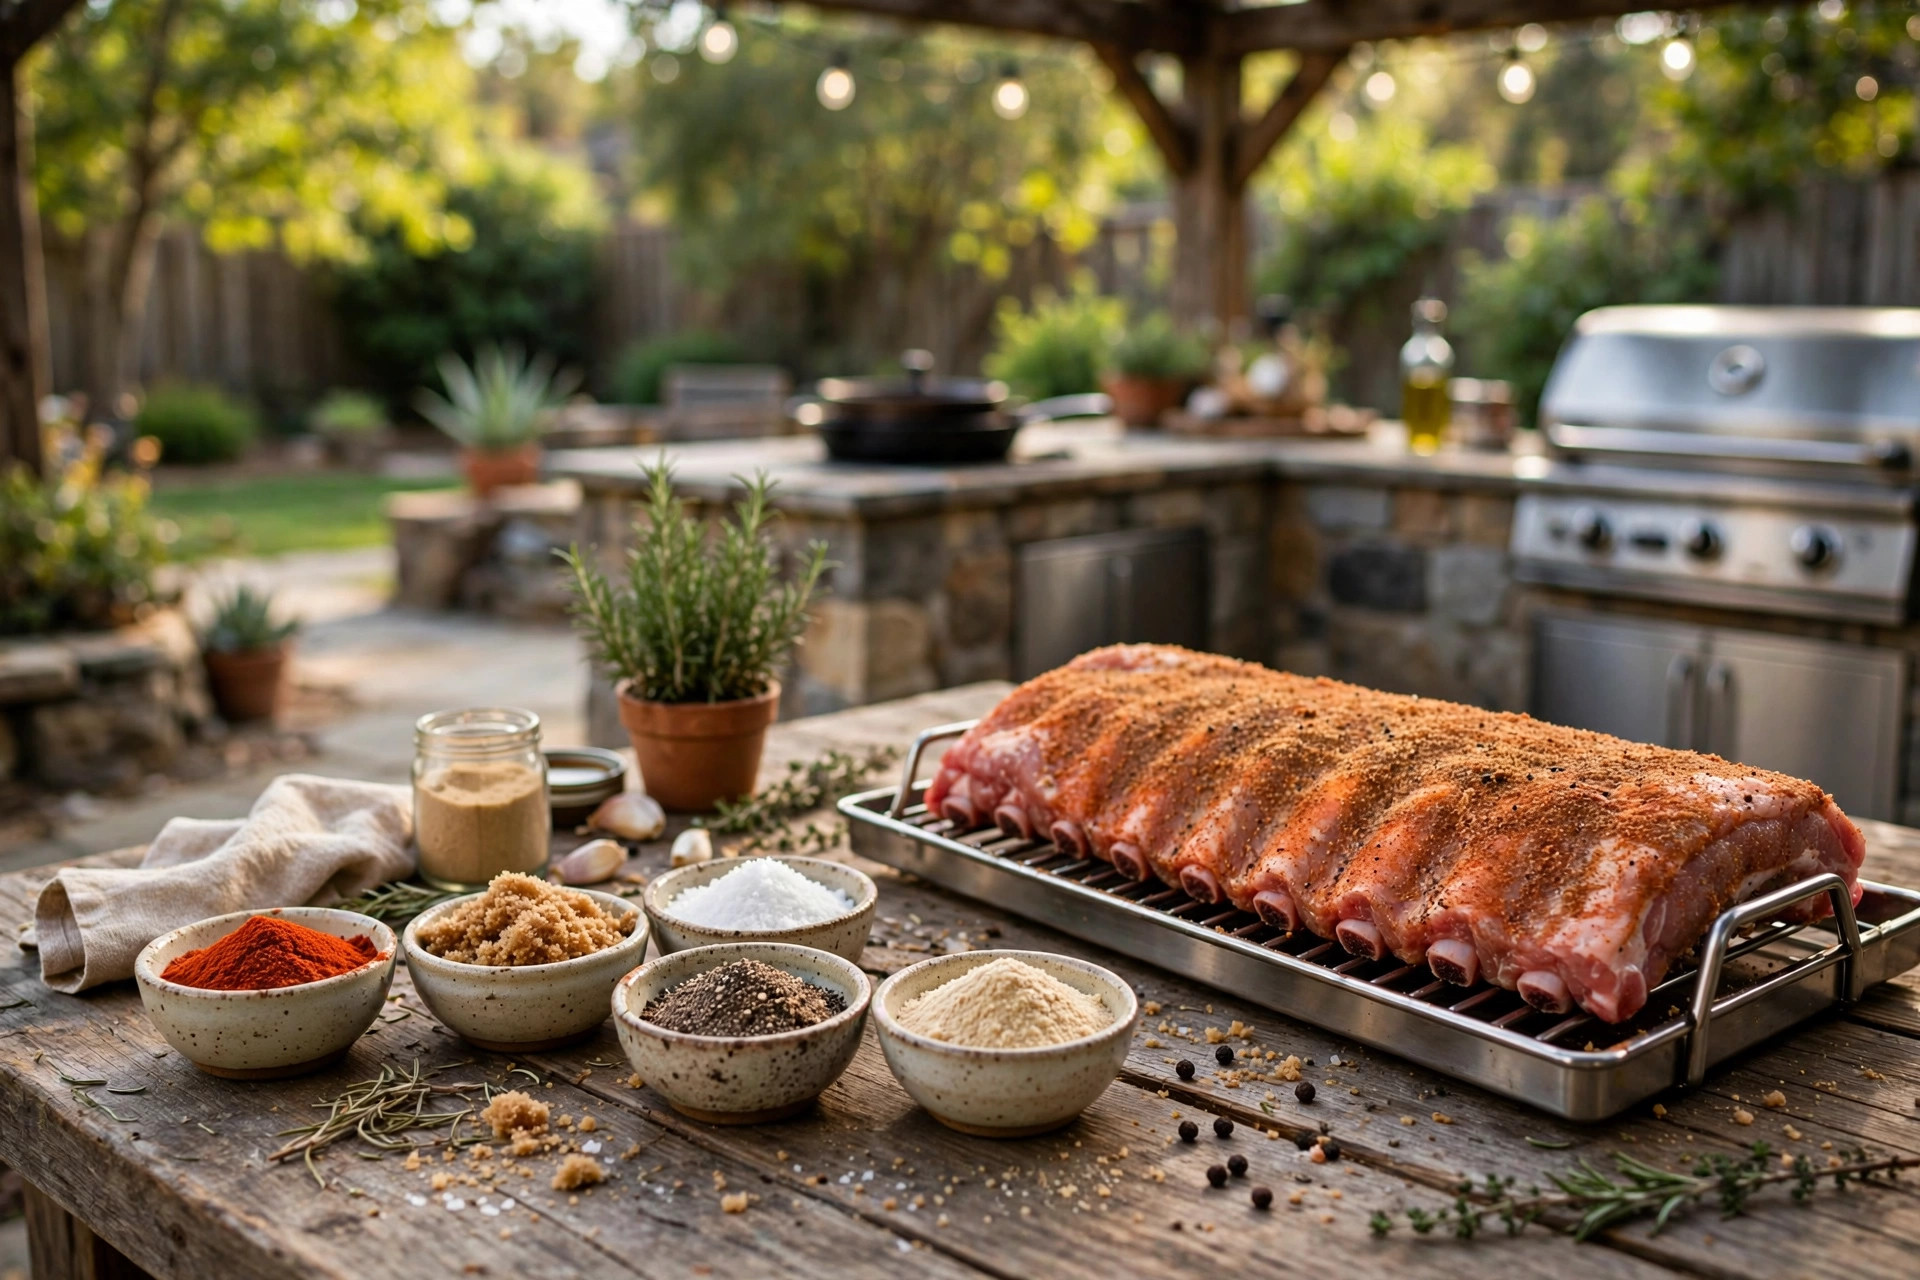

Every cook who has served truly great ribs knows the secret. It is not the grill. It is not the sauce. It is the rub. The best bbq rub for ribs homemade is the one you mix in your own kitchen, from spices you trust, in amounts you control. A store bottle cannot match it. This guide shows you how to build a rib rub that gives your ribs a deep red crust, a rich smell, and a flavor that stays with you long after the meal is done.
Why a Homemade Rub Matters
Ribs are a simple cut of meat. They are mostly bone, fat, and muscle. What makes them great is what goes on the outside. A rub is a dry mix of salt, sugar, and spices that you press into the meat before it cooks. Heat then works the mix into a crust called bark. That crust is where the flavor lives.
A homemade rub matters for three reasons. First, you control the salt. Many store rubs are mostly salt, because salt is cheap. Second, you control the sugar. Too much sugar burns over long heat. Third, you can tune the heat and the smoke to your own taste. Some families like sweet ribs. Some like ribs with a bite. When you mix the rub yourself, you can please both.
There is also the matter of freshness. Ground spices lose strength over time. A rub you mix today will always taste brighter than a bottle that sat on a store shelf for a year. Your own mix gives you ribs that taste alive.
What Goes Into a Good Rib Rub: Best Bbq Rub for Ribs Homemade
A great rib rub has four parts. Each part has a job. Learn the four parts, and you can build any rub you want.
The Salt Base
Salt is the foundation. It draws moisture to the surface of the meat, then pulls it back in, carrying flavor deep into the muscle. Use coarse kosher salt or coarse sea salt. Fine table salt is too strong and too sharp for this work. Start with about two tablespoons of salt per rack of ribs. You can add more at the table if you like, but you cannot take it away once it is on the meat.
The Sweetness
Brown sugar is the classic choice for ribs. It gives a warm, round sweetness and helps the crust turn a deep red brown. Light brown sugar gives a mild taste. Dark brown sugar gives a stronger, almost toffee note. Use about a quarter cup per rack. White sugar works too, but it is one note and plain. Many pit masters swear by a mix of brown sugar and a spoon of honey powder, though plain brown sugar does the job well.
The Heat
Heat is what makes ribs interesting. Paprika is the heart of most rubs. Sweet paprika gives color. Smoked paprika gives a campfire taste. A little cayenne pepper gives real heat. Start small. You can always add more heat next time, but a burnt mouth ruins a meal. Chili powder, black pepper, and mustard powder each add their own kind of warmth.
The Herbs and Spices
This is where your own taste takes over. Garlic powder and onion powder are the workhorses. They give depth that no other spice can match. Ground cumin adds an earthy note. Dried thyme and dried oregano add a gentle green taste. Some cooks add a little ground celery seed. A pinch of allspice can round the whole mix. Keep the amounts small. The herbs should support the meat, not cover it.
Three Types of Rib Rubs You Can Make at Home
Once you know the four parts, you can mix three classic styles. Try each one and see which your family likes best.
Sweet and Smoky Rub
This is the crowd pleaser. Mix a quarter cup of brown sugar, two tablespoons of kosher salt, two tablespoons of smoked paprika, one tablespoon of garlic powder, one tablespoon of onion powder, two teaspoons of black pepper, one teaspoon of mustard powder, and half a teaspoon of cayenne. The smoked paprika does most of the work here. It gives the ribs a smoky taste even if you cook them in a gas grill. The brown sugar caramelizes into a dark, sweet crust. Children and guests who do not like hot food will ask for seconds.
Spicy Texas Style Rub
This style is for people who like bold food. Mix three tablespoons of kosher salt, two tablespoons of coarse black pepper, two tablespoons of paprika, one tablespoon of chili powder, one tablespoon of brown sugar, two teaspoons of garlic powder, two teaspoons of onion powder, one teaspoon of cumin, and one to two teaspoons of cayenne pepper. The sugar is low on purpose. Texas style rubs let the pepper lead. The crust will be dark and rough, with a slow burn that builds as you eat. Serve these ribs with plenty of cold drinks.
Simple Memphis Style Rub
Memphis style is the simplest of the three. It uses no sugar at all, or very little. Mix three tablespoons of kosher salt, two tablespoons of paprika, one tablespoon of black pepper, one tablespoon of garlic powder, one tablespoon of onion powder, two teaspoons of dried thyme, and one teaspoon of cayenne. These ribs get their flavor from spice alone. The crust stays dry and crisp. Memphis style ribs are often served with sauce on the side, never on the meat, so the dry crust can be tasted in full.
How to Apply the Rub to the Ribs
Mixing the rub is only half the job. The way you put it on the meat decides how much flavor gets in.
Start with the ribs at room temperature. Cold meat does not take the rub well. First, pull the thin membrane off the back of the rack. Slide a butter knife under the membrane at one end, grab it with a paper towel, and pull. It should come off in one sheet. This step matters. The membrane blocks flavor, and it turns tough when cooked.
Pat the ribs dry with paper towels. A dry surface helps the rub stick. Then lightly coat the meat with a thin layer of yellow mustard or vegetable oil. This is called a binder. It is not there for taste. It is there to hold the rub on the meat. A thin coat is enough.
Sprinkle the rub over the ribs from about a foot above. Let it fall like snow. Cover the top, the sides, and the ends. Press it gently into the meat with your hands. Do not rub it in hard. You want a thick, even coat. Flip the rack and do the other side. Use about a third of a cup of rub per rack.
Now let the ribs rest. Put them in the refrigerator, uncovered or loosely covered, for at least one hour. Overnight is better. The salt needs time to work its way into the meat. Many cooks say this rest is the most important step of all. While the ribs rest, you can set up your grill. If you are new to smoking, a guide to a beginner smoker can help you choose the right tool.
When the ribs go on the heat, cook them low and slow. The classic range is 225 to 250 degrees. Baby back ribs take about four to five hours. Spare ribs take five to six. The meat is done when it bends easily and the surface cracks when you lift the rack. A good pellet grill vs charcoal comparison can help you decide which heat source fits your taste, since the rub tastes a little different over each kind of fire.
Cost and Price of Making Your Own Rub
One of the best things about a homemade rub is the price. A small bottle of store rub costs three to six dollars and covers two or three racks. The spices to mix your own cost more at first, but they last for months. A large jar of paprika, a bag of brown sugar, and boxes of salt, pepper, garlic powder, and onion powder will cost about twenty to thirty dollars in total. That supply will make enough rub for fifty racks or more. Each rack costs you less than a dollar in spices.
Buy spices in bulk where you can. Warehouse stores and spice shops sell large bags at a fraction of the per-ounce price of small jars. Store your spices in a cool, dark cabinet. Heat and light are the enemies of ground spice. Whole spices, like black peppercorns that you grind yourself, stay strong longer than ground ones, though ground spices are fine for rubs you use within a few months.
Care and Upkeep: Storing Your Homemade Rub
Mix more rub than you need. A batch will keep well if you store it right. Put the mixed rub in a glass jar with a tight lid. A mason jar works well. Keep it in a dark cabinet, away from the stove. Heat from cooking will wear the spices down fast.
Label the jar with the name of the rub and the date you mixed it. A homemade rub stays at its best for about three months. It is still safe to use after that, but the flavors grow dull. If you open the jar and the smell is weak, mix a fresh batch.
Never store the rub in the refrigerator. The cold air holds moisture, and moisture makes the mix clump. A dry pantry shelf is the right home for it.
Safety in the Kitchen and at the Grill
Rib cooking is safe work, but a few rules keep it that way. Wash your hands after handling raw meat and before you touch anything else. Use one set of tongs for raw ribs and a clean set for cooked ribs. Never put cooked ribs back on the plate that held them raw.
Keep the grill in the open air, away from the house, the garage, and anything that can burn. A grease fire starts fast. Keep a lid or a metal tray nearby to smother flames. Never use water on a grease fire. Check that your grill thermometer reads true before each cook. Many grill makers, such as Weber, publish guides on safe grill setup that are worth a read before a long cook.
Sugar in a rub can burn over high heat. That is why ribs cook low and slow. If you see black smoke or smell burning sugar, the heat is too high. Move the ribs to a cooler part of the grill. A remote thermometer from a store like Home Depot lets you watch the heat without opening the lid, which keeps the temperature steady.
Frequently Asked Questions
How much rub should I use per rack of ribs? Use about one third of a cup per rack. That is enough for a full, even coat on both sides. A light dusting will not give you a real crust. A mountain of rub will taste like raw spice. Press the coat in gently and let the rest do the work.
Should I use a binder like mustard before the rub? It helps, but it is not required. A thin coat of yellow mustard or oil holds the rub on the meat while it cooks. You will not taste the mustard in the finished ribs. If you prefer, you can skip the binder and let the natural moisture of the meat hold the rub. Many cooks do it both ways with fine results.
How long should the rub sit on the ribs before cooking? One hour is the minimum. Four to eight hours is better. Overnight in the refrigerator gives the best result. The salt pulls flavor deep into the meat over time. Do not leave ribs at room temperature for more than two hours, for food safety.
Can I use the same rub on other meats? Yes. A good rib rub works well on chicken, pork shoulder, and even thick steaks. Chicken takes the rub for one to two hours. A pork shoulder can rest overnight. Adjust the sugar down for high-heat grilling, since sugar burns fast over direct flame. For side dishes, a look at grilling vegetables shows how rubs and simple seasoning work on the grill too.
Is a homemade rub better than a store-bought one? In most cases, yes. You control the salt, the sugar, and the heat. Your spices are fresher. The cost per rack is lower. Store rubs are fine in a hurry, and testing groups like Consumer Reports have rated some well. But once you mix your own, you will rarely go back to the bottle.
What is the difference between a rub and a marinade? A rub is dry. A marinade is wet. A rub builds a crust on the outside of the meat. A marinade soaks flavor in through liquid, often with acid like vinegar or citrus. Ribs do best with a rub, because the long, slow cook turns the dry coat into bark. Marinades suit thinner cuts that cook fast.
A Final Word
The best bbq rub for ribs homemade is not a secret recipe. It is a habit. Mix your spices fresh. Salt with a light hand. Rest the meat. Cook low and slow. Each rack teaches you something. Maybe a little more black pepper next time. Maybe a little less sugar. Over one summer of cooking, you will build a rub that is yours alone, and your family will know it by taste.
If you want to study the craft further, pit master sites like AmazingRibs share tested methods for ribs and rubs, and recipe sites like The Spruce Eats carry hundreds of rub formulas to try. Grill makers such as Traeger, Big Green Egg, Napoleon, Broil King, and Char-Broil all publish free cooking guides worth reading. Start with the three rubs in this guide. Find your favorite. Then make it your own.
References
AmazingRibs.com. (n.d.). Barbecue and grilling science. https://www.amazingribs.com Big Green Egg. (n.d.). Kamado grills and outdoor cooking. https://www.biggreenegg.com Broil King. (n.d.). Gas and charcoal grills. https://www.broilkingbbq.com Char-Broil. (n.d.). Gas and charcoal grills. https://www.charbroil.com Consumer Reports. (n.d.). Product reviews and ratings. https://www.consumerreports.org Napoleon. (n.d.). Fireplaces, grills, and heating products. https://www.napoleon.com The Home Depot. (n.d.). Home improvement products. https://www.homedepot.com The Spruce Eats. (n.d.). Recipes and cooking guides. https://www.thespruceeats.com Traeger. (n.d.). Wood pellet grills. https://www.traeger.com Weber. (n.d.). Grills and outdoor cooking. https://www.weber.com
Was this guide helpful?

About Sarah Mitchell
The My Garden US editorial team writes practical, in-depth home and garden guides for American homeowners — tested advice, no fluff.
You May Also Like
Best Outdoor Sink for Fish Cleaning
August 11, 2026 0 views
How to Find a Gas Grill for Sale Near Me Deals Worth Your Money
May 13, 2026 0 views
Best Grill for Small Patio Reviews: How to Pick a Compact Grill That Cooks Well
April 2, 2026 0 views