
Leaky air ducts are one of the most common causes of high energy bills in American homes. This how to find air duct leaks usa guide walks you through every step. You will learn the signs of leaks, the tools you need, and a clear method to find them room by room. By the end, you will know which leaks you can fix yourself and when to call a professional.
Why Leaky Ducts Matter
Your ducts carry heated or cooled air from the furnace or air conditioner to each room. When the ducts leak, some of that air never reaches you. Instead, it escapes into the attic, the crawl space, or between the walls. Your system must then run longer to reach the set temperature. That wastes energy and wears out your equipment.
Studies from energy agencies in the United States find that the typical home loses 20 to 30 percent of the air in its duct system through leaks and poor connections. In older homes, the loss can be even higher. For a homeowner, this means higher monthly bills and rooms that never feel comfortable.
Leaky ducts also hurt indoor air quality. Return ducts pull air back to the system. If a return duct has a leak in a dusty attic or crawl space, it can pull in dust, mold spores, and insulation fibers. These particles then spread through the whole house. Sealing leaks keeps the air cleaner and the home healthier.
Signs You May Have Leaky Air Ducts: How to Find Air Duct Leaks Usa Guide
Before you start testing, look for these common warning signs:
– High energy bills. Your bill keeps rising even though your habits have not changed. – Rooms that are hard to heat or cool. Some rooms stay warm while others stay cold. – Weak airflow from vents. Air from one vent feels strong, while air from another feels weak. – Stuffy or dusty air. The house feels dusty soon after cleaning, or the air smells stale. – The system runs longer. The furnace or air conditioner cycles on and off more than it used to. – Visible damage. Ducts in the attic or basement look crushed, loose, or disconnected.
If you notice two or more of these signs, it is worth checking your ducts for leaks.
Tools and Supplies for Duct Leak Detection
You can do a basic check with simple household items. For a deeper check, a few low-cost tools help.
Basic kit: – A flashlight or headlamp – A stick of incense or a thin strip of toilet paper – A small mirror for hard-to-see joints – Aluminum foil tape rated for ducts (UL 181) – Mastic sealant and a paintbrush for larger gaps
For a deeper check: – An infrared thermometer to compare vent temperatures – A digital manometer or anemometer for airflow readings – A fog machine or duct fogger (optional, for hard-to-find leaks)
You can read home repair guides at Family Handyman for tool lists and step-by-step photos that match these tasks.
Step by Step: How to Find Air Duct Leaks
Follow these steps in order. Work on a day when the heating or cooling system is running so air is moving through the ducts.
Step 1: Turn On the System
Set your thermostat so the blower runs. Full heat or full cool works best. The goal is to have strong air pressure inside the ducts while you test.
Step 2: Check Each Vent Inside the Home
Walk from room to room. Hold your hand a few inches in front of each supply vent. The airflow should feel firm and steady. Write down any vents with weak or no airflow. These rooms may be fed by a leaking duct section.
For a more exact test, hold an infrared thermometer near each vent. Write down the temperature. Rooms on the same floor should read within a few degrees of each other. A vent that is much warmer in cooling mode or much cooler in heating mode may be losing air along the way.
Step 3: Inspect the Exposed Ducts
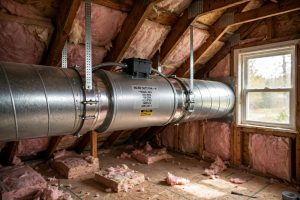
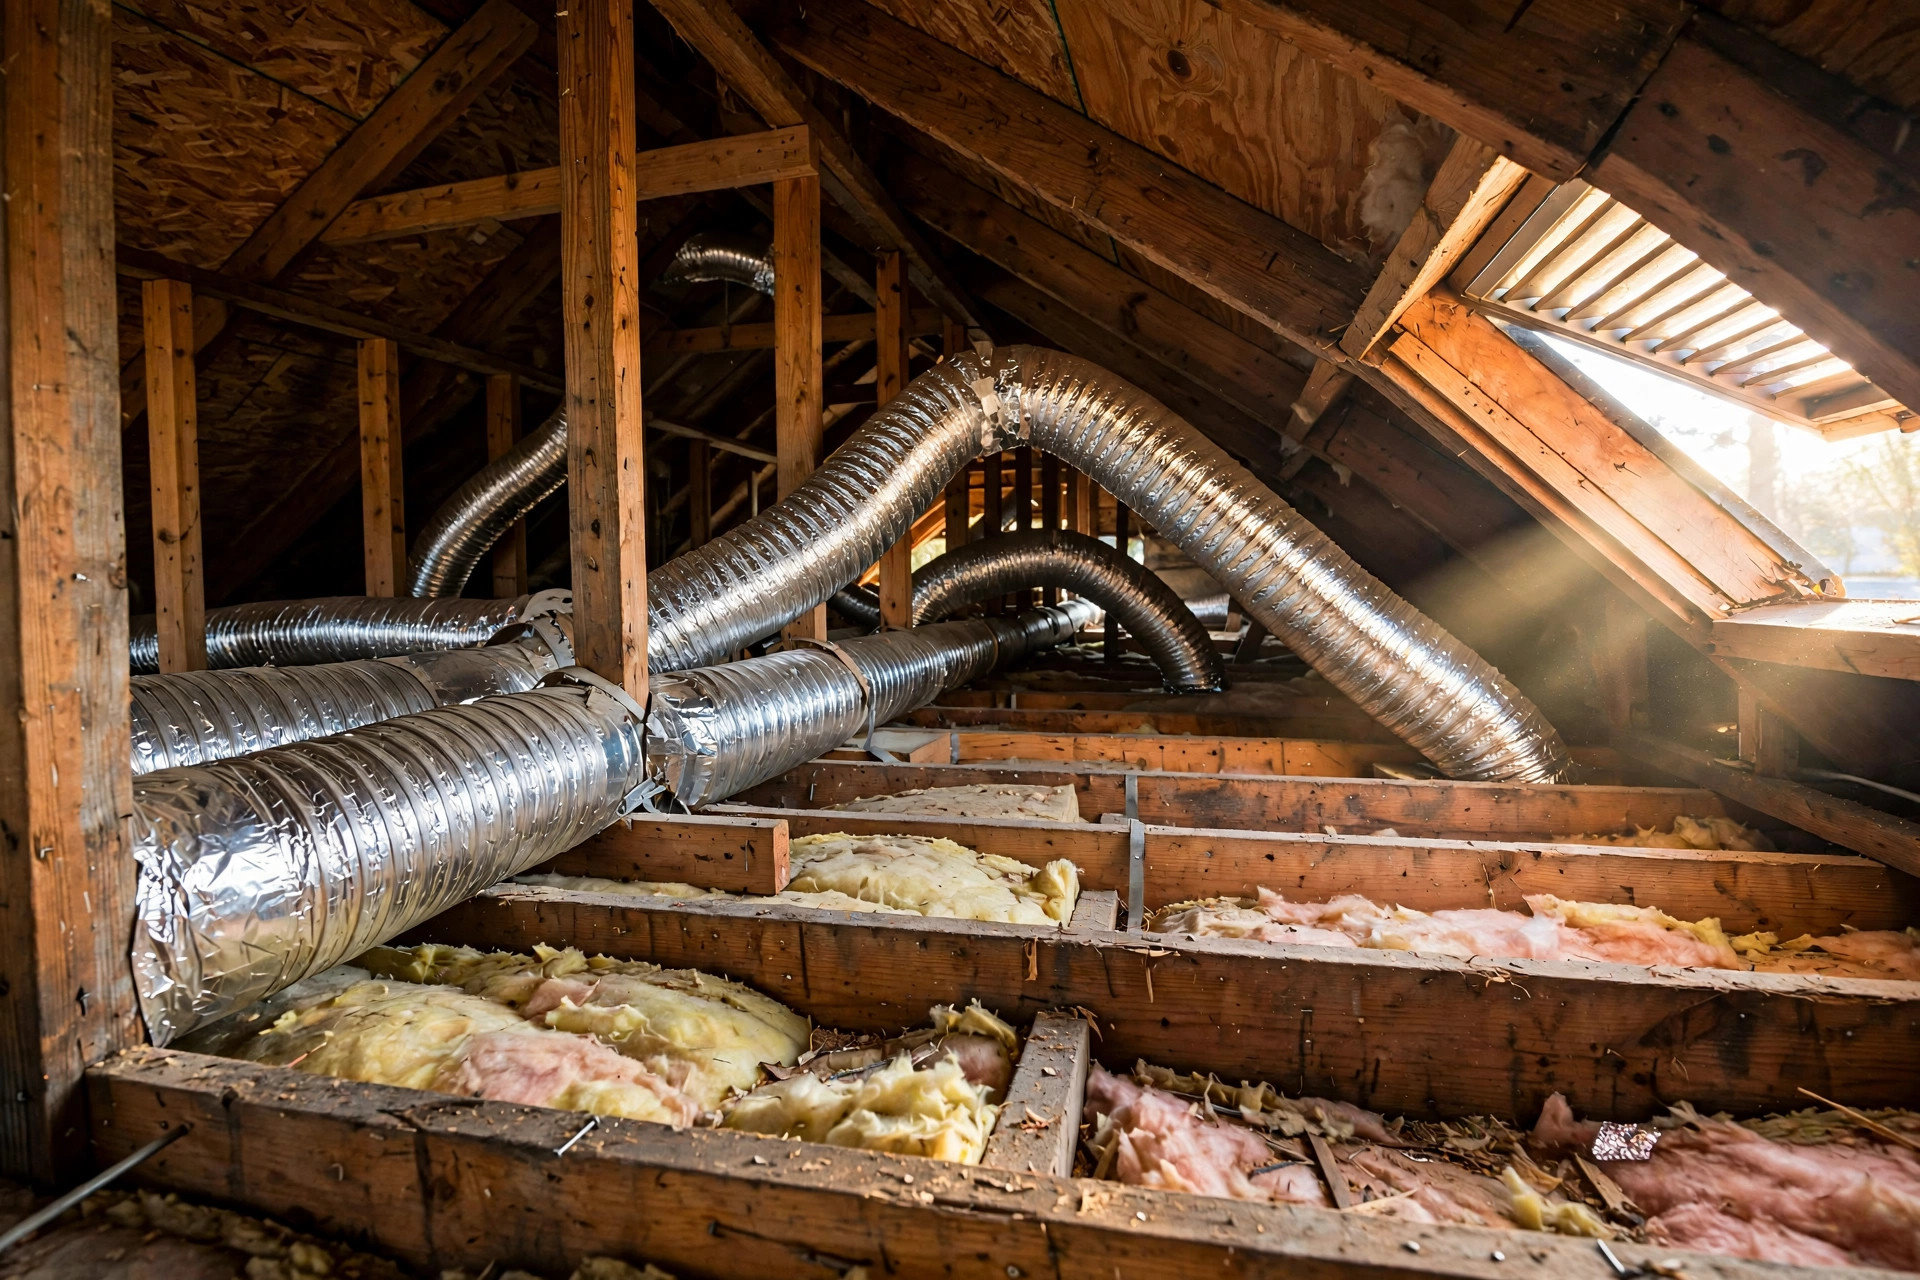
Most leaks hide in attics, crawl spaces, basements, and garages. Put on gloves and a mask, then look at every joint, elbow, and connection you can reach. Watch for:
– Sections that have come apart at the joints – Ducts crushed or bent by stored boxes – Torn or loose insulation around the ducts – Old duct tape that has dried out and peeled away
Run your hand slowly along each joint while the system runs. Even a small leak will send a faint stream of air against your skin. A stick of incense works well too. Hold it near each joint and watch the smoke. If the smoke wavers or blows sideways, air is leaking at that spot.
Step 4: Test the Air Filter Slot and Plenum
The plenum is the large box that connects the furnace or air handler to the main ducts. It is a common leak point. Check the seams around it with the incense test. Also check the slot where the air filter slides in. A loose filter door lets a lot of air escape. Seal it with foil tape.
Step 5: Compare Return and Supply Air
If you have an anemometer, measure airflow at several supply vents and at the return grilles. Add up the readings. A large gap between the supply total and the return total points to leaks in the system. You do not need exact numbers to see a big difference. Even a rough check helps.
Common Leak Spots in American Homes
Leaks form in the same places again and again. Focus your search here:
– Connections at the plenum. The joints where ducts meet the air handler work loose over time. – Branch takeoffs. Small ducts that branch off the main trunk are often sealed poorly. – Elbows and bends. Sharp turns stress the duct walls and open gaps. – Register boots. The box behind each wall or floor vent can separate from the duct. – Long runs through the attic. Flexible ducts sag and tear, and heat in the attic speeds the damage.
Homes in hot southern states see more attic damage because attic heat breaks down duct materials faster. Homes in cold northern states see more trouble in crawl spaces and basements, where ducts freeze and thaw and joints shift. For general heating system background, Carrier and Trane publish useful guides on how home heating and cooling systems work.
Professional Duct Testing and Sealing: What It Costs
A do-it-yourself check finds many leaks, but a professional test gives exact numbers. A duct blower test uses a calibrated fan to pressurize the duct system and measure the leakage. Many HVAC companies in the United States charge between 200 and 400 dollars for this test.
Professional sealing costs more. The price depends on the size of the home and how much of the ductwork is exposed. Most homeowners pay between 500 and 1,500 dollars for a full duct sealing job. In some areas, utility companies offer rebates for duct sealing because it saves energy. Check with your local utility before you book the work.
If your system is old, you may wonder whether to fix the ducts or replace the unit. Reading about an energy efficient mini split for 1500 sq ft can help you compare options. You can also look up ductless mini split installation cost per zone if you are thinking about a ductless system instead.
How to Seal the Leaks You Find
Once you find the leaks, seal them. Small gaps seal easily with UL 181 aluminum foil tape. Press the tape down firmly and smooth out all wrinkles. For gaps wider than a quarter inch, use mastic sealant. Brush it over the joint and cover the full seam. Mastic stays flexible and lasts for years.
Avoid standard cloth duct tape. Despite its name, it dries out and falls off inside hot attics. Use only products made for ducts.
After sealing, wrap exposed ducts with insulation where it is missing. Insulation keeps the air inside at the right temperature as it travels. In unconditioned attics and crawl spaces, R-6 or R-8 duct insulation is the common standard in the United States.
Care and Upkeep for Healthy Ducts
Finding and sealing leaks is the first step. Keeping the system tight is the next. Follow this simple care plan:
– Change the filter on time. A clogged filter raises pressure and strains the ducts. Check it monthly. – Keep attic storage away from ducts. Do not stack boxes on flexible ducts. They crush and tear. – Re-check joints every two years. Look at the exposed ducts each spring and fall. – Keep vents open. Closing vents in unused rooms raises pressure and can open new leaks. – Schedule a check every five years. A technician can spot wear you may miss.
If you live in a cold climate and use a heat pump or mini split, compare notes with reviews of the best mini split for cold climates reviews usa to keep the whole system running well.
Safety Notes
Work safe while you check your ducts. Attics and crawl spaces can be hot, dark, and tight.
– Wear gloves, long sleeves, a dust mask, and eye protection. – Watch your step in attics. Walk only on joists or laid boards. – Turn off power to the furnace or air handler before you touch wiring or the blower cabinet. – Do not enter a crawl space with standing water or exposed wires. – If you find mold on or inside the ducts, do not try to clean it yourself. Call a professional.
The U.S. Department of Energy offers home energy guidance at energy.gov and energystar.gov. These sites cover duct sealing as part of whole-home energy savings.
Frequently Asked Questions
How much air do leaky ducts lose?
The typical American home loses 20 to 30 percent of conditioned air through duct leaks, gaps, and poor connections. Older homes with original ductwork can lose even more.
Can I find air duct leaks without special tools?
Yes. A basic hand check at the vents, plus a visual check of exposed ducts with a flashlight and an incense stick, will find most large leaks. Special tools like infrared thermometers and anemometers help with small or hidden leaks.
What is the best sealant for air ducts?
UL 181 rated aluminum foil tape works for small gaps. Mastic sealant works best for larger gaps and long seams. Both last far longer than standard cloth duct tape, which dries out in hot attics.
How long does duct sealing last?
A well-done job with mastic and foil tape can last 15 years or more. Check the ducts every two years and re-seal any spots that open up.
Should I seal ducts myself or hire a pro?
You can seal leaks you can reach in attics, basements, and crawl spaces. Hire a professional if the ducts are hidden inside walls, if you find mold, or if you want a duct blower test with exact leakage numbers.
Do leaky ducts affect air quality?
Yes. Leaks in return ducts can pull in dust, insulation fibers, and mold spores from attics and crawl spaces. Sealing leaks keeps these particles out of the air you breathe.
A Final Word
Finding air duct leaks takes a little time, but it pays off. A sealed system uses less energy, heats and cools more evenly, and lasts longer. Start with the simple tests in this guide. Seal what you can reach. Then call a professional for a full test if your bills are still high. Product and system information from makers like Lennox, Rheem, and Goodman can help you understand your equipment and plan next steps.
References
Carrier. (n.d.). Heating and cooling systems. https://www.carrier.com ENERGY STAR. (n.d.). Energy efficient products. https://www.energystar.gov Family Handyman. (n.d.). DIY home repair and maintenance. https://www.familyhandyman.com Goodman. (n.d.). Heating and cooling equipment. https://www.goodmanmfg.com Lennox. (n.d.). Heating and cooling systems. https://www.lennox.com Rheem. (n.d.). Heating, cooling, and water heating. https://www.rheem.com Trane. (n.d.). Heating and air conditioning. https://www.trane.com U.S. Department of Energy. (n.d.). Energy efficiency and renewable energy. https://www.energy.gov
Was this guide helpful?

About Jennifer Lee
The My Garden US editorial team writes practical, in-depth home and garden guides for American homeowners — tested advice, no fluff.
You May Also Like

Kitchen Exhaust Fan for Island Cooktop USA: A Practical Buyer’s Guide
September 5, 2026 0 views
Two Stage Furnace vs Single Stage Comparison: A Full Guide for Homeowners
March 8, 2026 0 views
The Best Programmable Thermostat for Seniors in the USA
May 6, 2026 0 views