Introduction
Every kitchen throws away food. Peelings pile up. Coffee grounds gather. Stale bread sits in a bag. Yet many home owners wonder how to compost food scraps safely and turn that waste into something useful. Composting is not hard. It asks only for a little care and a little patience. When it is done right, food scraps break down into dark, rich soil. That soil feeds gardens. It cuts down trash bags. It saves money on store bought fertilizer.
This guide shows how to compost food scraps safely from start to finish. It covers what goes in the pile and what stays out. It shows how to set up a bin and keep the pile healthy. It also notes the safety rules that protect your family and your neighbors. Follow these steps and your compost will be clean, safe, and ready to use in a few months.
Why Composting Food Scraps Matters: How to Compost Food Scraps Safely
Food waste fills landfills. It rots there and gives off methane gas. That gas harms the air. When you compost at home, you cut your share of that waste. A single family can keep hundreds of pounds of food scraps out of the trash each year.
Compost also feeds the soil. Finished compost is full of nutrients. It holds water. It loosens hard clay. It helps roots grow deep. Plants in compost rich soil grow strong. They need less chemical fertilizer. Your yard and garden will look better. Your flower beds will bloom longer.
There is a money angle too. Bagged compost at a garden center costs real money. When you make your own, you pay nothing. Your scraps do the work. Over time the savings add up. Many gardeners say home compost is the best deal in the yard.
What You Can Compost Safely
Knowing what to add is the heart of how to compost food scraps safely. The right mix breaks down fast and smells like fresh earth. The wrong mix brings odors, flies, and rodents.
Safe food scraps include:
– Fruit and vegetable peelings – Fruit cores and rinds – Coffee grounds and paper filters – Tea leaves and tea bags without staples – Stale bread, rolls, and plain pasta – Cooked rice and plain grains – Crushed eggshells – Nut shells without salt
These items are soft. They break down fast. They add nitrogen to the pile. Nitrogen feeds the tiny organisms that do the work.
Food scraps that you must keep out:
– Meat, fish, and bones – Dairy products such as milk, cheese, and butter – Fats, oils, and greasy foods – Pet waste from dogs or cats – Charcoal ash from a grill – Glossy paper or printed cardboard
Meat and dairy cause bad smells. They draw rats and flies. Oils slow down the pile. Pet waste can carry germs that survive in a home pile. Keep these out and the pile will stay clean.
Greens and Browns: The Basic Mix
A compost pile needs two kinds of material. Greens give nitrogen. Browns give carbon. The balance between them decides how well the pile works.
Greens are your food scraps. They also include fresh grass clippings and green leaves. Browns are dry things. They include fallen leaves, straw, shredded newspaper, and small twigs. Brown paper bags work well. So does cardboard torn into strips.
Aim for about three parts browns to one part greens by volume. A simple way is this. Each time you add a bucket of kitchen scraps, cover it with a thick layer of dry leaves or shredded paper. This rule does two jobs at once. It feeds the pile. It also buries the scraps so they do not smell and do not draw pests.
If the pile smells sour, it likely has too many greens. Add more browns and turn it. If it sits dry and does nothing, it likely has too many browns. Add water and a few more greens. The pile should feel damp, like a wrung out sponge.
Choosing a Compost Bin
You need a place to hold the pile. Many options exist. A good bin keeps the pile tidy. It lets air in. It keeps animals out. For a review of countertop choices, see a good compost bin for kitchen scraps guide before you shop.
Common bin types:
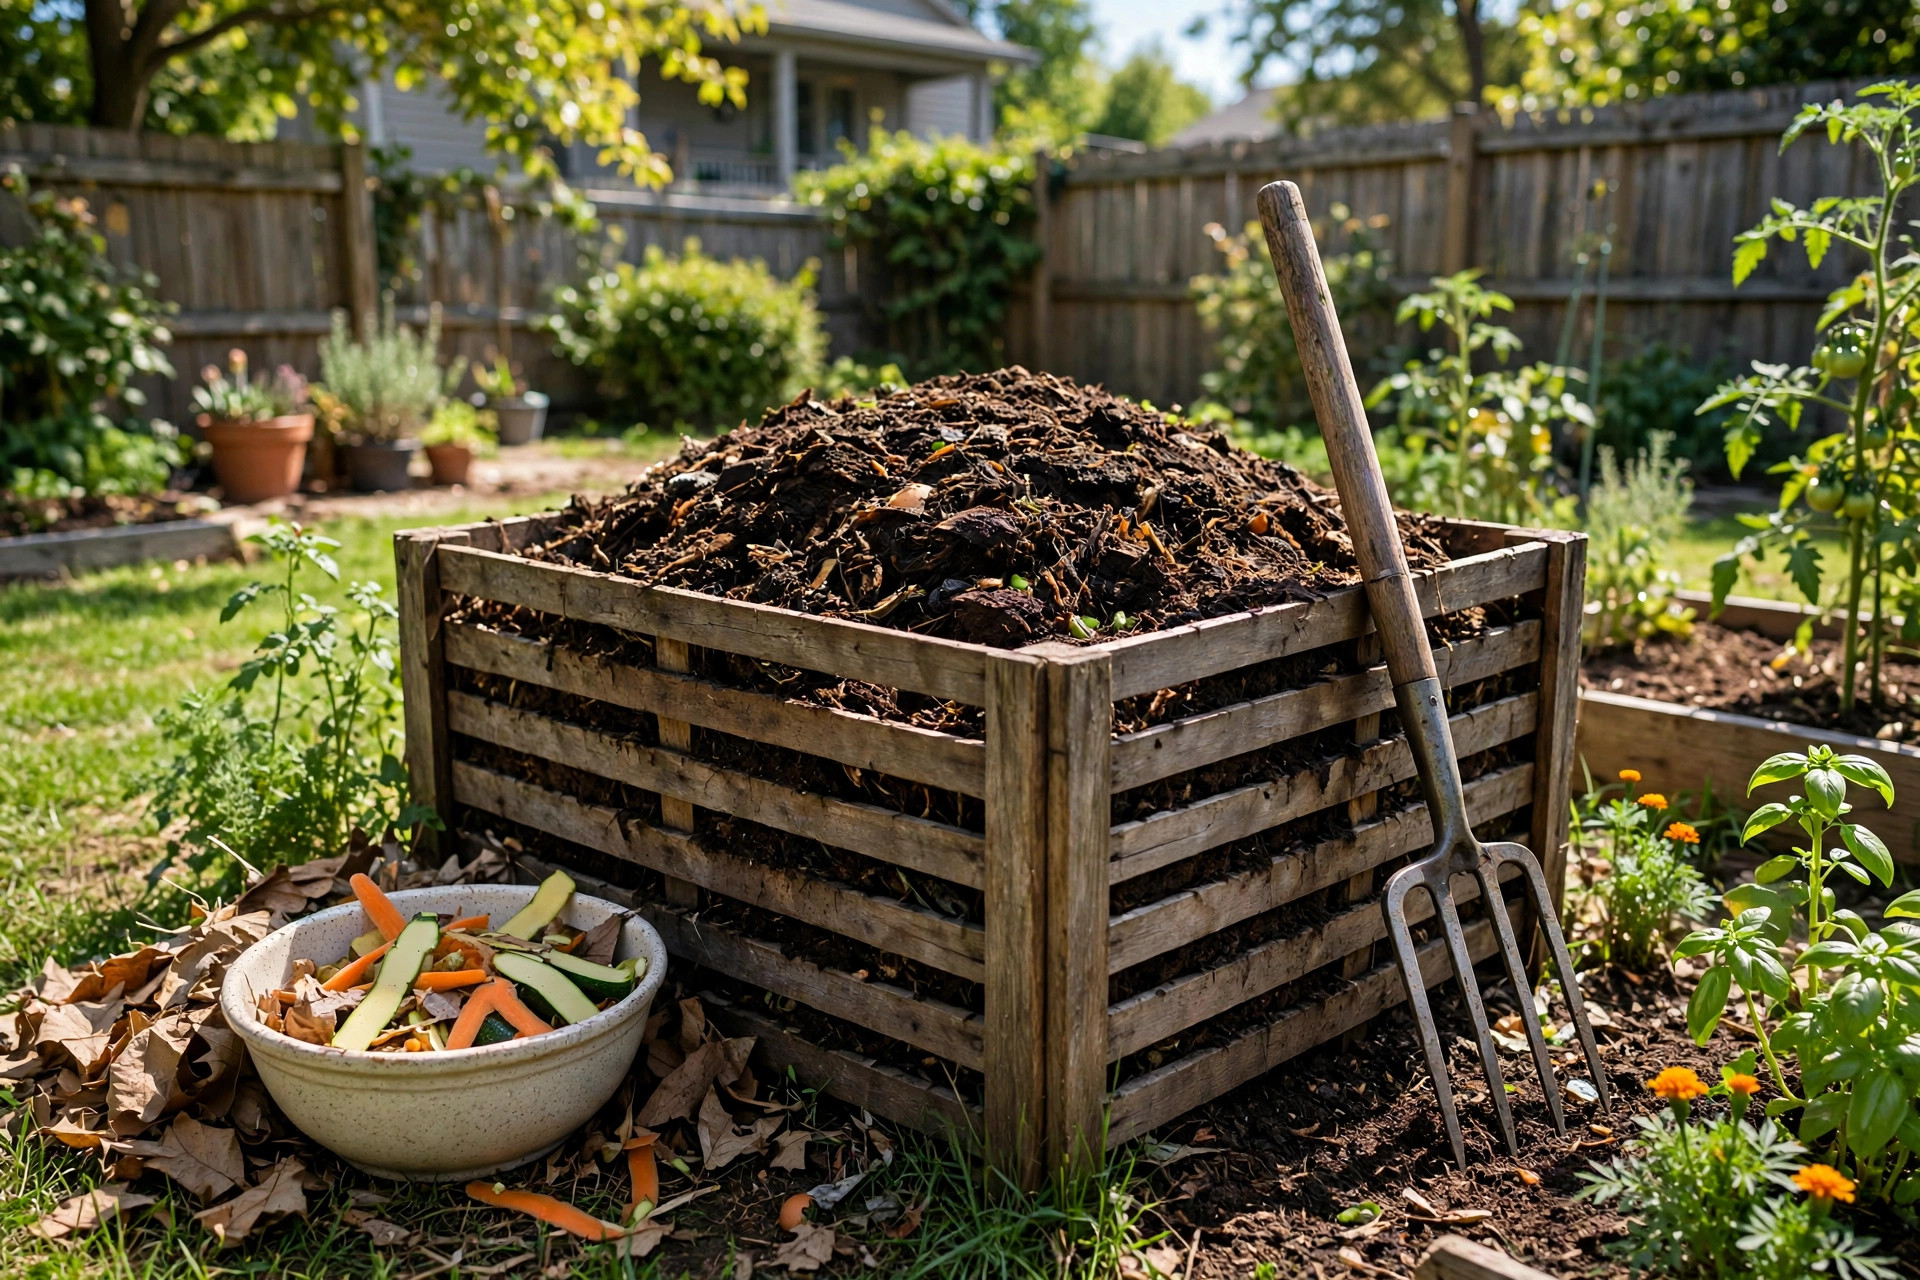
– Open pile. Free and simple. Just pile materials on the ground in a corner of the yard. It works, but it looks rough and animals may visit. – Wooden slat bin. Three or four pallets tied together make a cheap bin. It lets air flow well. – Plastic tumbler. A round drum that you turn with a crank. It mixes the pile for you. It keeps rodents out. It costs more. – Stationary bin. A plastic or wire box with a lid. It sits in one place. It is neat and easy to fill.
For those who want to spend less, there are clear plans for how to build a compost bin cheap from scrap wood or pallets. A home made bin works as well as a store bought one.
Pick a spot that is flat and well drained. Give it some shade. Keep it close enough to the kitchen that you will use it, but away from the house wall and from the property line. A bin with a tight lid is the safest choice if raccoons or rats live near you.
Setting Up Your Compost Pile
Start with a base layer. Put four to six inches of coarse browns on the ground. Twigs or straw work well. This base lets air rise from below.
Now add layers. Put in a few inches of food scraps. Cover them with a few inches of browns. Repeat. Water each layer lightly as you go. The pile should be damp, not soggy.
Turn the pile once a week with a fork or a compost aerator tool. Turning adds air. It moves fresh food into the middle. It stops wet clumps from forming. A strong fork from a brand such as Fiskars makes the job easy.
Keep a small countertop pail in the kitchen. Empty it every day or two. Do not let scraps sit in the pail for a week. Old scraps get slimy and smelly. A quick daily trip to the bin keeps things fresh.
How to Compost Food Scraps Safely Day by Day
Daily habits matter more than fancy gear. Follow this simple routine.
1. Collect scraps in a covered kitchen pail. 2. Carry the pail to the bin each day. 3. Dump the scraps on top of the pile. 4. Cover them at once with dry browns. 5. Close the lid.
Chop large items into small pieces. A whole melon rind breaks down slowly. Cut it into chunks and it will rot in weeks instead of months. Crushed eggshells add calcium and break down faster than whole shells.
Watch the moisture. In a dry spell, sprinkle water on the pile. In a rainy spell, add extra browns and keep the lid on. A soggy pile goes sour and smells bad. A dry pile just sleeps. Both problems are easy to fix.
Care and Upkeep of the Pile
A compost pile is alive. It needs air, water, and food. Check it once a week.
Air. Turn the pile to let fresh air in. A compost aerator or a pitchfork does the job. If turning is hard, poke holes with a garden stake.
Water. Squeeze a handful. If no drops come out, add water. If water drips out, add dry browns.
Finished compost looks dark and crumbly. It smells like forest soil. You should not see bits of old food. Most home piles finish in two to four months in warm weather. Cold weather slows the work.
When the pile is done, screen it if you like. Push it through a half inch mesh to catch sticks. Spread the finished compost in garden beds. Dig it into the top few inches of soil. Your plants will thank you.
Safety Rules for Food Scrap Composting
Safety is the core of how to compost food scraps safely. A few firm rules keep trouble away.
Keep meat and dairy out. These draw pests and breed germs. A hot home pile rarely gets hot enough to kill all the pathogens in meat. Leave it out. If you want to compost animal waste, look at an electric indoor unit rated for it, not a backyard pile.
Use tools, not bare hands. Wear gloves when you turn the pile. Wash your hands after. Old food can carry bacteria. A good pair of gloves from Corona Tools or a similar maker will last for years.
Mind the heat. A large active pile can reach 160 degrees inside. Do not let small children play in it or climb on the bin. Hot compost can burn skin.
Keep it away from wells and streams. Place the bin at least 25 feet from a water well. Runoff from a pile can carry bacteria. Do not site the bin on a slope that drains into a creek.
Watch for mold spores. Turning a dry pile can throw up dust and mold spores. If you have asthma or allergies, wear a dust mask. Dampen the pile before you turn it.
Store the finished compost safely. Let it cool and rest for two weeks before you use it on vegetables. This rest time lets any leftover germs die off.
Garden experts at The Spruce and Bob Vila both stress the same point. Clean habits and the right materials keep a home pile safe and pleasant.
Cost and Price
Composting can cost almost nothing. A pile on the ground is free. A bin made from pallets is free. The kitchen pail can be any old container with a lid.
Store bought bins cost more. A simple plastic bin runs from 50 to 100 dollars. A tumbler runs from 100 to 250 dollars. A compost thermometer costs about 10 dollars. A good fork costs 20 to 40 dollars. You can compare prices at big retailers such as Home Depot and Lowes.
The payback is real. A bag of finished compost sells for 8 to 15 dollars at a garden center. A home pile can make 50 gallons or more a year. Do the math and the bin pays for itself in the first season. Reviews of tested models at Consumer Reports can help you pick a bin that lasts.
Other Things You Can Compost
Food scraps are not the only safe input. Many garden wastes break down well too.
Fallen leaves are the best brown of all. Rake them in autumn and save them in bags. They feed the pile all year. Grass clippings work as greens. Use them in thin layers so they do not mat down. Small pruned branches can be chipped or cut short.
One fall option worth trying is learning how to make leaf mold compost. Leaf mold is just composted leaves on their own. It makes a soft, rich mulch that garden beds love.
Yard advice from Family Handyman often notes the same thing. A pile fed with both kitchen scraps and yard waste finishes faster and smells better than a pile fed with only one kind.
Common Problems and Fixes
It smells like rotten eggs. Too wet and too many greens. Add dry browns. Turn the pile to add air.
It smells like ammonia. Too many greens at once. Mix in shredded paper or leaves.
Fruit flies swarm the bin. Scraps are exposed. Bury all food under browns. Empty the kitchen pail more often.
Rodents visit. Food is too close to the edge, or meat got in. Use a bin with a lid and a solid floor. Never add meat, fish, or dairy.
The pile does nothing. Too dry or too many browns. Water it. Add greens and turn.
It is full of ants. The pile is too dry. Water it well. Ants leave when it gets damp.
Most problems trace back to one cause. The mix is off. Fix the mix and the pile heals in days.
FAQ
How long does it take for food scraps to turn into compost? With weekly turning and the right mix, most piles finish in two to four months. Cold weather slows things down. A pile left alone all winter will finish in spring when the air warms.
Can I compost coffee grounds every day? Yes. Coffee grounds are a fine green. Add them daily and cover with browns. Paper filters can go in too. Just avoid plastic lined pods.
Do I need to buy worms? No. Red worms help indoor worm bins, but an outdoor pile does fine without them. Local worms will find the pile on their own.
Is compost safe for a vegetable garden? Yes, if the pile got hot and rested before use. Let finished compost sit for two weeks. Then dig it into the soil. Do not put raw food scraps directly on beds where you grow food.
What if I have only a small yard? Use a tumbler or a small lidded bin. These fit in a tight corner. You can also try a bokashi bucket indoors. It ferments scraps in a sealed pail with no smell.
Can composting attract bears? In bear country, yes. Use a bear proof bin with a locking lid. Never put meat or dairy in an outdoor pile. Guides from Burpee and Gardener’s Supply list bins built for wildlife areas.
Final Word
Learning how to compost food scraps safely is a small skill with big rewards. It keeps waste out of the trash. It feeds your soil. It costs little and asks only a few minutes a week. Start with the right scraps. Bury them under browns. Turn the pile weekly. Keep meat and dairy out. Follow the safety rules and your pile will be clean, fast, and odor free. In a few months you will hold dark, rich compost in your hands. Your garden will show the difference. And you will know that last night’s dinner scraps did not go to waste.
References
Bob Vila. (n.d.). Home improvement advice. https://www.bobvila.com Burpee. (n.d.). Seeds, plants, and gardening supplies. https://www.burpee.com Consumer Reports. (n.d.). Product reviews and ratings. https://www.consumerreports.org Corona Tools. (n.d.). Garden and landscape tools. https://www.corona-tools.com Family Handyman. (n.d.). DIY home repair and maintenance. https://www.familyhandyman.com Fiskars. (n.d.). Garden and cutting tools. https://www.fiskars.com Gardener’s Supply Company. (n.d.). Gardening tools and supplies. https://www.gardeners.com Lowe’s. (n.d.). Home improvement products. https://www.lowes.com The Home Depot. (n.d.). Home improvement products. https://www.homedepot.com The Spruce. (n.d.). Home and garden advice. https://www.thespruce.com
Was this guide helpful?

About Lisa Anderson
The My Garden US editorial team writes practical, in-depth home and garden guides for American homeowners — tested advice, no fluff.